What was supposed to be an easy project, that started back in 2005, turned into a very long, often stagnant build. I wanted to build a Civic similar to the one I used to own. After stripping the paint and using large amount of body filler, as well as removing the wing, I smoothed out much of the Fast and Furious look. Once the body work was complete, I started painting with Testors spray can lacquer. I struggled with spraying a smooth layer of paint and also found that the paint easily chipped around the doors and hood and didn’t know how to avoid it.
Shortly after, I decided to copy the look of a Grassroots Motorsports project car that was painted red oxide primer. For the most part, the paint looked okay but it was still too thick. In the end, I set this project aside.
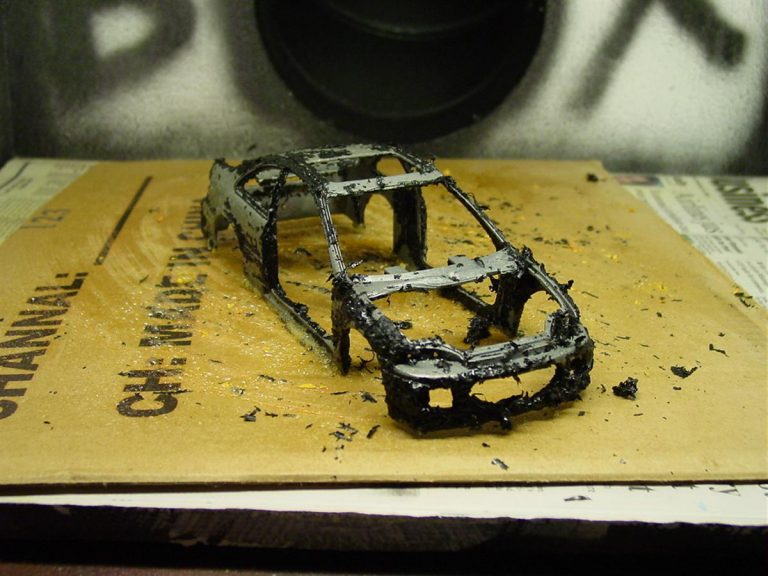
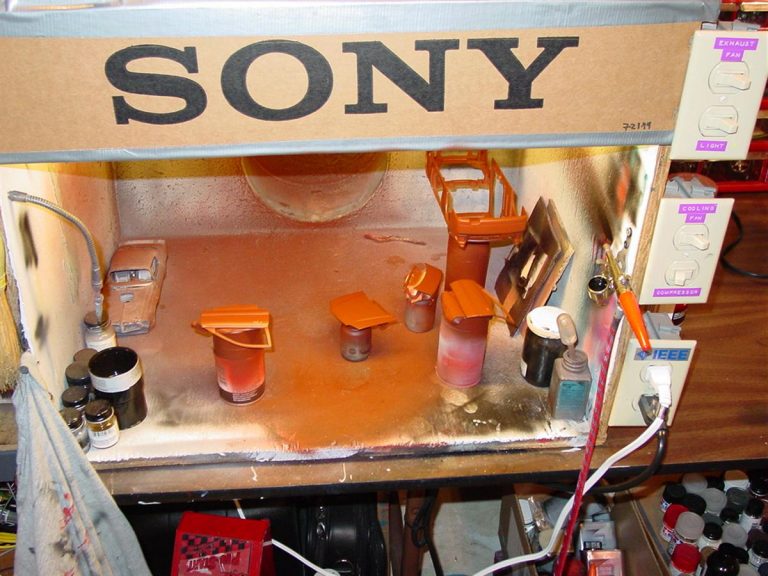
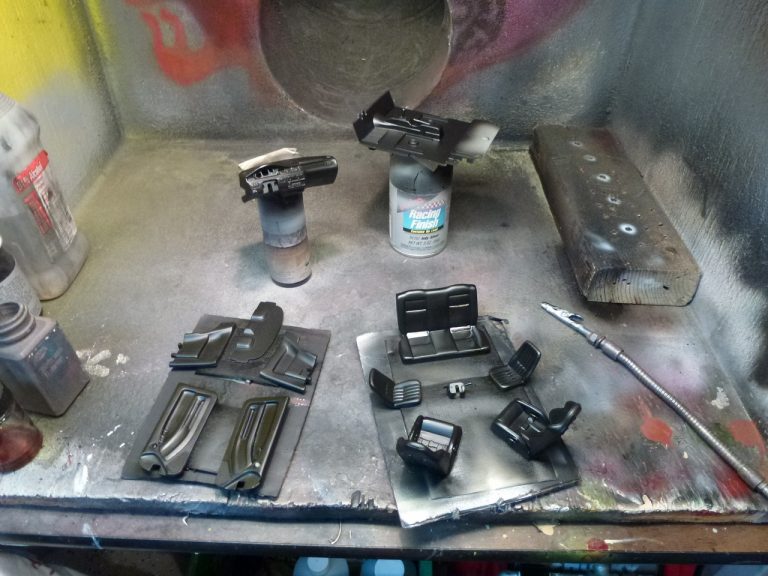
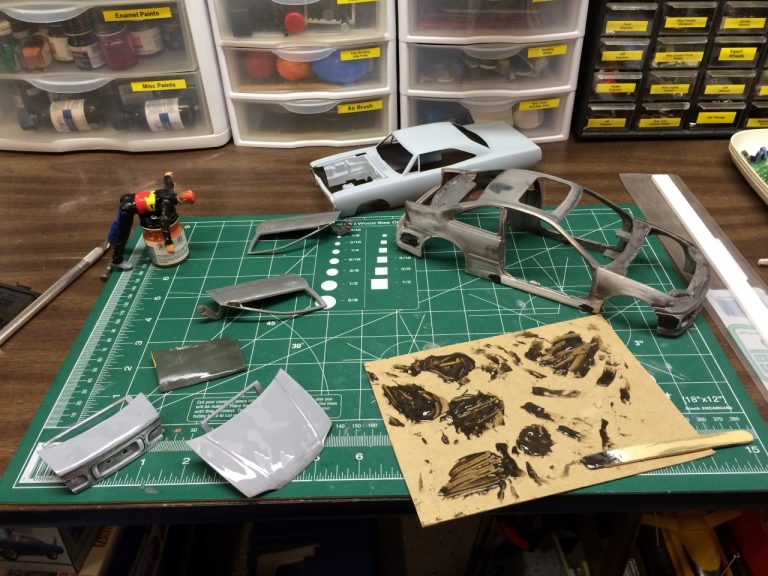
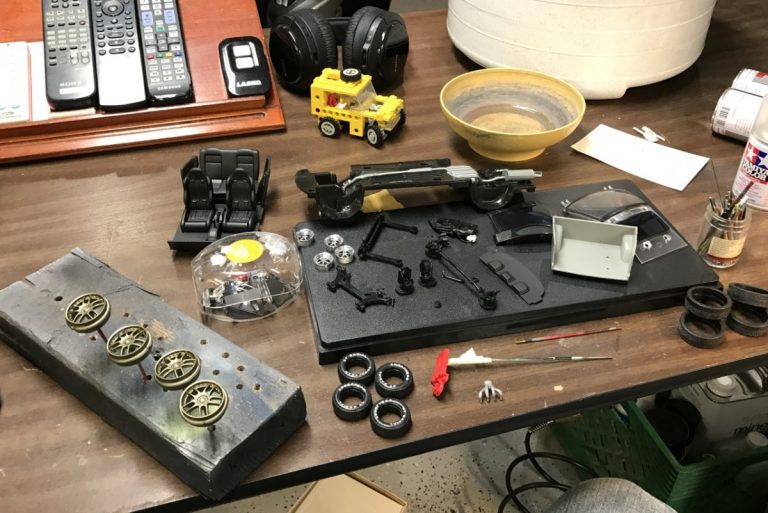
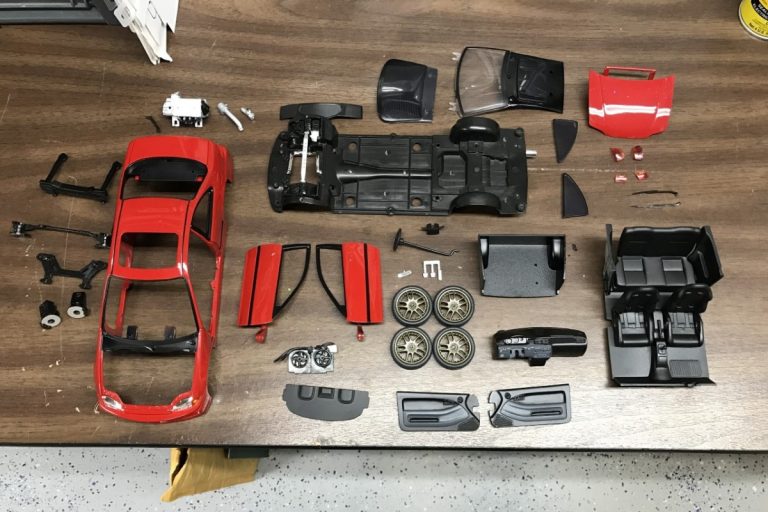
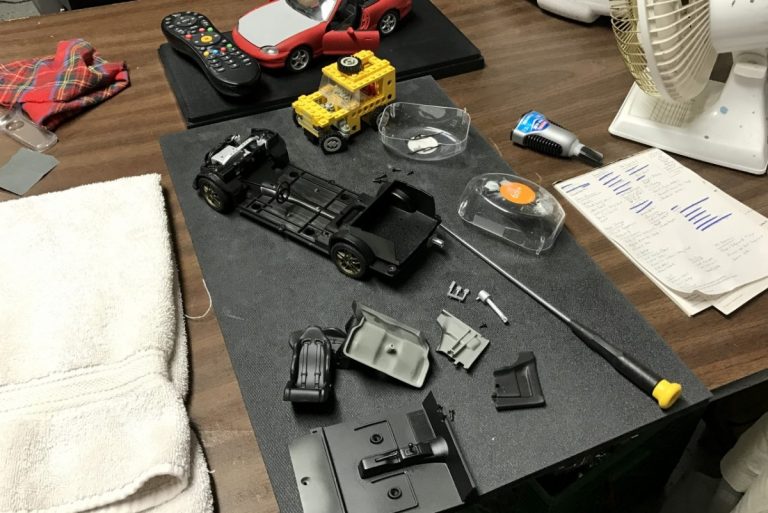
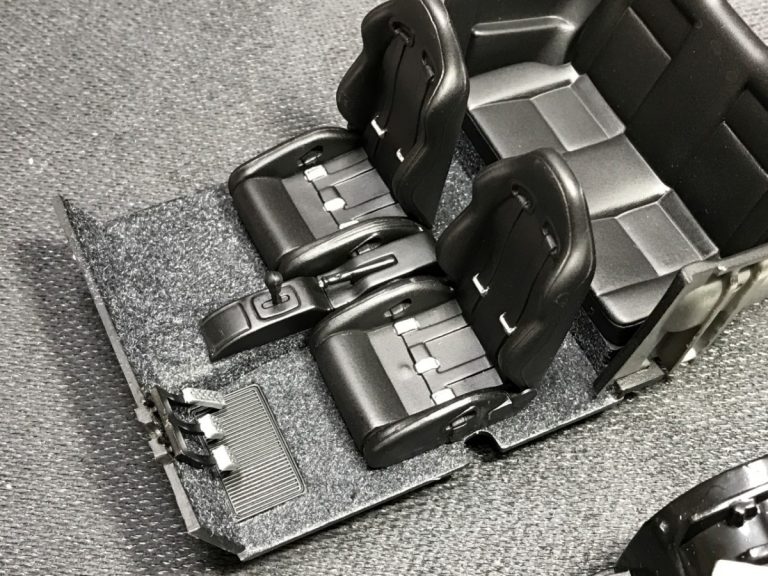
Fast forward about six years I had renewed interest in this project after having completed two other projects with a bottle of railroad red oxide paint. I tried prepping the existing paint but decided that I needed to start from scratch. Once I stripped the paint, and realized how much work would be required to repair the body work, the project stalled once more. During this time, I did paint all of the interior pieces.
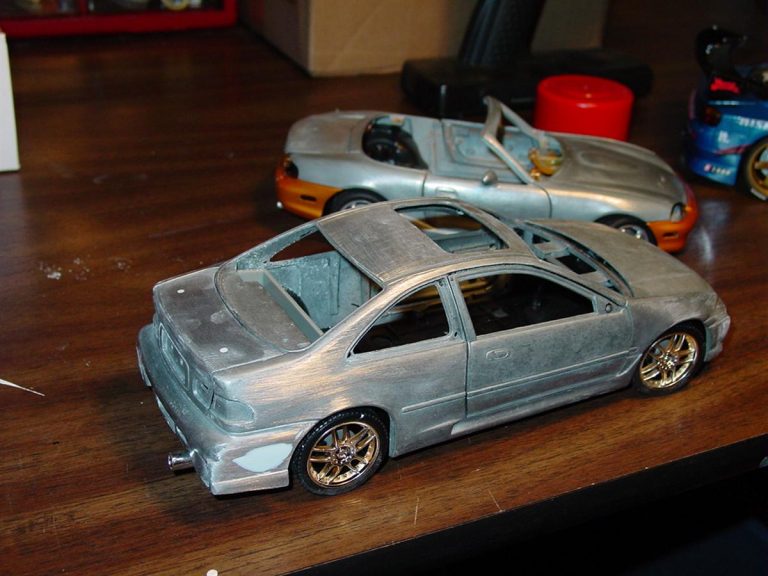
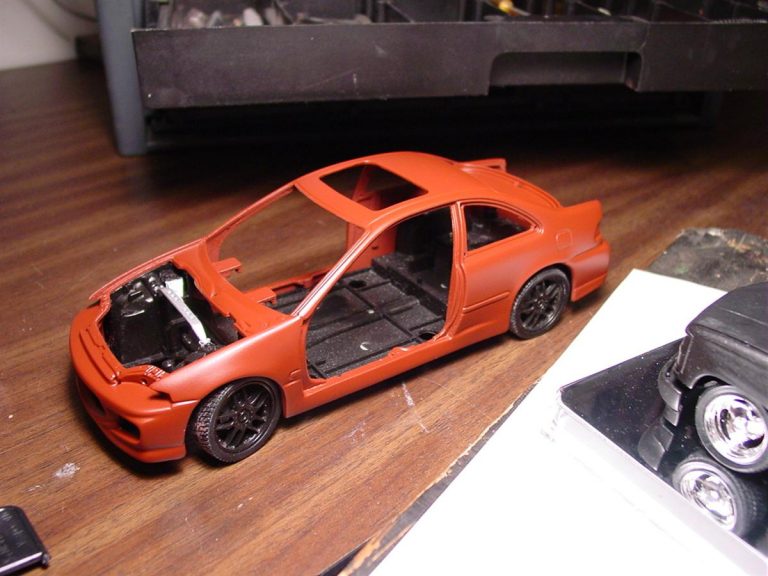
Over the next three years, I continued my reluctance to move forward with this project. Eventually, I realized that my successes with spray can paint in recent years would make this project much easier to complete. I abandoned the red oxide primer theme and returned to the original idea of painting it red.
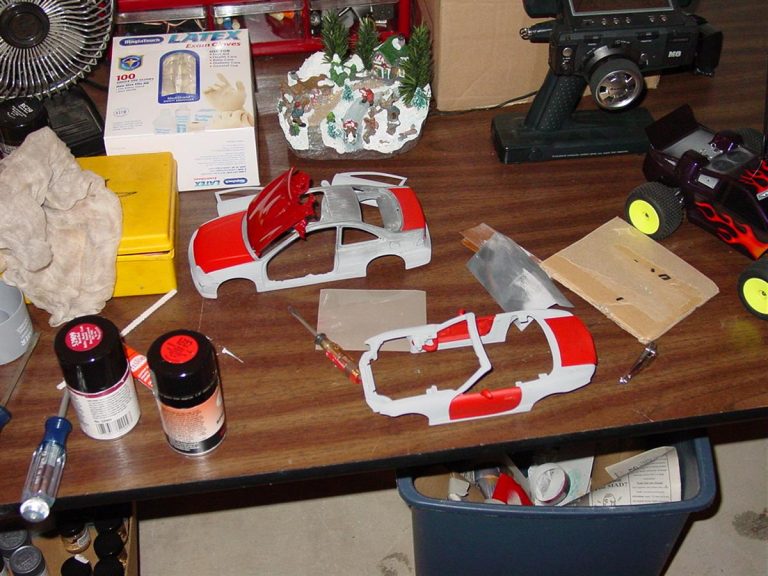
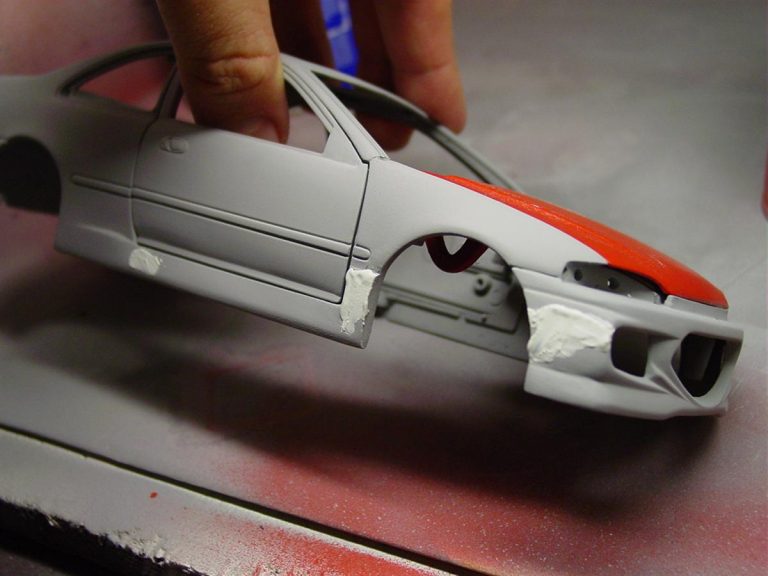
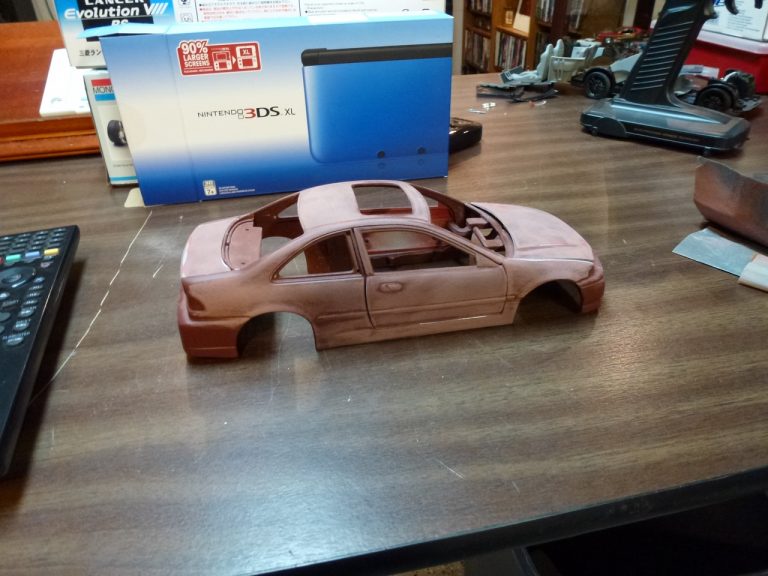
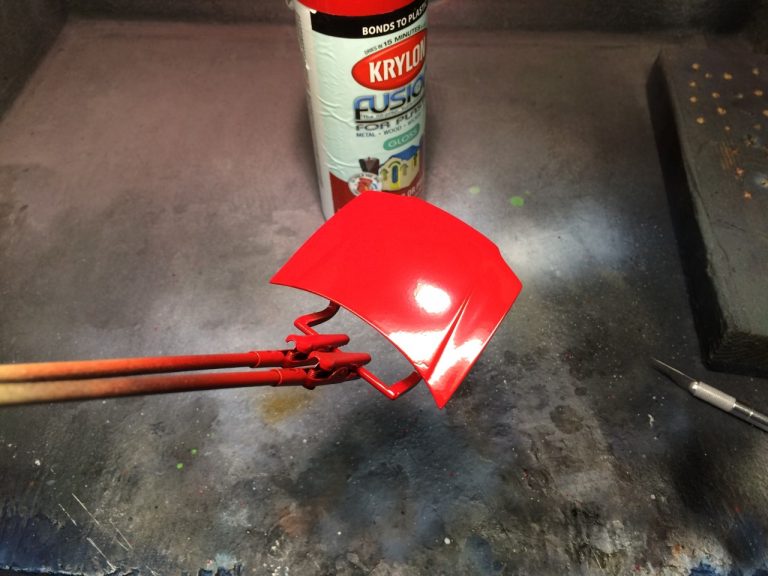
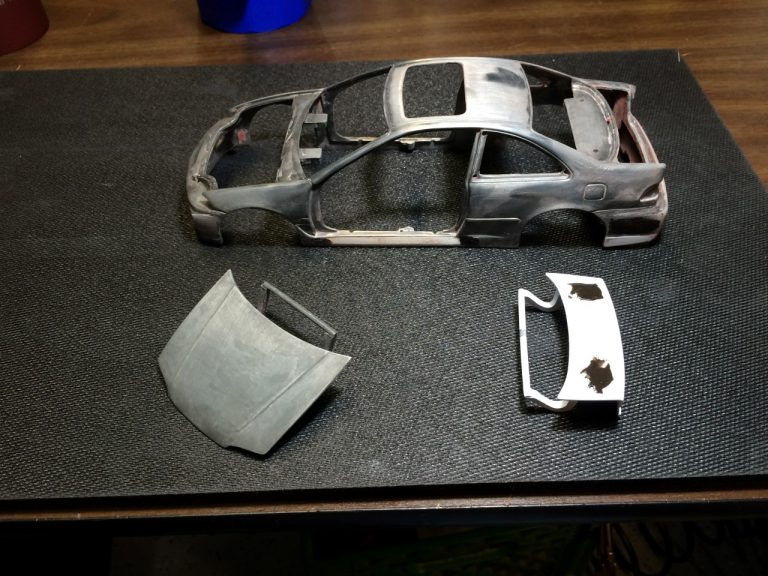
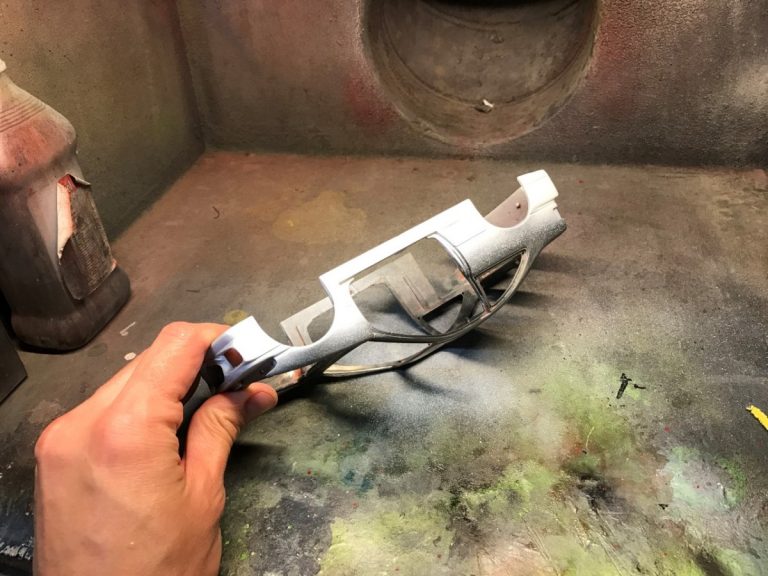
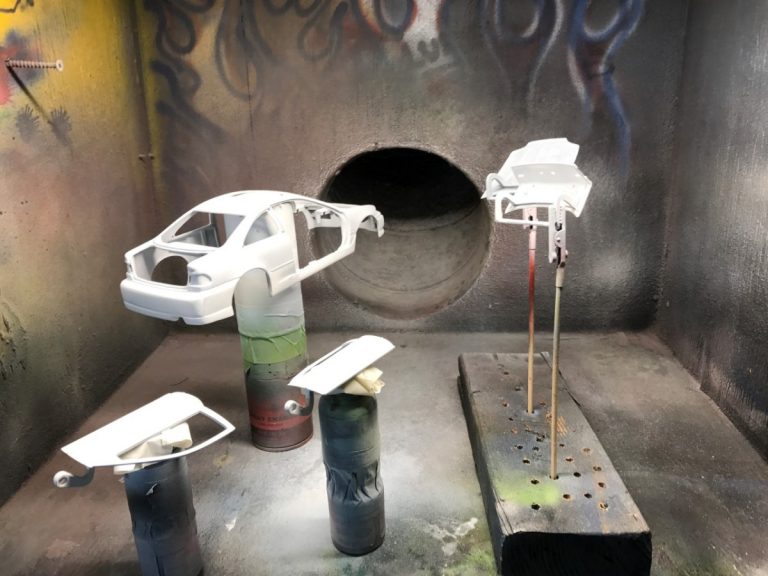
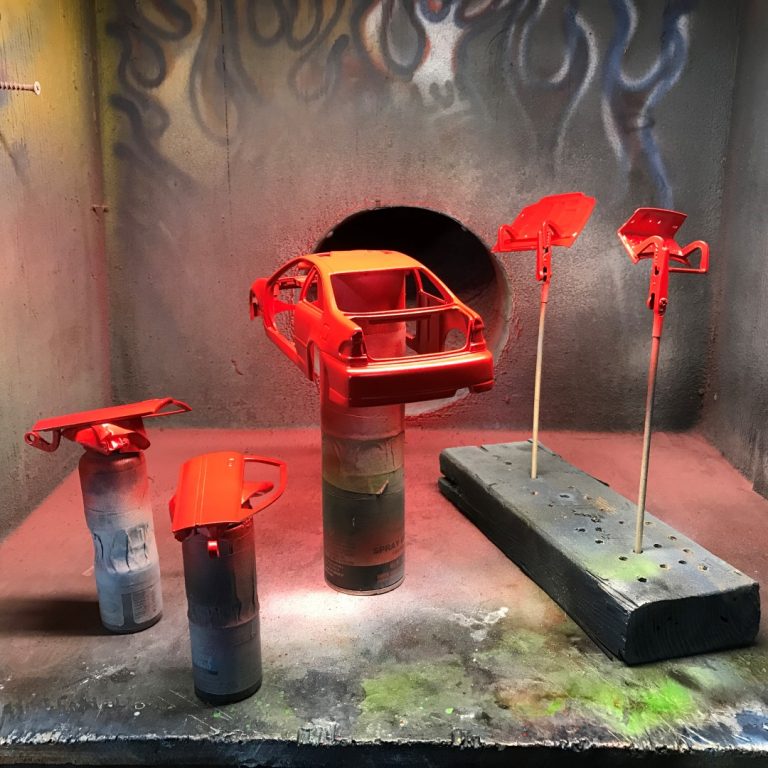
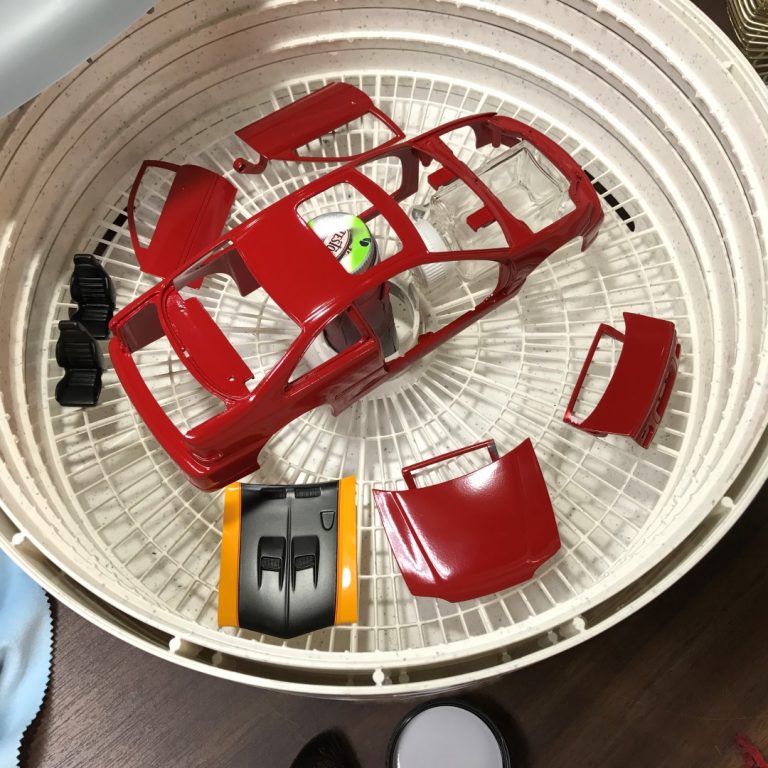
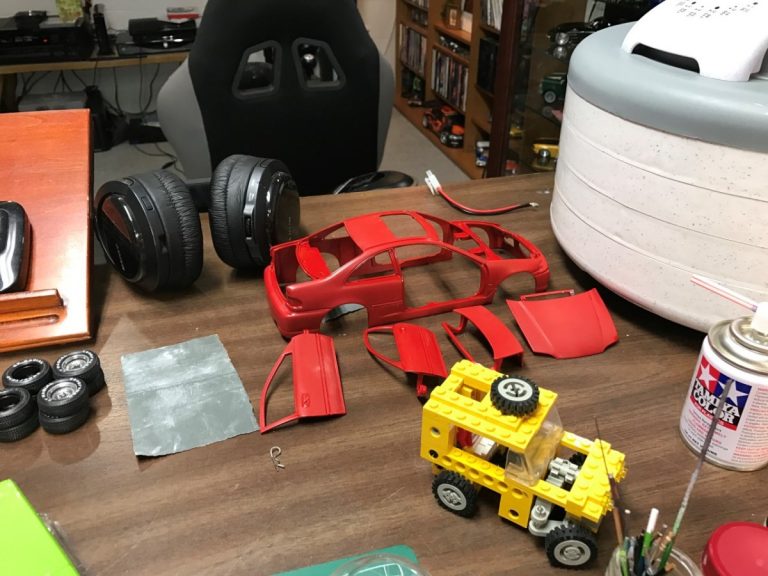
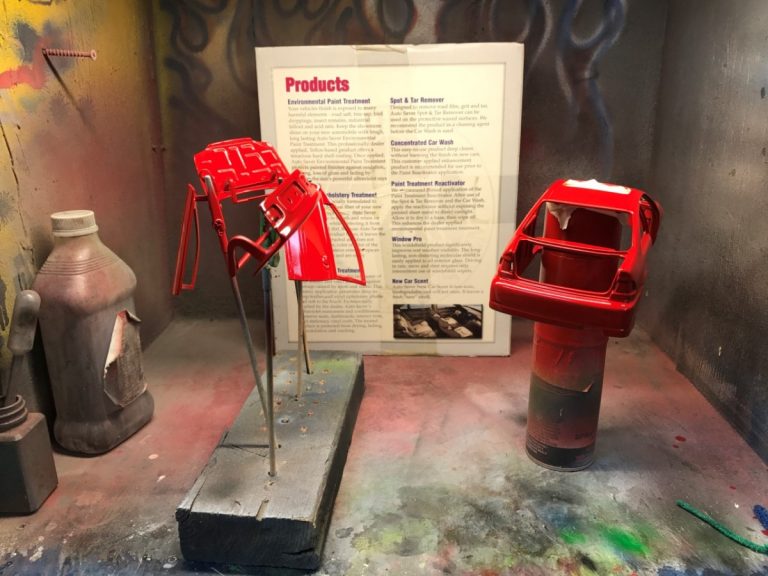
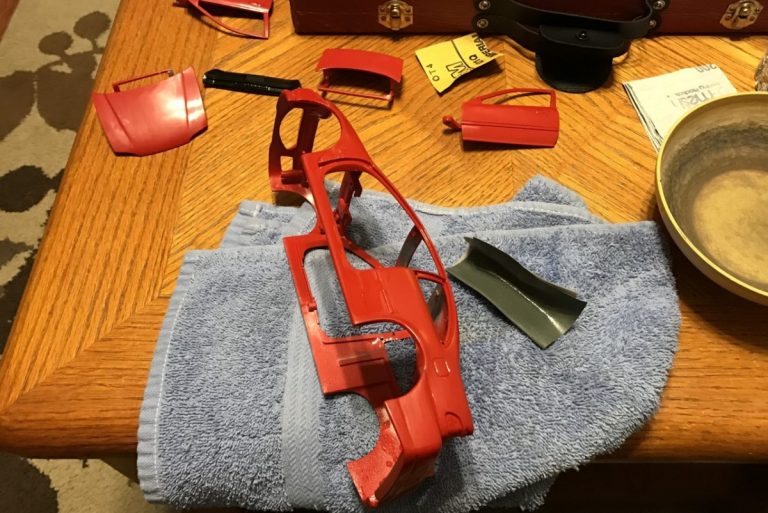
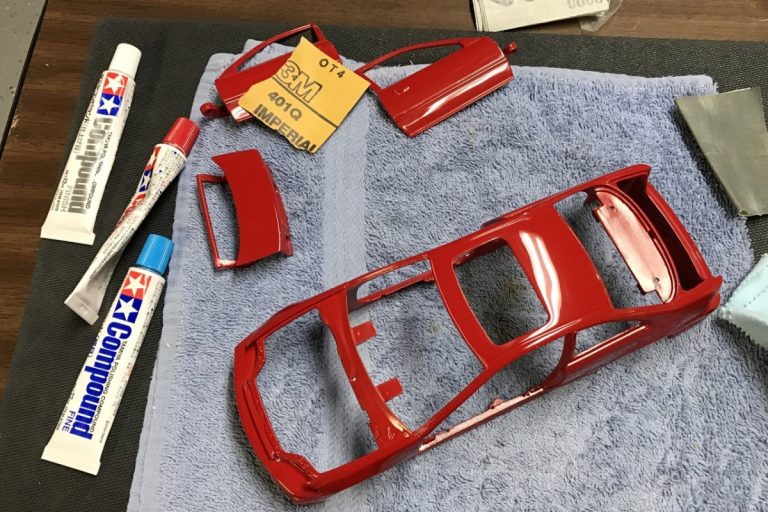
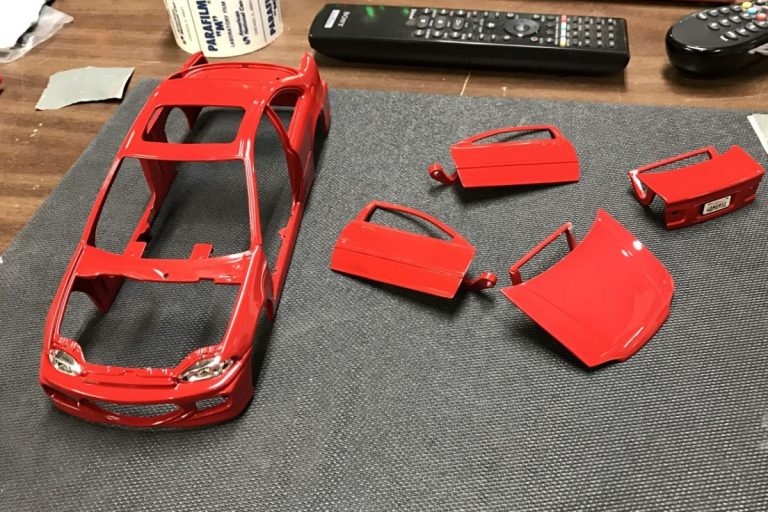
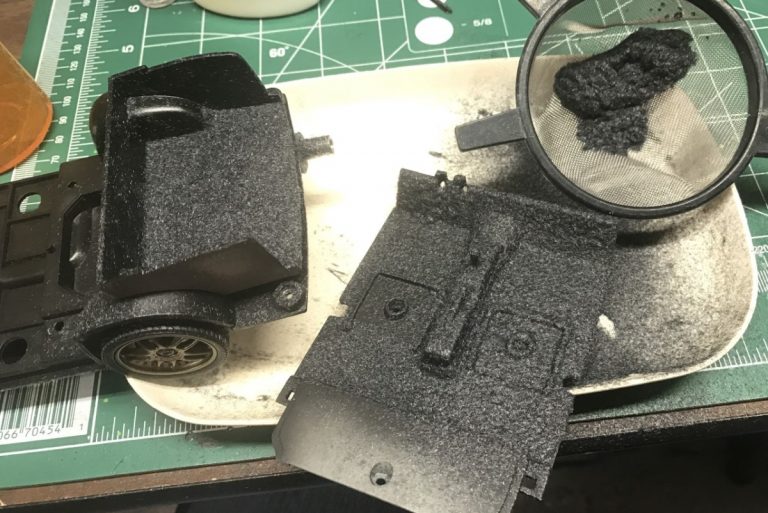
I started by experimenting with Krylon paint and found that I would need to clear coat the paint if I wanted a high gloss finish. I quickly repaired the body work and sprayed primer. After several coats of paint, I set all of the pieces in my dehydrator to cure. Interestingly, I had an issue where pin holes appeared in several areas as if gas bubbles had worked their way through the curing paint. I decided to aggressive sand the paint and was rewarded with a smooth finish. I cleared the paint with Testors lacquer clear, decanted and sprayed through an airbrush. Similar blemishes appeared in the clear but were easily sanded and polished away.
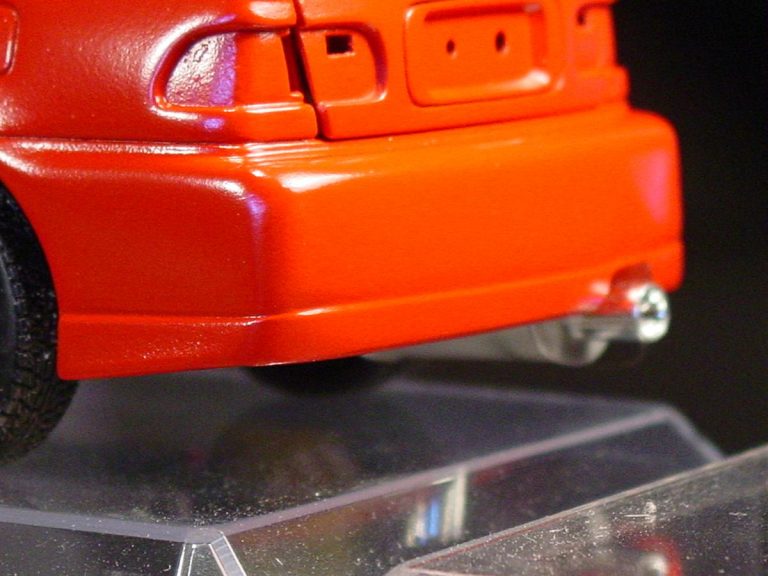
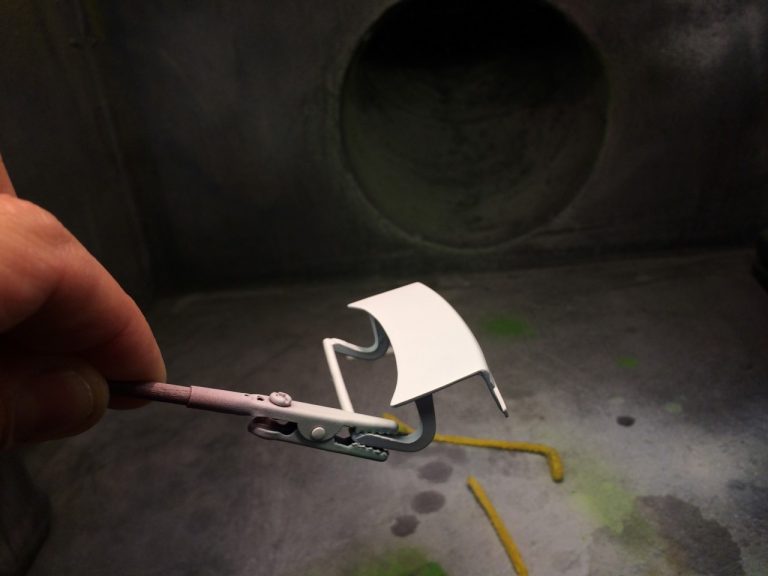
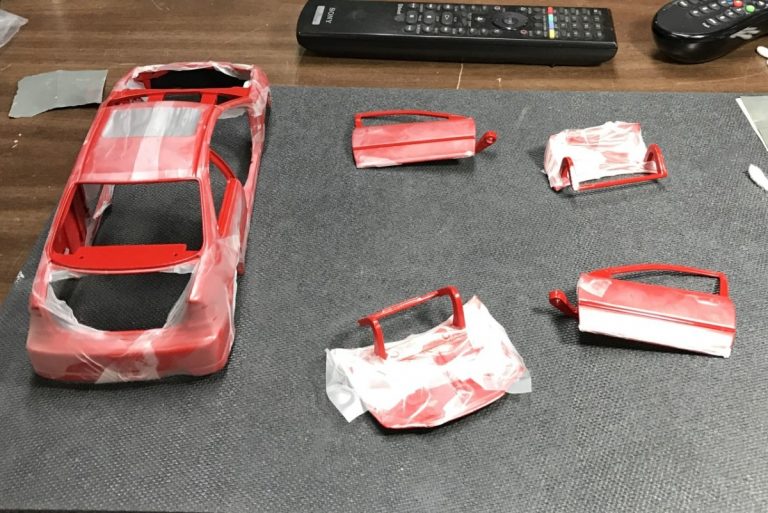
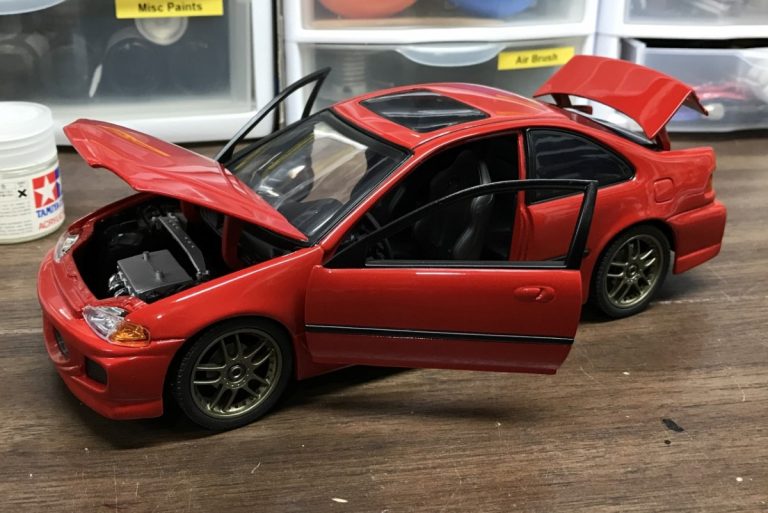
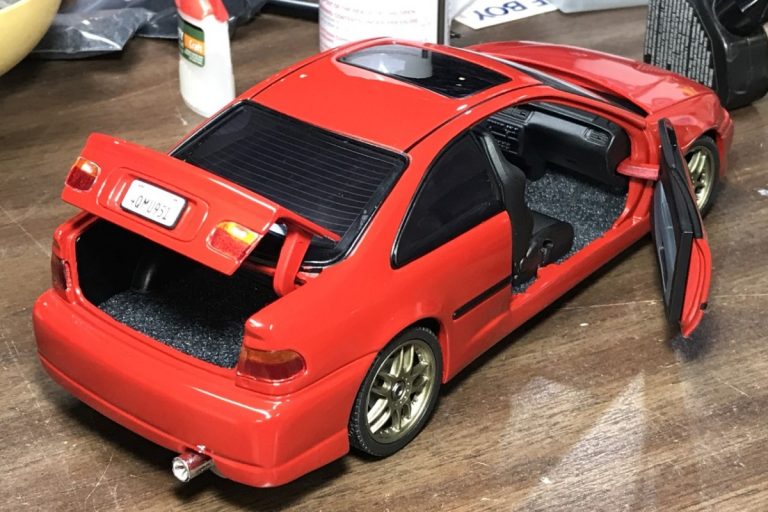
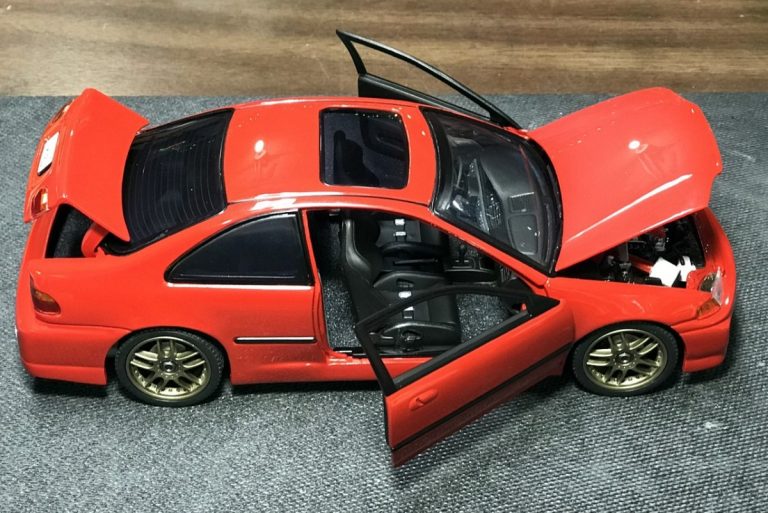
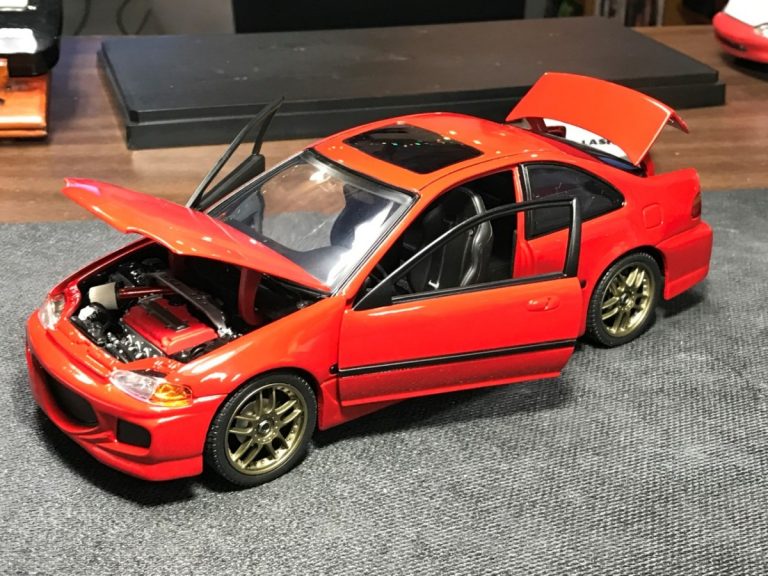
Now that the body was painted and polished, I masked and sprayed all of the body detail.
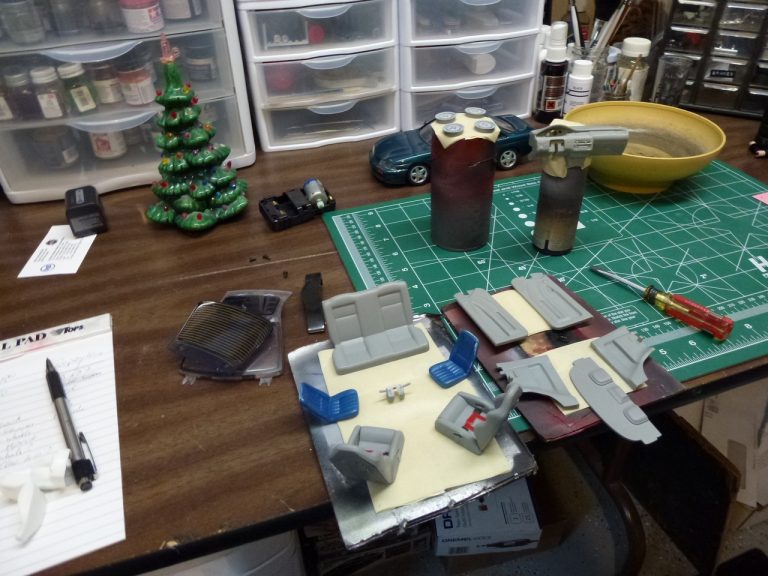
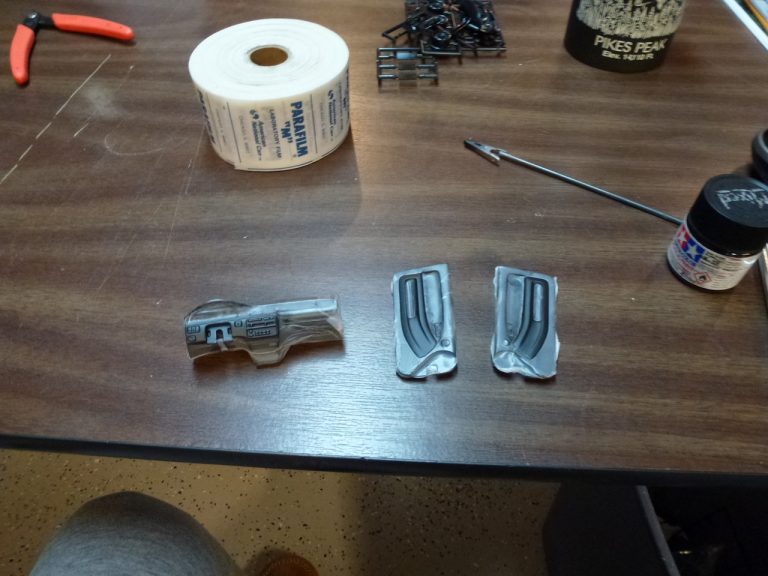
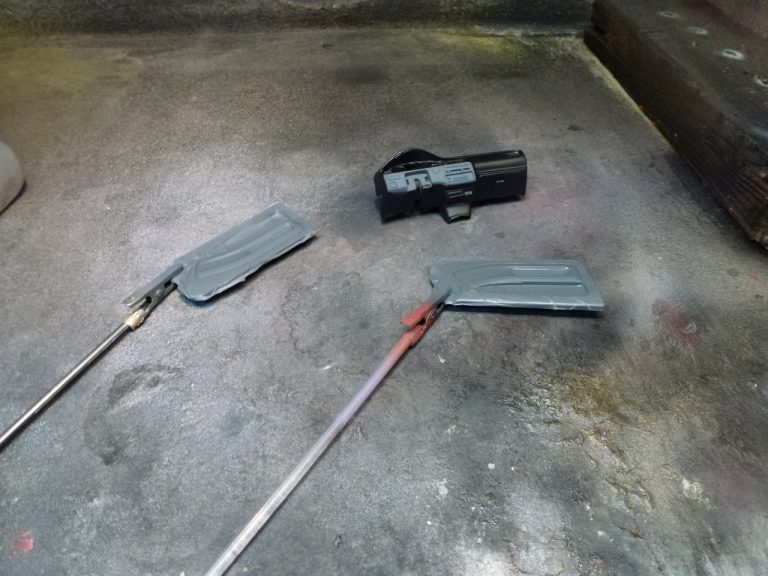
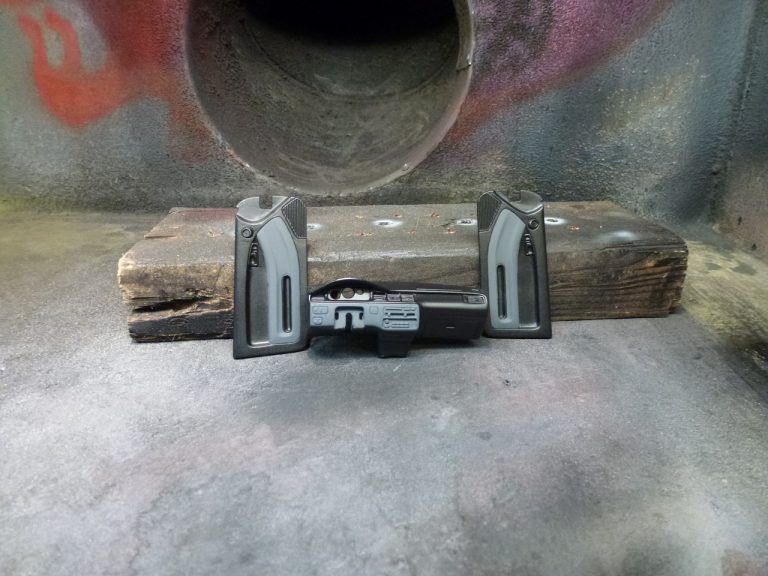
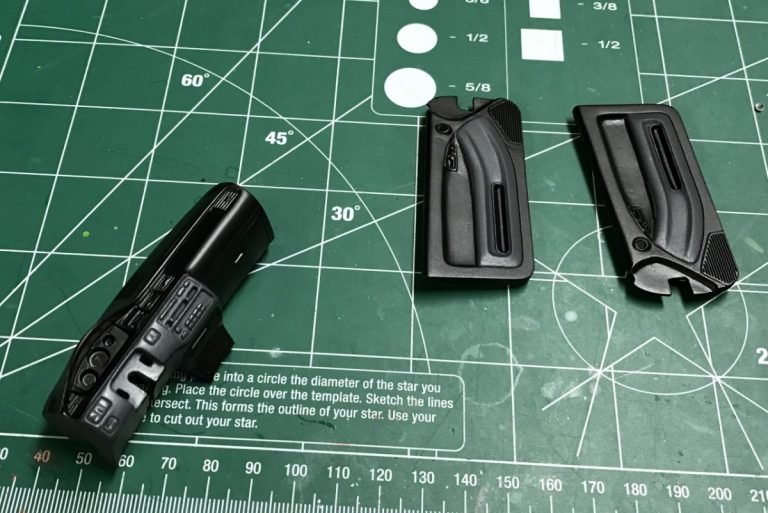
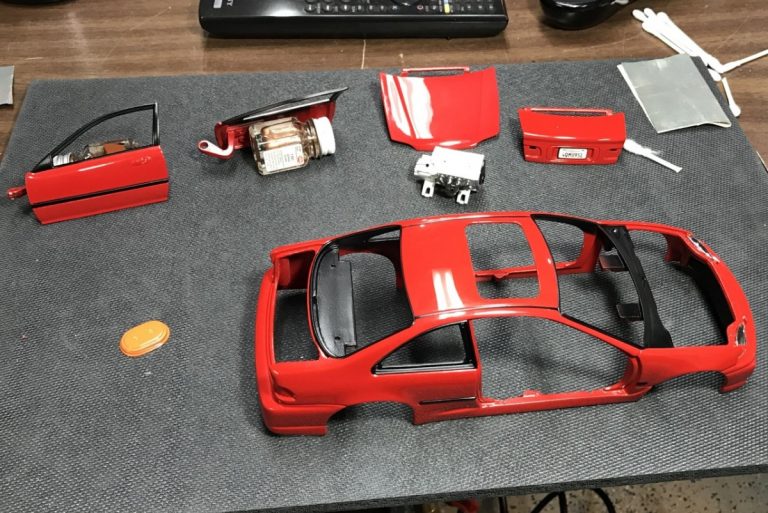
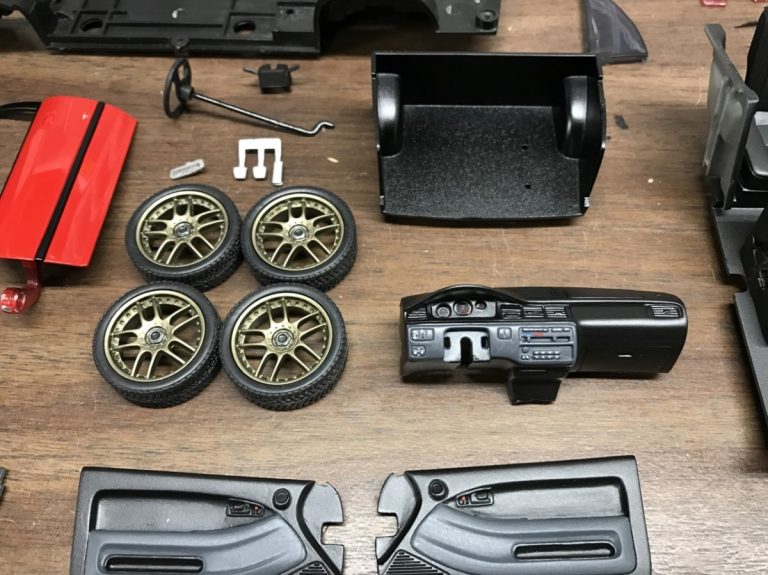
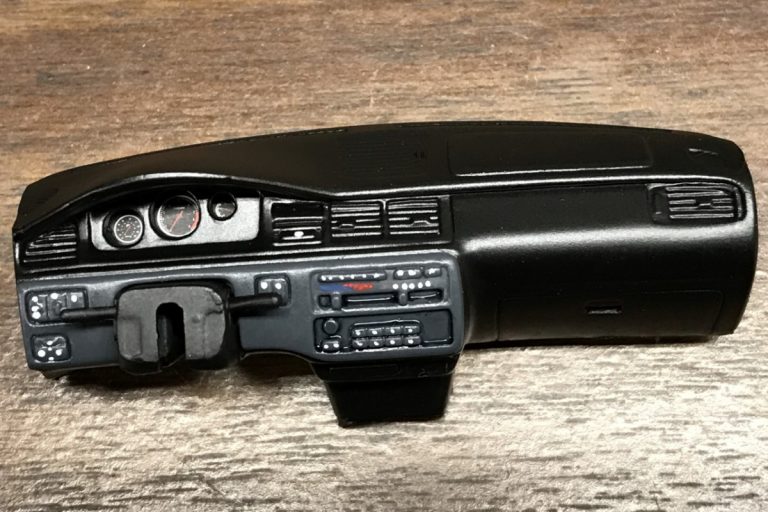
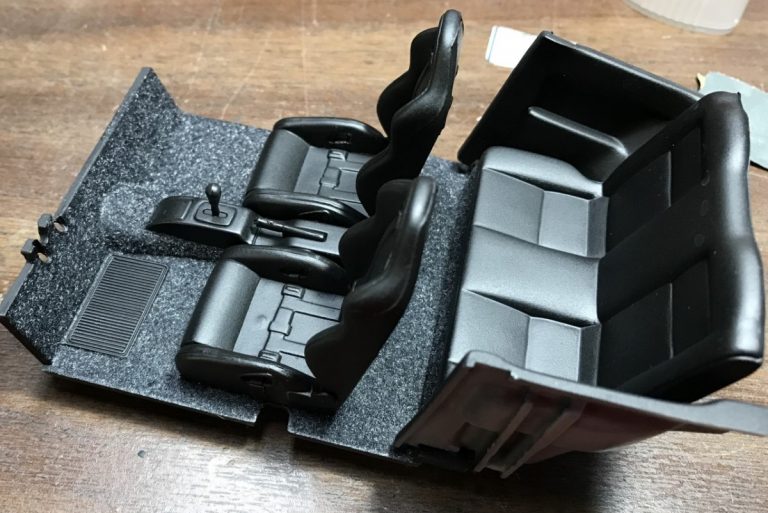
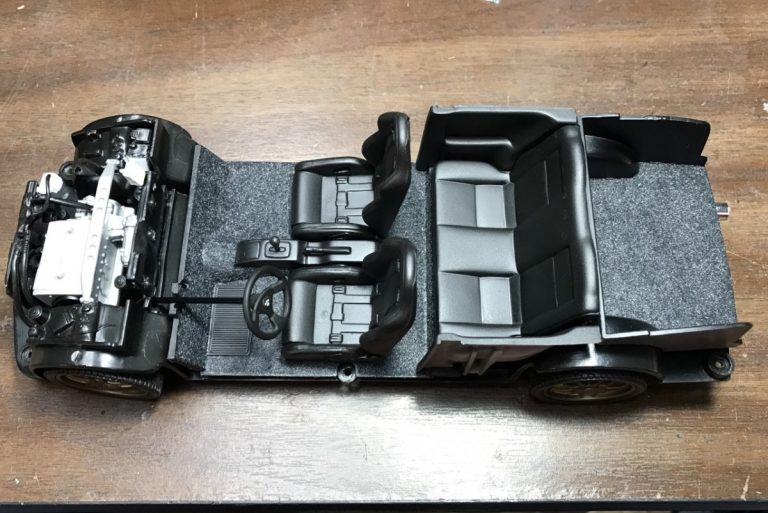
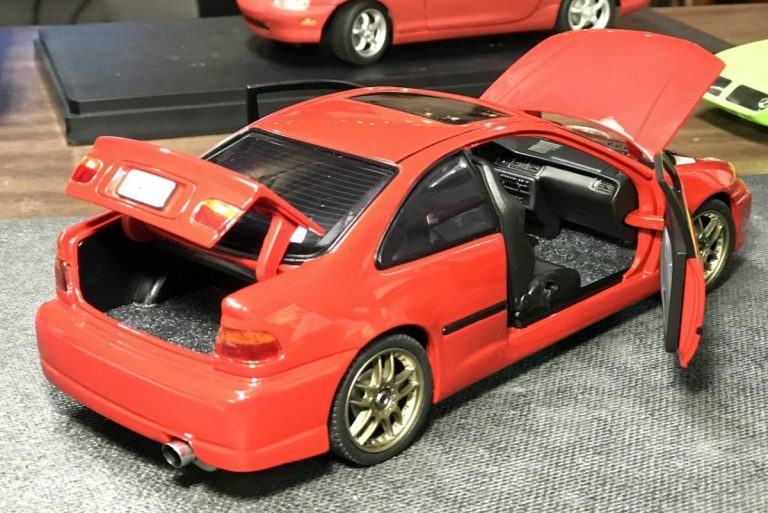
I wanted to add more detail to the interior work I completed years ago. I sealed the dashboard and door panels with satin clear and used a fine brush to add button details as necessary. I also added flocking material to the interior and trunk.
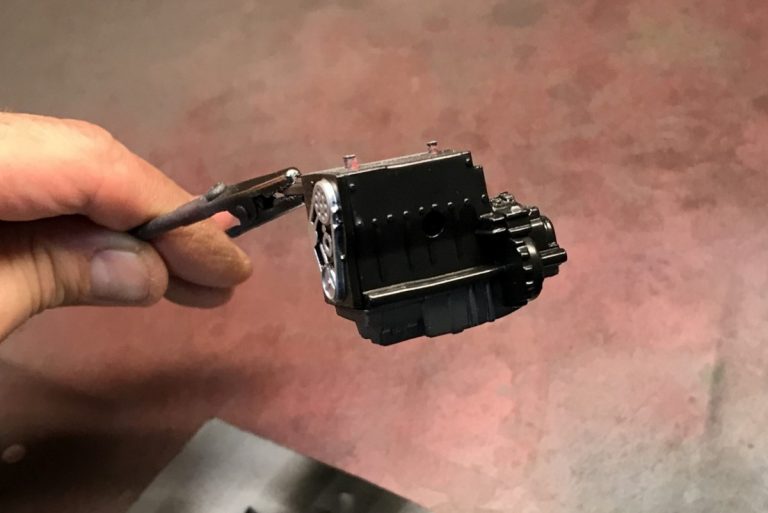
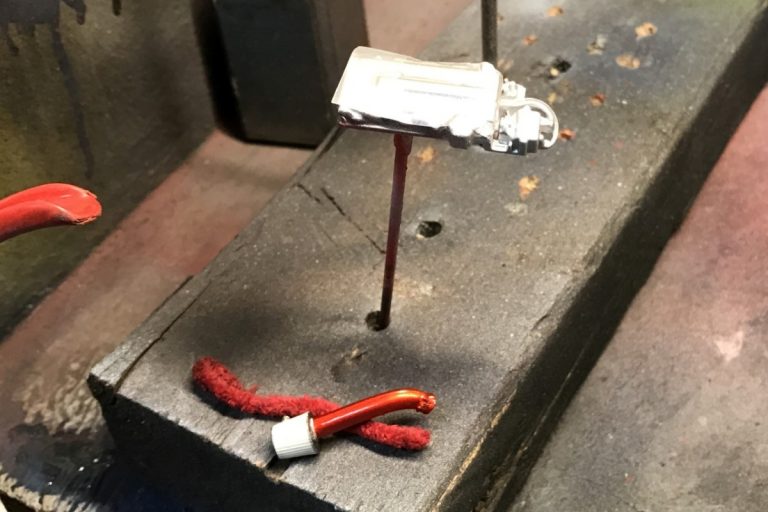
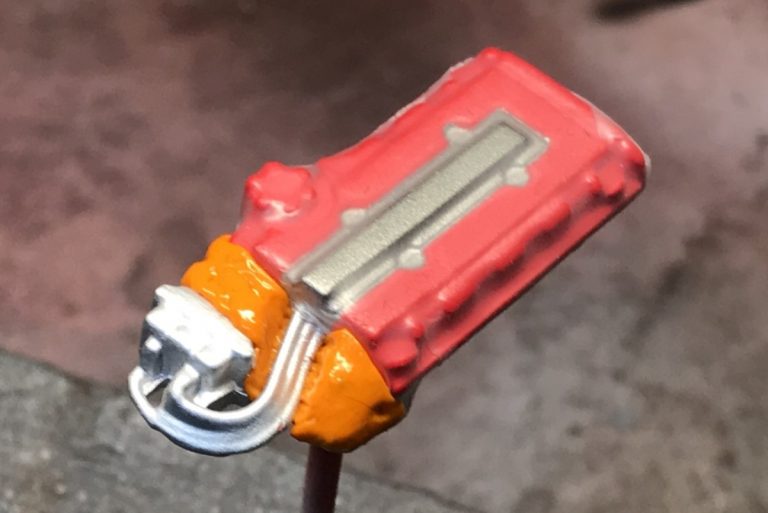
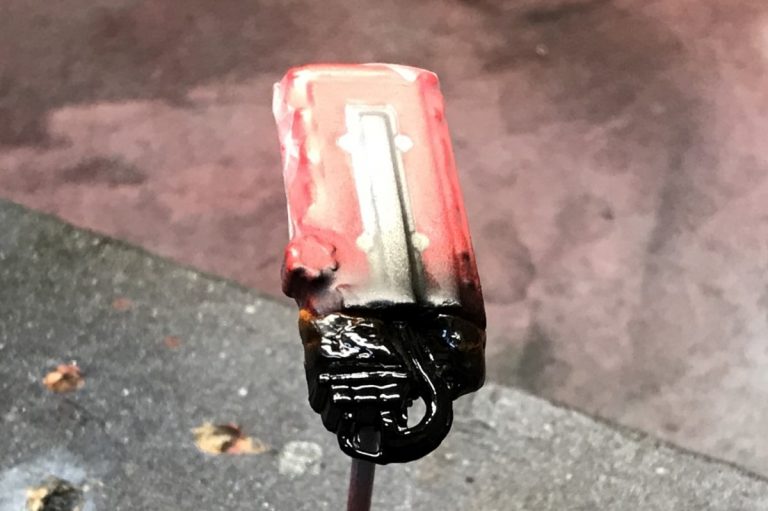
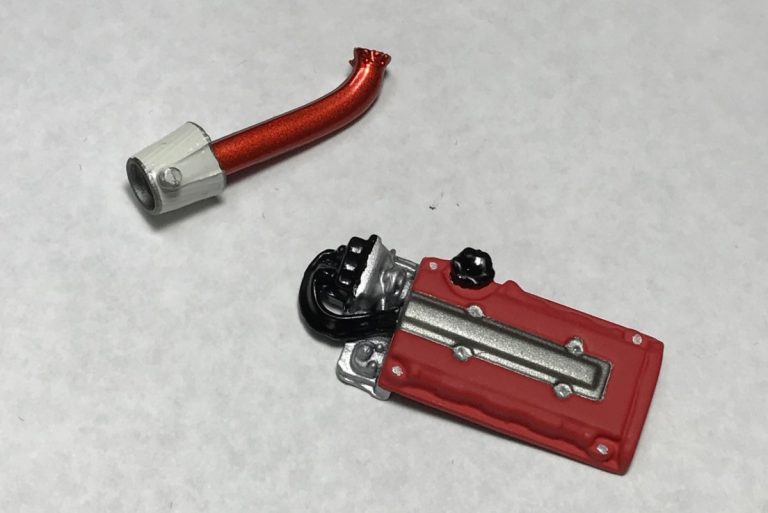
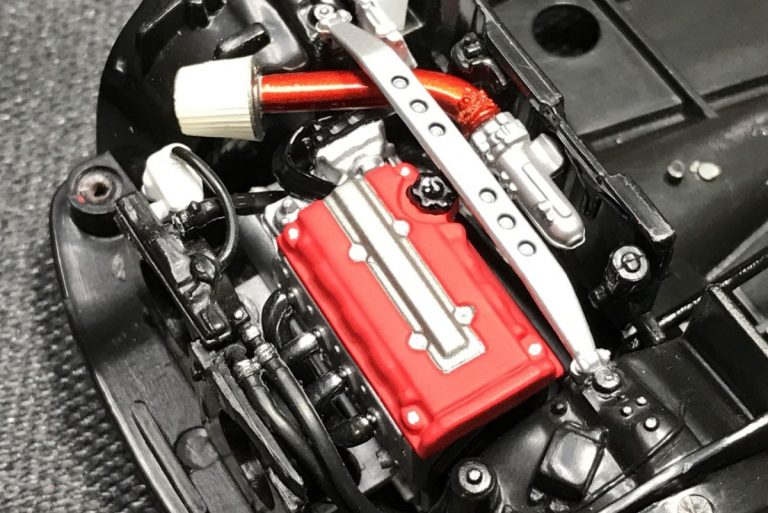
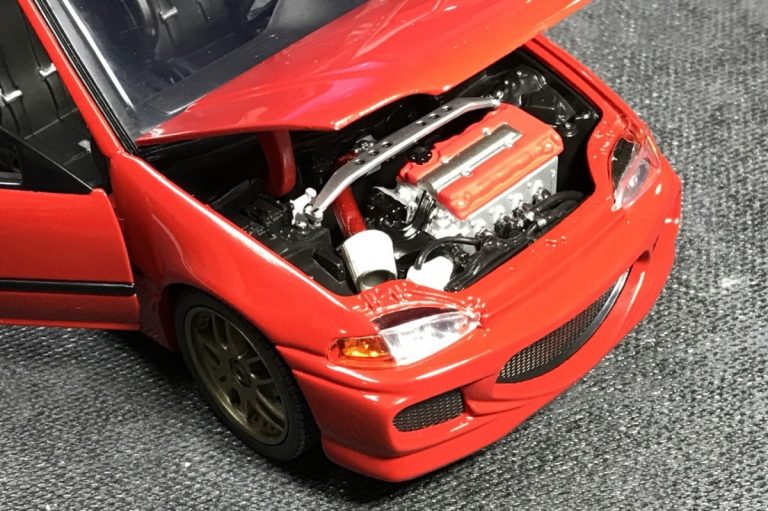
The engine was pulled apart and detail painted. Other than the valve cover, most of the engine detail is poor compared to the 1:1. I used Alcald chrome for the headers. I detailed the valve cover and used clear red over silver to paint the intake tube.
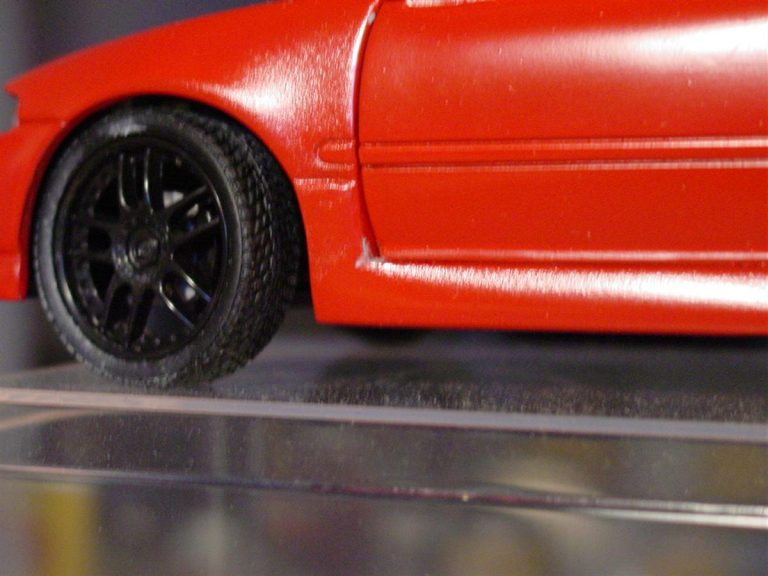
The wheels were painted bronze and the center lugs were hand painted.
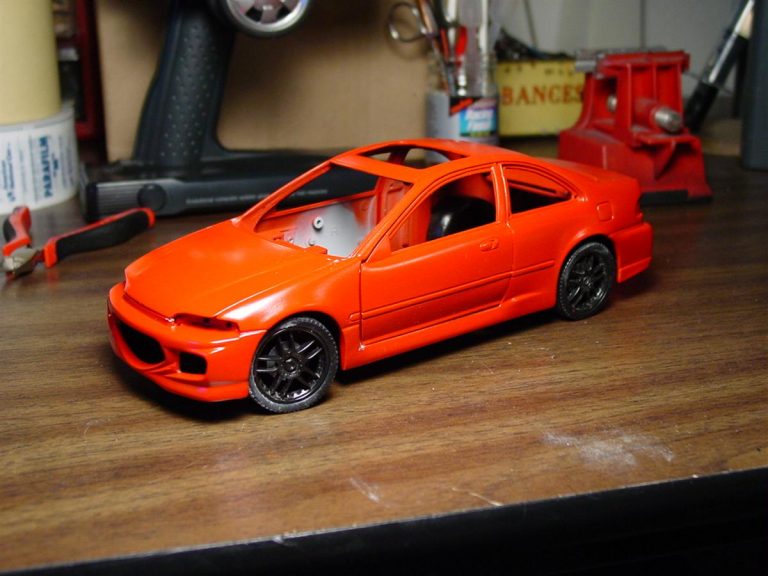
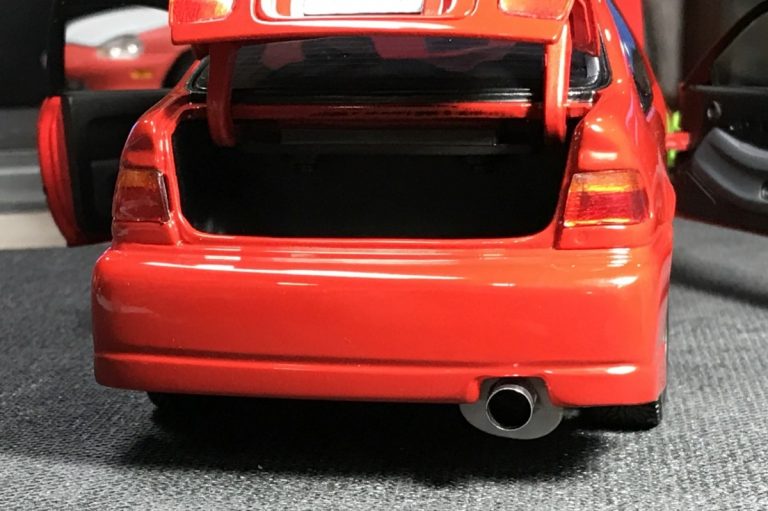
Once all of the pieces were ready, I started assembly. I did manage to chip the paint on the edge of the hood, while installing it, but corrected it easily with touch up. Assembly went quickly and with minimal issues. One final step was adding an aluminum tube to replace the existing exhaust tip.
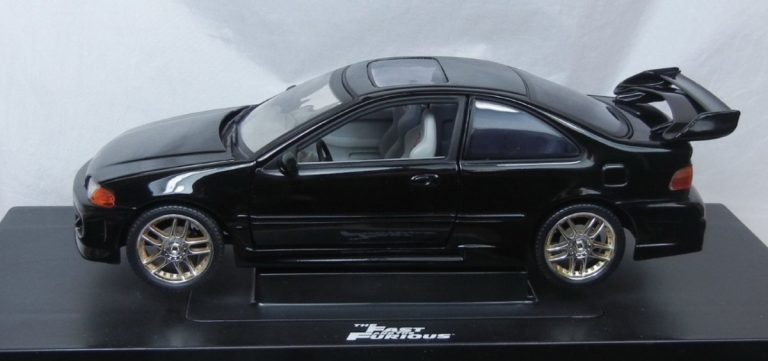
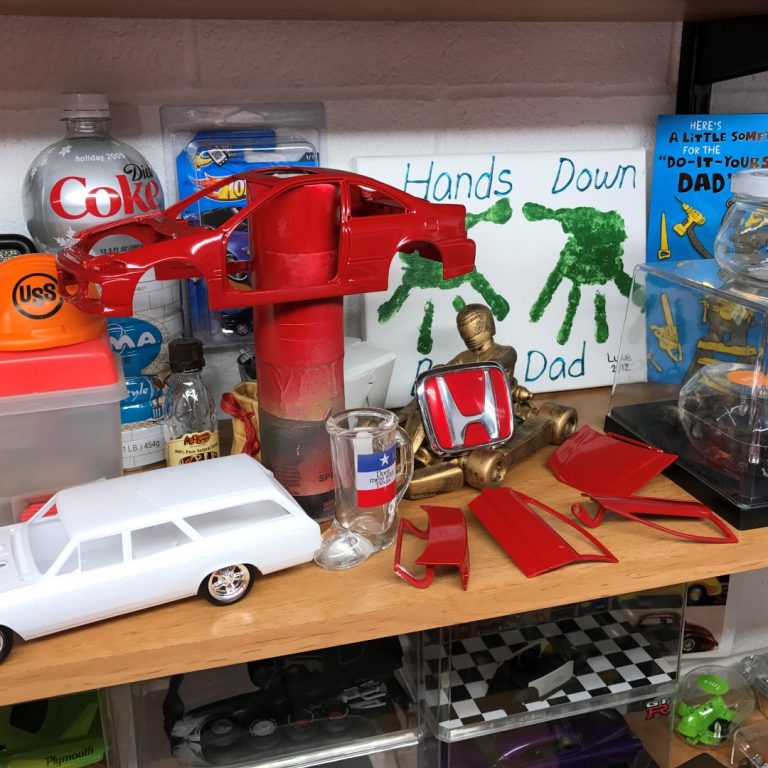
Started in 2005 and finished in 2016…I honestly never though I would finish this project. The skills I learned over the years gave me the tools I needed to finish this project and far better than my original expectations. I do have to say that I’m surprised I still had all of the pieces! I stumbled upon a few parts in the box of another abandoned die-cast project. In the end, I’m very pleased with this project!
Completed: December 2016