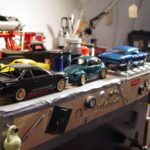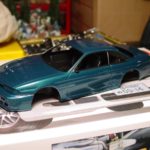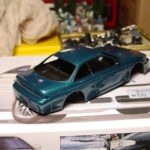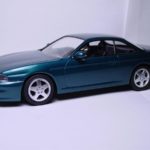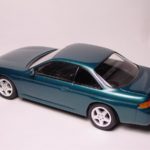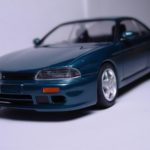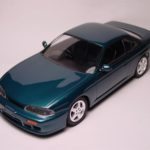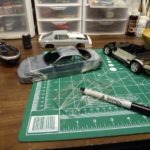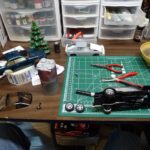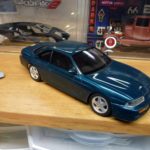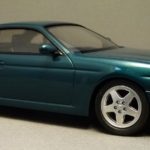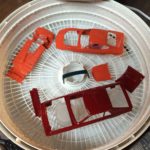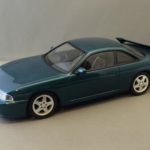
This was an unfortunate kit. I don’t think it was ever sold in the US and once I found out it existed, it took me a year or so to track one down. I saw the kit in a catalog that came with another Fujimi kit. I made contact with a guy selling models in Hong Kong, through eBay, who had the kit I was looking for. I ended up buying both the S14 and the S14a versions.
On to the kit. Once I got it and looked it over, I saw that it was a very poorly made kit. The details were all very wrong. The clear parts were not accurate. The seam along the side of the car was not the right shape, the headlights were actually taller than they should have been…etc..etc…etc. The suspension was so out of whack that the kit looked ridiculous. I ended up using a lighter to heat up the suspension and moved everything into place to where it looked reasonable. I had to finish it given all of my efforts to find it.
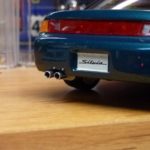
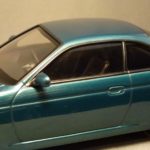
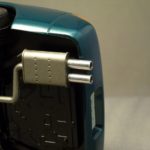
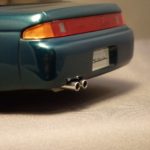
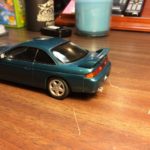
During 2012, while looking over this kit, I realized that I never put tail pipes on the muffler. I used aluminum tubing to correct the error. I also re-sprayed the window trim and painted the black edges of the window glass. As a final touch, I sprayed Tamiya smoke on the glass to tint the windows.
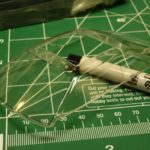
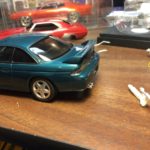
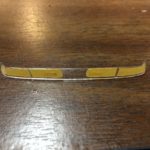
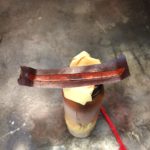
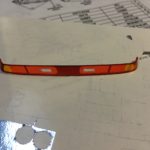
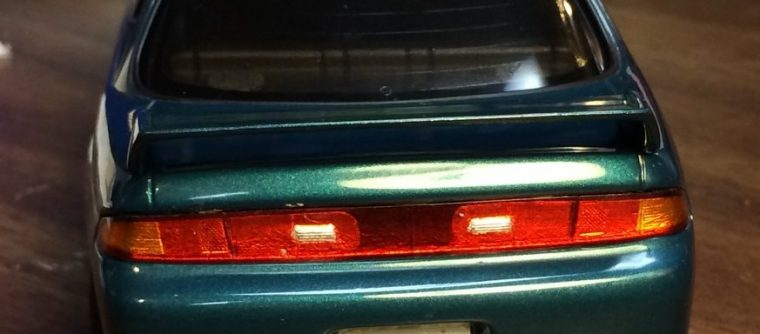
In 2014, I started toying with stripping paint and experimented on the rear tail lights on this kit. The results of the stripping project was a perfectly clean slate from which to give this kit another shot at looking better. I was able to use Tamiya tape, an xacto knife and free handed the tail light detail. Using pictures I had taken of my old 1:1 240SX I was able to cut the shapes of the lenses. I started by spraying the unlit areas of the lights Tamiya clear red then dusted black paint over it. Then I peeled the tape covered the areas that needed to be red. Once that was done I peeled the area for the turn signals and painted them orange. Lastly, I peeled the masking for the reverse lights. After the paint had a chance to dry, I back it with Bare Metal Foil. The results are a night and day difference from before.
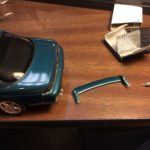
I also added the wing which I painted back in ’04/’05 and never threw out. I drilled the wing and body and used metal pins to hold it in place. I was able to solidly attach the wing without getting any glue on the body.
Every time I pull out this kit and tinker, I end up making it look better. One of these days I’ll get around to making the stance a little better. For now, I just starting loving it a little bit more.
Completed: October 2005

