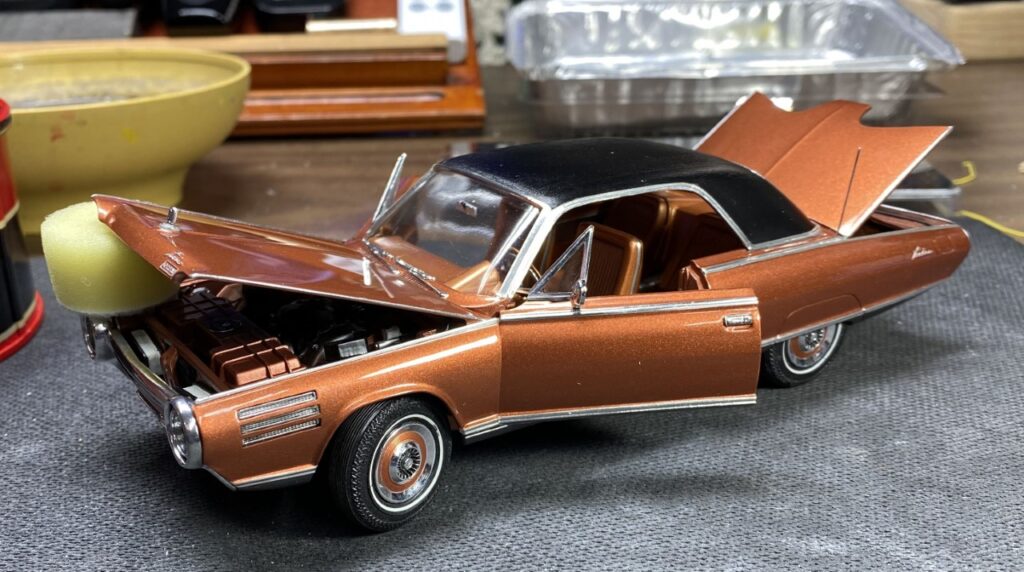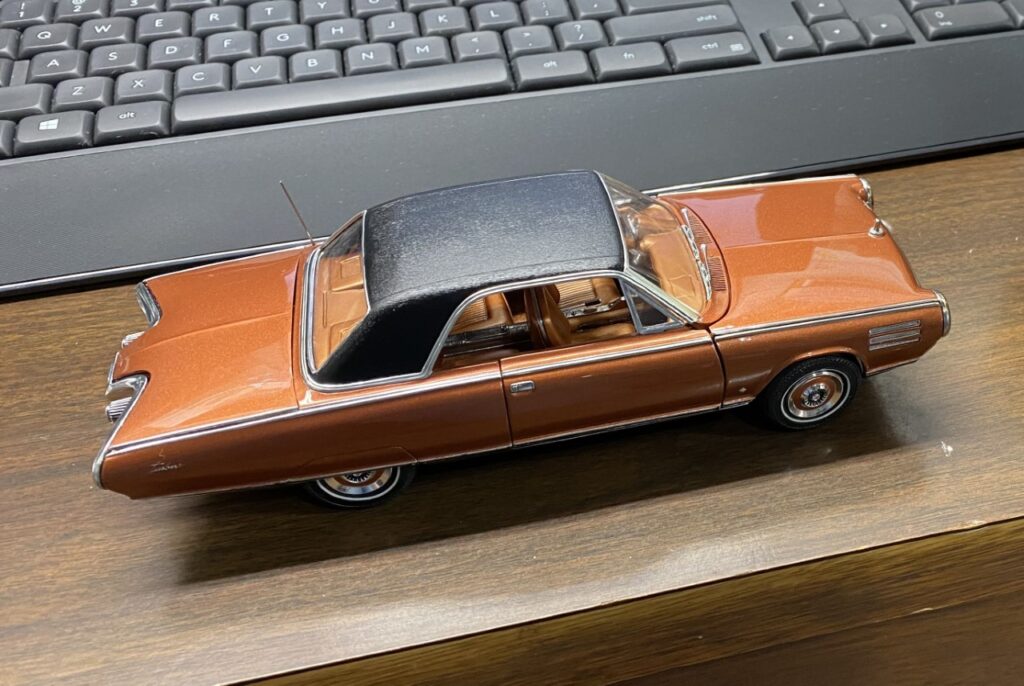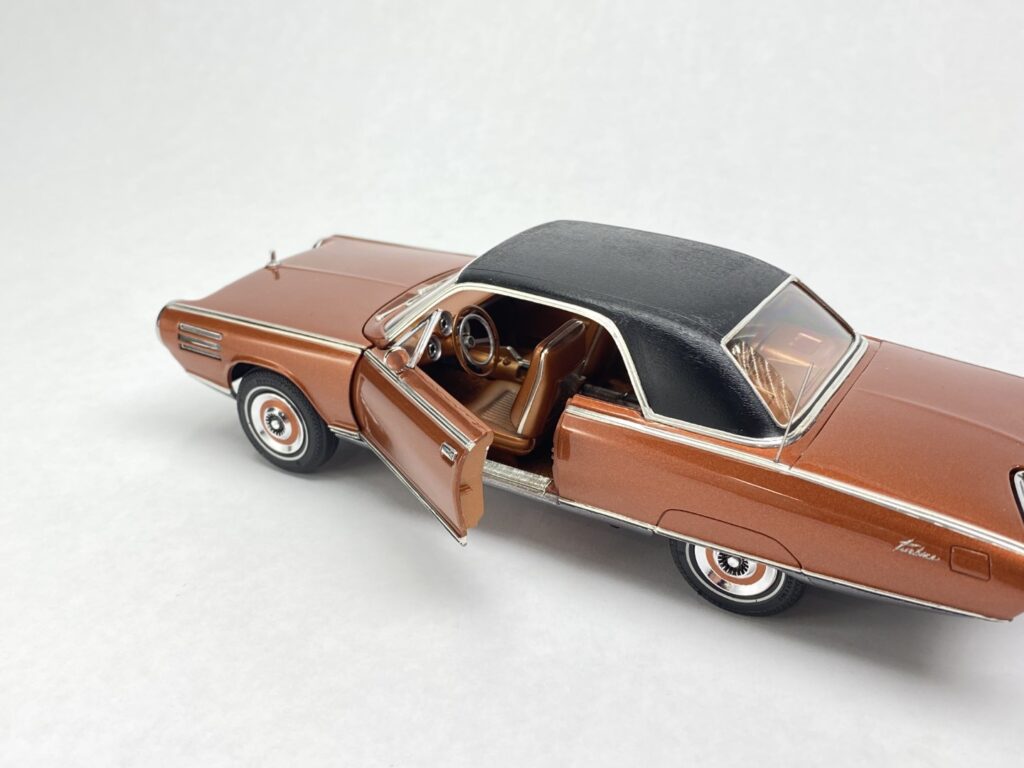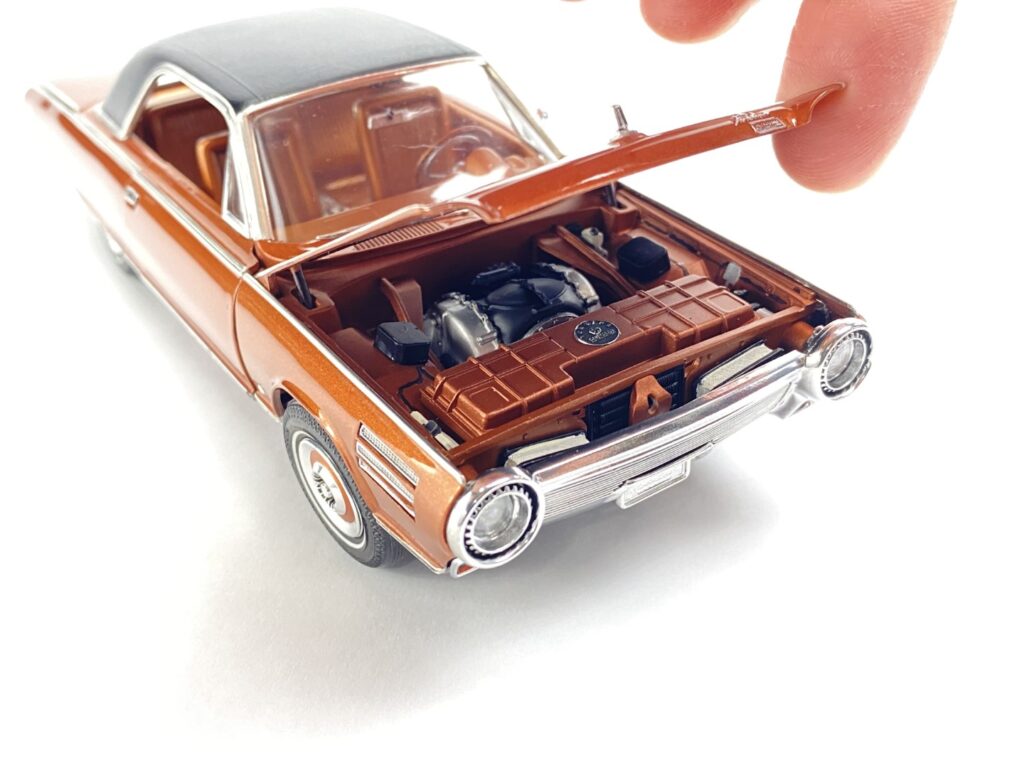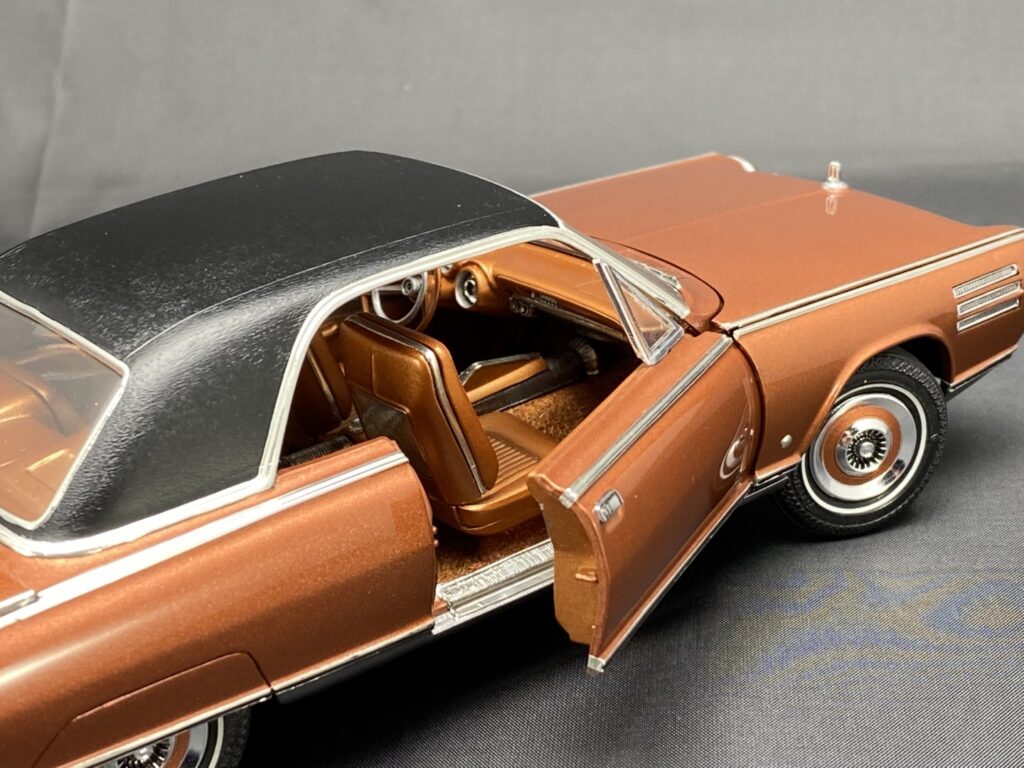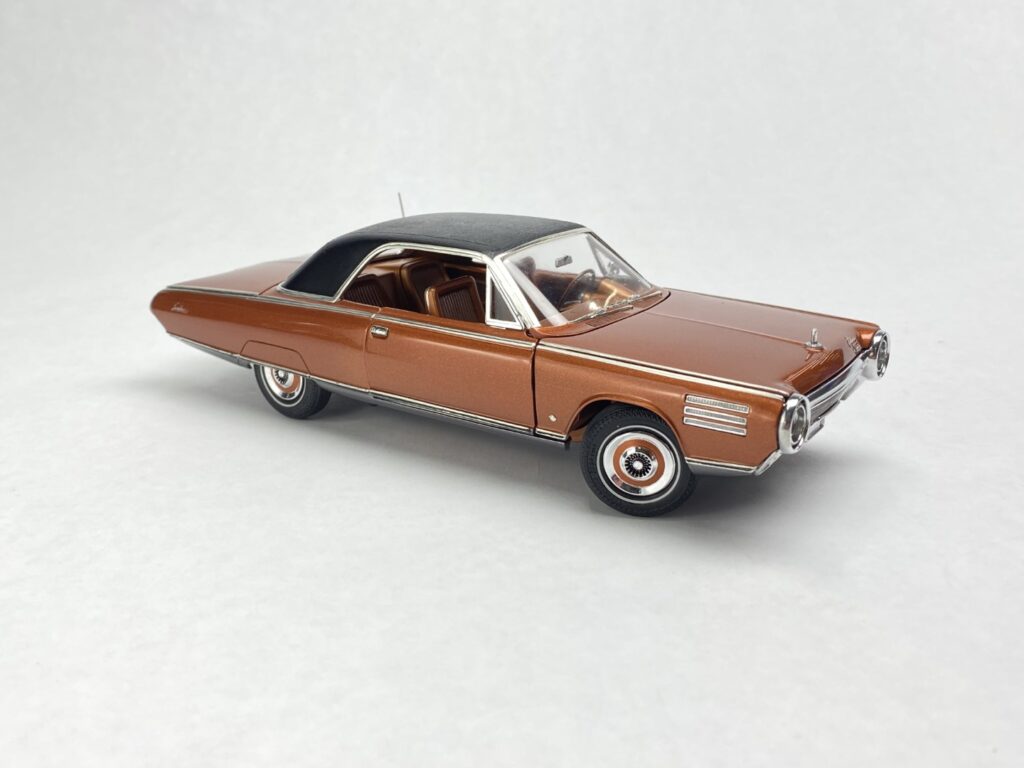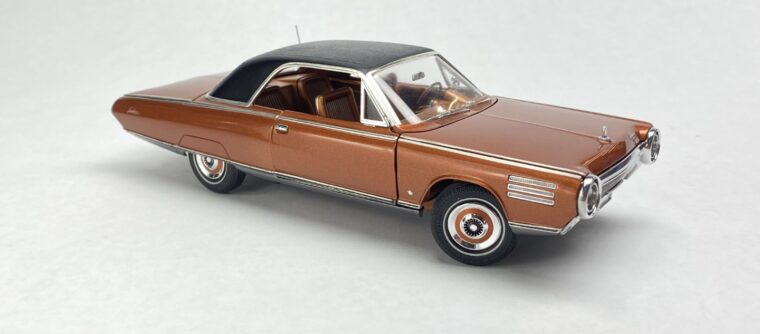
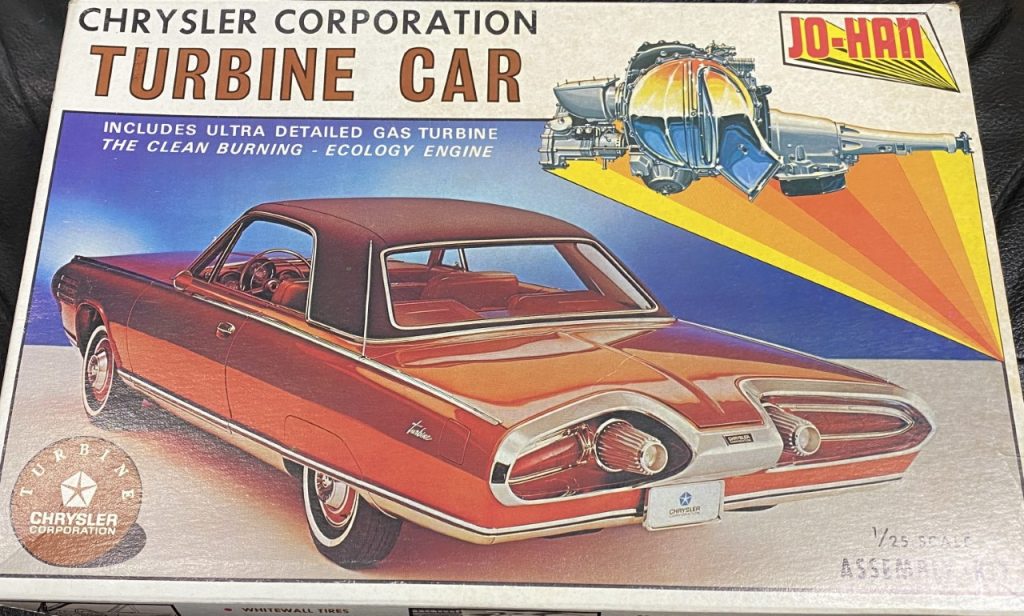
Jo-Han kits are rare and command a high price on Ebay. I have no interest in spending hundreds of dollars on a single kit. However, I wanted to build at least one. Fortunately, the Turbine Car by Jo-Han seemed to be easily accessible from a cost standpoint. Later issues of the kit, which were plagued with terrible flashing, are reasonably priced.
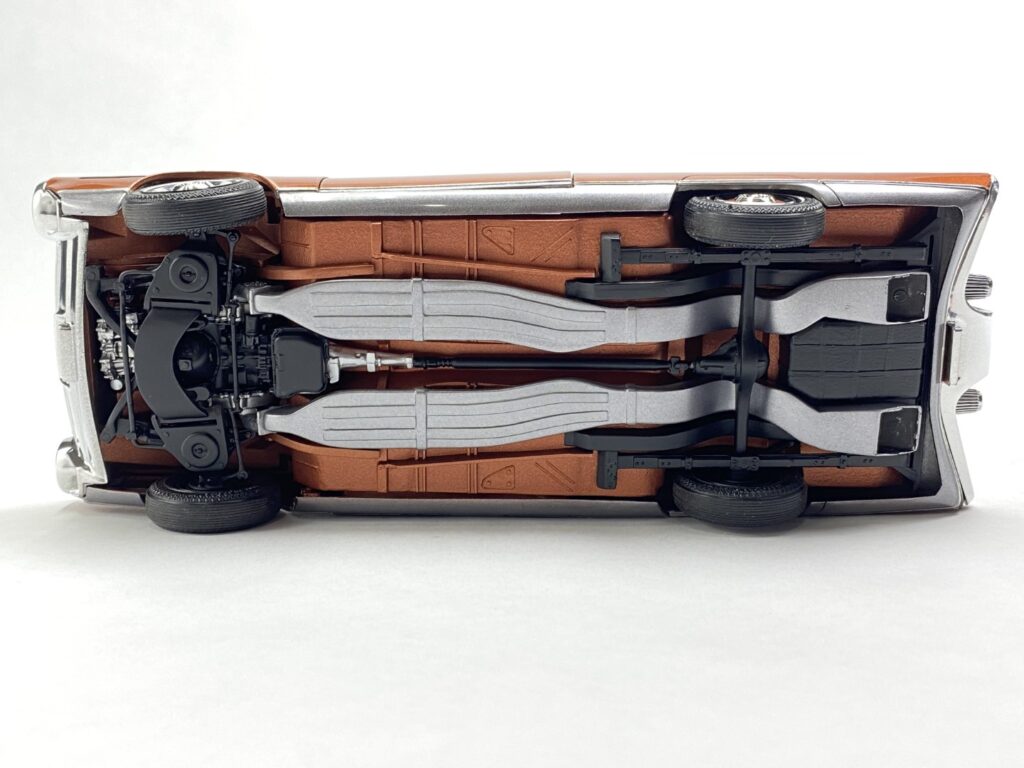
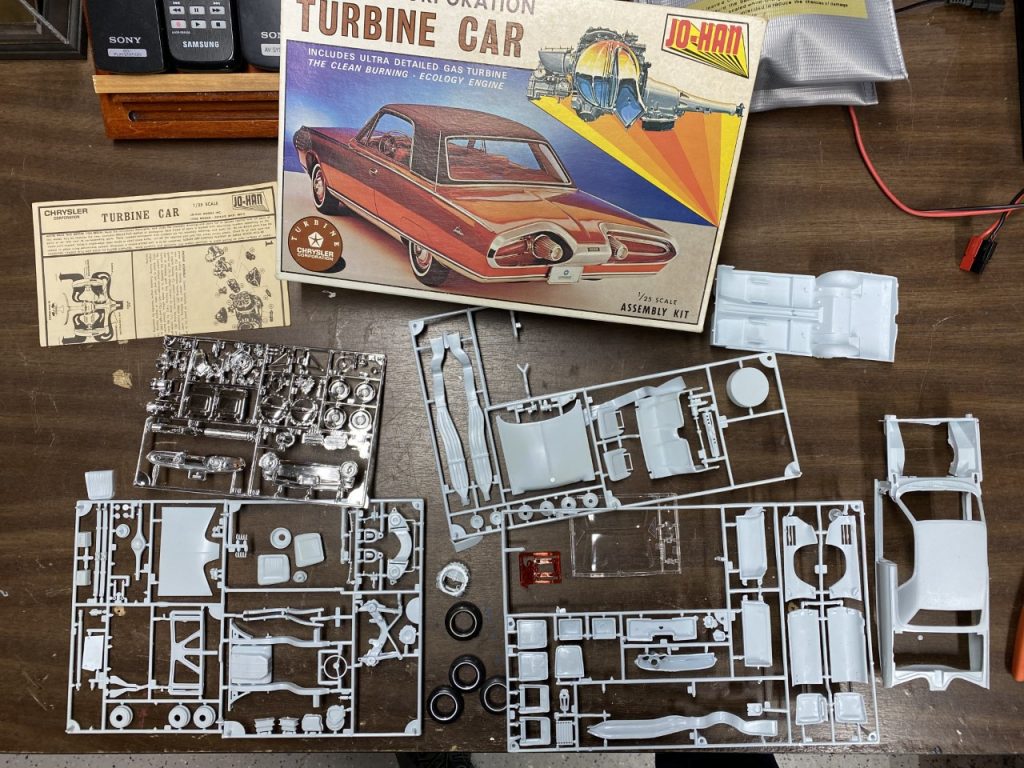
Looking over the kit, I was blown away by the volume of parts to accomplish the simplest of components. The body is comprised of the main shell, separate doors, trunk and hood, along with the bumpers. The interior, by far, has an absurd parts count. What I did notice is that the car is assembled in a fashion that would be similar to the rear car. Subframes and assemblies are separate and mount to the main unibody as they would in real life.
Body
Speaking of the body: My example had a very bad break by the front door. It really looked like it broke due to some odd stresses in the plastic. Additionally, I had to make a repair in the trunk area that was not complete due to a short-shot of plastic. After that, prep work was minimal. There are virtually no panel lines since every panel is a separate piece!
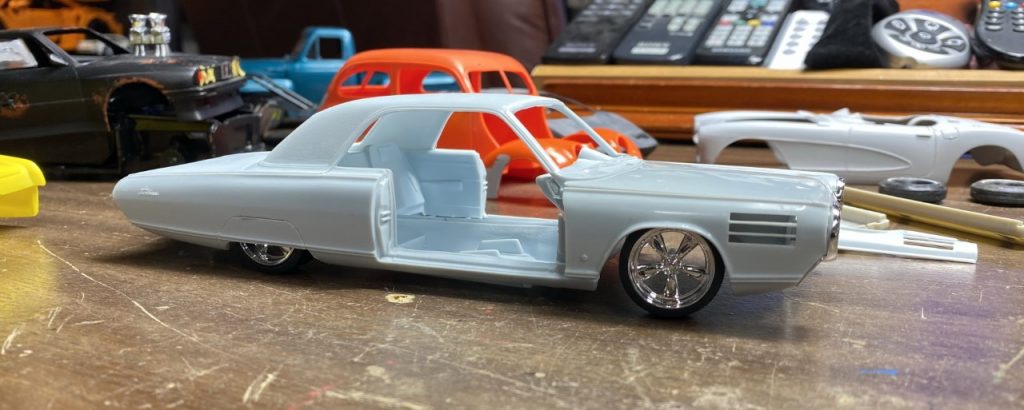
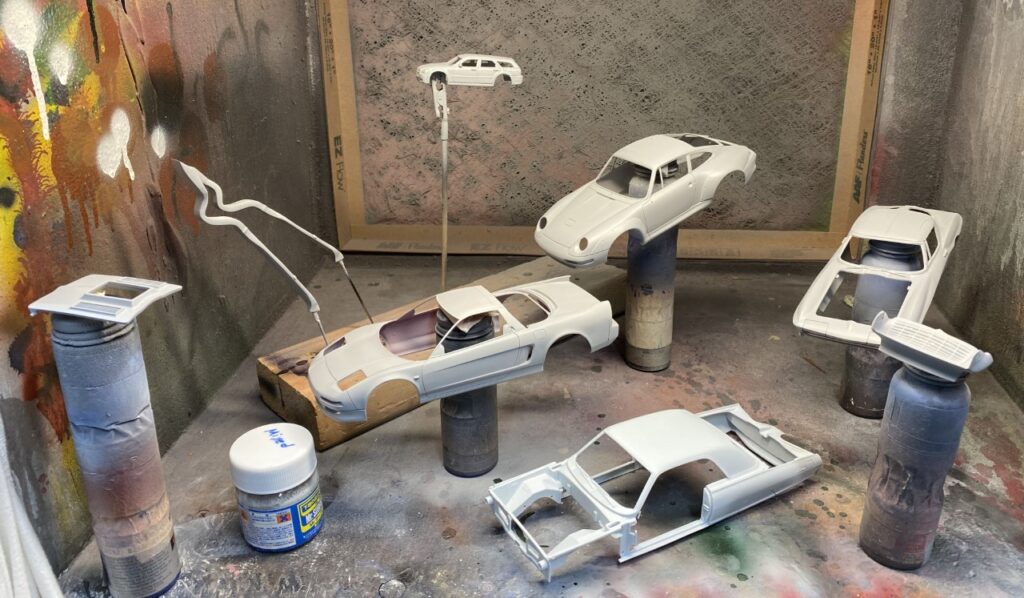
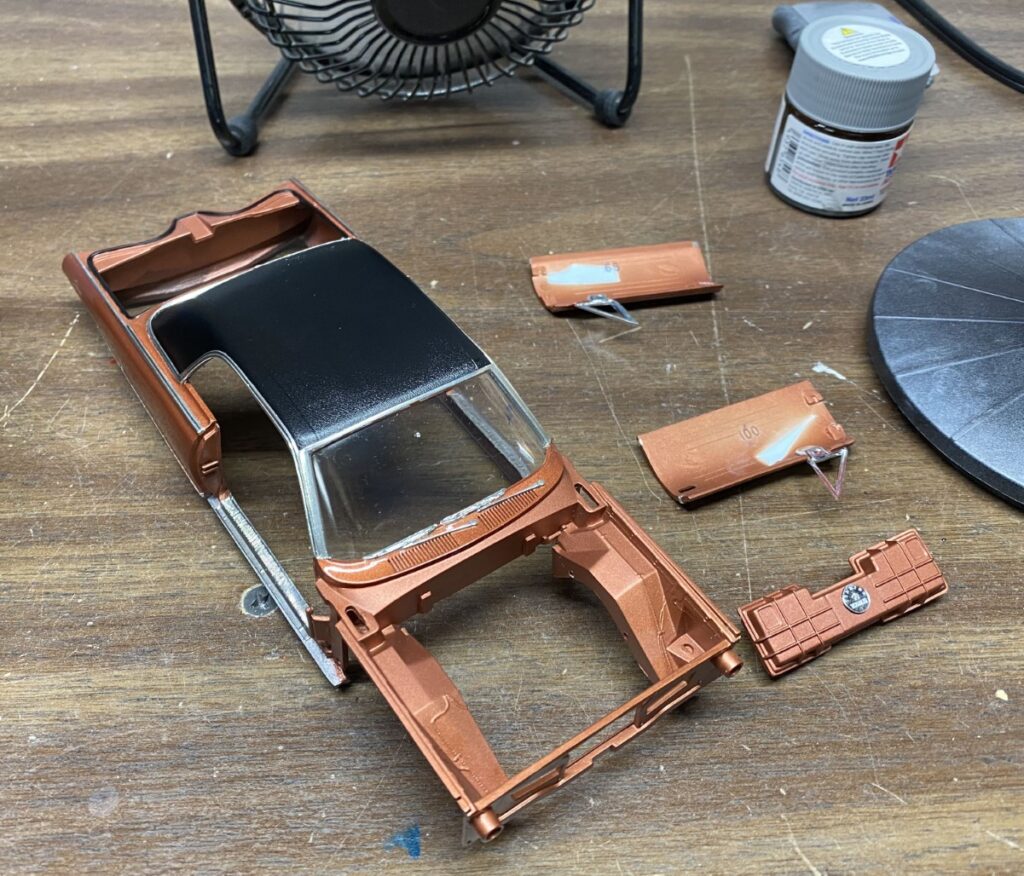
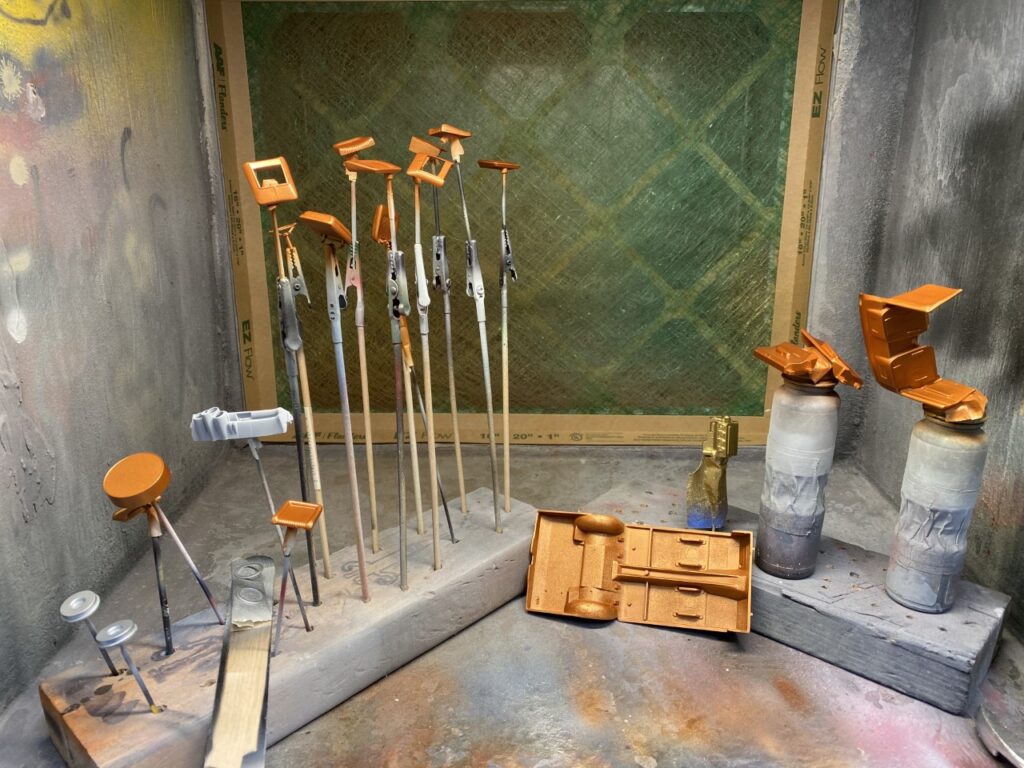
For the color, I used K5 Burnt orange from another project. It was very close to Turbine Bronze and I had enough to finish this project. To get an idea of the parts count, see the picture below for all of the pieces that needed body color. I masked the roof to avoid building paint on the vinyl top texture.
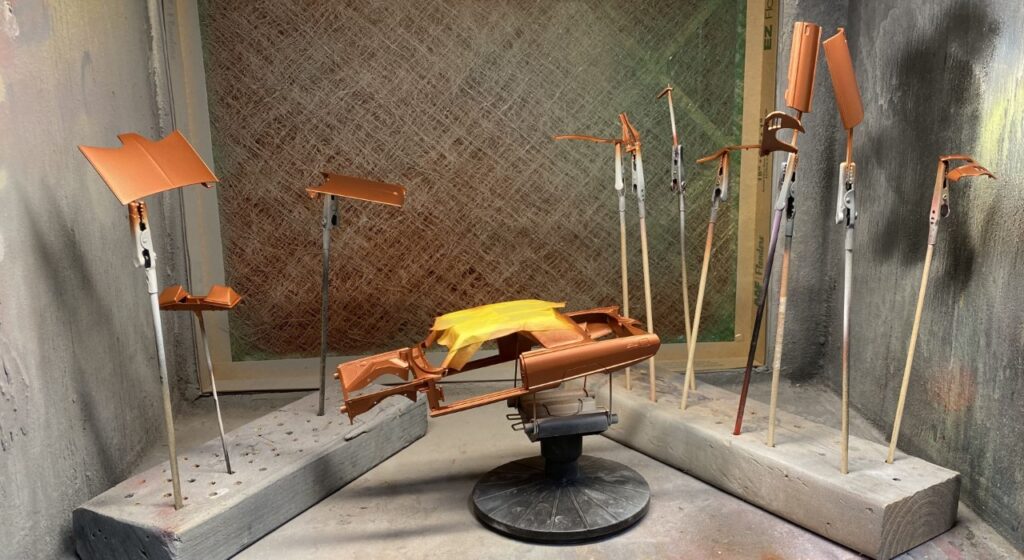
Once I sprayed light gunmetal for the rocker panels, it was time to spray clear.
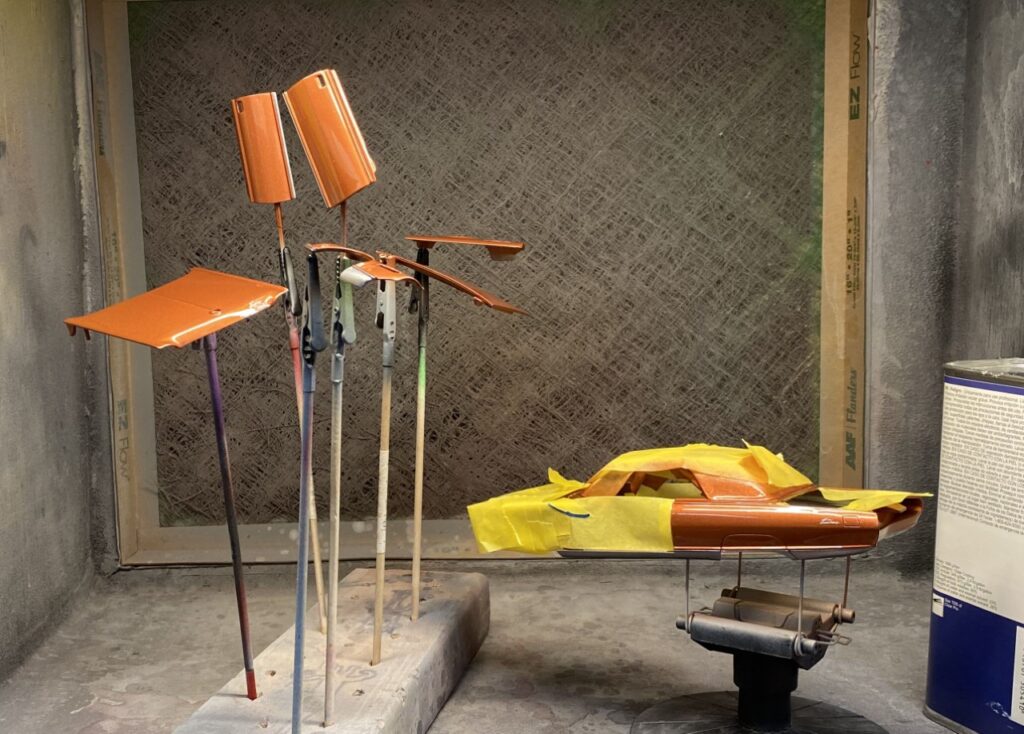
After the clear dried, I masked and sprayed the vinyl top and trunk weather seal.
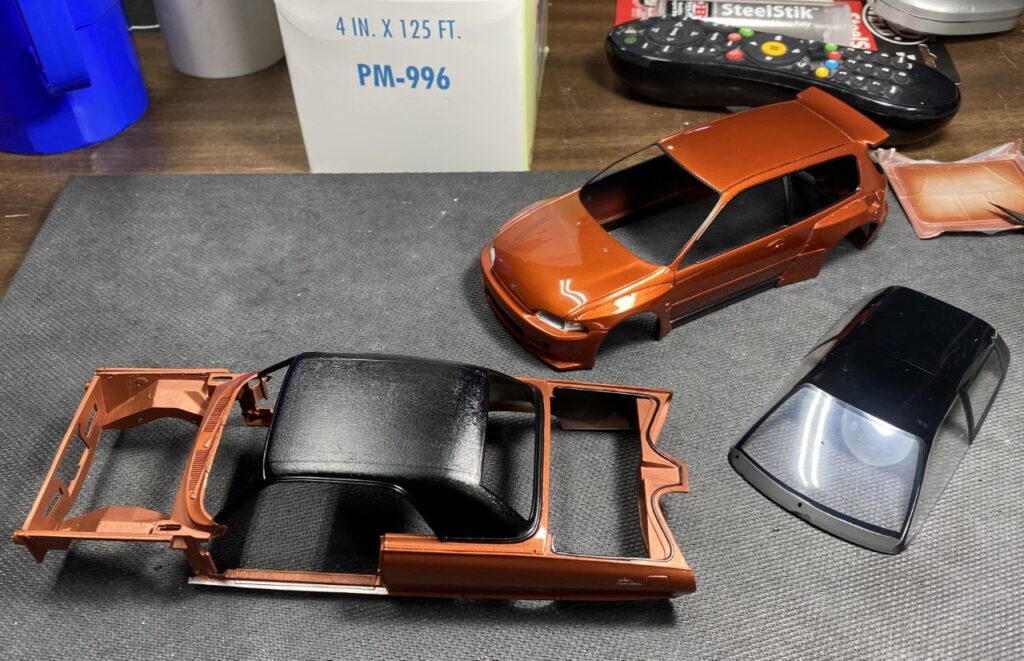
The past step for the body was bare metal foil and assembly.
Chassis/Engine
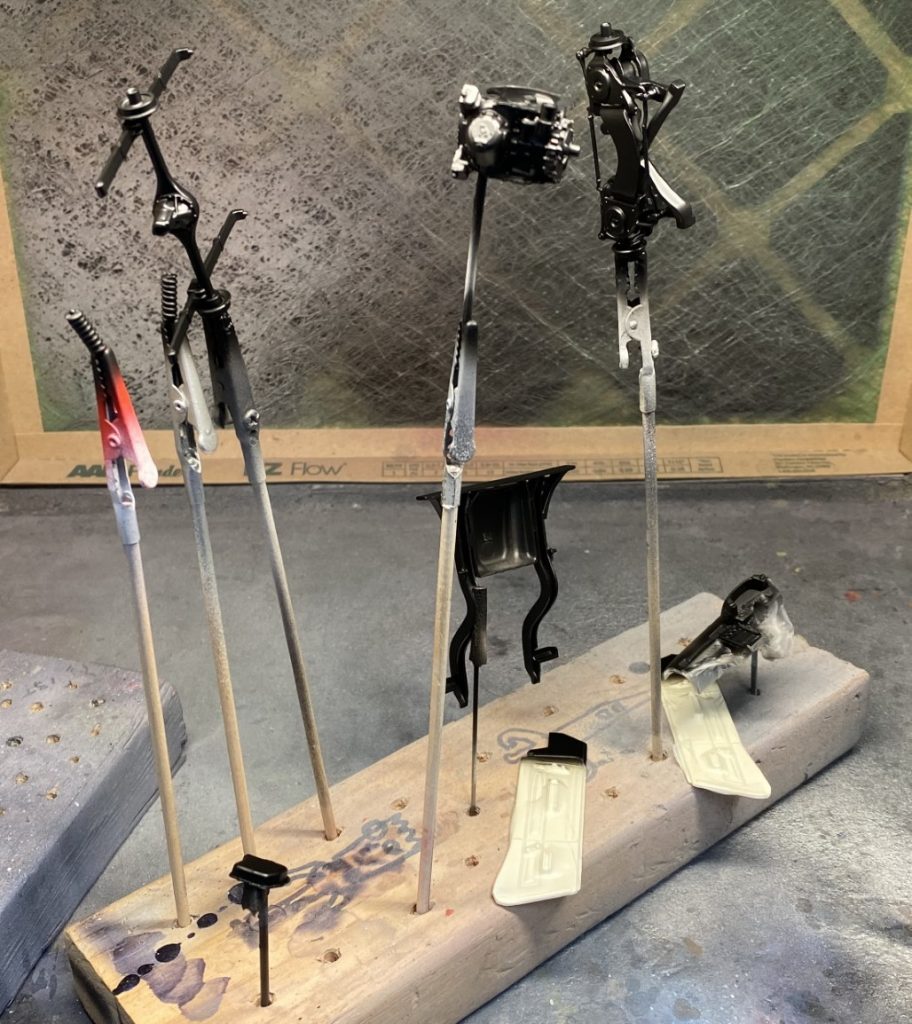
After rounding up all of the parts necessary for the suspension and engine, I built the assemblies and painted them as a unit. Trying to paint each of the vast number of parts first, then assembling them, would have been maddening.
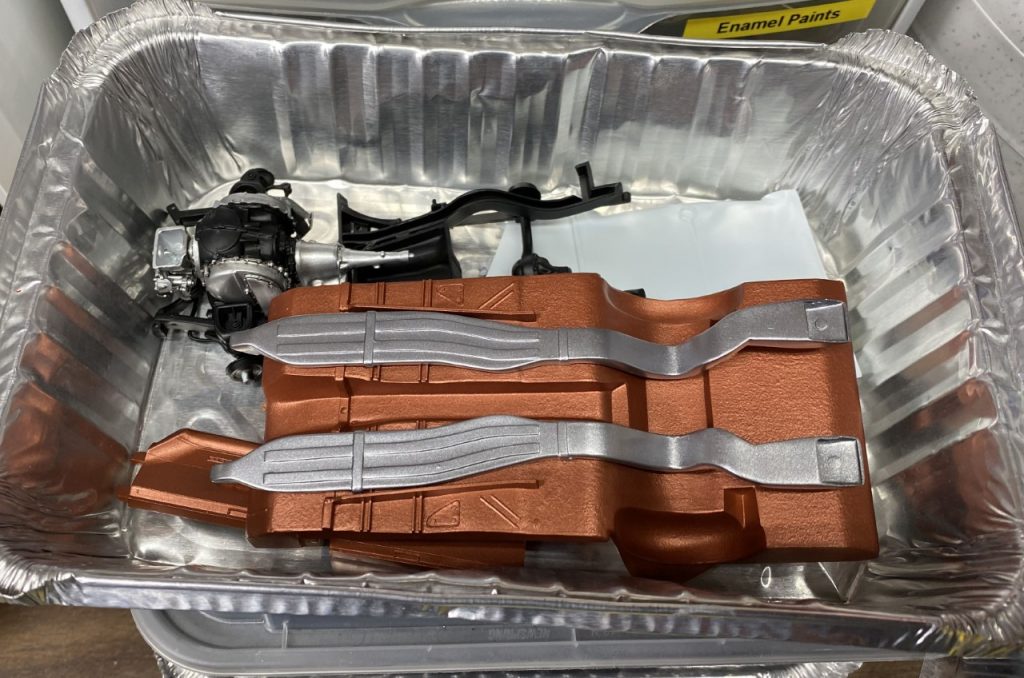
The exhaust has to be one of the most interesting parts of the car!
Interior
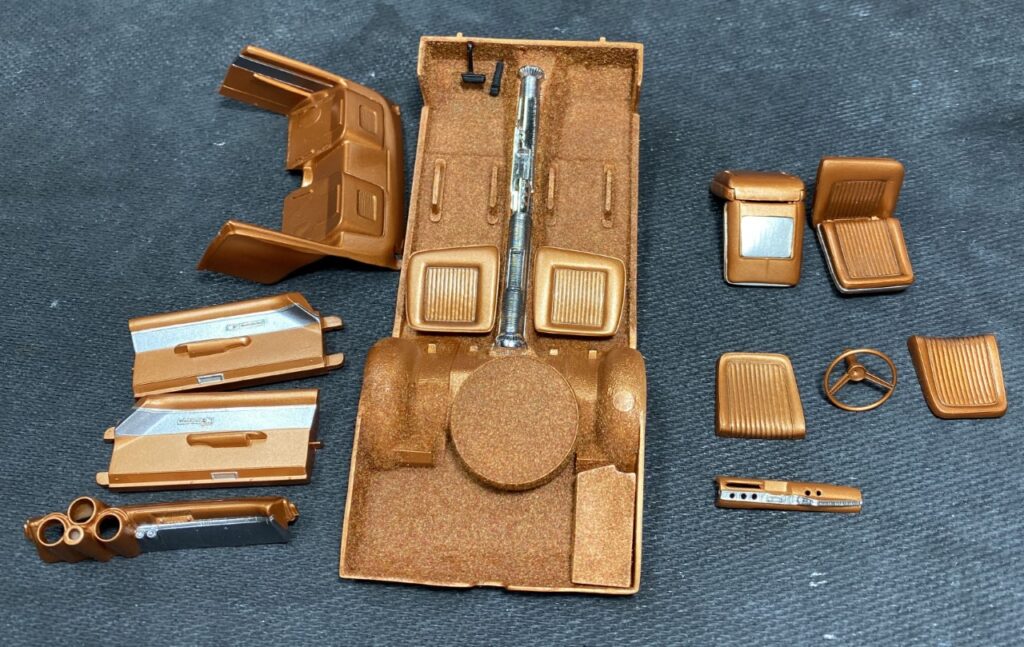
Flocking is a great way to add detail to an interior…common knowledge in this hobby. Getting the right color, most of the time, is easy to do. Sadly, there is no coppery colored flocking to simulate the carpet for this project. I researched how to combine colors to make a coppery color and ordered flock to blend my own. Using red, yellow and orange base colors, I kept adding colors until I was happy with the color.
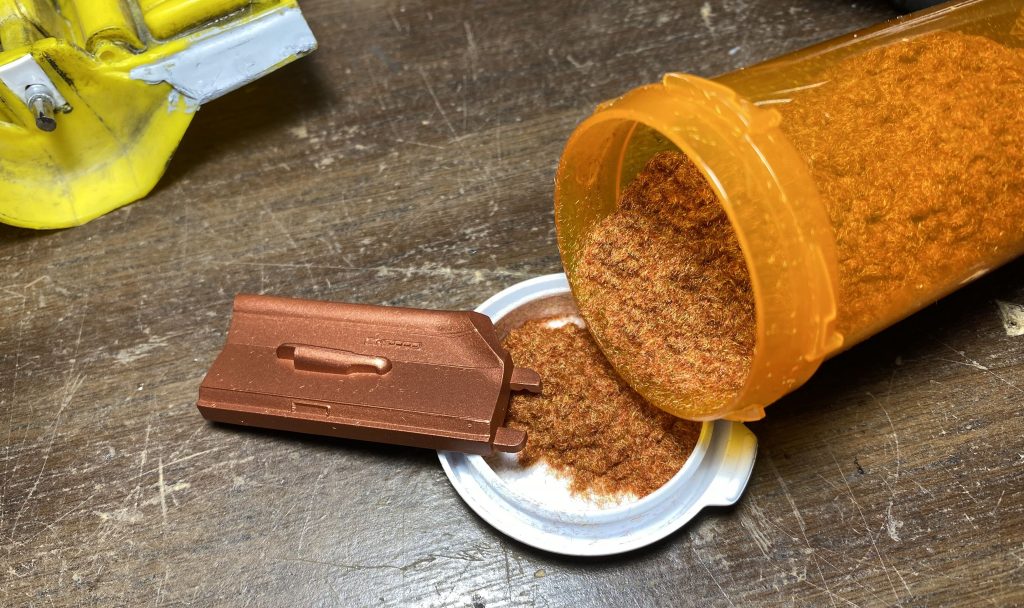
Flocking aside, the interior was painted with Tamiya acrylic metallic brown. Before I found this color, I was resigned to using the K5 Burnt Orange paint for the interior. I wanted the interior to be a different shade as it was in the real car. Tamiya metallic brown was perfect!
The final paint detail for the interior was bare metal foil and light gunmetal.
The front seats were set up to fold forward. However, I chose to glue them in the upright position to avoid having them flopping around.
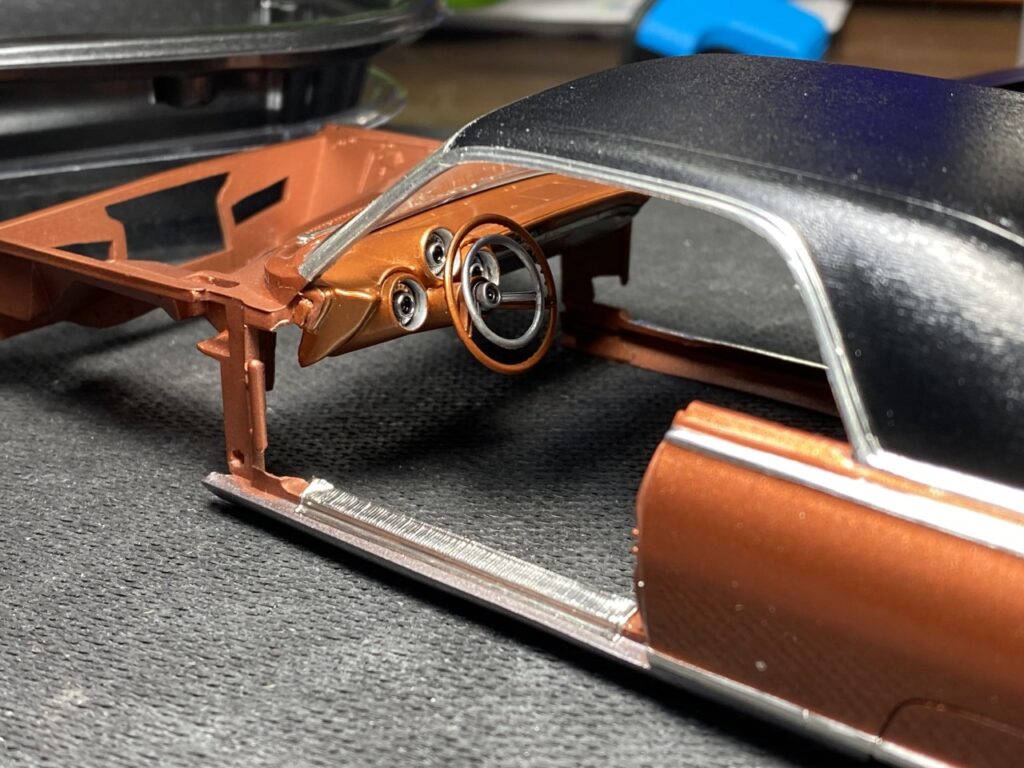
Once the dash details were completed, I started assembling the interior.
Assembly
As I mentioned, there were several subassemblies that had to be completed before assembly come begin. The front frame rails could not be installed until the interior was ready for assembly. The frame rails capture the interior.
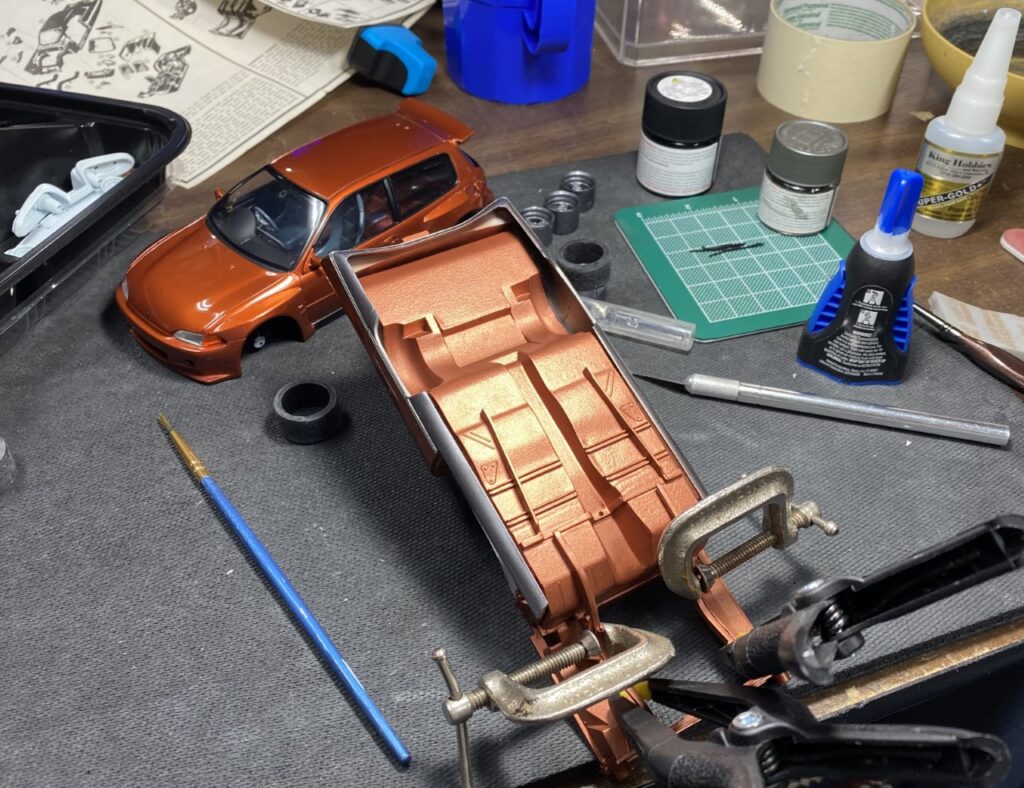
After the front frame rails were glued in place, it was time to start dropping in the rest of the assemblies.
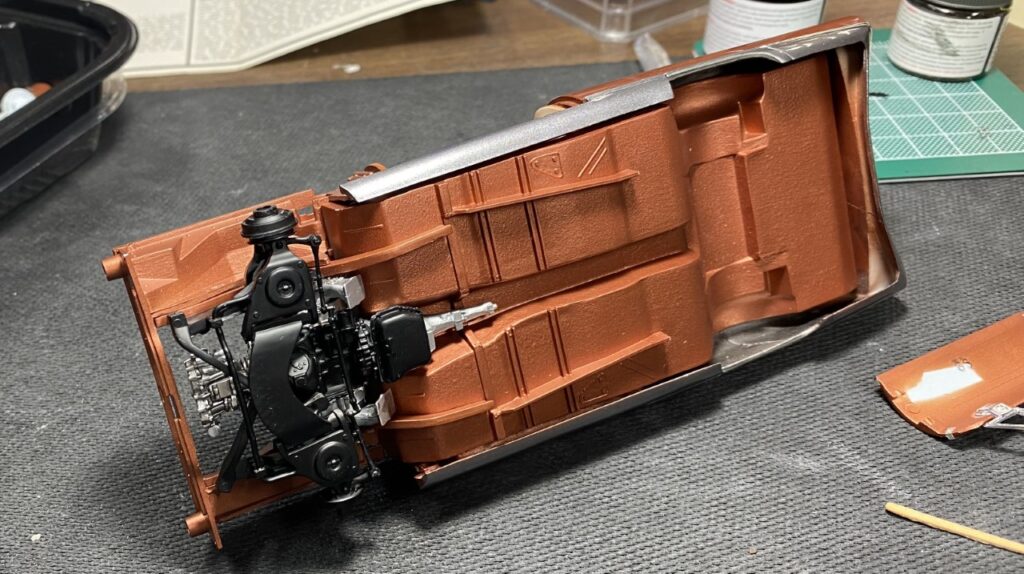
The giant exhaust was glued in place after the rear frame rails were attached.

All those pieces…
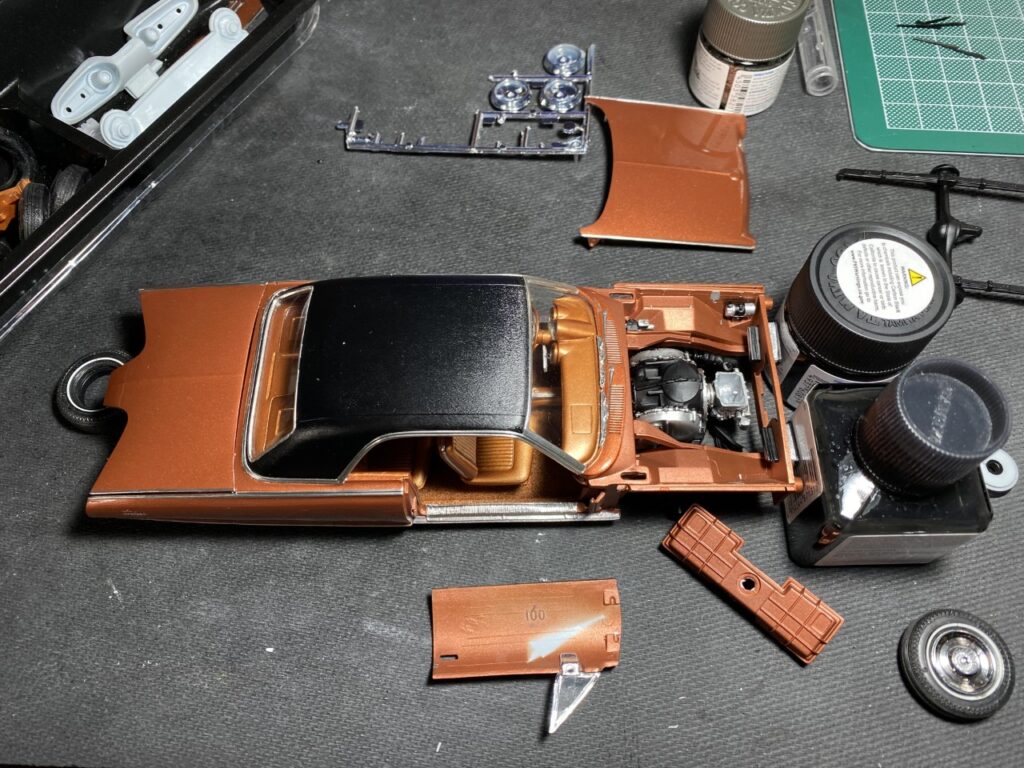
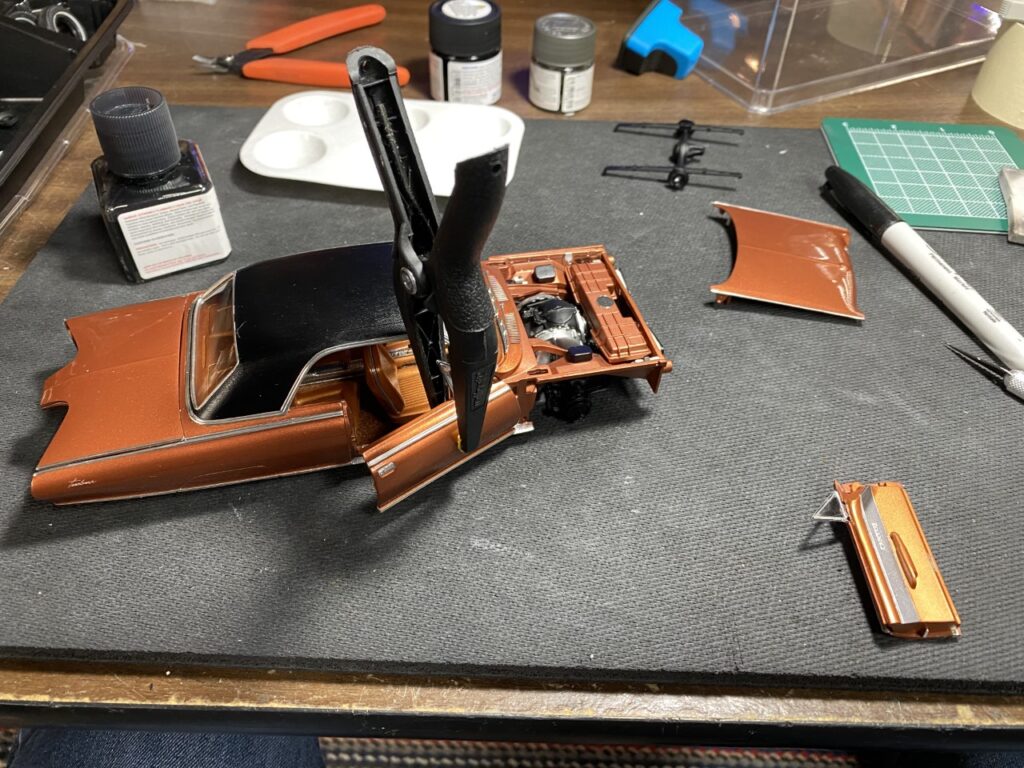
The front doors were a challenge. Getting them to close properly and have the hinges work well too several attempts at fitting them and massaging the pieces with a hobby knife. Once all of the clearancing was complete, I touched up the paint and glued them in place.
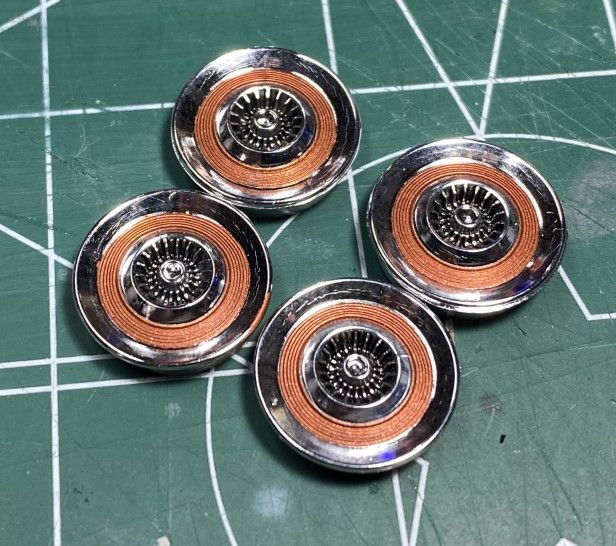
The hub caps required careful masking to get body color in the rings. I used parafilm to get the job done.
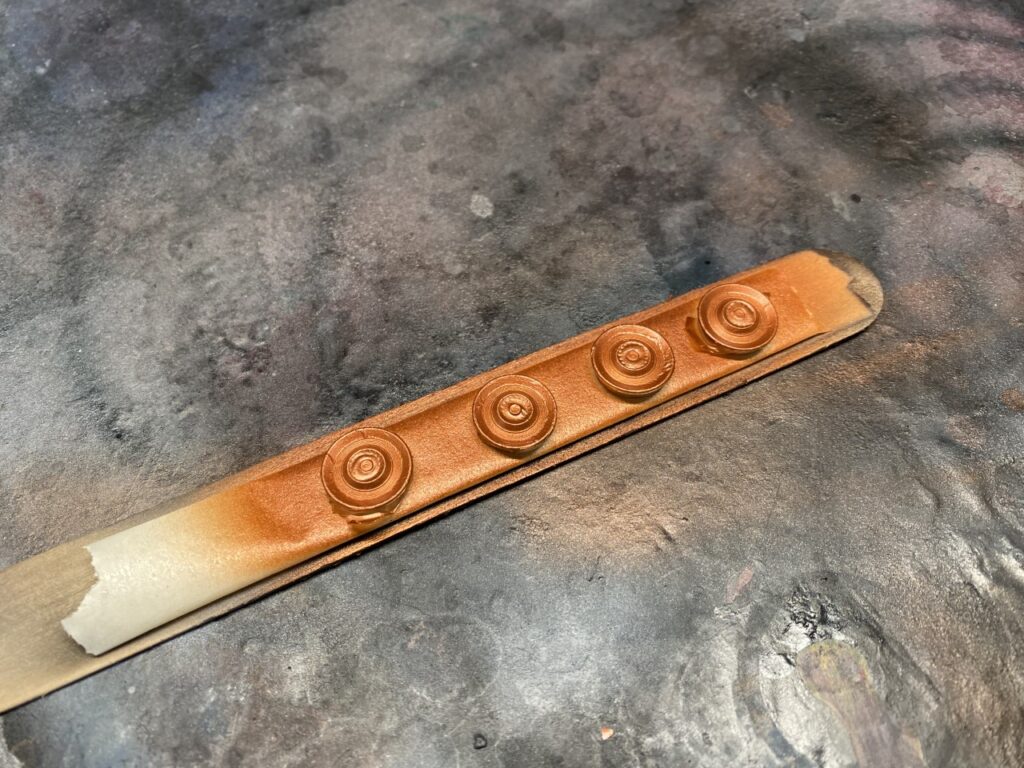
I think they turned out perfectly!
Nearing the end, I assembled the wheels/tires and glued them in place.
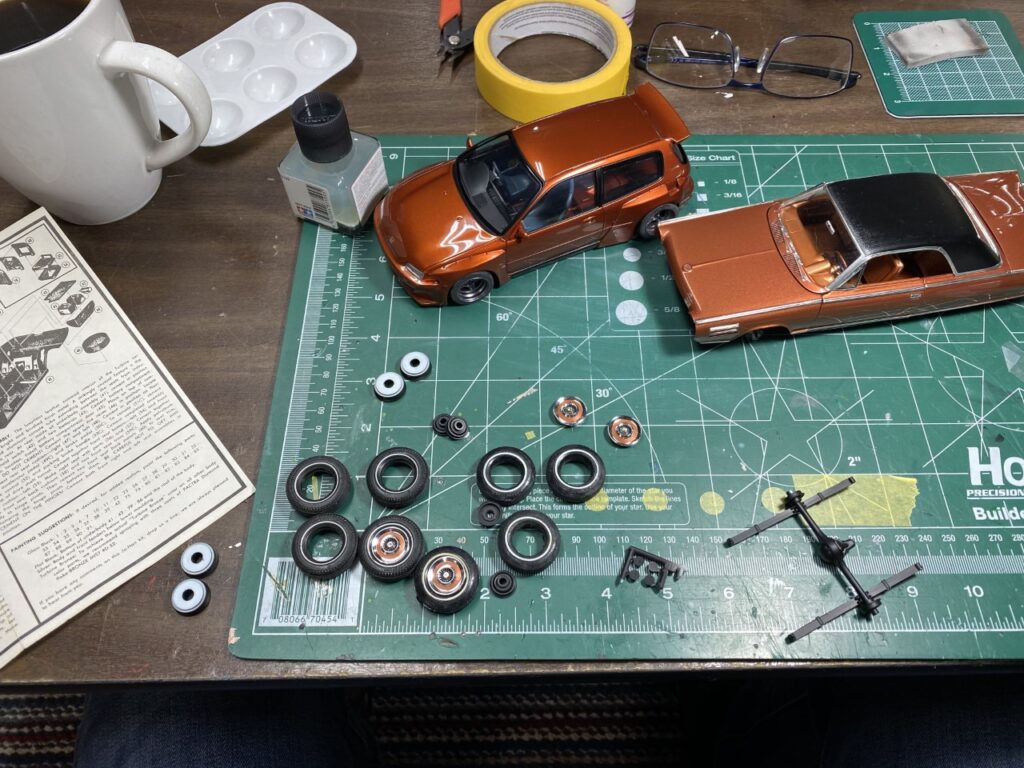
As is my process, I stripped all of the chrome pieces and refinished them with gloss black and Spaz Stix chrome paint.
Did I mention the doors were a challenge, at this point, I had to remove them and continue massaging them to fit properly. This was even more challenging with the front fenders installed.
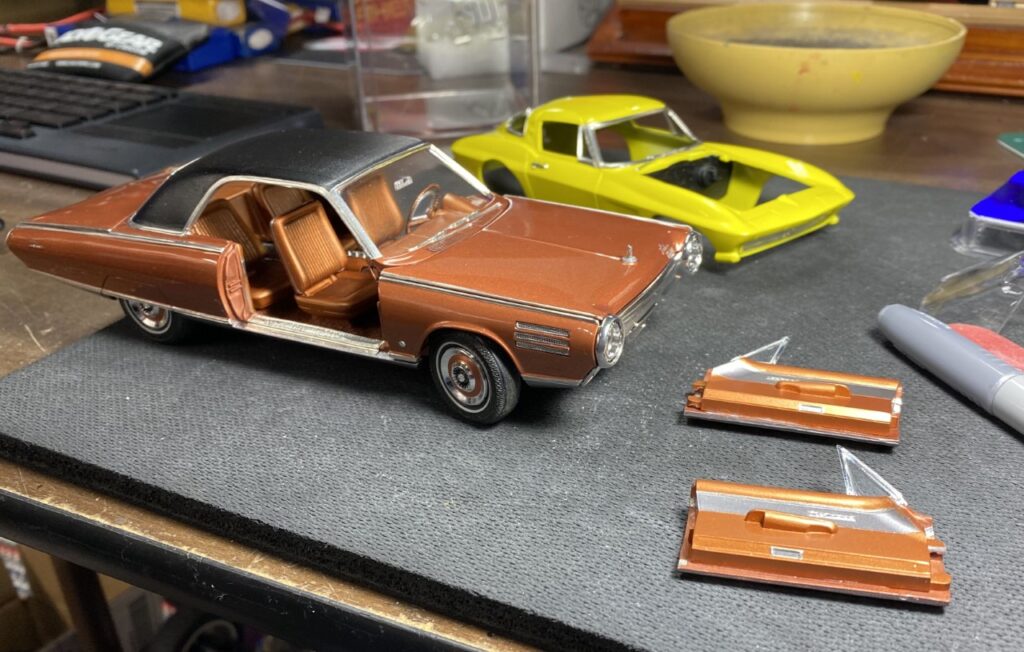
Last time’s a charm? I lost count.
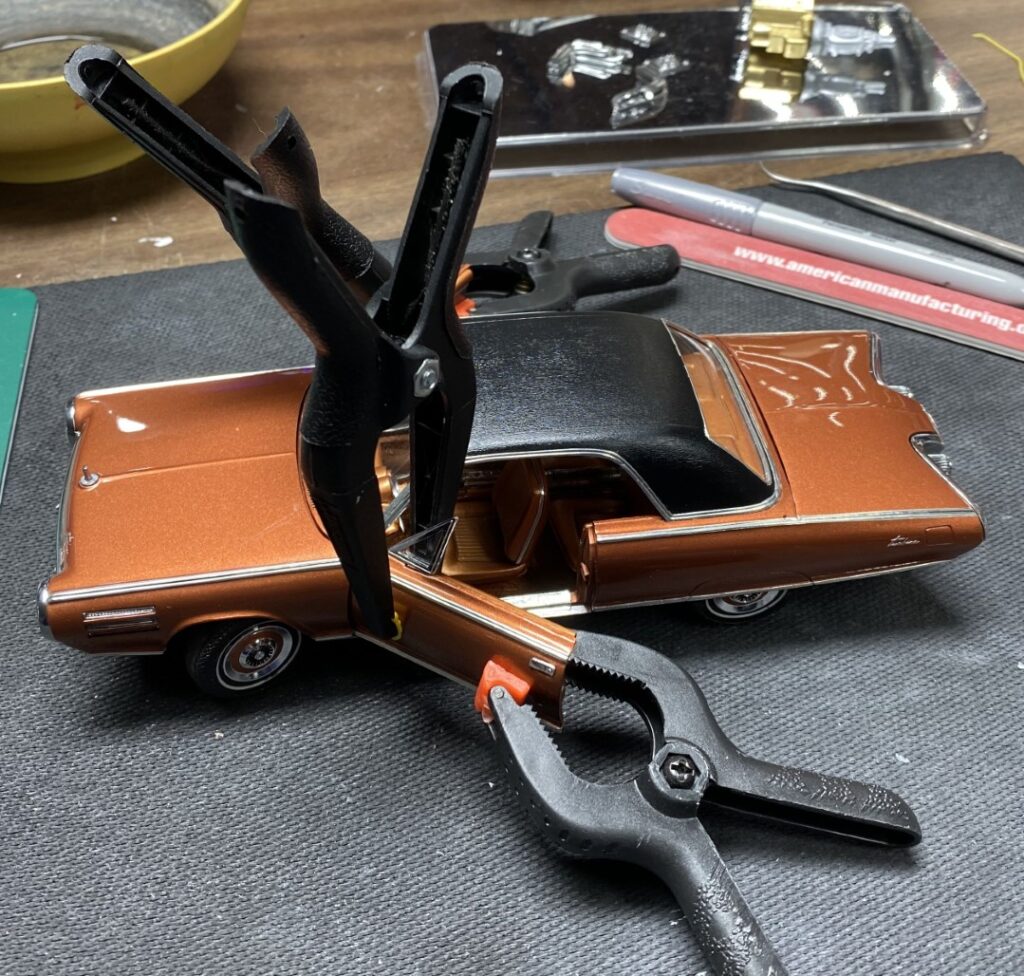
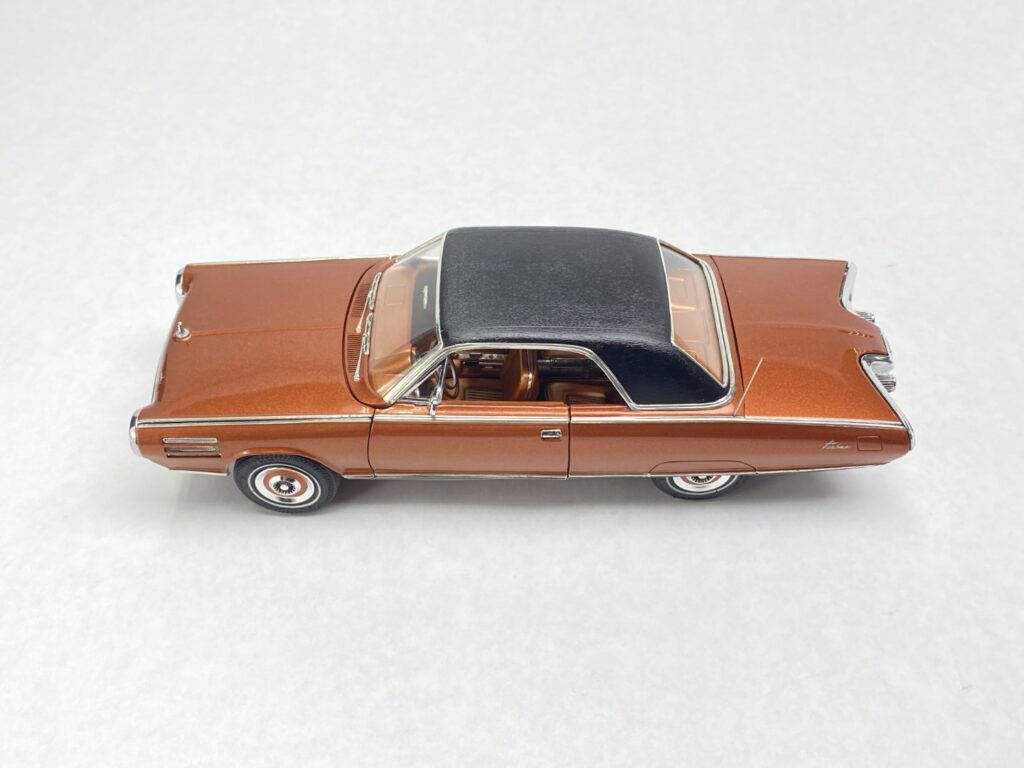
Done!
At long last, this massive collection of parts is complete. My kit’s tires were not right either due to age or just poor quality. I had a junk set of tires from another old kit that worked out really well and already had whitewalls.
Overall, this project was a bear to build. I’m glad I built it and I can check off building a Jo-Han kit. I think it looks great and had the opportunity to see one in real life a few days after finishing it. It was a shock to see it in full scale!
