
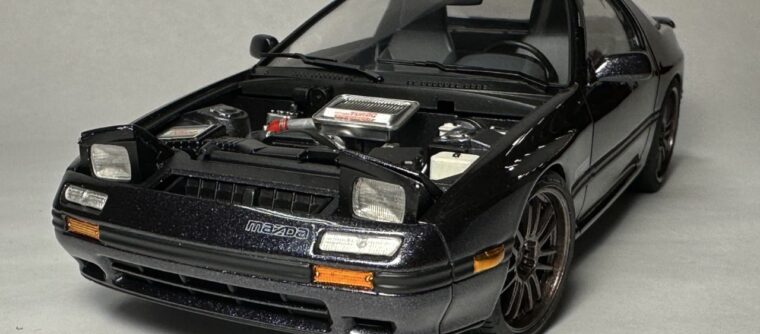
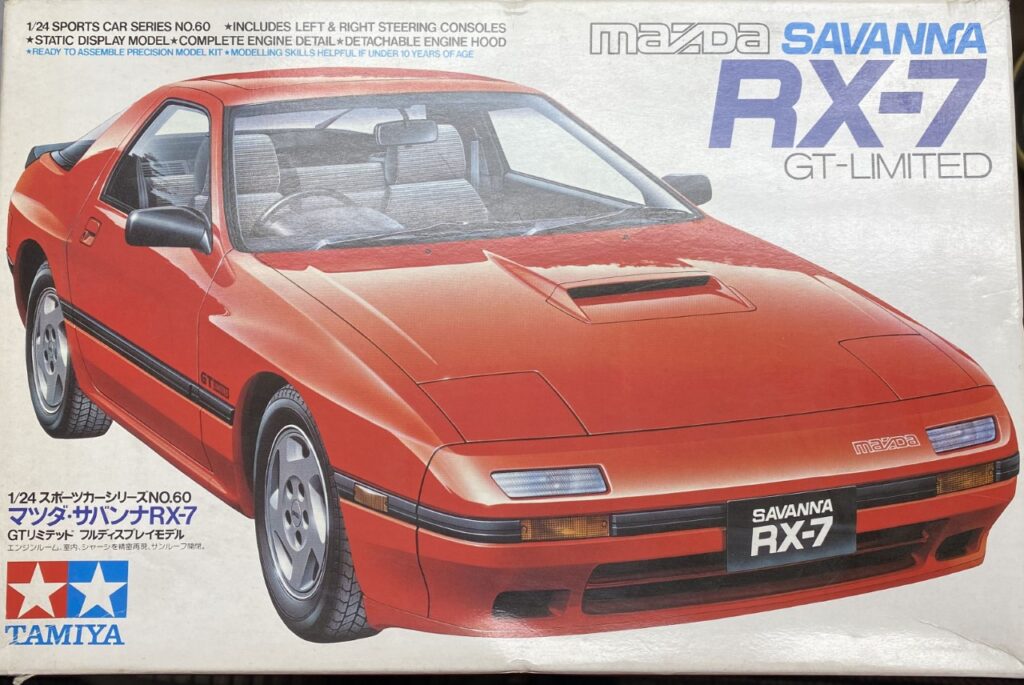
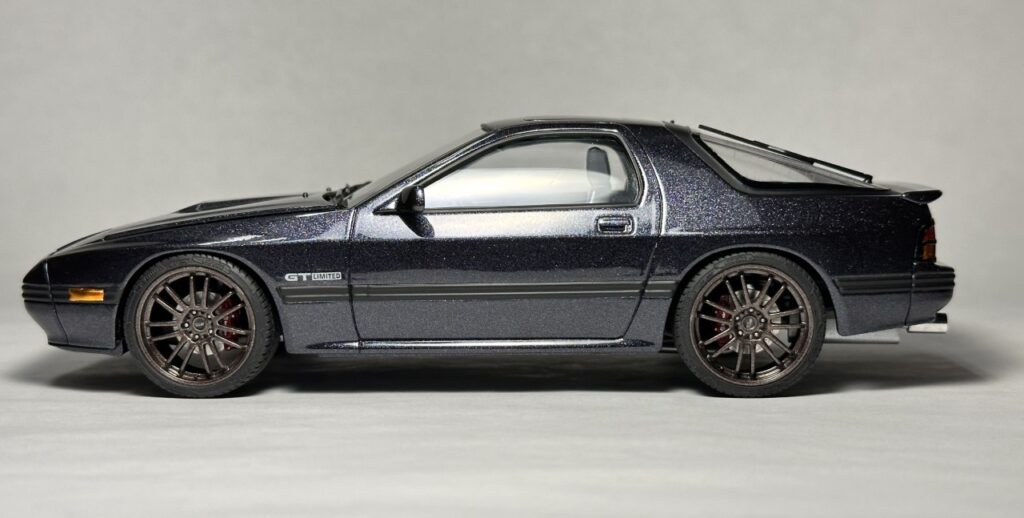
The FC3S RX7 is car I owned for a short time. This was the second kit I bought with hopes of building one good model using parts from a Fujimi kit. My plan didn’t work out and now I have two built FC3S’s!
Body
Being a Tamiya kit, the quality of the parts was very good. Body prep work was quick and easy. I did make one change and it involved sanding the “gasket” around the sunroof flat. I felt it gave a cleaner appearance to the roof. Once prep work was complete, I finished priming the body color parts and was ready for color.
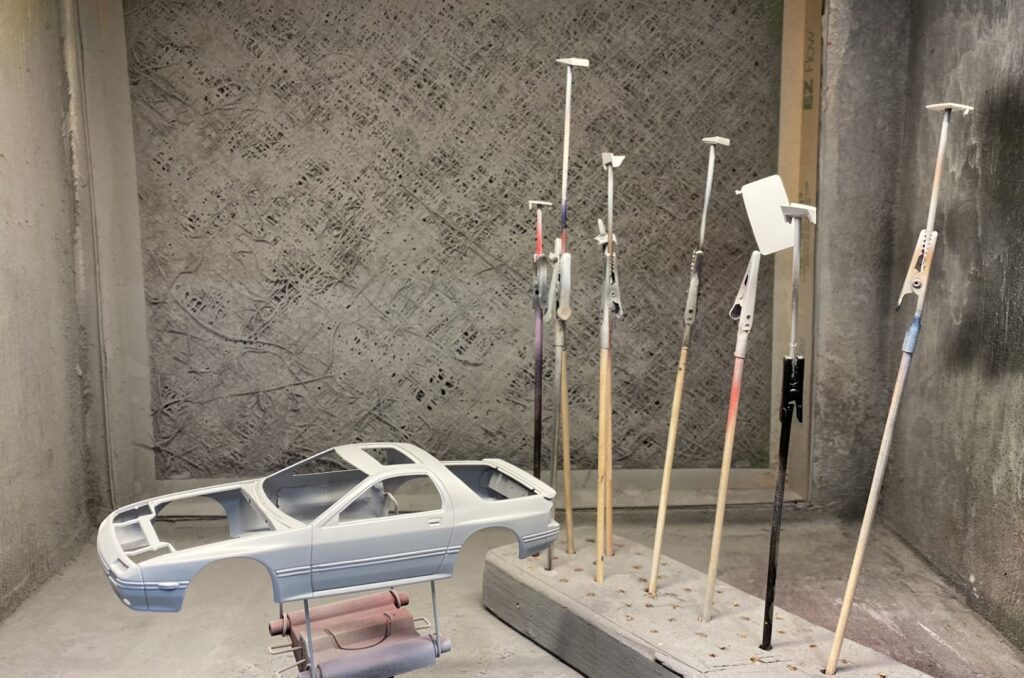
For the color, I chose Cadillac shadow metallic from Automotivetouchups.com. The color went down and covered very well as expected.
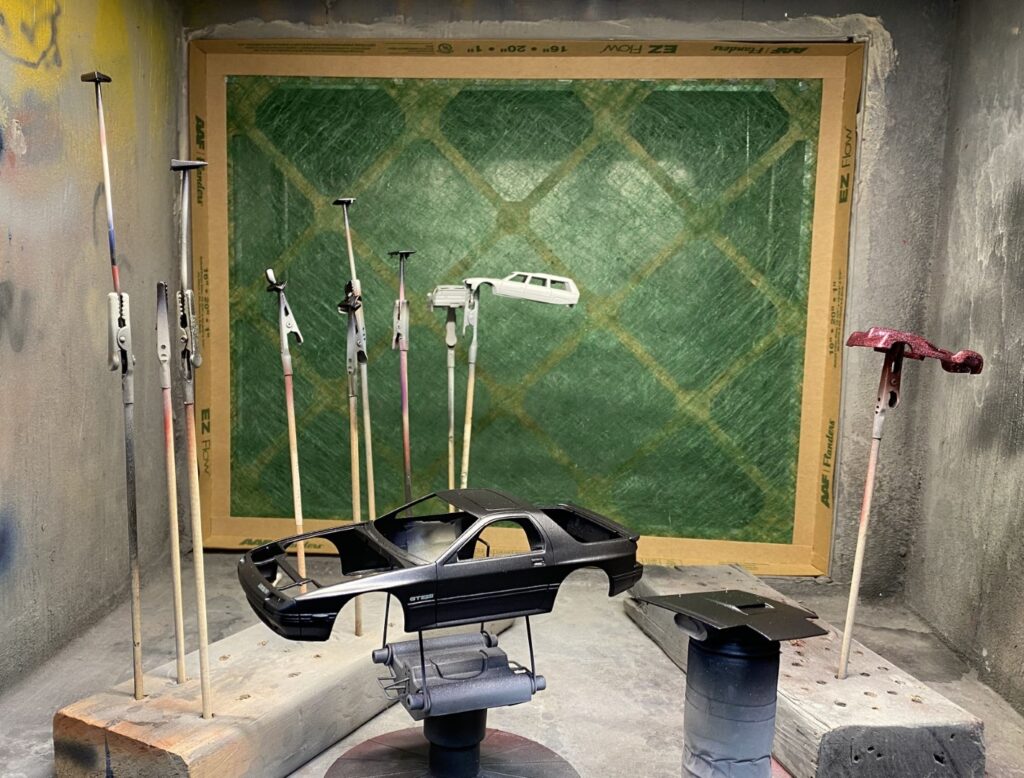
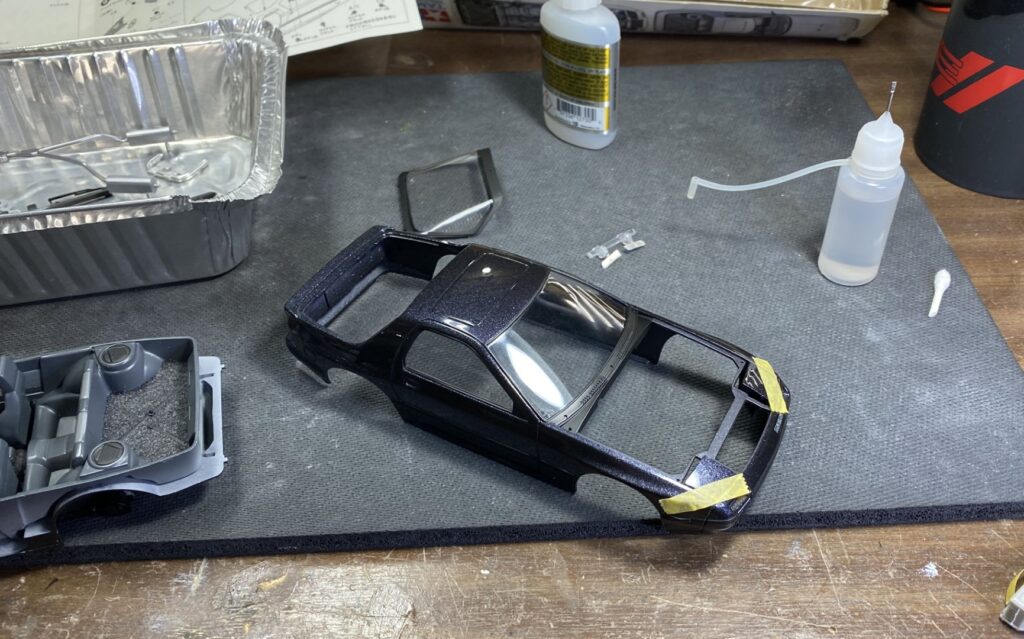
After adding decals to the body, I sprayed 2 part automotive clear.
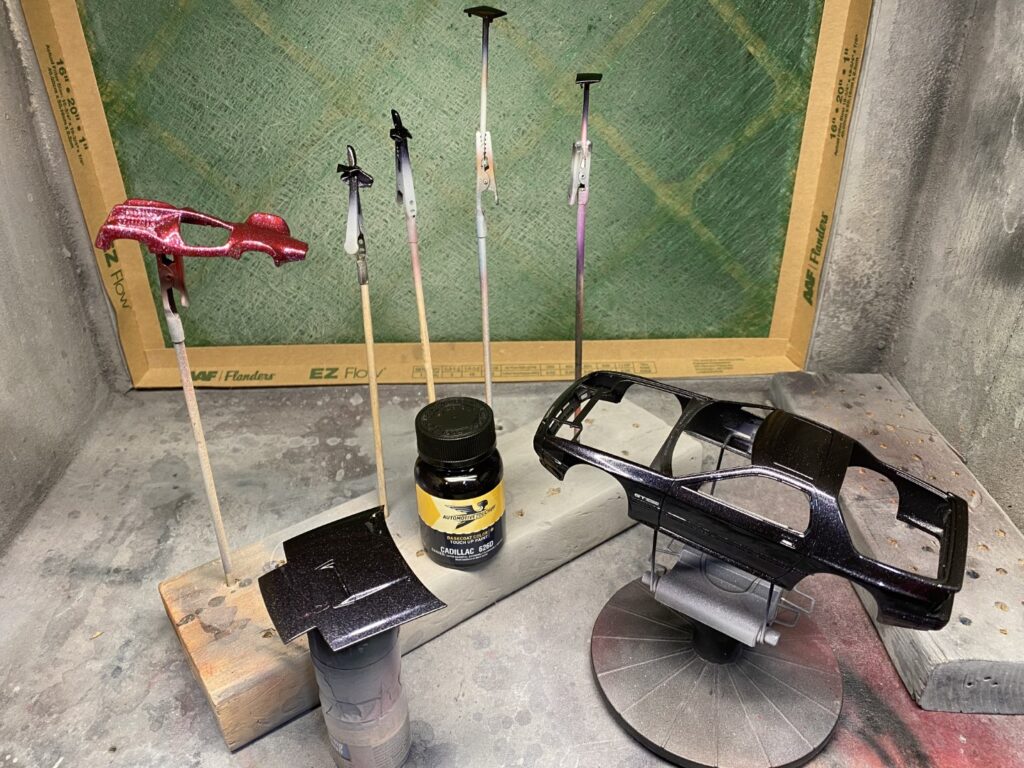
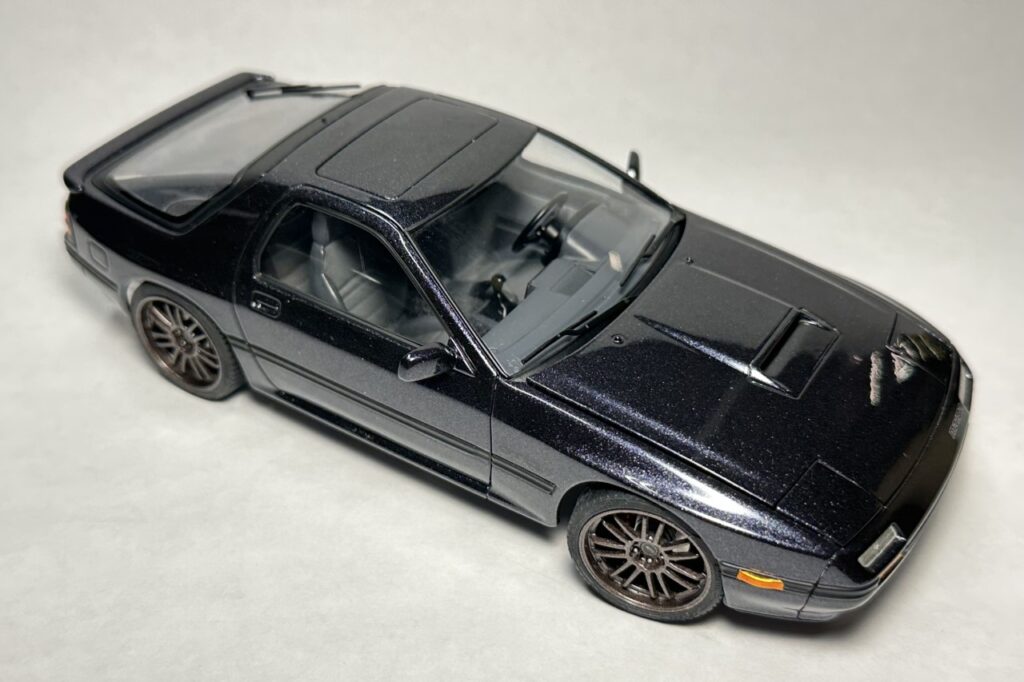
Rather than have the sunroof open, I decided to glue it shut. The body parts were sanded and polished. Trim work was masked and sprayed.
Chassis/Engine
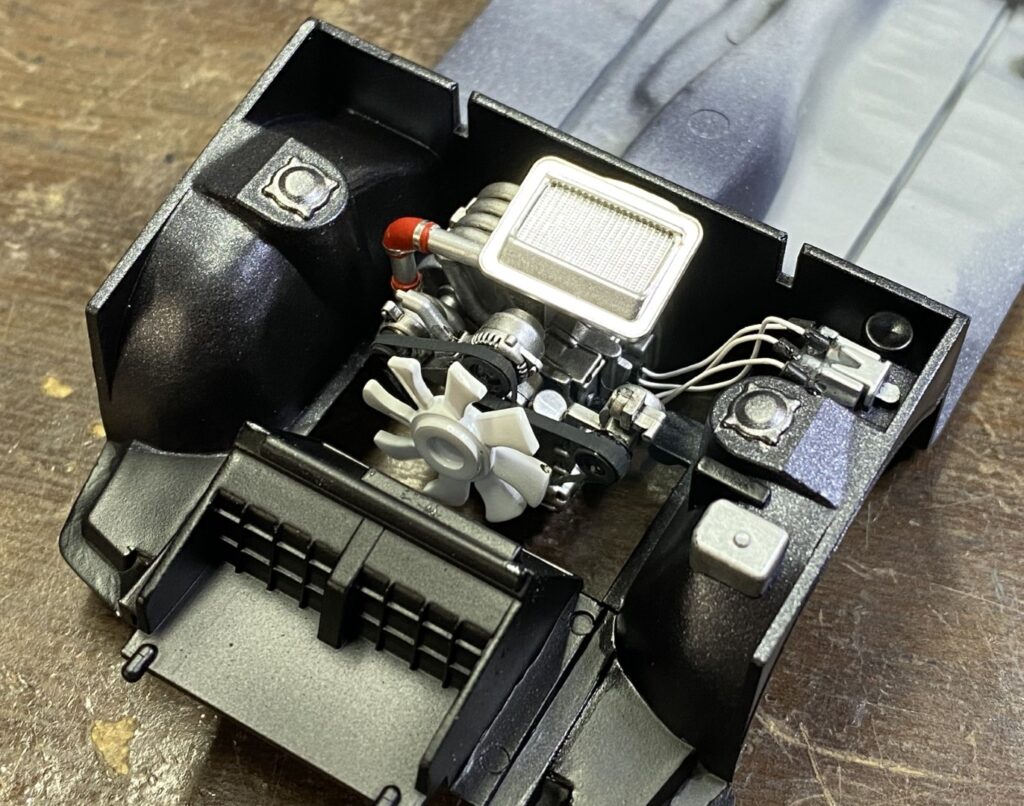
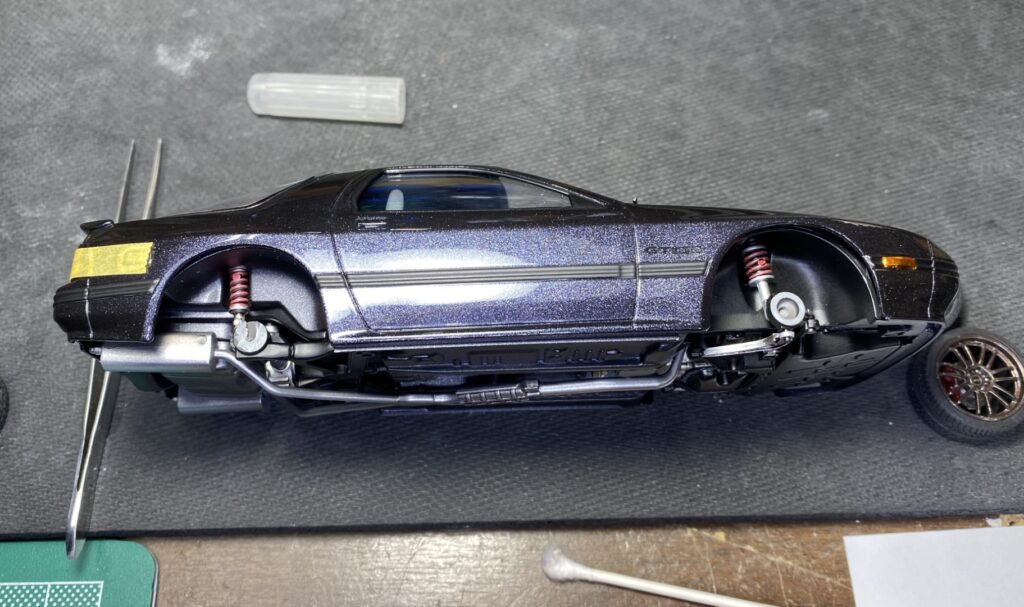
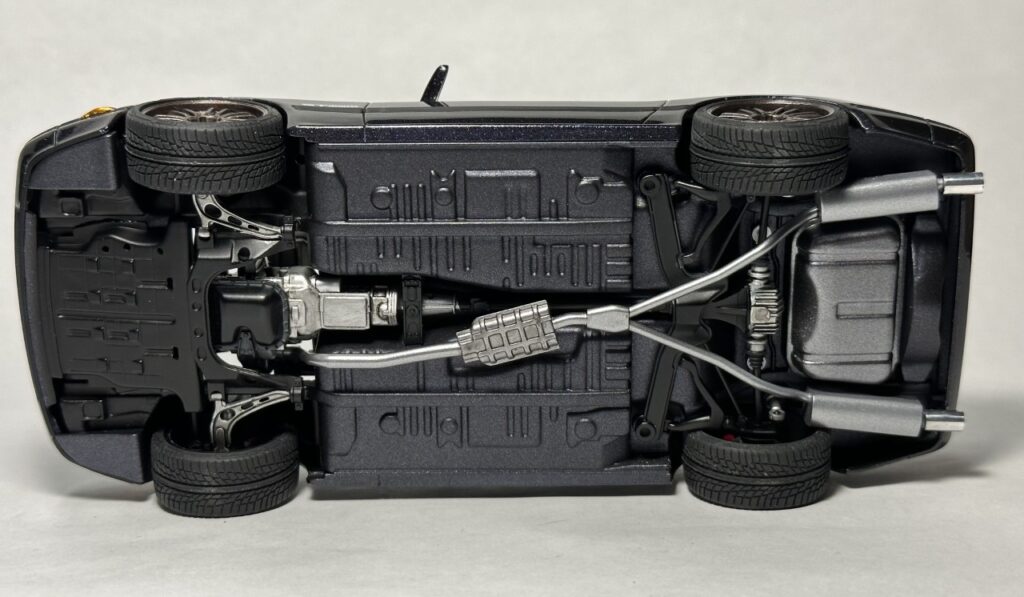
The engine and chassis components were well detailed. I don’t know why I didn’t take more pictures of the process. Here’s what I have. All of the parts were separated from the sprues and prepped for paint.

The detail work on the engine was going well until I found that I lost the belt/pulley part. Looking at the picture above, I don’t see it. To correct the problem, I pilfered pulleys from my parts box and made a belt using masking tape. I didn’t get the setup perfect, but it still turned out really well.
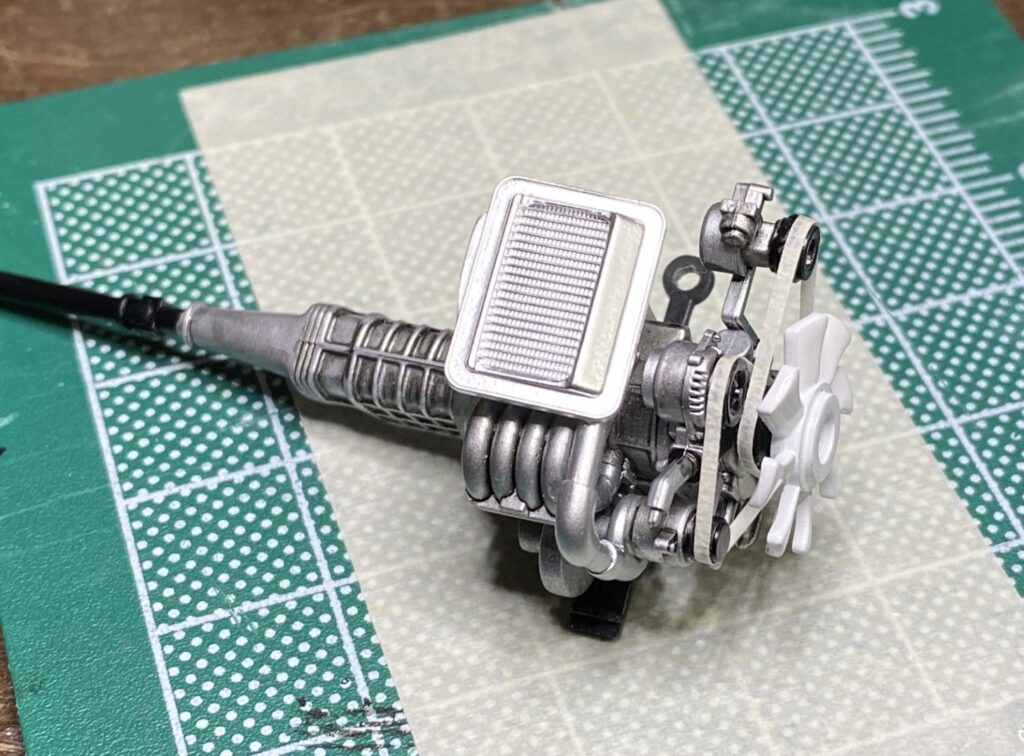
Once the accessory belt setup was complete, I added plug wires.
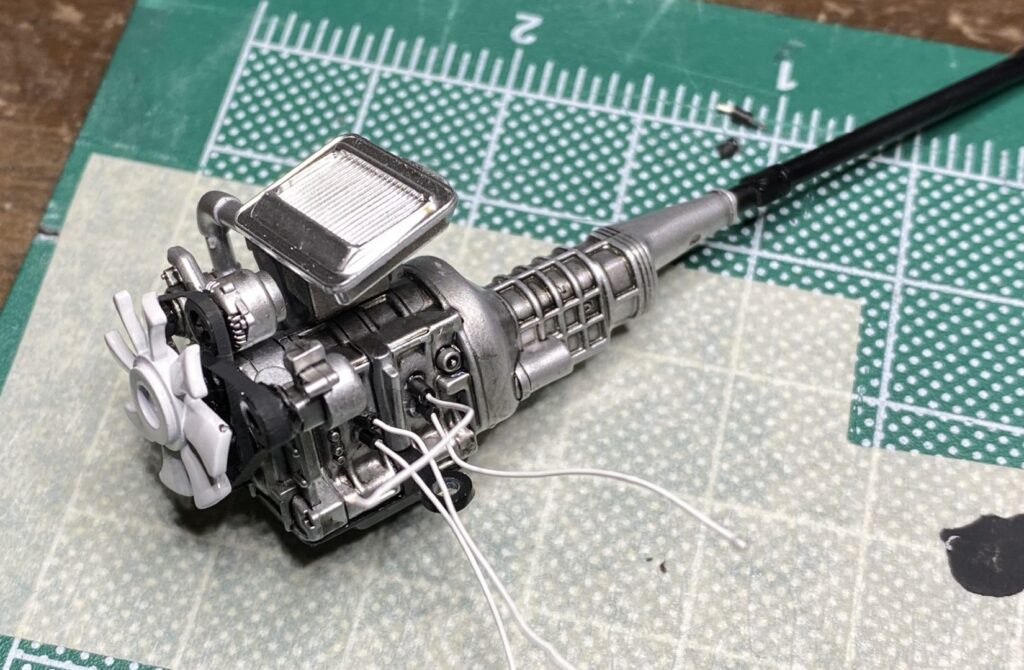
I painted intercooler elbows red and used strips of bare metal foil to simulate clamps. The ignition wires were attached to the coil pack.
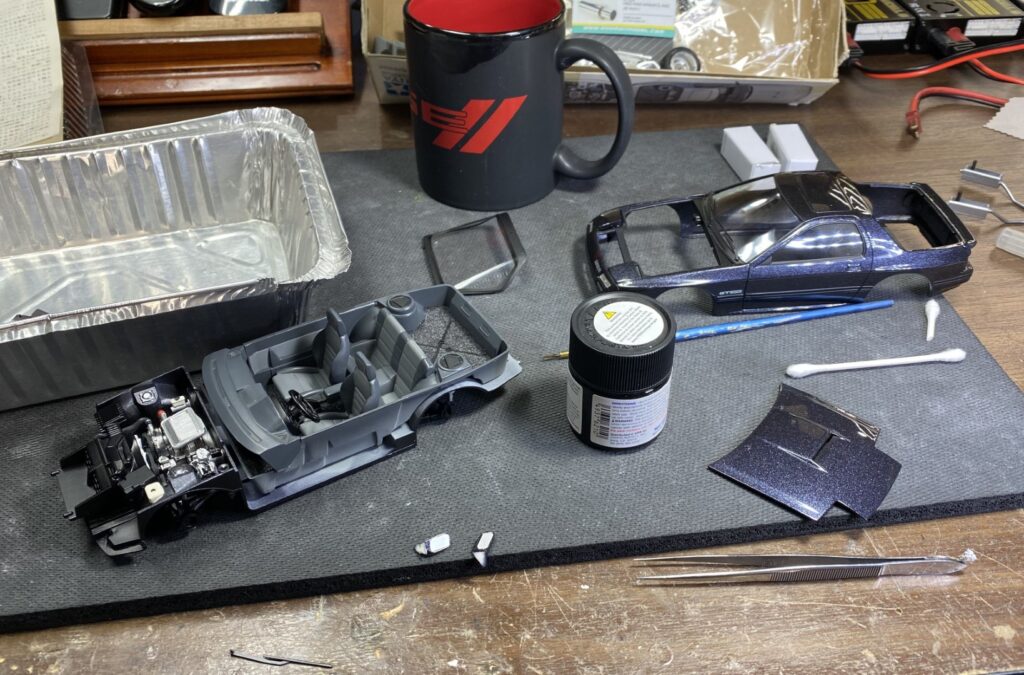
Interior
The interior was painted based on reference photos and color callouts in the manual. I added flocking as well.

I cleaned up the mess I made with the wash using cotton swaps and mineral spirits.

Assembly
Having finished all the detail work, it was time to bring the kit together.
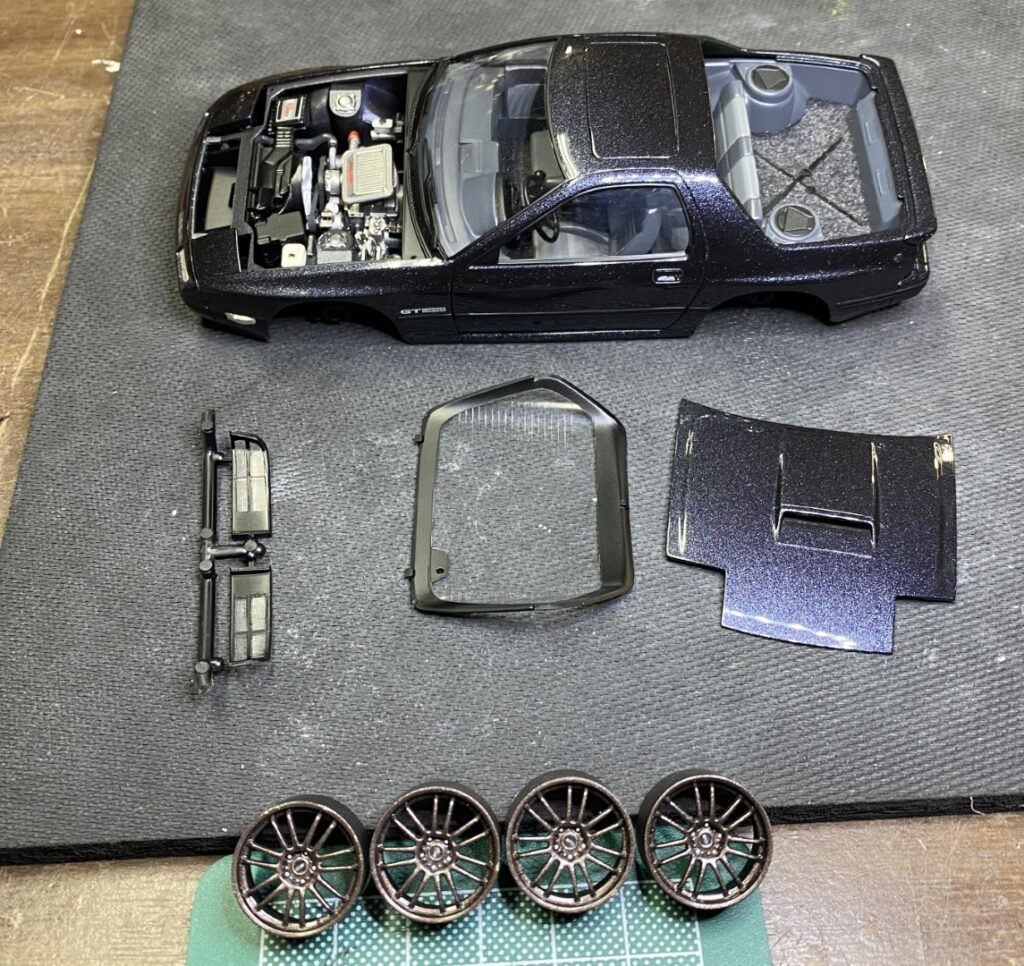
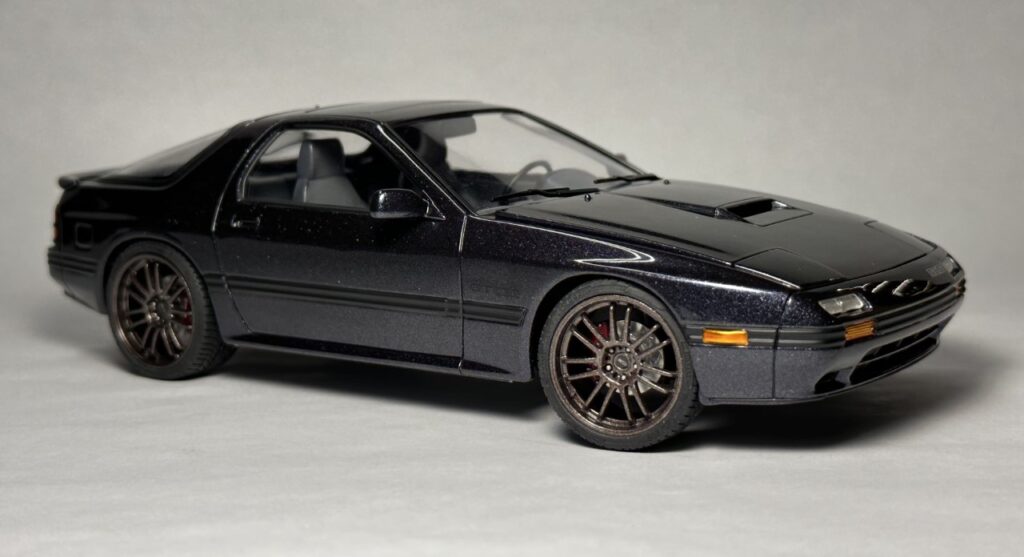
The glass was masked and sprayed and attached to the body. I also painted the tail lights the appropriate colors. At this point, I was also ready to start prepping for the aftermarket wheels. They were originally painted and prepared for another build but not used. I painted a set of brakes from Zoomon to use with the wheels.
The year was marked and it was time to pull everything together.
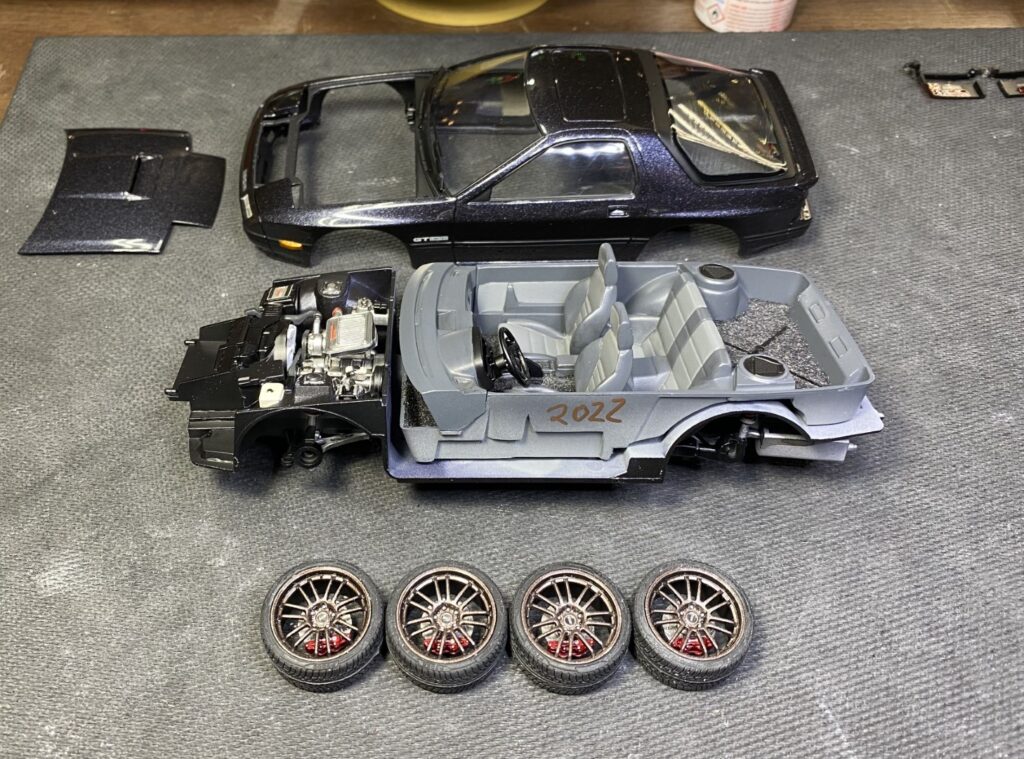
As much as I appreciate a good set of wheels, it can be frustrating to get them installed with the right offset and stance. The mounting points where modified and the wheels were mounted.
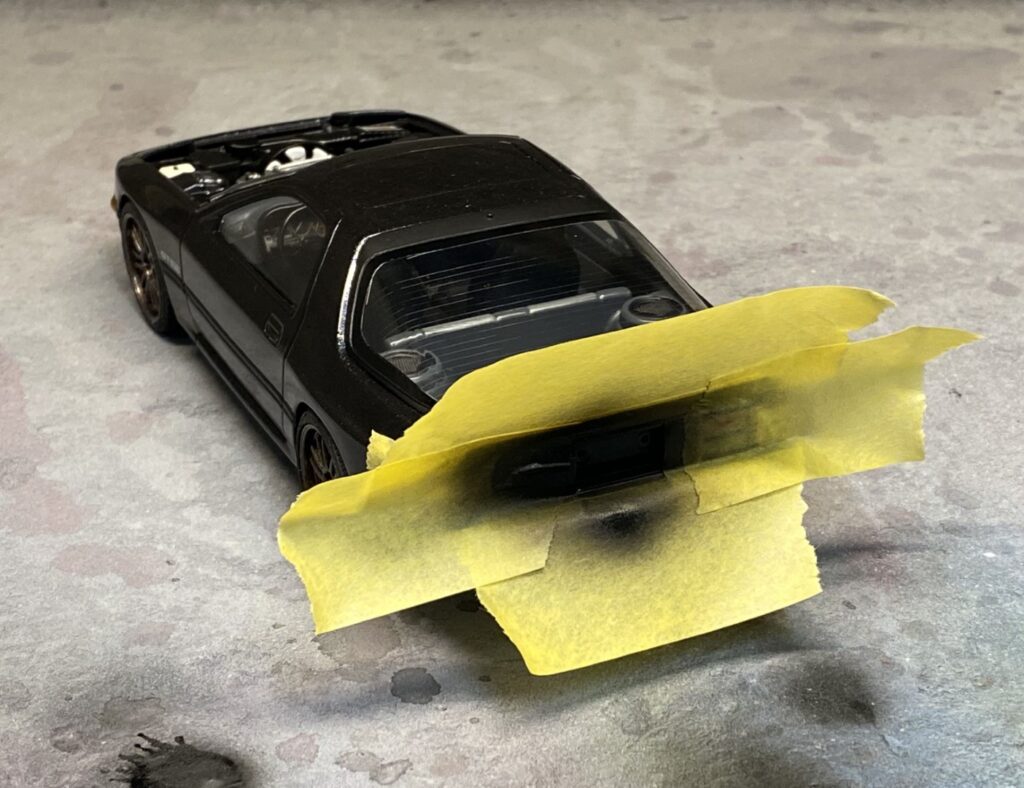
Before I could call this build complete, I realized I still needed to paint the panel between the tail lights. I masked the area and sprayed it.
Done!
I’m really happy with this build! The color looks amazing and the detail work pulls everything together. The headlights can open, but unfortunately, not with the hood in place. I wasn’t too worried about it and decided not to fix the issue.

The extra work in the engine bay, the BMF hose clamps and plug wires, paid off well.
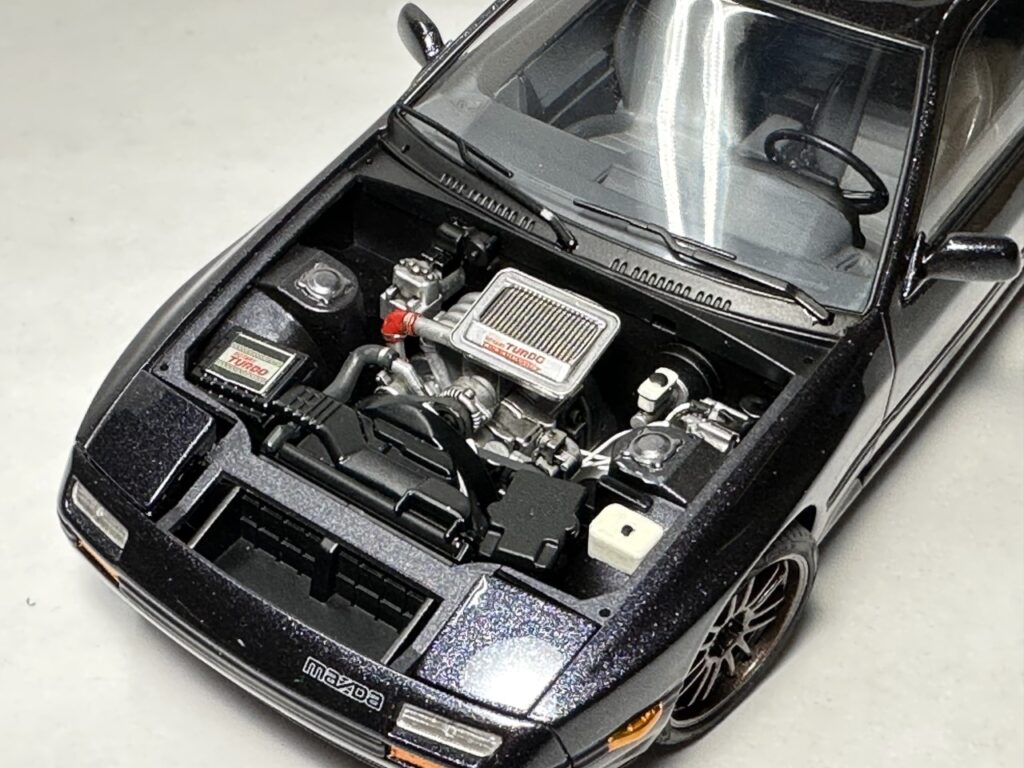
Tamiya included metal pieces for the tail pipes. It was a detail I really appreciated!


Wrapping up my thoughts on the build, I really appreciate how well it went together. All I needed to shine was a good set of aftermarket wheels.