Early in the year…
Following the shop reorganization project at the end of December, I found that I really couldn’t find the motivation to work on any model projects. I worked on a few small electronics projects along with some RC car work. It was a shame since I had a bench layout that is now more efficient. Although I poked at a few projects in January and February, it wasn’t until March that I really picked up the pace.
January
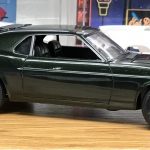
I picked apart the 70 Boss Mustang I finished in 2001. The original build was good aside from the fact that I went with a gunmetal theme rather than chrome. At the time, I thought it looked mean. Over time, I started adding more gleam back to the model with different wheels. Although improved, it was no where near enough. It was time for a “rework”.

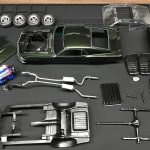
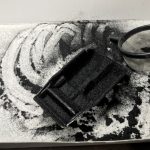
The body was the only thing I saved from the original build. Earlier on, my builds mostly focused on the exterior finish and everything else was finished quickly with minimal detailing. The interior was one solid color and I have no idea what I was thinking with the way the engine was painted. I did add plug wires so there was that. Once I fully deconstructed the model, everything but the body went into the degreaser.
While the parts were soaking, I used bare metal foil on the trim to start. I also filled sink holes in the chassis and rear differential.
February
The early work on the Mustang was quick and I was back doing other things. Through February, I did prime all of the parts for the Mustang and decided to start tinkering with my Mazda Cosmo build.

March
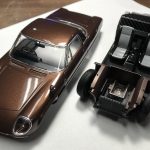
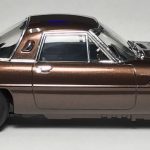
I was determined to get busy and build. The Mazda Cosmo went from minimal work complete to finished before the end of the month. Originally, I thought about painting it a Porsche gunmetal color but settled on Mercedes Benz Mystic Brown Metallic by Gravity Colors. The body and chassis were sprayed and set aside.

Shortly after, I followed up by painting all of the parts for the build then cleared the body with Gravity Colors 2 part clear. This is the first time I’ve tried spraying a model with 2 part clear and I was anxious to see how it would work. While spraying, I realized that I had not deepened the panel lines so I was especially concerned the body would look “buried”. I quickly sprayed two coats and was blown away by the results. I had minimal issues with excessive clear in panel lines. If I had sprayed a third coat, I would lost the body.
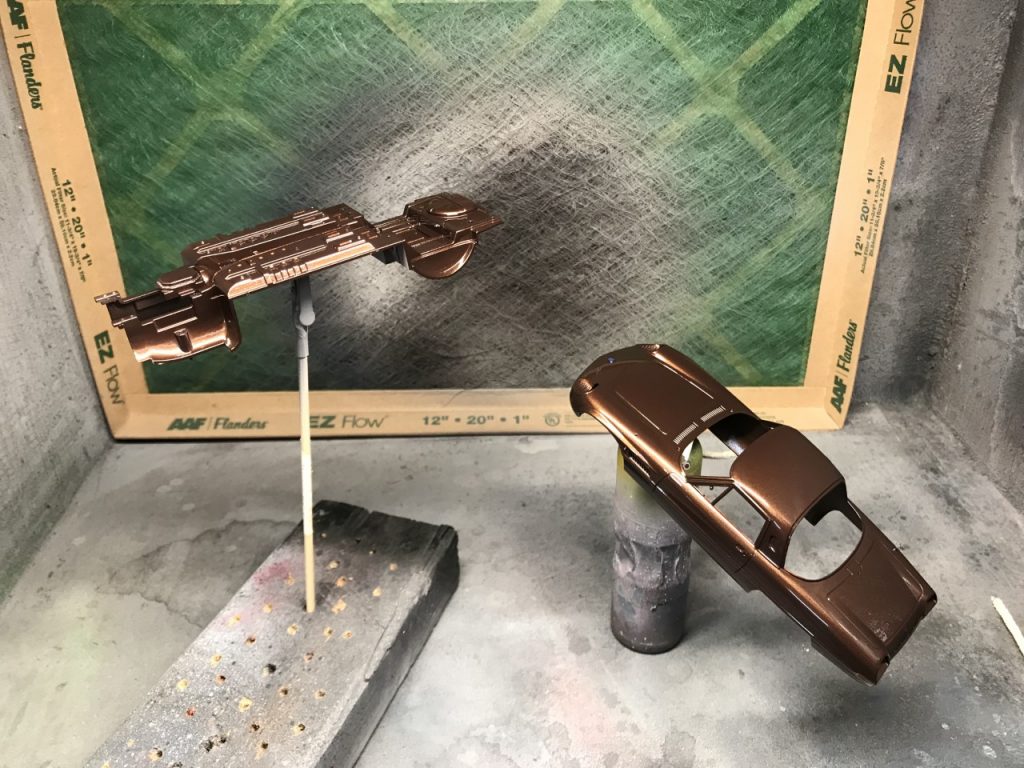
After a few days, I sanded and polished the body, BMF’ed the trim and started assembling the kit. Overall, I was pleased with the build. I had some issues with prints in the clear that I think would have been avoided if I had let it cure longer than a few days.

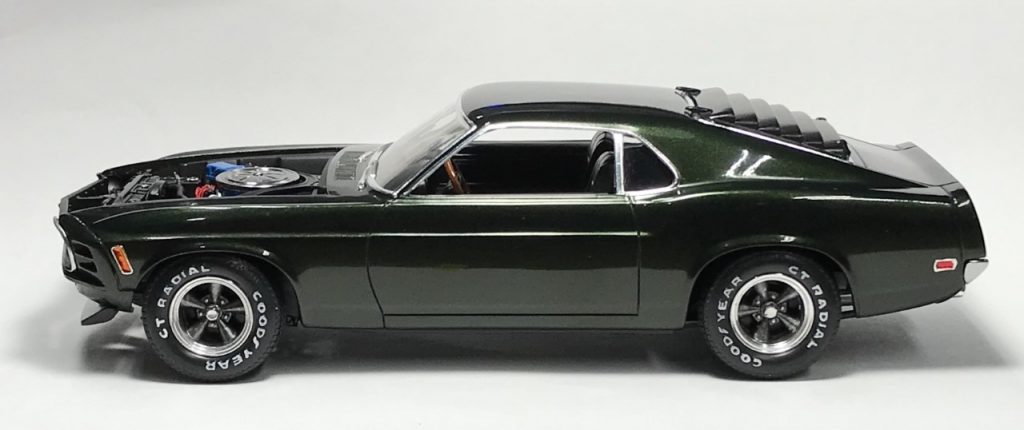
Now that I was motivated, I dug into the Mustang and nearly finished it. I ran into one issue with the front bumper that forced me to strip it and start over. Same with the dashboard. Once I stripped the dashboard, I refinished it quickly. The engine was rebuilt and wired using the wiring from the original build.
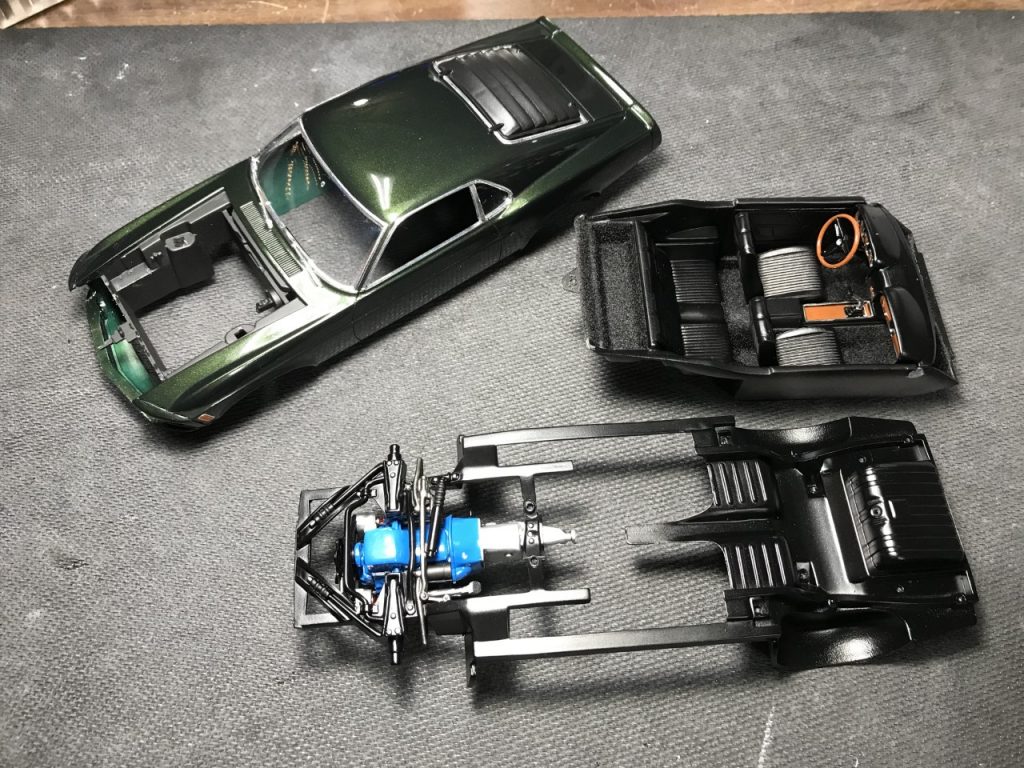
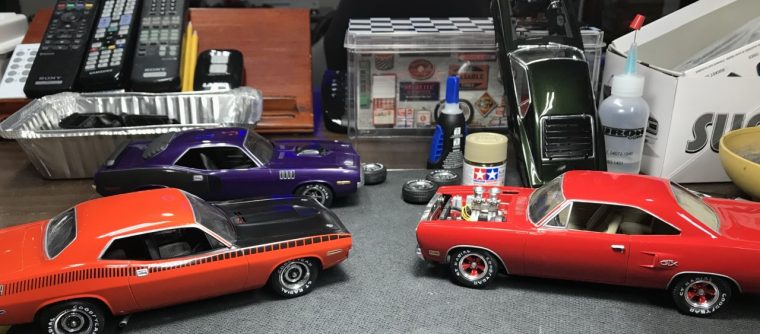
While I was working on the Mustang, I wanted to paint the while lettering on the tires. Since I had my tiny brush out, I thought I would dig out a few other builds that needed lettering. My ’70 GTX, ’70 Cuda and ’71 Cuda also received white lettering.
When I attached the Mustang body to the chassis, I ended up with an issue with the rear ride height being too high. I cut the springs off, and glued in spacers to correct the issue. To date, I only need to complete the bumper.
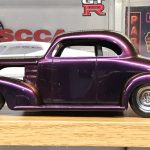
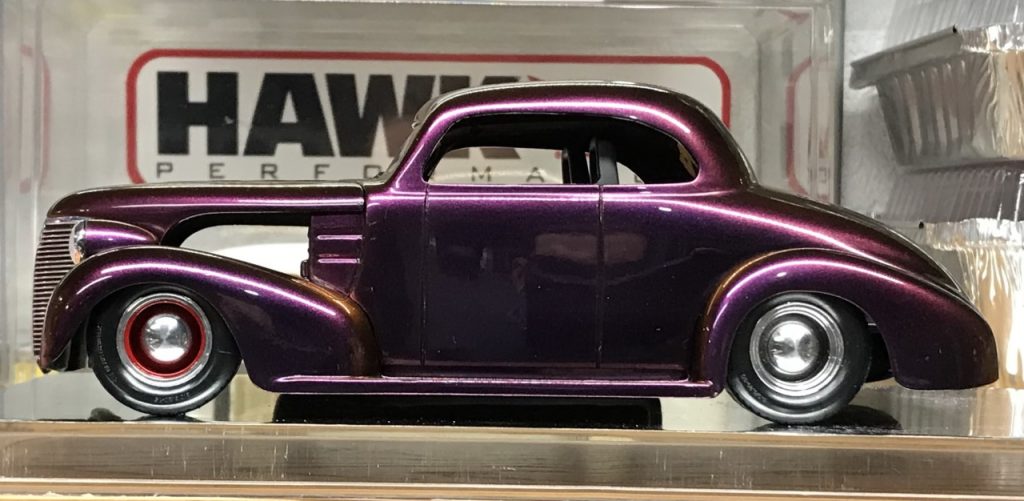
Since I can’t help myself, I also picked up another rework project. The 39 Chevy rework that I completed a few years ago needed an adjustment. When I completed the rework in 2007, I used ’65 Corvette wheels. At the time, I loved them but realized later that they don’t really fit the build. In my stash, I have a set of stock car wheels and tires that I wanted to add. Quickly, I masked and sprayed one wheel red and mocked them with Parts by Parks smoothie hub caps. I was in love and elected to strip the engine and chassis and fix some major shortcomings from the first rework. It will involve reworking the suspension, refinishing the engine and incorporating the new wheels.
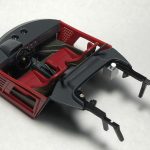
Towards the end of the month, I decided to commit to the Ferrari F40 build. It’s been sitting for too long and I want to see it finished no matter how it turns out. I quickly painted and assembled the interior followed by finishing the last touches to the prep work on the body and sprayed it Tamiya Italian Red starting with decanted paint and finished the color with paint out of the can.
While I was busy with the Ferrari, I decided to wrap up the last bit of body prep on the Ford Probe build and sprayed it Tamiya Metallic Red.


