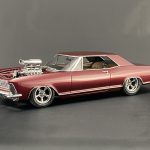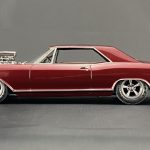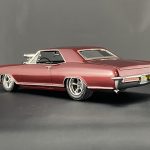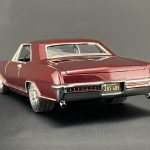
The Kit
For those that attend model swap meets, you know those bags of trashed model kits sellers keep under their tables? This is where I found this Rivera. My son and I bought several bags for $15 with the intent of blowing them up with fireworks. While spreading out our bounty, I picked three that I wanted to try and restore. Sadly, only one of the three were salvageable.
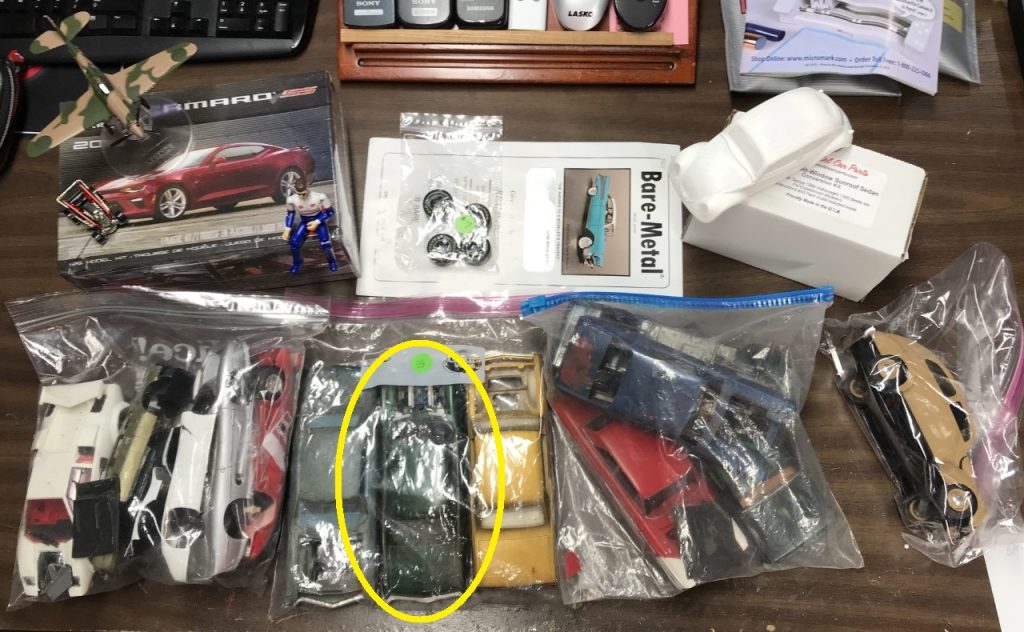
The Riviera was missing it’s hood but everything else was in tact and restorable. One of the wheels was missing but I had no intention of using the original set.

The plan:
With no hood, I needed to build a knock-out of an engine bay. My plan consists of a blown Chevy Big block and shaving the engine bay. Beyond that, I will use other parts from my stash…most of which were salvaged from other swap meet buys!
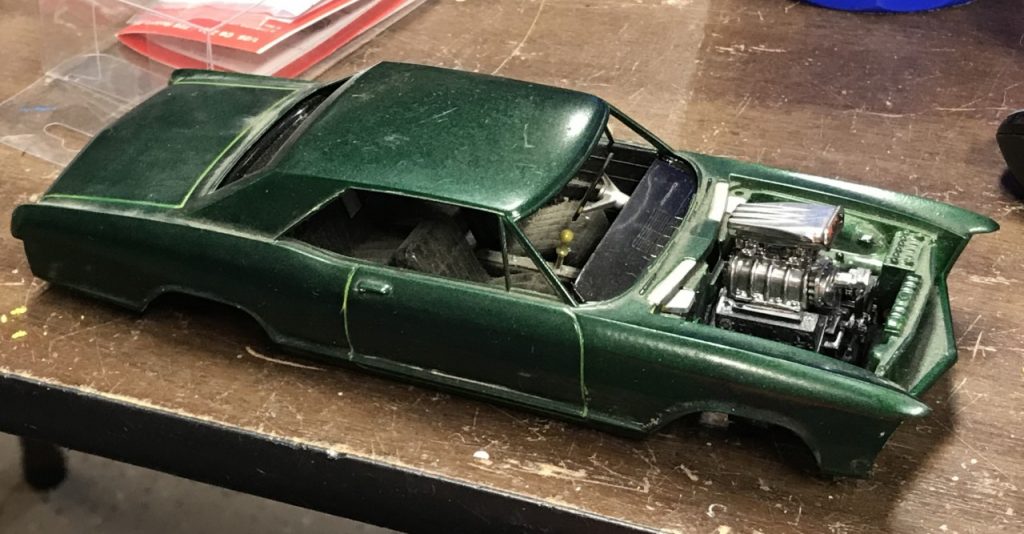
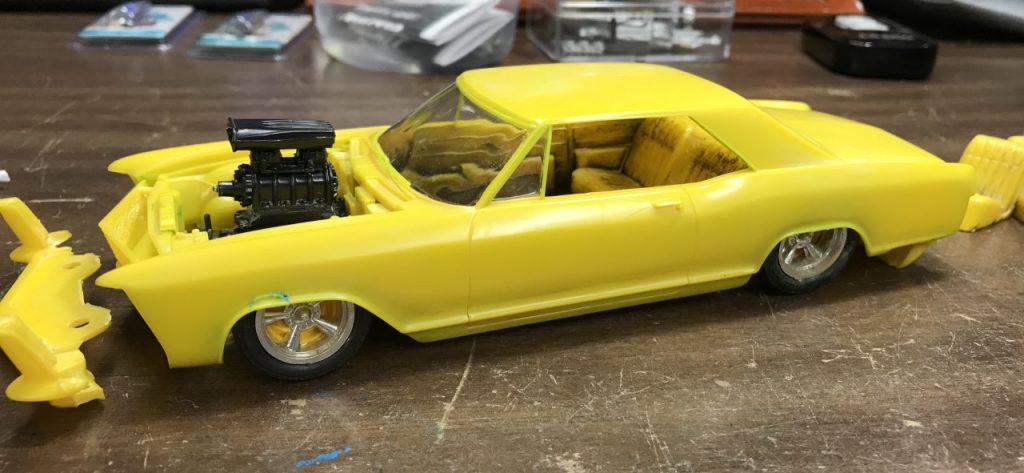
Donor Parts/kits
- 55 Ford truck wheels and tires
- Viper radiator and fans
- 69 Camaro Big block
- 79 Camaro blower
Materials Used
- Gravity Colors Porsche Arena Red paint
- 2 part automotive clear
- Spaz Stix chrome paint (over Testors gloss black enamel)
- Various primers and paints
Interior
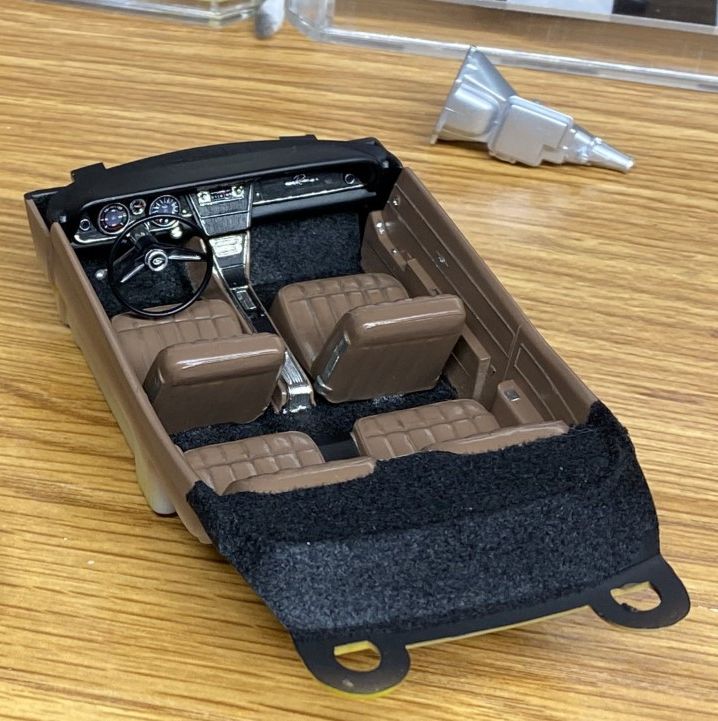
While researching color options for the interior, I found one that was two colors, black and beige. I liked the idea of mixing the colors to create more contrast. Tamiya paints were used for color then detailed with bare metal foil and Moltow chrome paint. To add a bit more detail, I used a pin to create a turn signal stalk. Flocking wrapped up the overall appearance. Added bonus: I used Best Model Car Parts gauges to add more depth to the dashboard. They are amazing!

Body
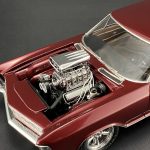
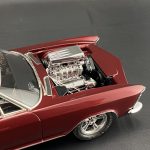
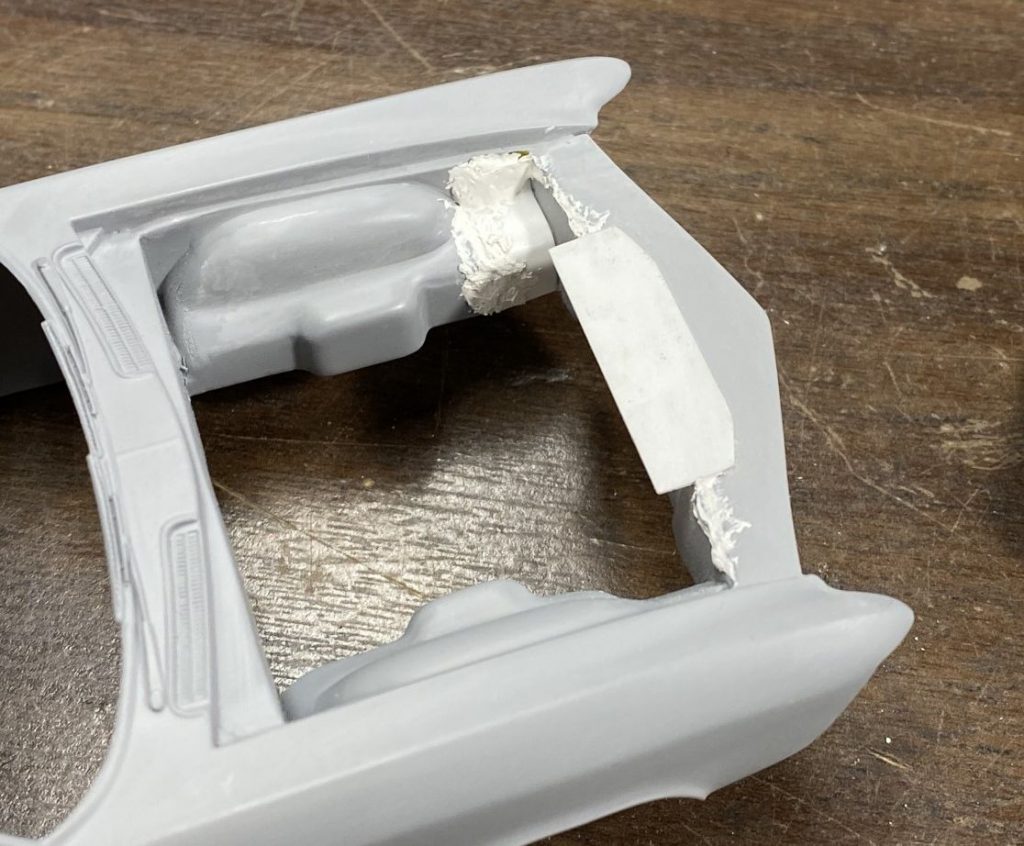
For the most part, the body is unchanged. Most of the work was done to the engine bay since it will be permanently on display. I shaved all of the strange protrusions on the firewall and fender wells. Many odd holes were filled and smoothed. I went a step further and cut out the battery and radiator.
One other significant change necessary was creating a panel to cover the space between the grill and the core support. With no hood, this would be wide open. I created a panel using sheet styrene. When I later decided to cut out the molded-in radiator and replace it with one from a Viper, I needed to create an additional piece to shroud the new radiator. I’m not sure it was the best decision but I think it works.
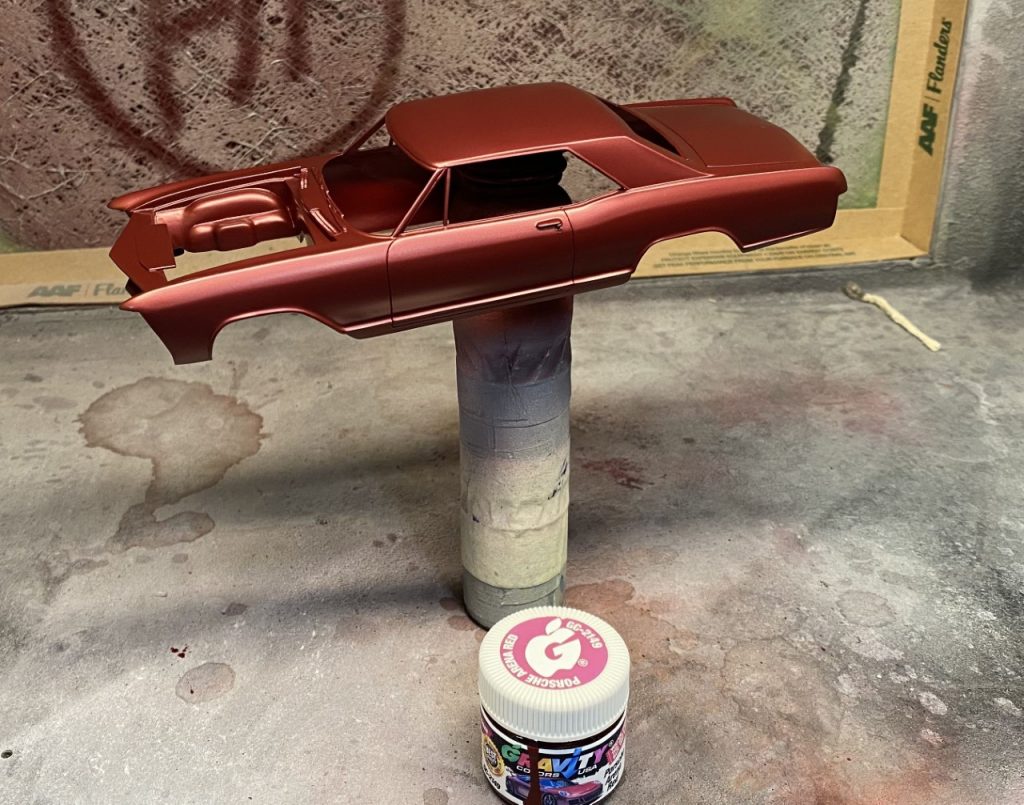
After finishing the detail work in the engine bay and wrapped up all corrections to the rest of the body, it was time for one last coat of primer then paint. I used Gravity Colors Porsche Arena Red paint followed by automotive 2-part clear.
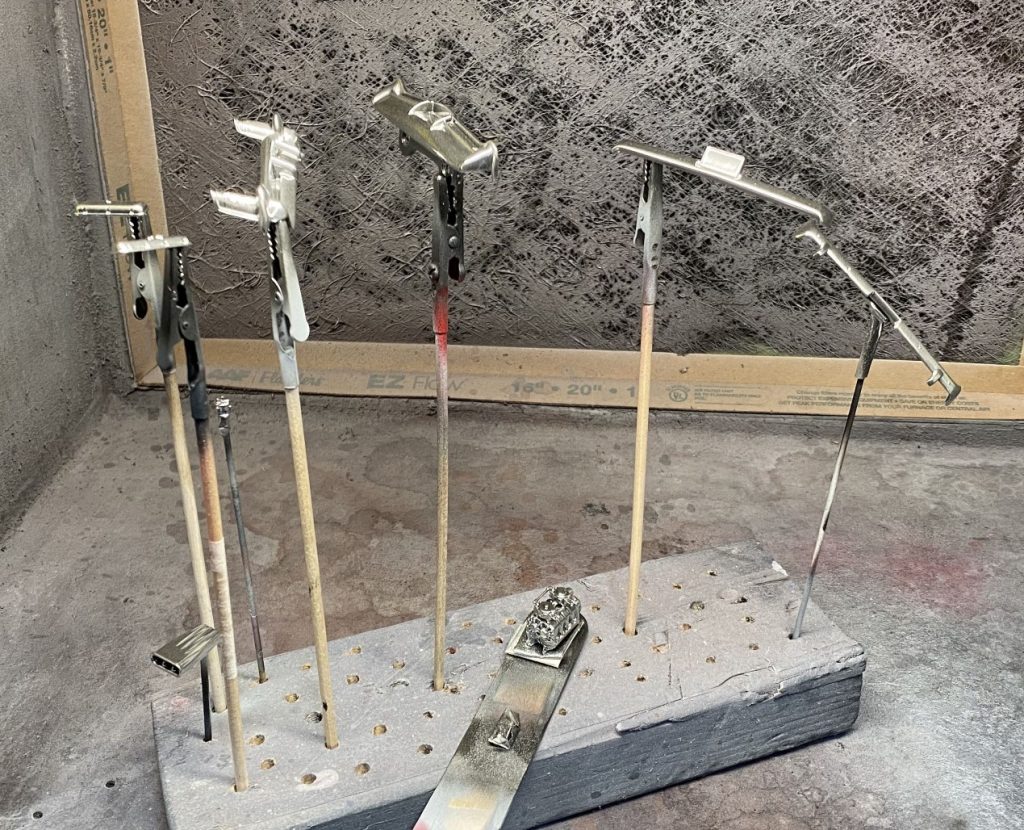
What’s a classic car without plenty of chrome? The engine components and bumpers were prepared for and sprayed with Spaz Stix chrome paint.
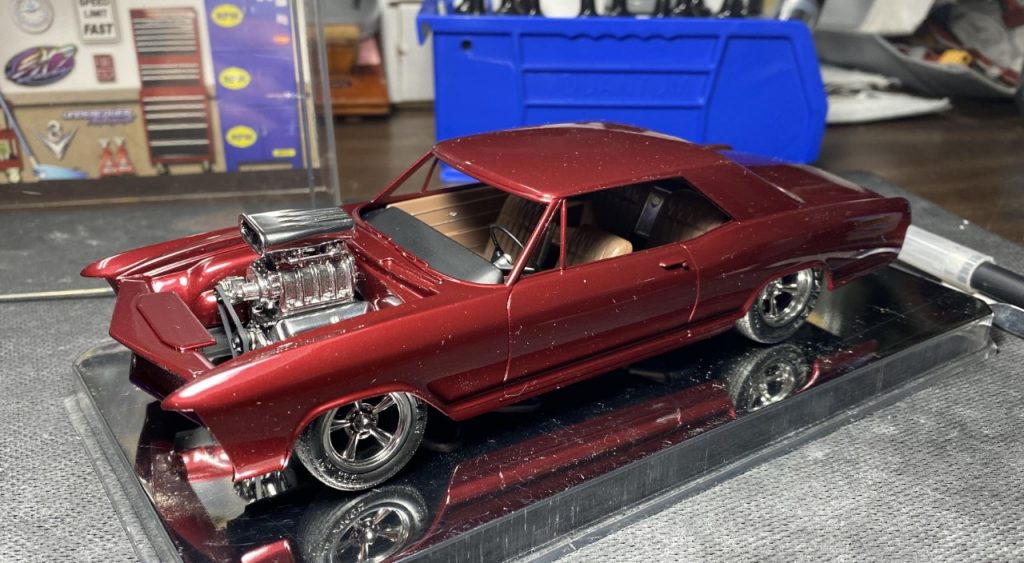
After the clear cured for a few days, it was time to sand, polish and detail the body.
Chassis
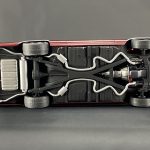
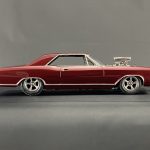
The chassis has all of the detail molded into it. The strange exhaust, the rear axle and part of the transmission and drive shaft. It also utilized metal axles that passed through the original engine which had to be corrected. Once I decided on the wheels, I had to figure out how to create the low stance. The rear was easy given the fact that I could still use a metal axle. I used the upper hole in the mount and all went well. The front was lowered by drilling additional holes and gluing a short metal axel in each side.
Other work completed involved cutting out the part of the molded-in transmission and grinding away the rear portion of the exhaust. The new engine will take care of the space created. Additionally, solder will replace the tail pipes from the muffler back as well as complete the connection between the exhaust manifold and molded in exhaust. Engine mounts were added to hold the new big block in place.
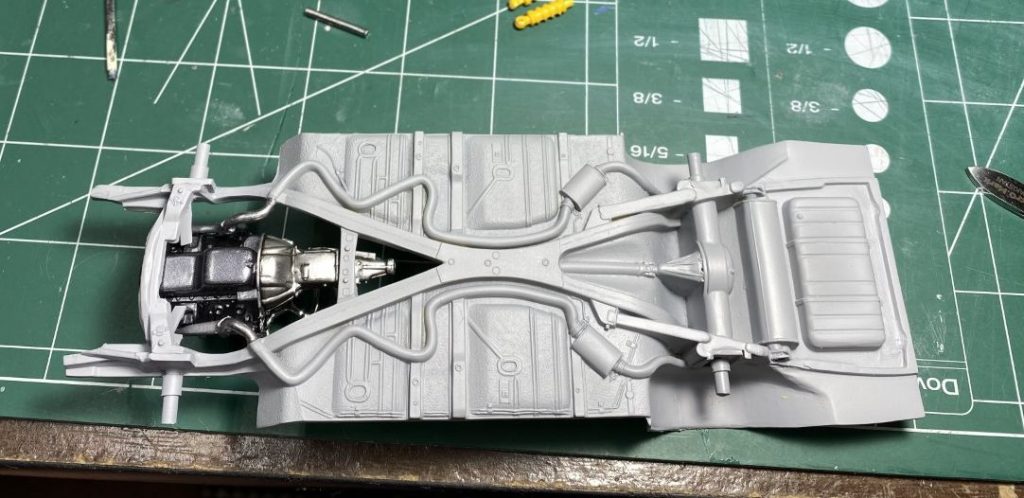

Once the detail work was completed on the chassis, I primed then painted it Tamiya flat black. Any molded in detail was painted with Vallejo silver paint.
Engine
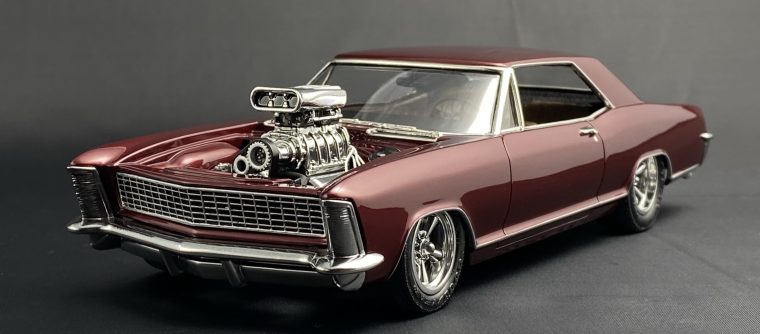
While planning this build, I realized the most important part of the model would be the engine bay. I wanted to be a bit rowdy and install a blown big block Chevy. I raided my spares and found a big block from a ’69 Camaro and used the blower from a ’79 Camaro. Every part was stripped and seams filled as necessary. All chrome parts were finished with Spaz Stix chrome paint over Testors enamel gloss. The block itself was painted Tamiya gunmetal.
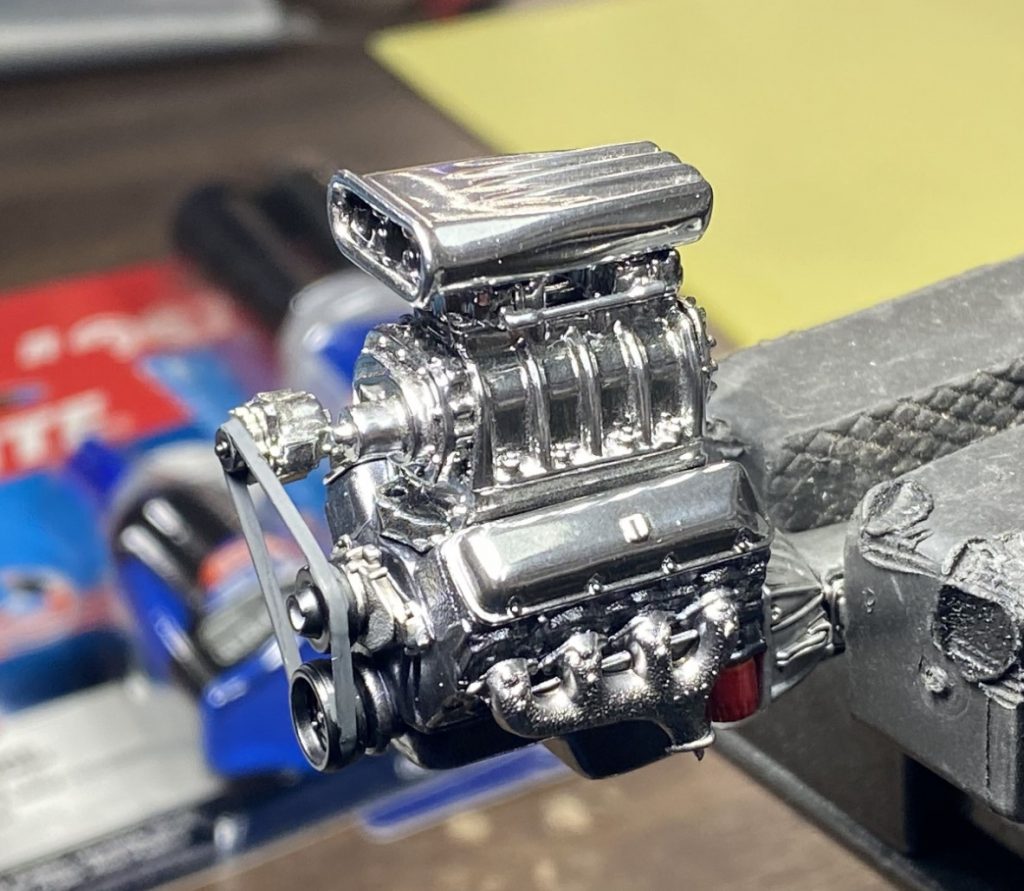
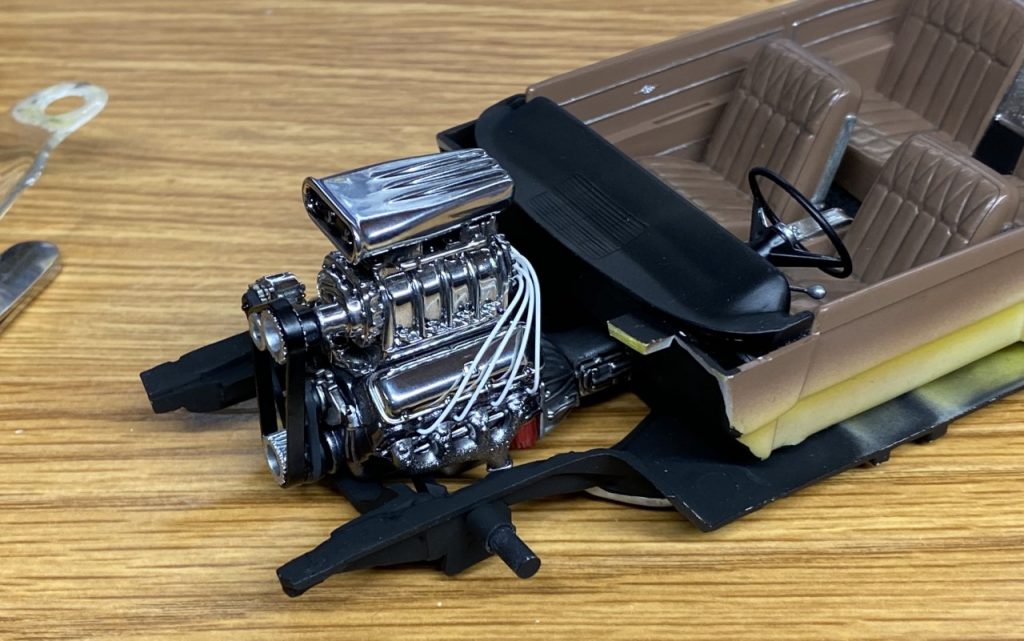
As much as I would have loved a set of headers, I had to stick with the exhaust manifolds to simply the connection to the exhaust. Wrapping up the work on the engine, I used Detail Masters distributor and wire.
Final Assembly
Once all of the main components were finished, it was time to pull it all together.

All of the chrome and clear parts were glued to the body. After that, I glued the three main pieces together.
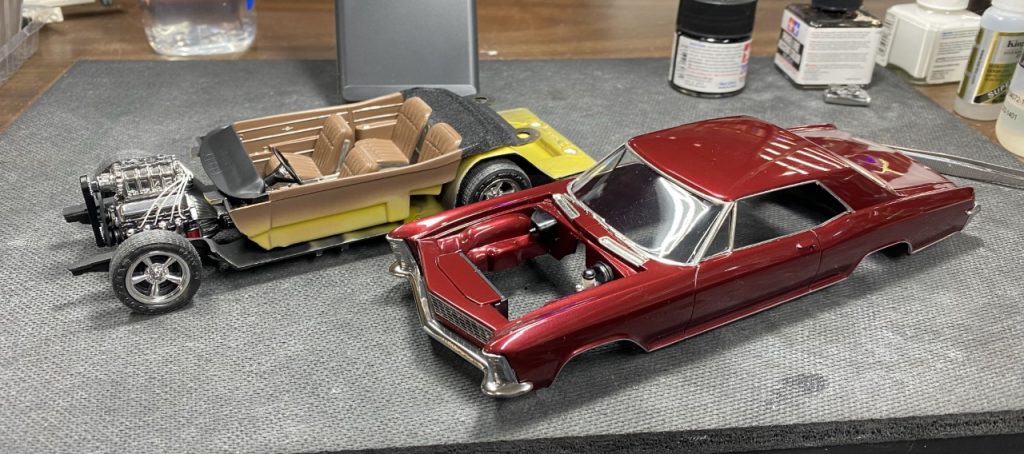
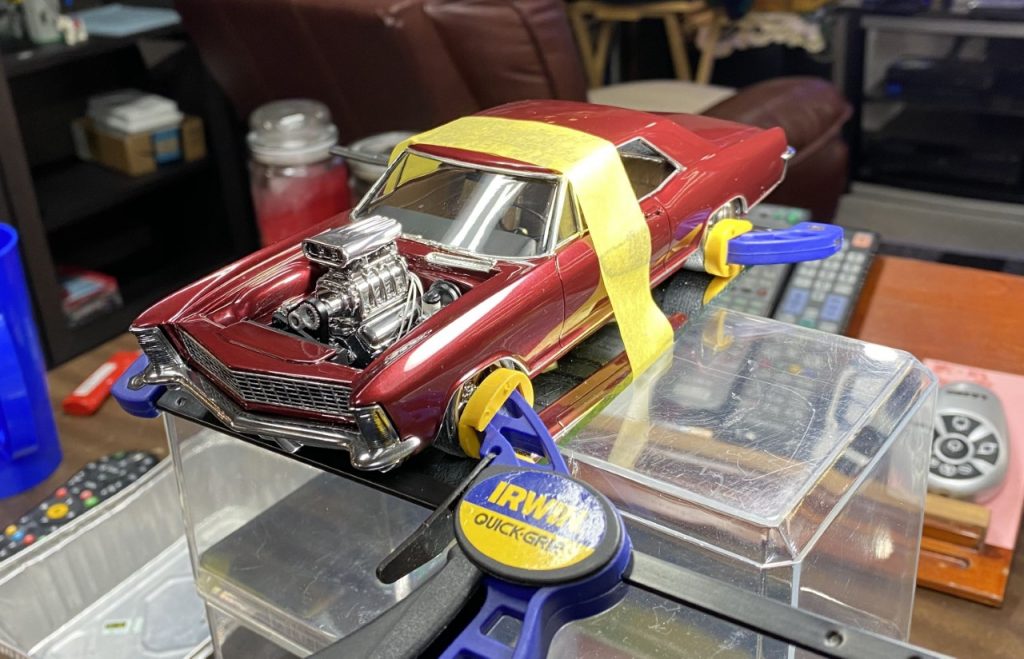
When I prepared the wheels, early in the build, I had to drill out the original mounting pins. That left me with a lot of flexibility for positioning. The only problem with that flexibility was getting the alignment correct. Using 5 minute epoxy gave me a lot of time to get it right but I needed a way to hold the wheels straight. Looking around my bench, I found my sliding clamps and realized they would be perfect for the job. After taping the project to a piece of glass, I used the clamps to hold the wheels while the glue set. It worked flawlessly!
Final Thoughts
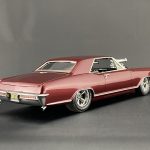
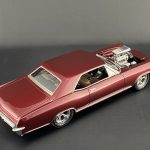
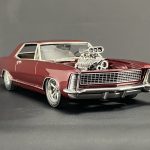
Without a doubt, this has to be one of my favorite builds. That’s saying a lot since I have many builds which I love! What makes this one special? First, the idea of saving a long forgotten project from the trash. Next, the Riviera is a great looking car from it’s time. Lastly, considering the body itself is completely unchanged, the engine, wheels, stance and color give the build a menacing appearance. I just love it!
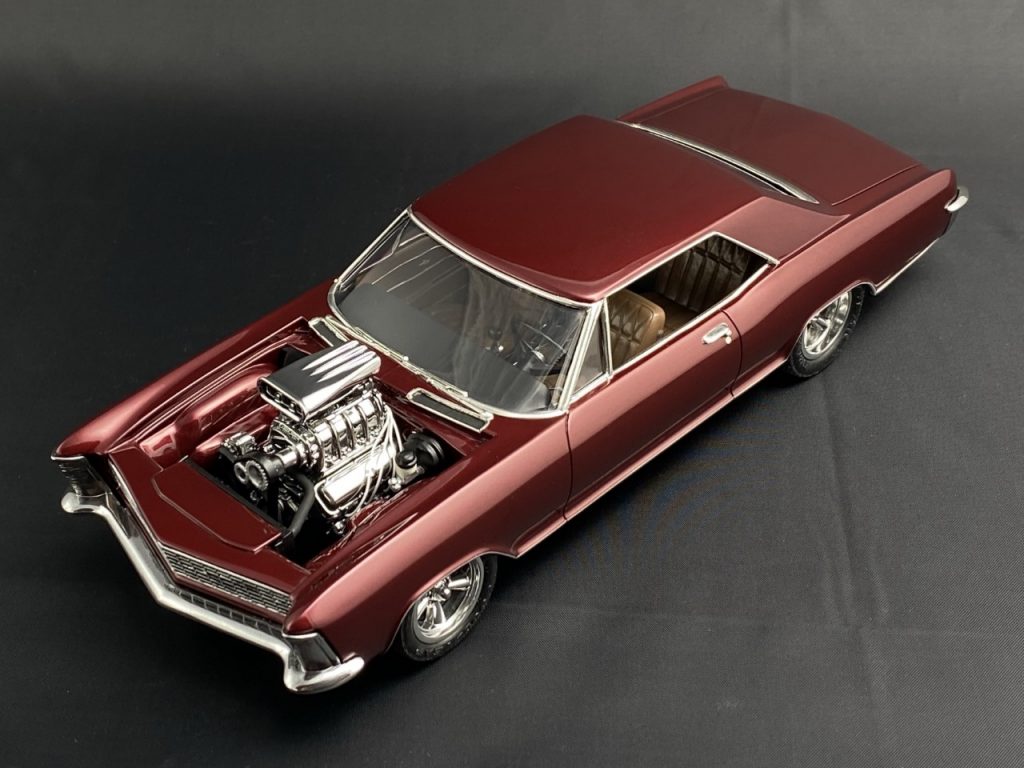
Click through the gallery below for more finished pictures.

