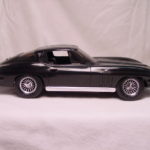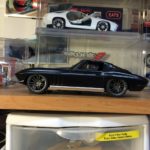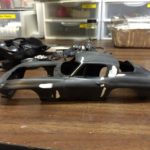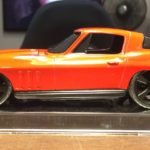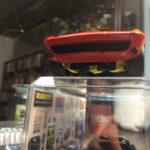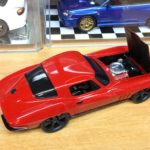
Long before I started using an air brush I built this Corvette. It’s hard to imagine since I’ve been using proper tools to build models for over 20 years. I built this Corvette in 1992 and only painted the bumpers and the engine. Since the model was all black, it still looked sharp.
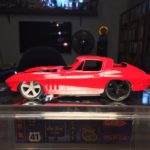
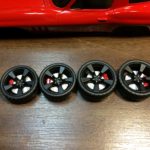
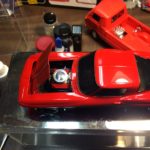
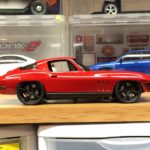
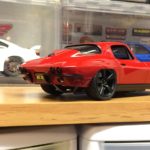
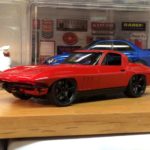
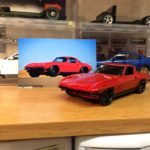
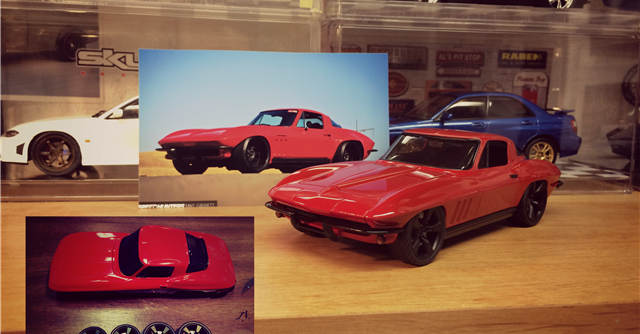
One day, I came across a ’65 Vette that was built for autocrossing. 1) I’ve been autocrossing since ’99 and 2) the Vette in question was built very well. Red, with very wide black wheels. I had to build one for myself…at least in scale! I had a set of 19″ Aoshima wheels sitting on the shelf that would do the trick. Although I didn’t try to perfectly replicate the Vette from the video, with massive fender flairs and incredibly deep wheels, the plan for this kit will result in a reminder of one I found online.
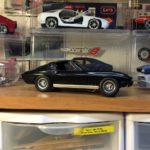
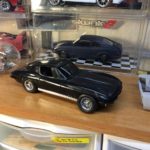
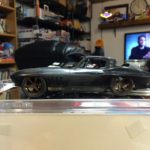
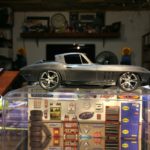
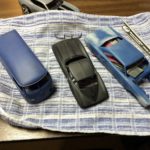
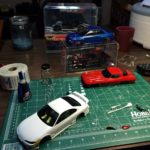
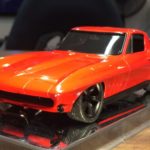
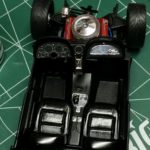
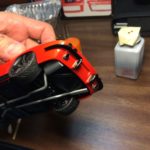
As I was working on this project, I stumbled upon a set of wheels from my son’s Concept Camaro snap kit. He had broken the mounting “stub” from the wheels and I had set them aside in case I ever wanted to use them. Once I posed the kit with the wheels, I was sold! I was tempted to keep them chrome and paint the model black since it looked so good in the mock up. Alas, I stuck with the original vision of replicating the full size autocrosser.
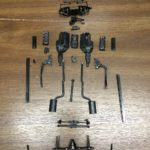
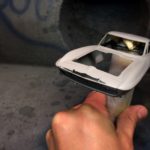
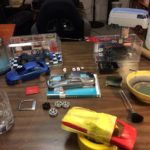
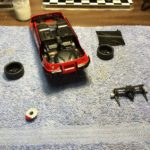
Prepping this model for paint was fairly straight forward. I eliminated the vents behind the doors and cleaned up all of the mold lines. There were a few sink marks that needed attention and I was able to resolve most of them with Tamiya filler primer. I stripped any parts that were chromed or painted and repaired any seams or sink marks. Once everything was ready, it was time for paint.
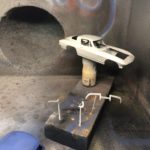
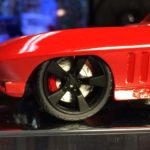
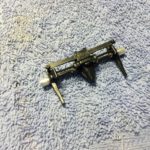
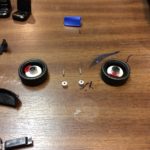
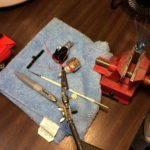
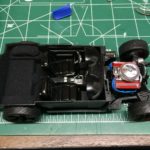
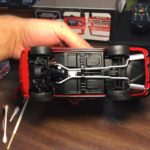
One of the challenges I face was setting the massive wheels in the right place. I wanted to get the wheels to sit relatively close to where I had them in the mock up pictures. The rear was very close only requiring minor modifications to the mounting points of the rear axle. The front took more effort. I thought I could make pie cuts in the arms and move them to lower the suspension. I was a little rough with the saw and managed to break the front cross member. I had also broken one of the wheel mounts when I tore the original build apart. After a few evenings of trial and error, I decided to grind down the mounting points for the cross member, drill the uprights to locate new pins for the wheels and carefully glue everything into place. Also, since the wheels didn’t have a stub to slide onto an axle, I had to get creative. I glued the brake rotors to the back of the wheels. This gave me a starting point. I then used several sizes of aluminum tubing to build a filler piece that would slide onto the axles and into the back of the brake rotor. once all of the pieces were fitted, I used epoxy to glue the wheels in place. The epoxy gave me the time I needed to set everything in place, and the strength to keep it there.
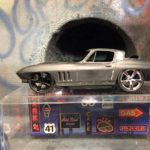
After the wheels were mounted, all I had left was to build the engine, and finish up final assembly. The finishing touch was the aluminum tubing I used for the exhaust pipes.
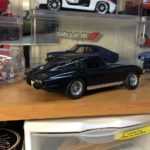
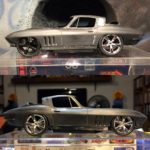
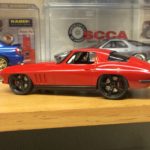
Although it is not a perfect replica of the car I saw online, I believe I captured the idea and the attitude. I am very pleased with the end result!
Originally completed some time in 1992
Rework completed: November 2015