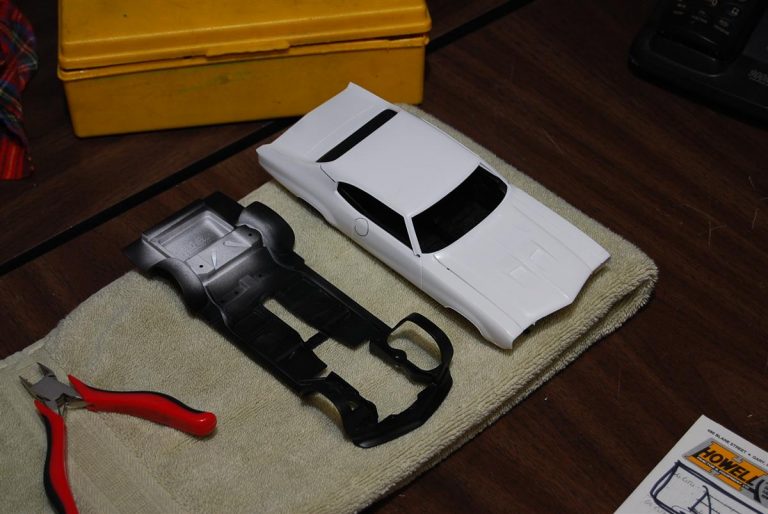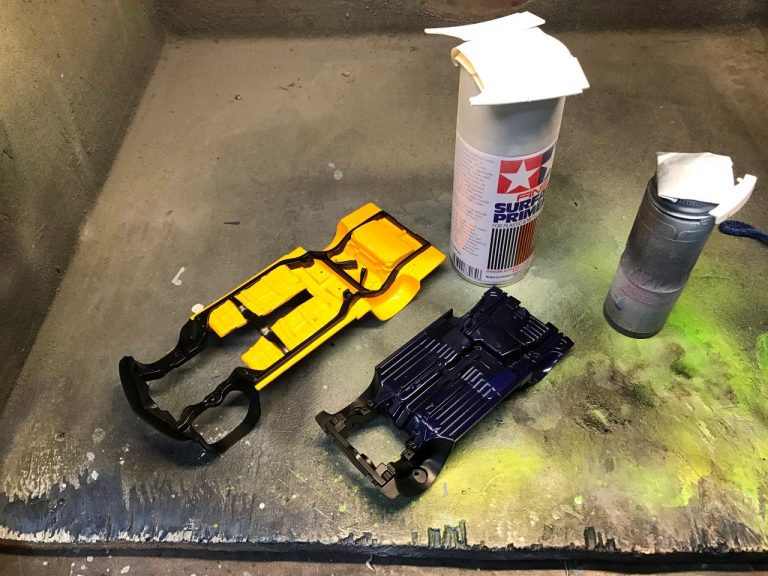
I have to start this by saying this isn’t one of my favorite cars. I honestly don’t know why I bought it back in the ’90’s. I tried starting it in 2007 and after grinding off the door handles and painting the chassis, I tossed everything back in the box. I’ve pulled it out a few times over the years and finally committed to build it in 2016.
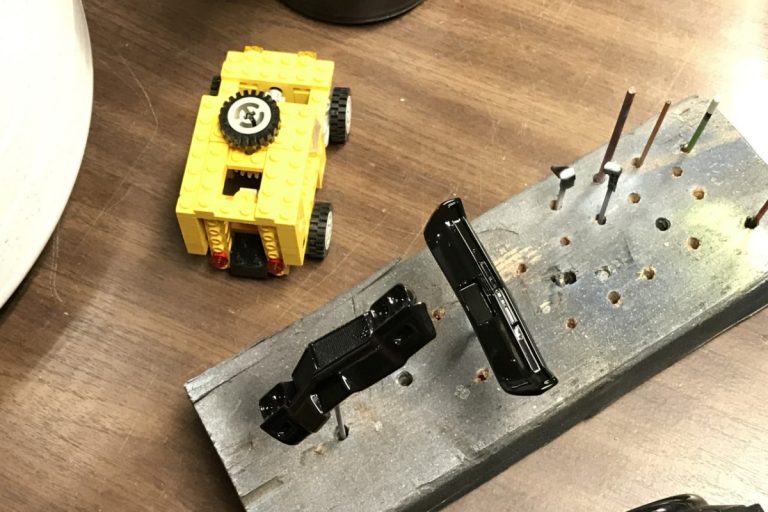
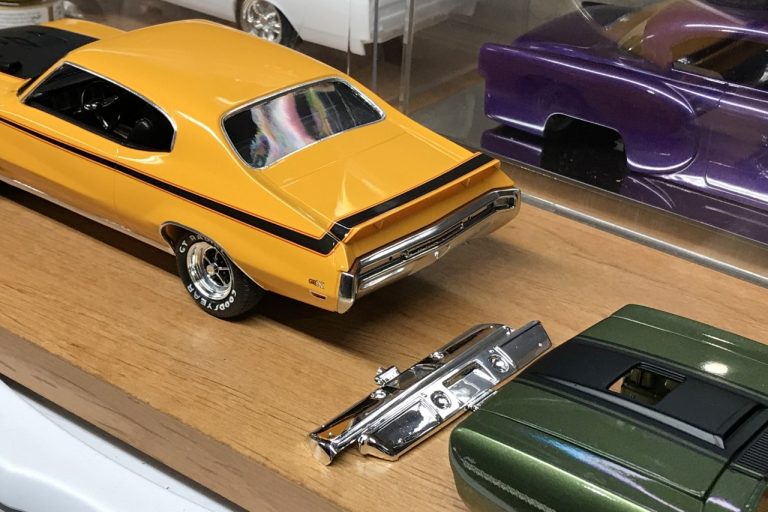
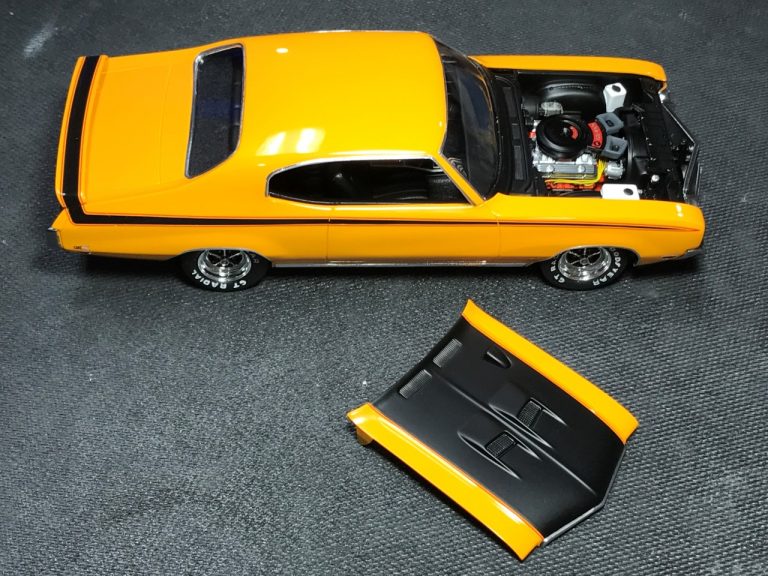
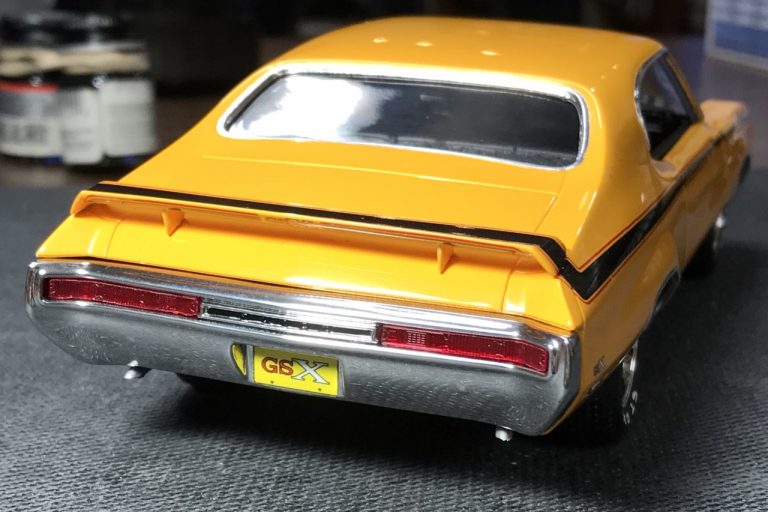
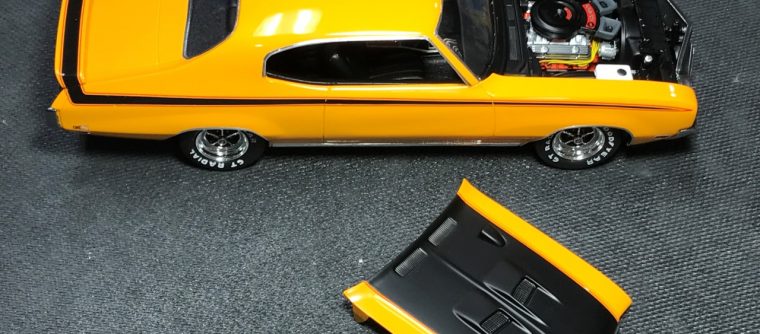
I started by stripping the chassis pan to give me a fresh slate. Other than a few mold lines, the body didn’t need much prep work. I scribed the panel lines and filled the trunk keyhole. Since the wing had no locating marks, I taped it in place, outlined the mounts with a marker and drilled holes. I then reattached the wing and drilled holes into the mounts. I used thin wire to create mounting pins for positive location and to solidly mount it to the finished model.
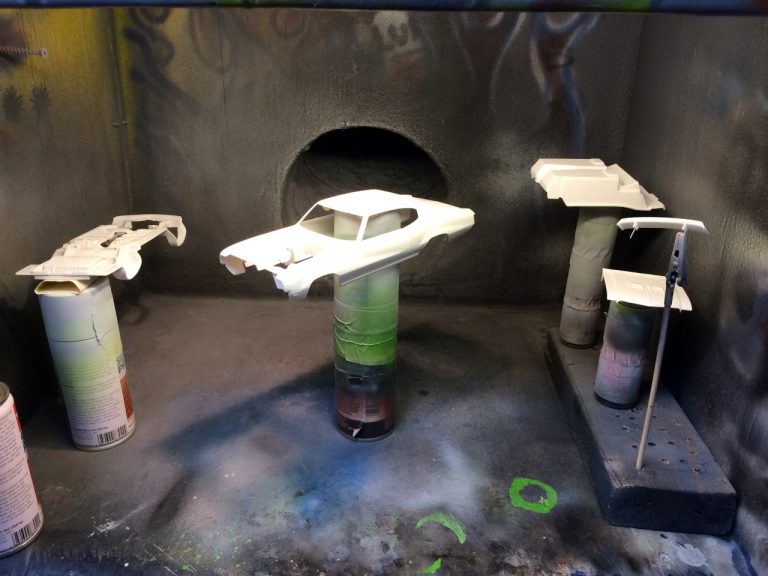
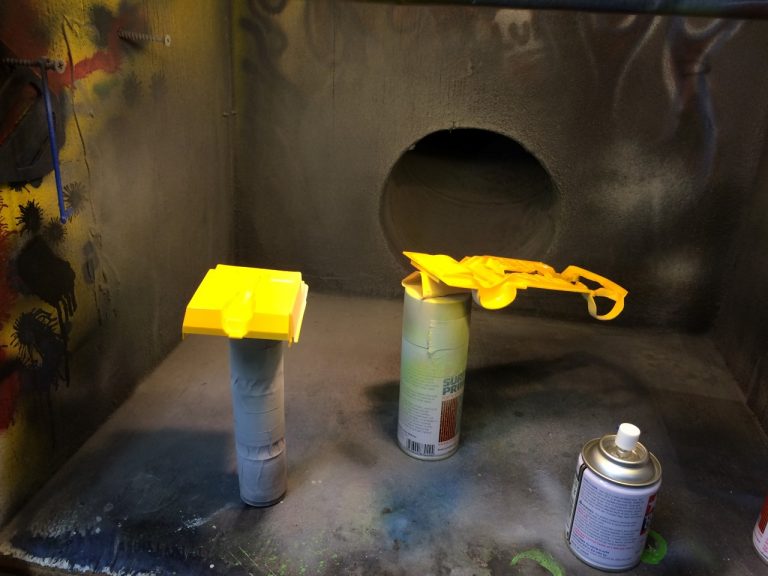
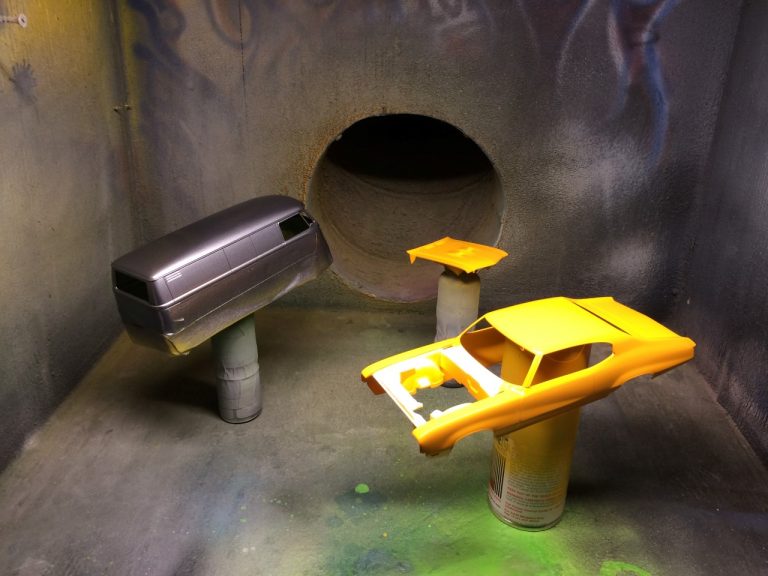
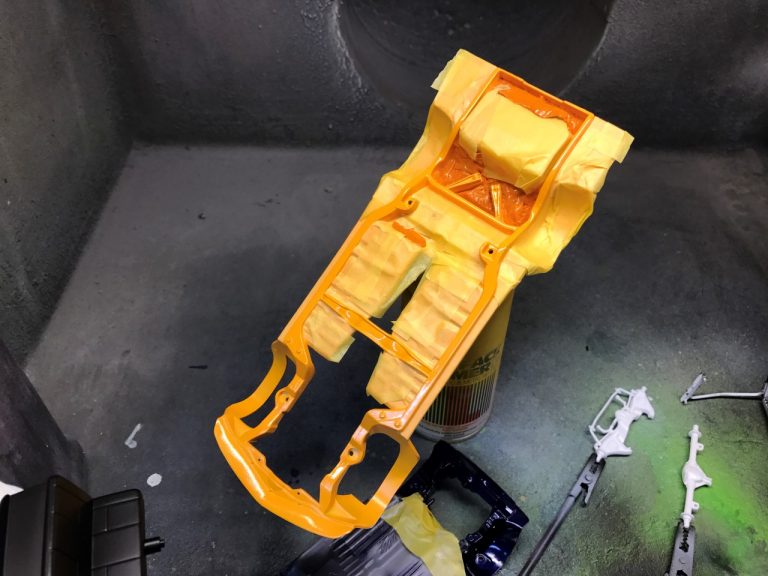
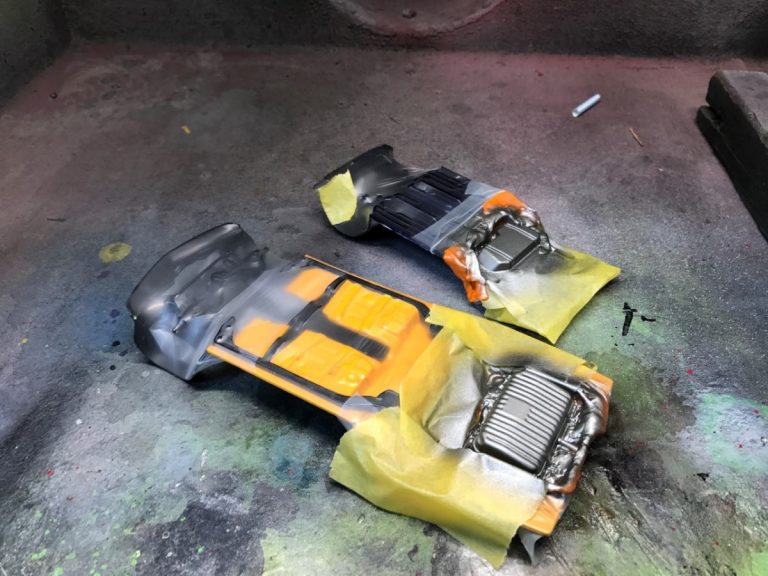
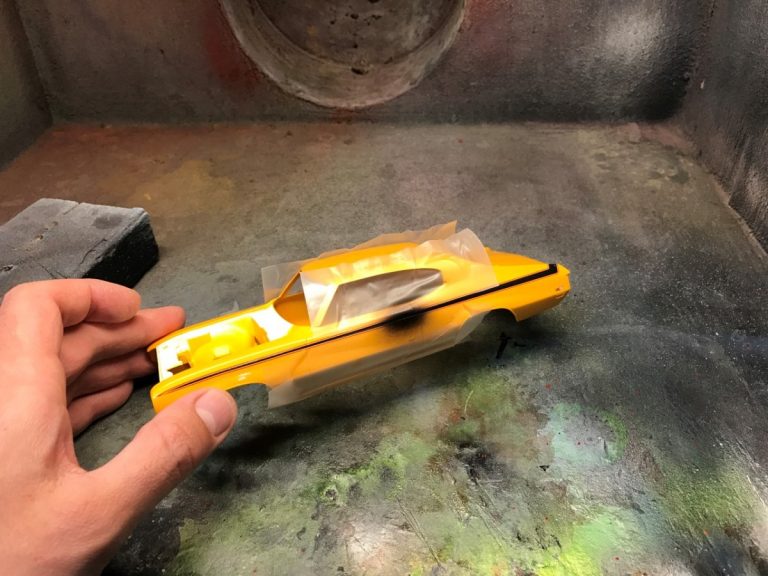
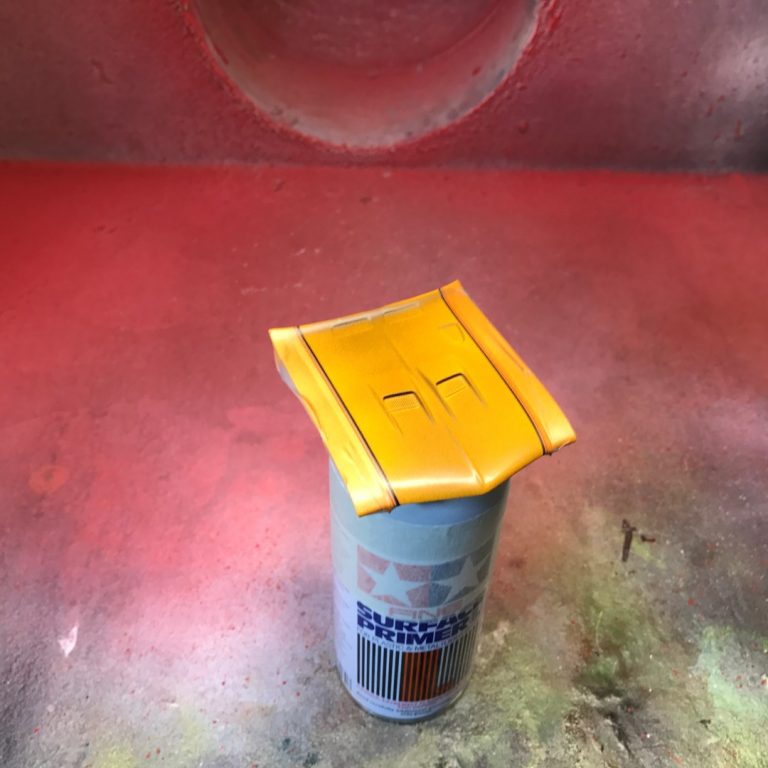
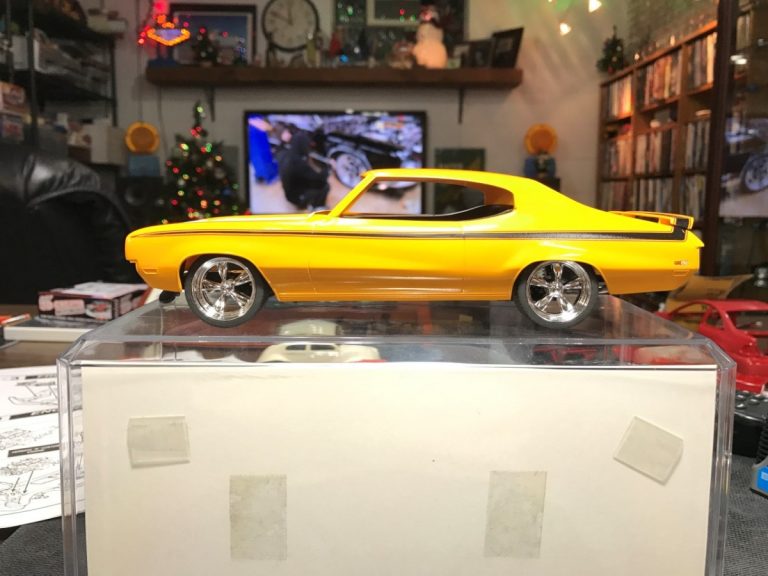
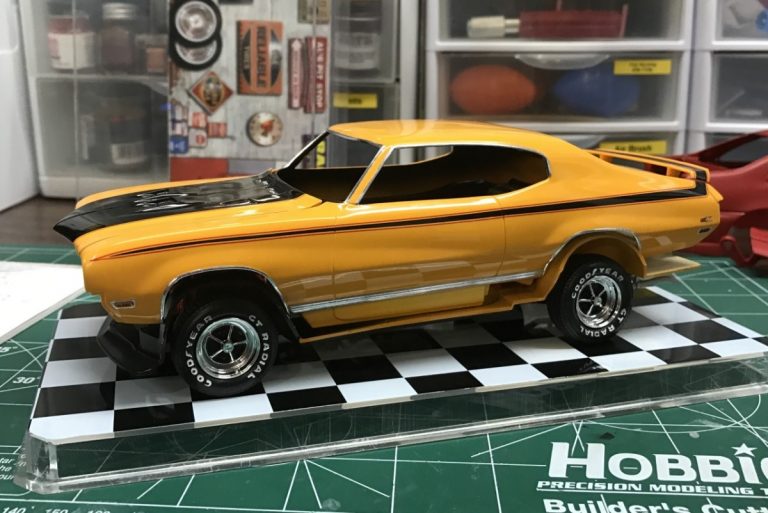
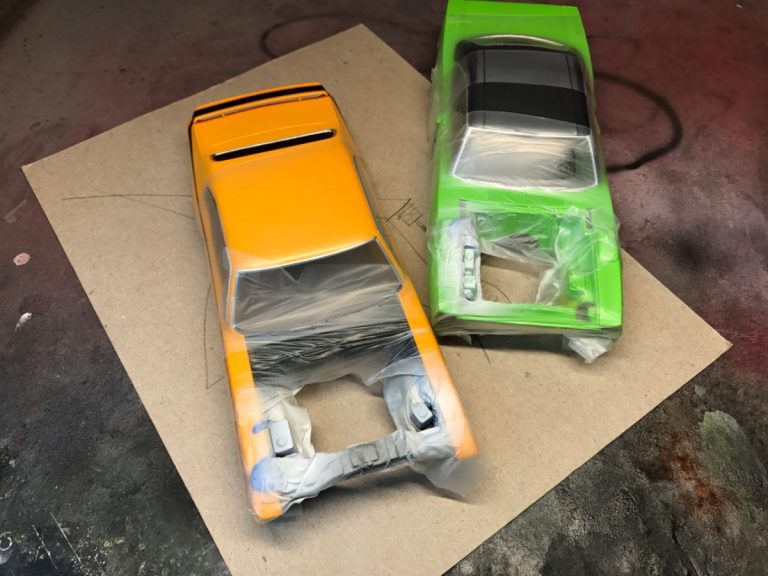
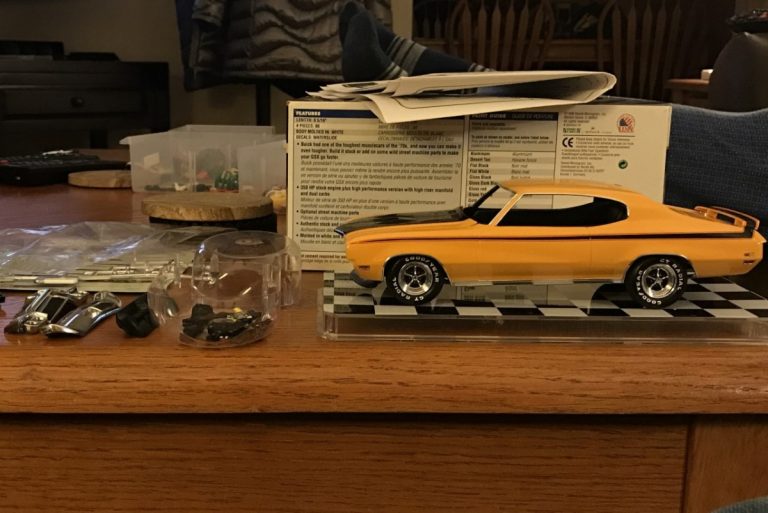
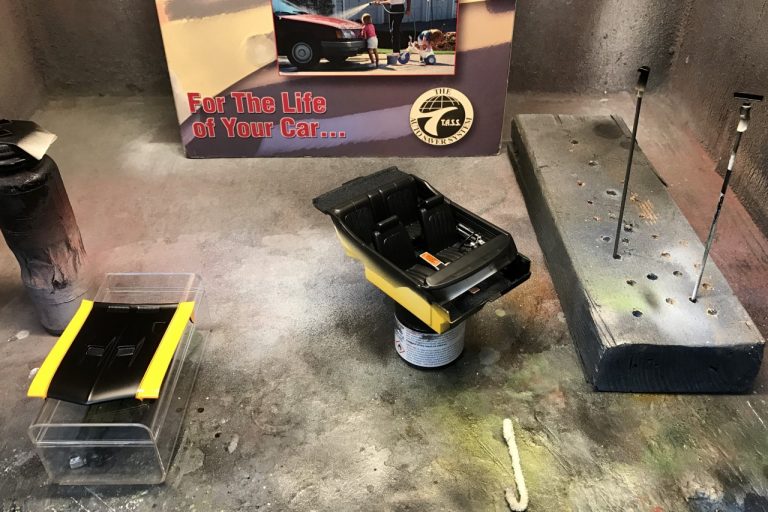
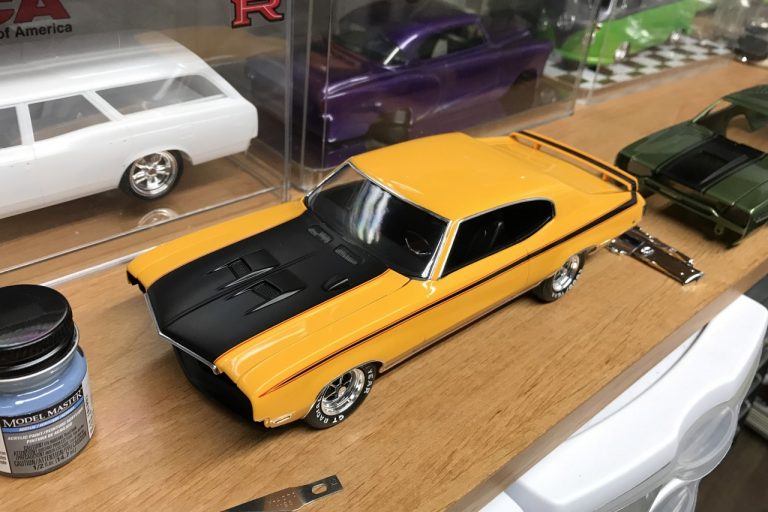
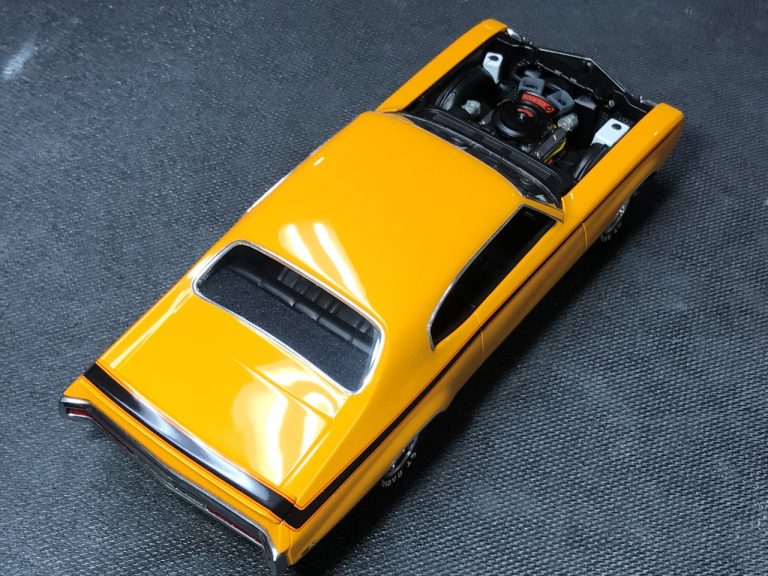
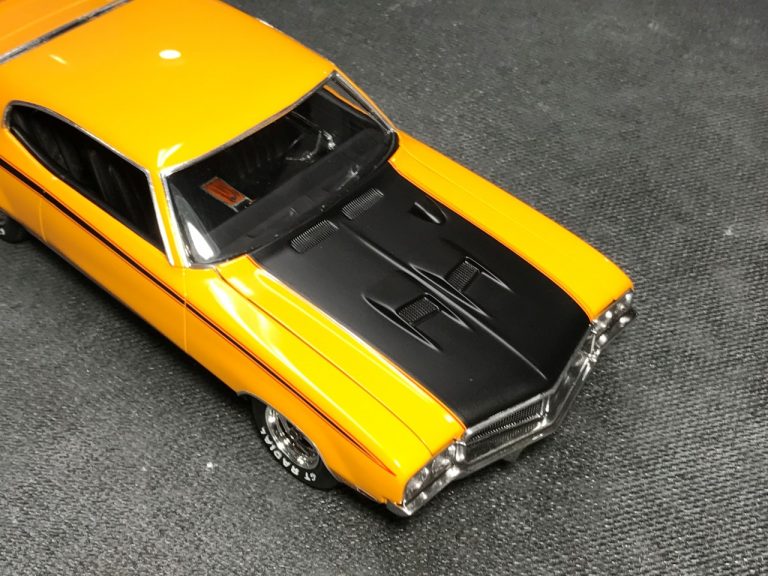
I decided to stick with an OEM look for the GSX and paint it yellow. I chose Tamiya Camel yellow which I sprayed directly from the can.
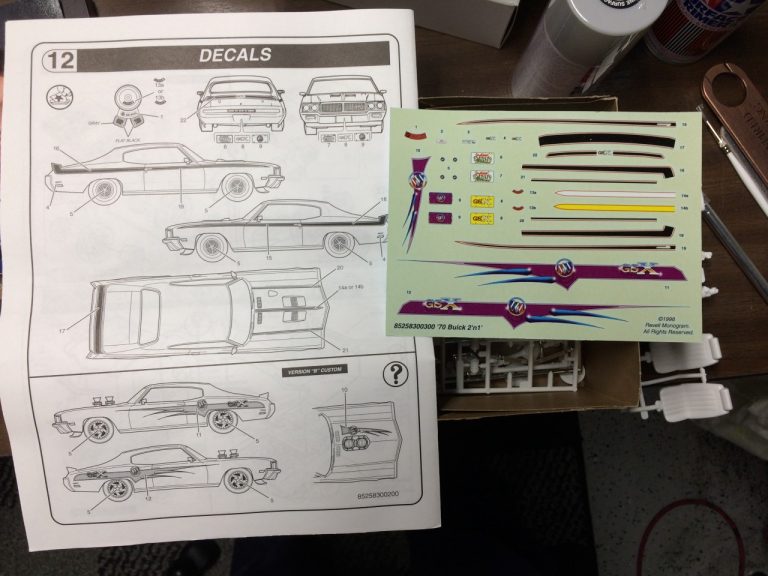
The GSX decals have a cut-out for the door handles which I corrected by carefully masking and airbrushing satin black paint over the gap.
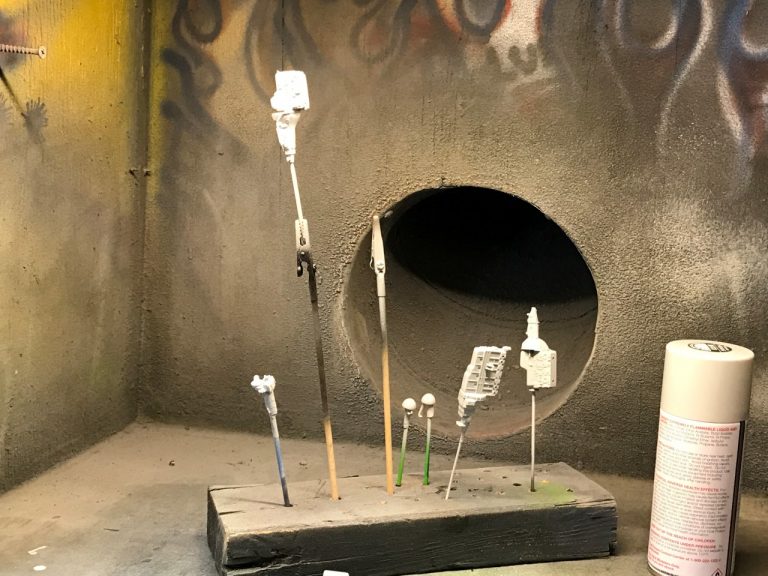
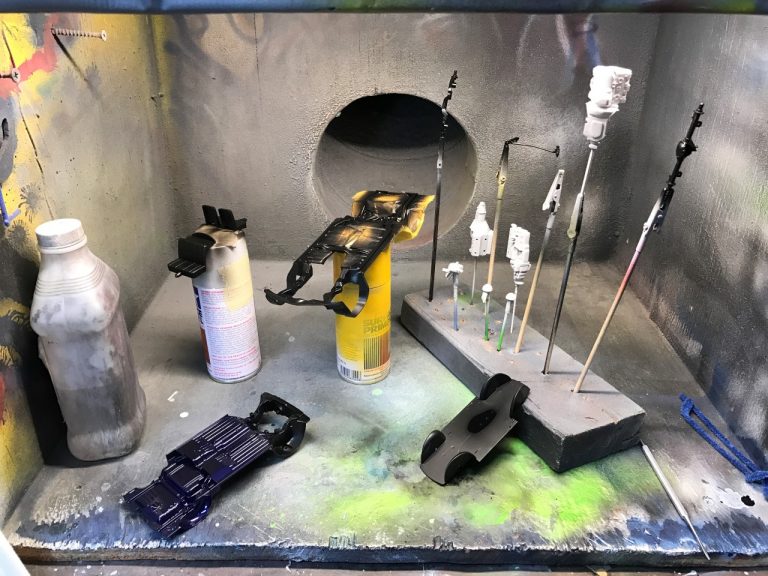
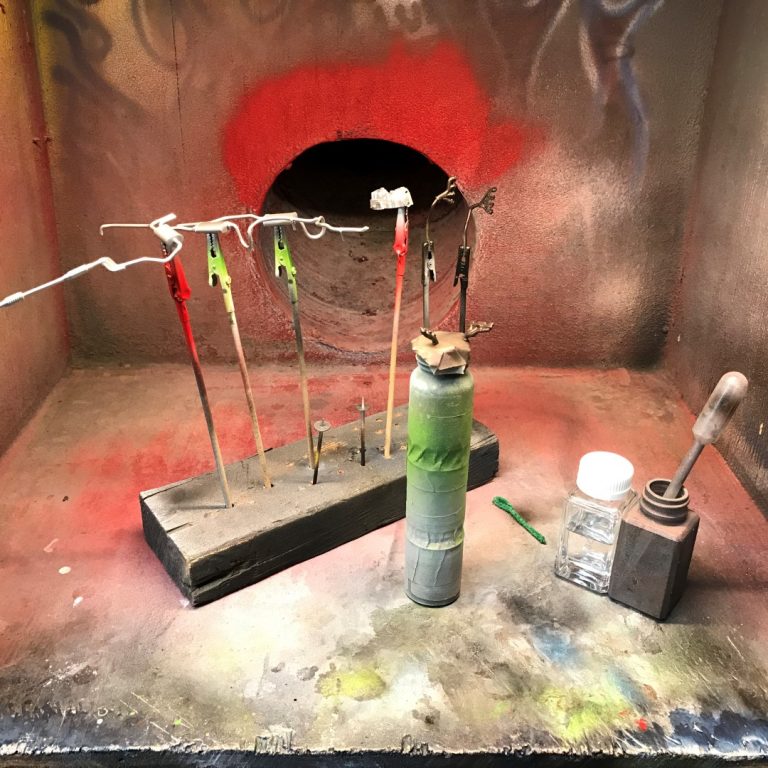
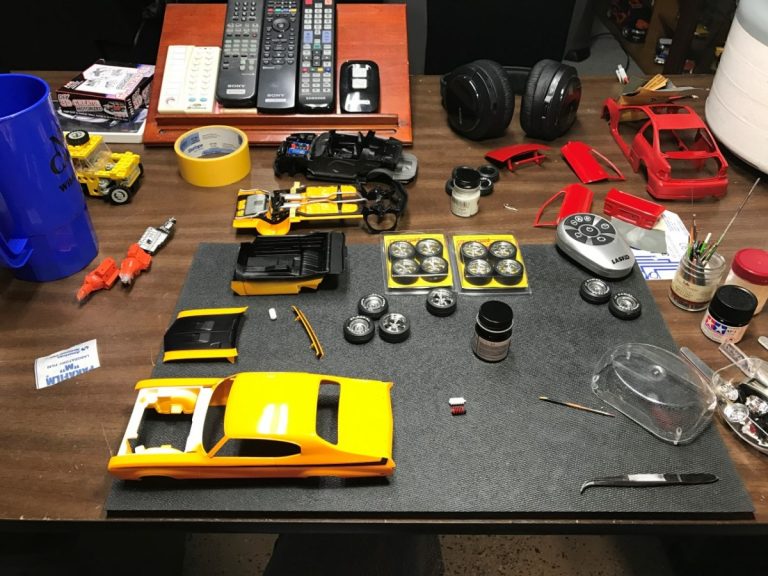
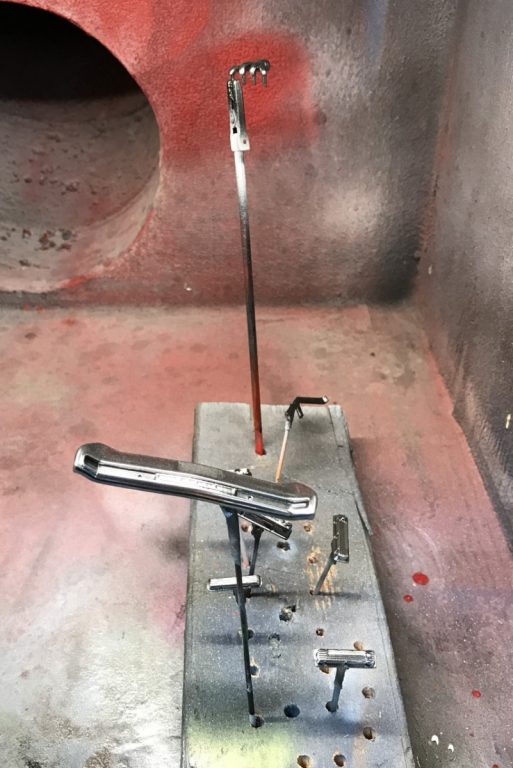
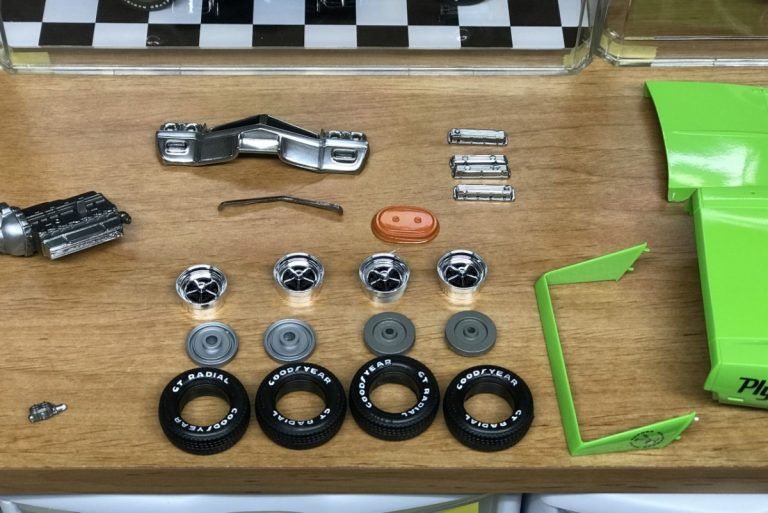
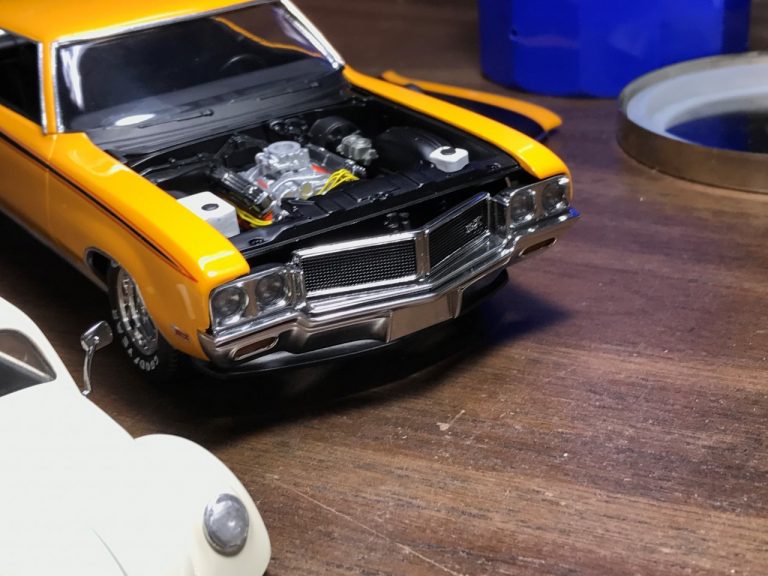
The chrome plated parts were in sad shape. There were several thin areas where you could see the color of the parts. There were also several engine parts that were plated and didn’t need to be for a stock build. I elected to strip everything except for the wheels. Using Alclad chrome paint, I was able to successfully chrome the bumpers and other trim parts. I was very leery of using Alclad due to my previous lack of success using it. I started with an enamel gloss black paint and a few days of curing I sprayed two very light coats of Alclad chrome. I was very pleased with the results.
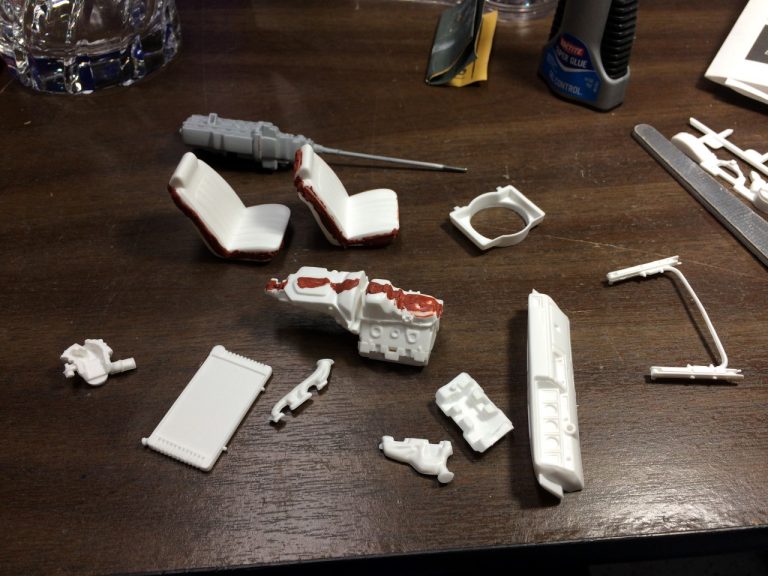
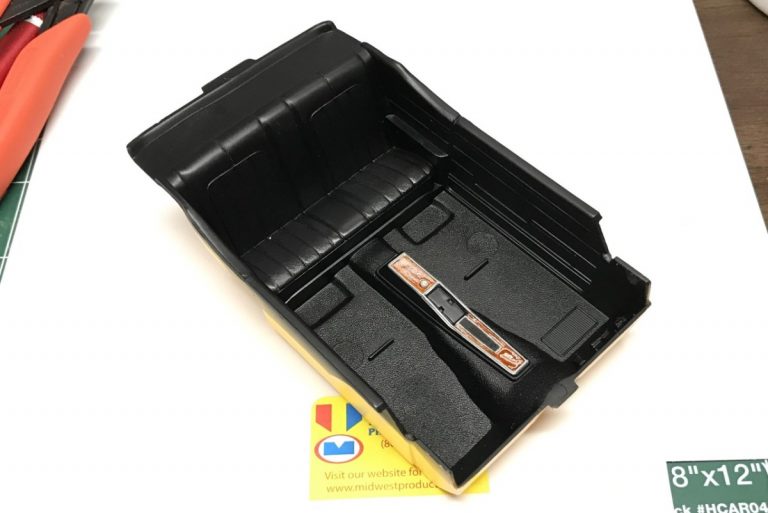
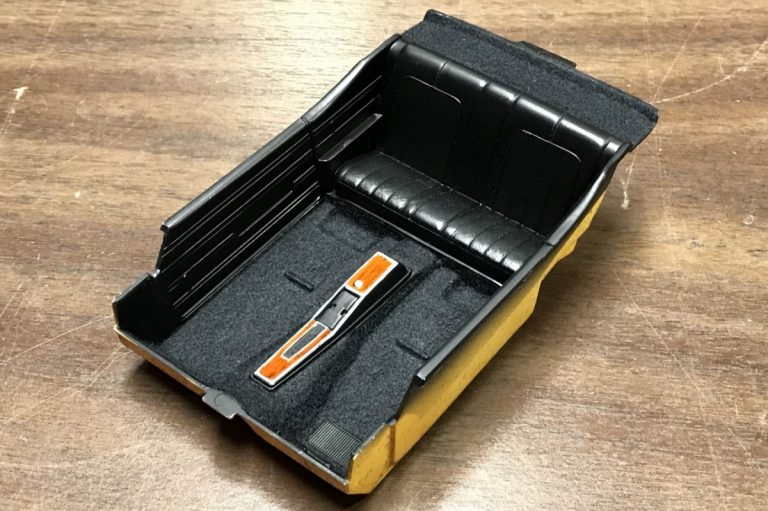
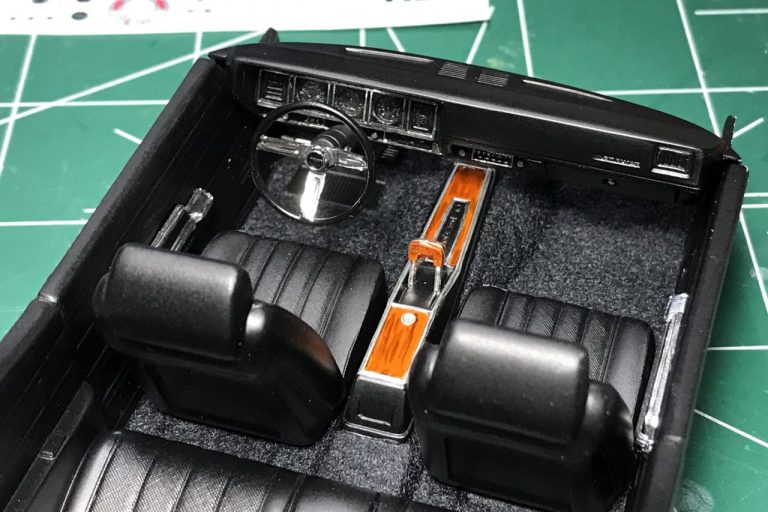
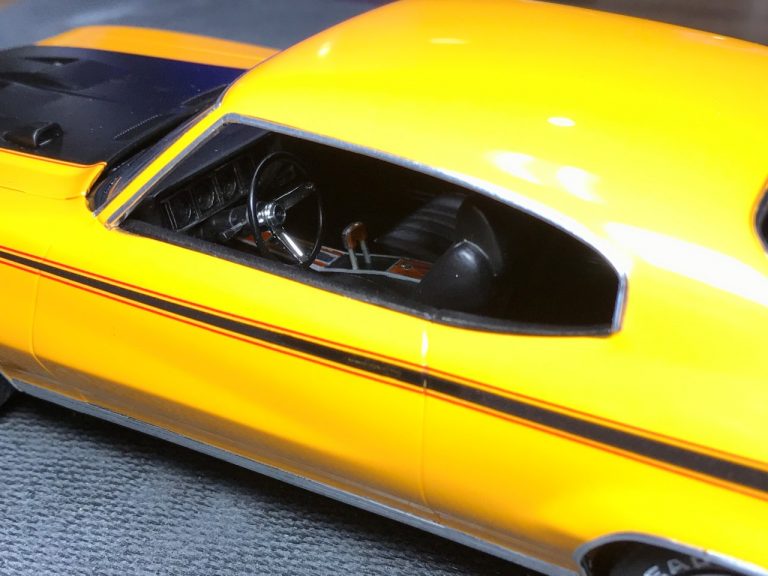
I detailed the interior with Molotow chrome paint, bare metal foil, flocking and wood grain trim. I painted the shifter handle wood grain and added a thin strip of bare metal foil for trim. The new Molotow chrome pens make quick and effective work of adding chrome detail. The steering wheel and dashboard bezels looks amazing!
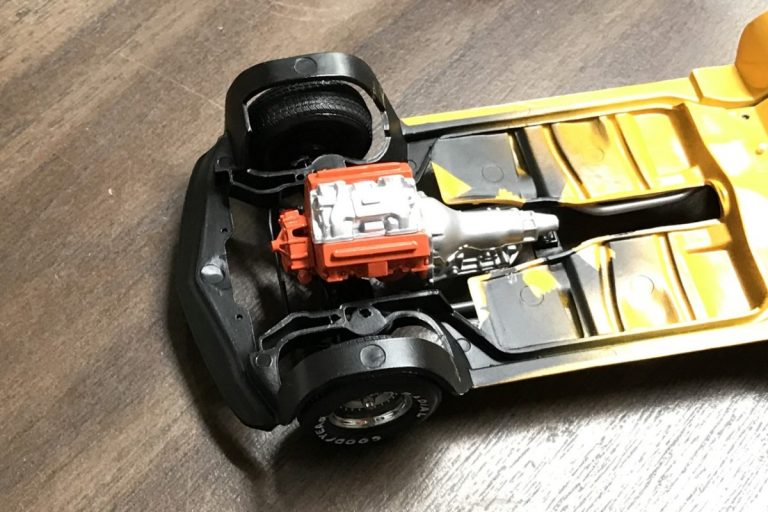
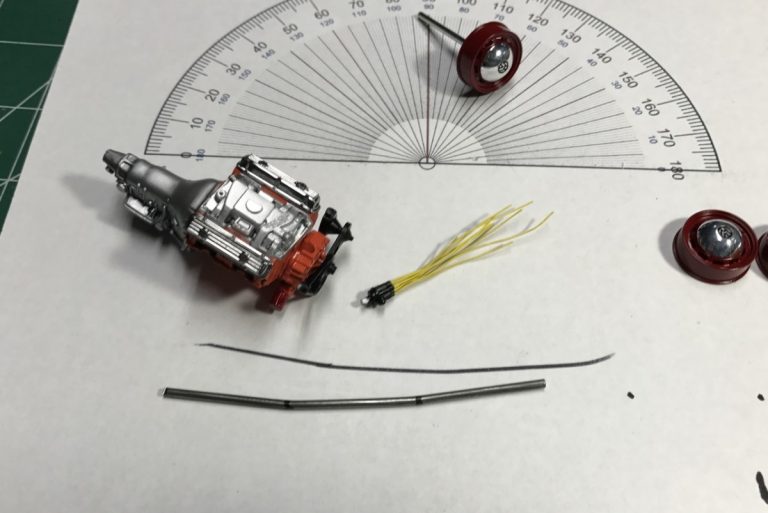
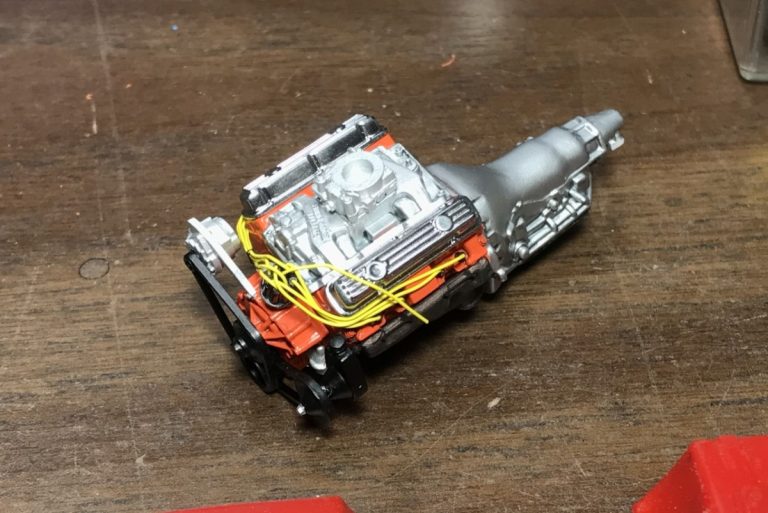
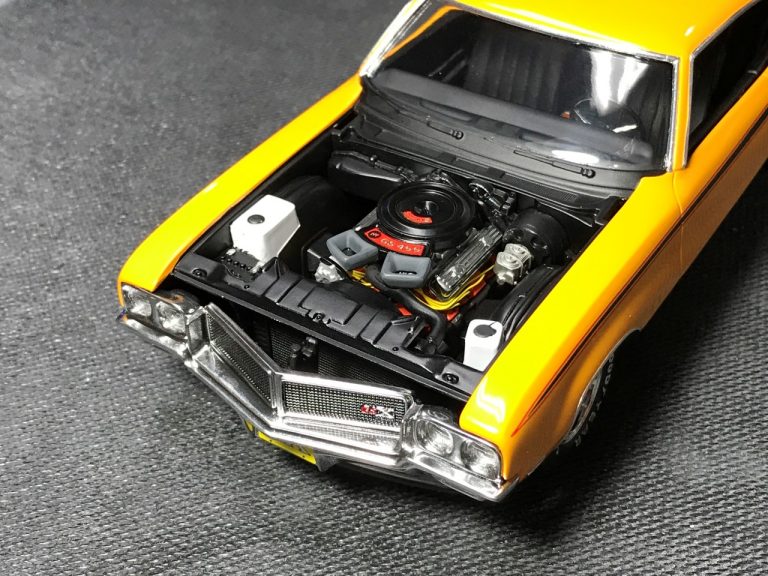
I assembled the engine halves and filled the seam. I added plug wires and re-chromed the valve covers with Alclad paint.
I used bare metal foil for all of the chrome trim on the body.
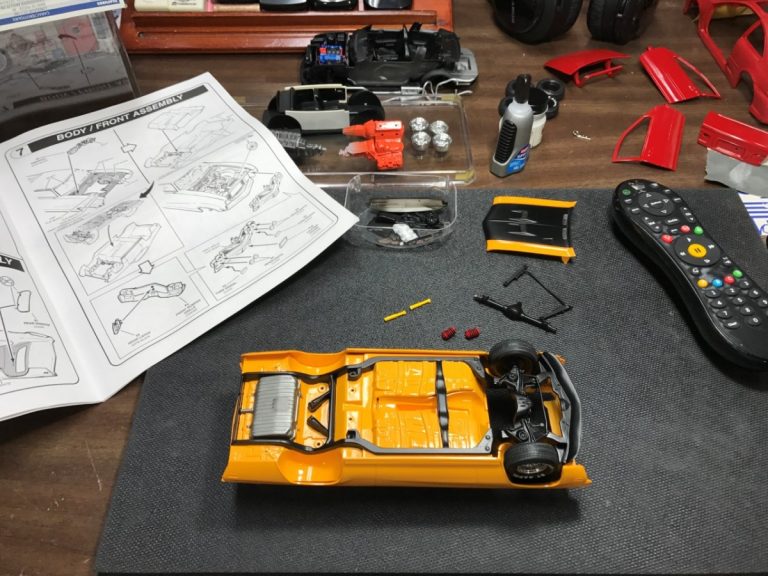
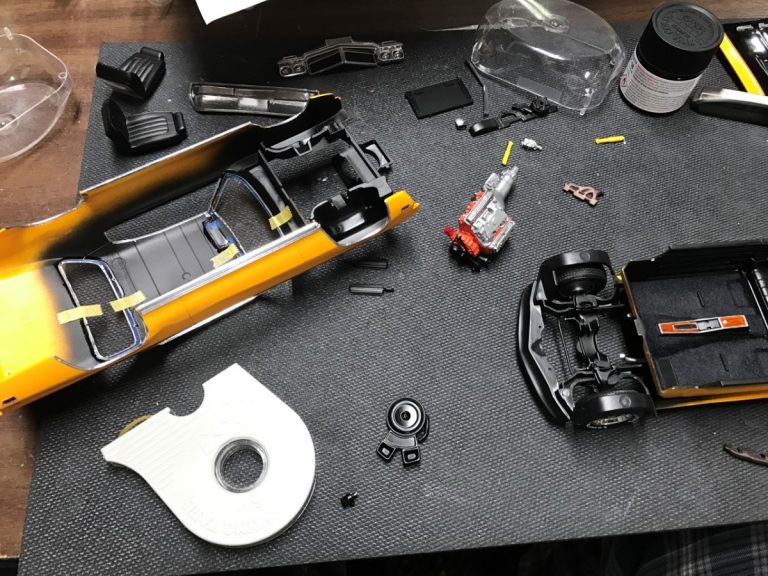
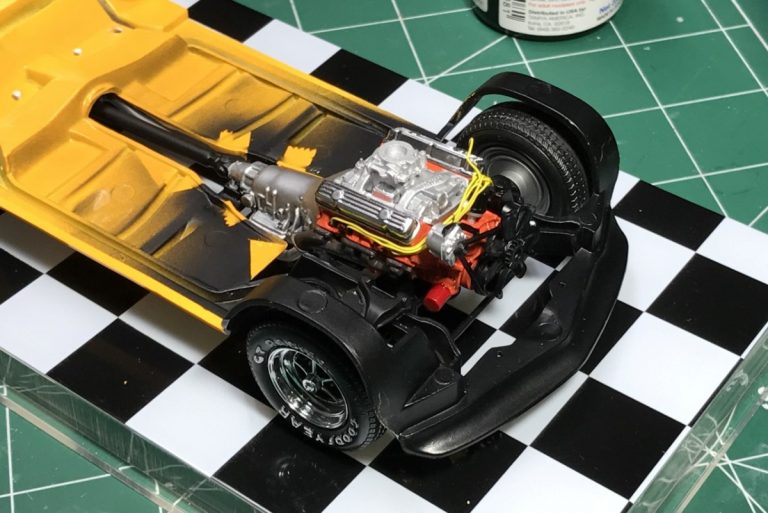
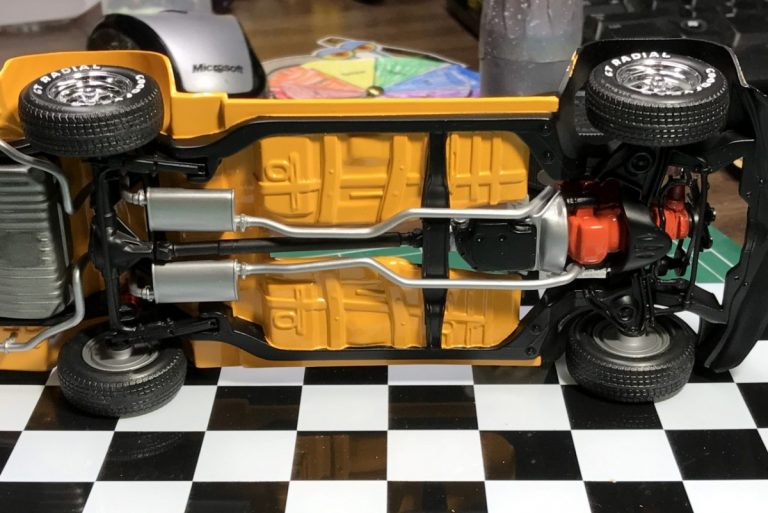
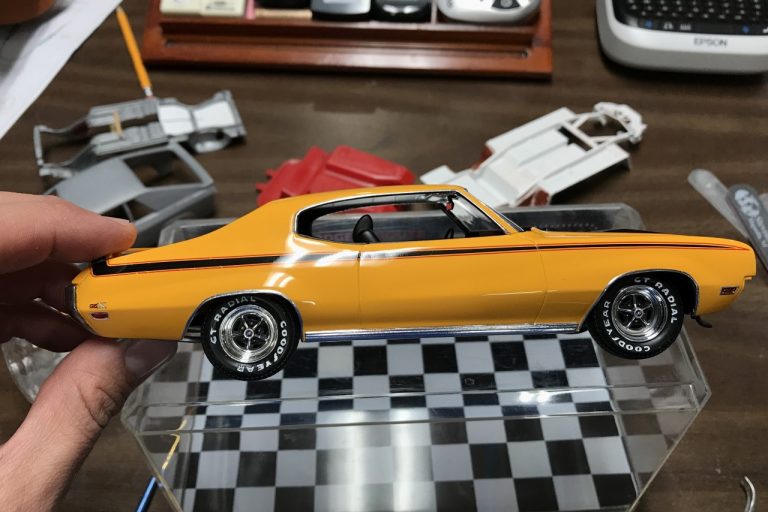
As I started assembling the kit, I found quite a few fit issues that didn’t seem to exist when I test fit prior to paint. The rear axle appeared to sit too far back in the wheel opening. I also noticed that the rear ride height was very low. I used a spacer on the spring to level the ride height and trimmed the links to move the axle forward. These minor modifications took care of a rather glaring issue that I’ve seen on many other builds. The other issue I ran into had to do with the body/interior to engine clearance. They wanted to share the same space. Getting the body to fit properly resulted in the transmission pulling away from the cross member. There was no visual impact as a result so I left it alone.
While researching the full sized GSX, I found quite a bit of detail around the hood and headlights that would be very challenging to reproduce. The stripe in the middle of the hood was a decal. The decal was bright yellow and my paint was camel yellow. They really didn’t match! Beyond that, the front bumper is one piece where on the 1:1 it is several pieces. I realize this is true for nearly all models. In this case, those separate pieces are body color, plastic or black and assembled separately. I’ve seen finished models where the builder tried to copy the correct detailing and it didn’t turn out well. The most glaring omission is the body color around the headlights. I did find one 1:1 version that had gray/chrome trim around the headlights so I felt better about that!
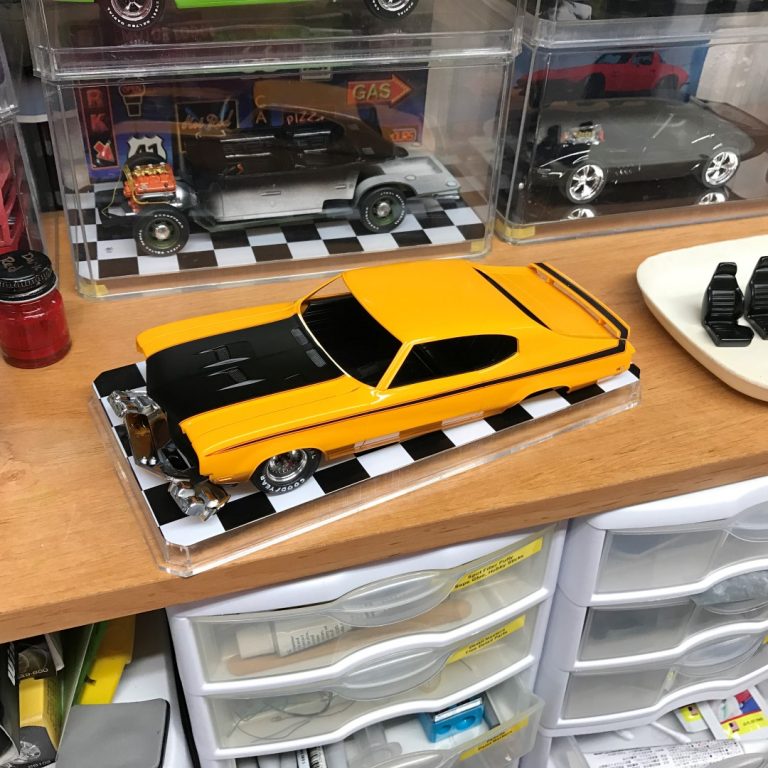
In the end, the model turned out very well. I love the color and the detail work even if I’m not a fan of the Buick.
Completed: September 2017