The Build
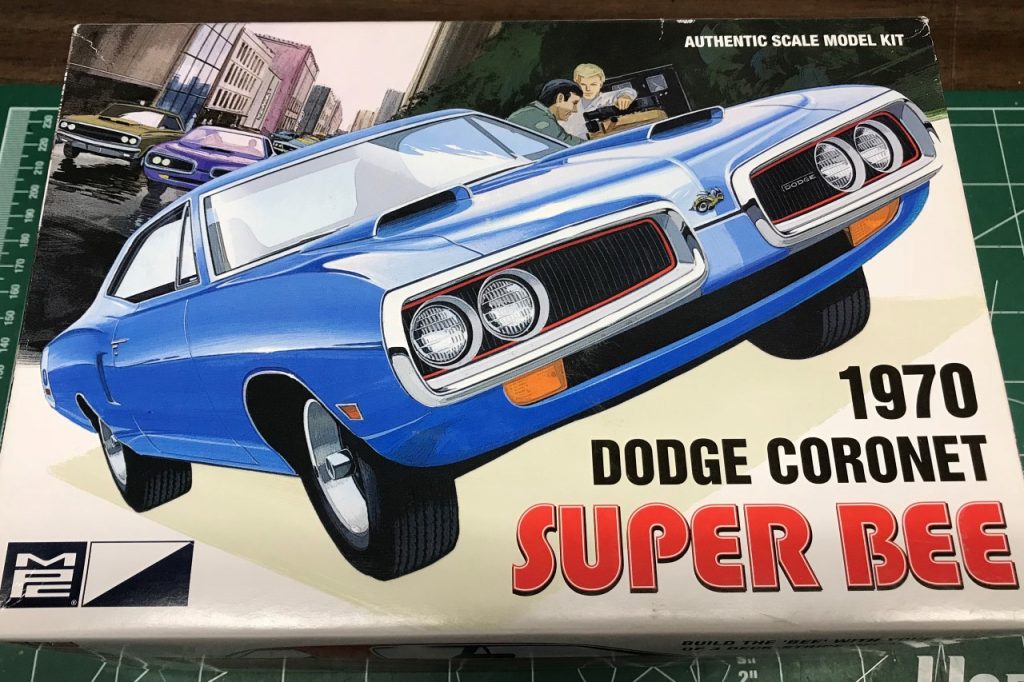
As a lifelong fan of Mopars, this Super Bee was a must for my collection. As with many other projects, this kit had several false starts over the years.
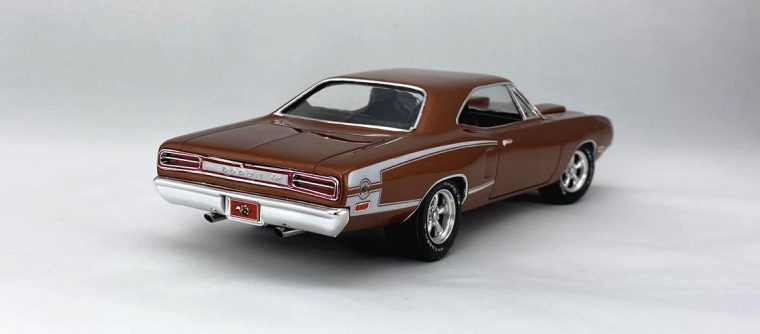
Motivation came in the form of a set of wheels I picked up from Fireball Model Works. They were BFGoodridge Radial T/A’s in a scale 295 tread-width for the rear and 235 for the front. The rear tires are very wide and would not fit most builds without modification. While digging through my kit stash, I found that this was the only kit where the tires would fit! Time to build!

Body Prep
When I started prepping the body, I found that there are quite a few minor issues. There aren’t many sink holes and the panel lines were easy to clean-up. However, there are no panel where the fender meets the cowl. After a little research, I found that the shape is the same as other Dodges from the same era. I used my 70 GTX to create a pattern. The other area of concern is the shape of the rear quarters and the trunk. The detail is visibly different from the 1:1. I was able to use putty to resolve the defect around the truck lip. The rest would take more than I was will to tackle.
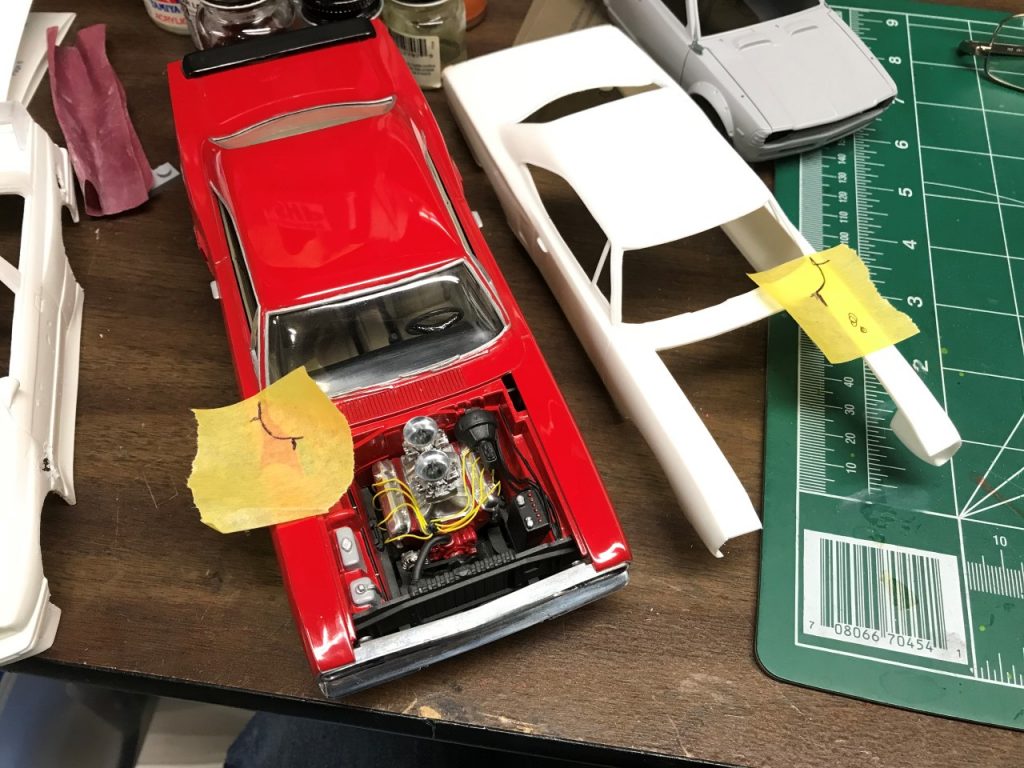
I’m also not a fan of how the front grille and lower valence are one piece. I really believe the grills could have been a separate part. Painting will be challenging. I started this challenge by stripping the chrome and adding panel lines between the grills and valance.
The rest of the body prep was straightforward. Once it was complete, I primed all of the parts and prepped it for paint.
Paint & Clear
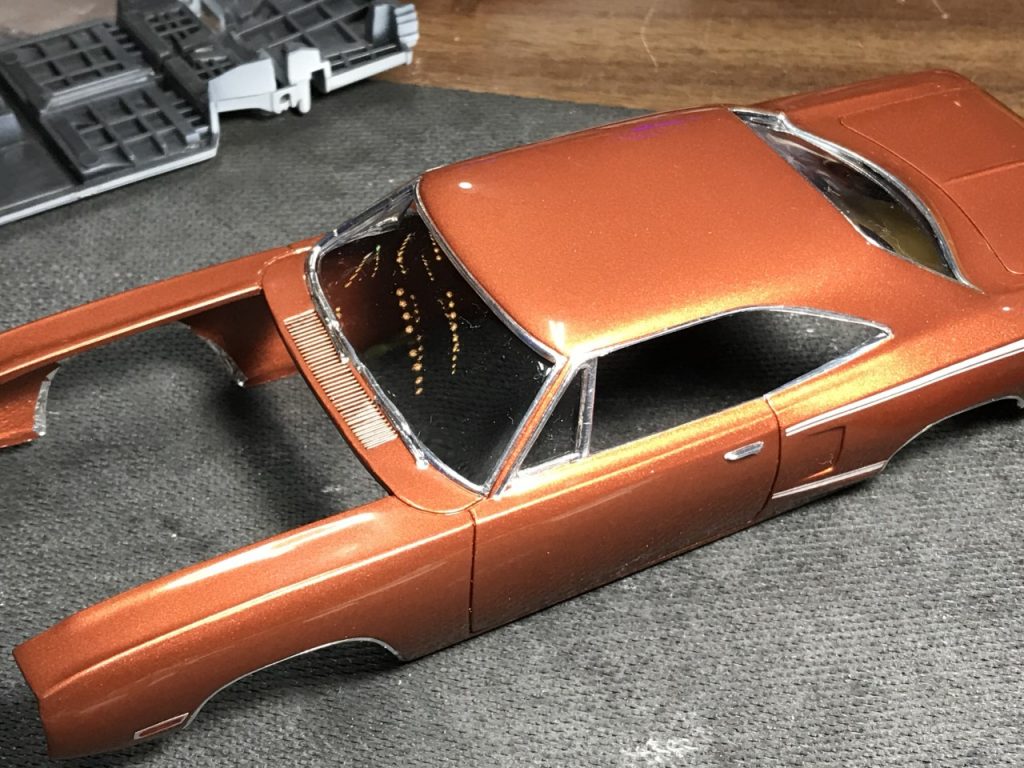
Originally, I had planned on using ScaleFinishes Y9 Dark Gold for the color. The paint I ordered was used on my ’06 Dodge Magnum build. A recent article in Scale Auto discussed a paint supplier, Automotivetouchup.com that sells small volumes of paint mixed to factory correct color codes. Based on the glowing reviews of the paints sampled, I knew I needed to try it for myself. I decided to paint the Super Bee FK5 Burnt Orange. After the paint arrived, I sprayed a few parts and was very pleased with the quality of the paint. The paint needed to be thinned about 50/50 with lacquer thinner. Once thinned, it sprayed and built-up very nicely.

Very satisfied with the paint, I finished prepping and priming the body and all of the exterior parts followed by spraying them them with color.

Shortly after, I applied the decals. I wanted to use the black c-stripes but tore them beyond repair. White decals it is!

Once the decals had time to set, I sprayed the body with Gravity Colors 2-part clear.

After curing for a few days, I sanded and polished the body. Shortly after, I added bare metal foil to the window trim, fenders, hood scoops, door handles and side markers.
Interior
The interior was straightforward and presented minimal surprises. Most of the 1:1 Super Bee interior was solid black. To add contrast, I painted the center console and shift knob wood-grain and added chrome around the instrument bezels. The last step was to add flocking and glue everything in place. I had to adjust the angle of the steering wheel. Without the adjustment, the wheel was laying in the seat!

Chassis and Engine
Detail. Plenty of detail.
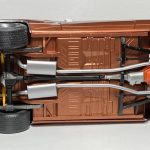
The chassis, suspension and engine are highly detailed in this kit. Aside from the gas tank, every other part of the chassis is separate and can be painted separately. The engine includes quite a few details that will never be seen once assembled.
Most of the parts needed minimal clean-up of mold lines. Sub-assemblies were glued together where possible to simplify painting. Once prepared, all of the parts were primed and painted various colors. Once dry, I started putting everything together.

Wheels and Tires
The wheels and tires get their own section. The reason for it is the amont of effort required to make this work on this build. As I mentioned up top, I used a set of Fireball Modelworks rubber BFGoodridge tires and their Heritage wheels in 15×7 and 15×9 sizes. After soaking the wheels in Wesley’s bleach-white, I primed them, sprayed them with enamel gloss black and finished them with Spazstix chrome paint. The white lettering was carefully painted with Testors acrylic flat white.

The biggest hurdle was how the wheels would be attached and with the proper offset. The kit came with dragster, deep offset wheel backs which were used as a starting point for the rear tires. A stack of washers and the inner part of the wheel were used to build up the offset.

The front wheels were not as complicated. I took the inside part of the wheel, ground it somewhat flat and glued the inside part to the outside. Again, I hope that makes sense. This helped create the proper offset. After that, I primed and painted the parts then glued everything together.

Final Details and Assembly
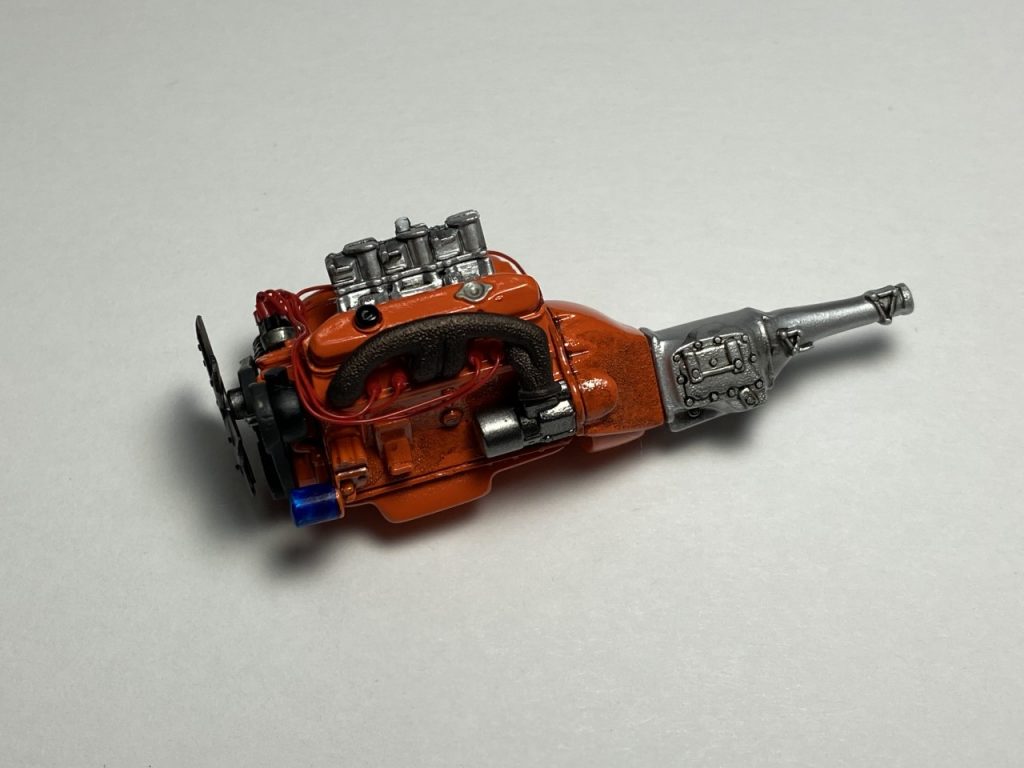
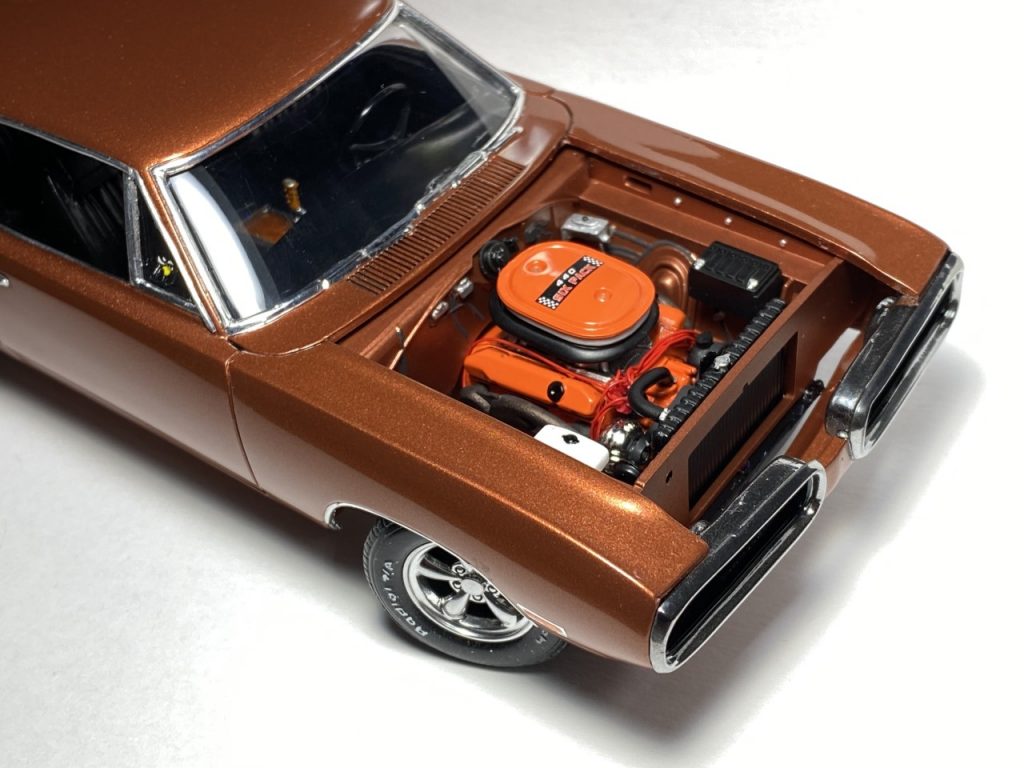
Having completed the major components of this build it was time to work on the final details and pull it all together! I finished the engine and wiring and gave everything a wash with Tamiya panel line accent.
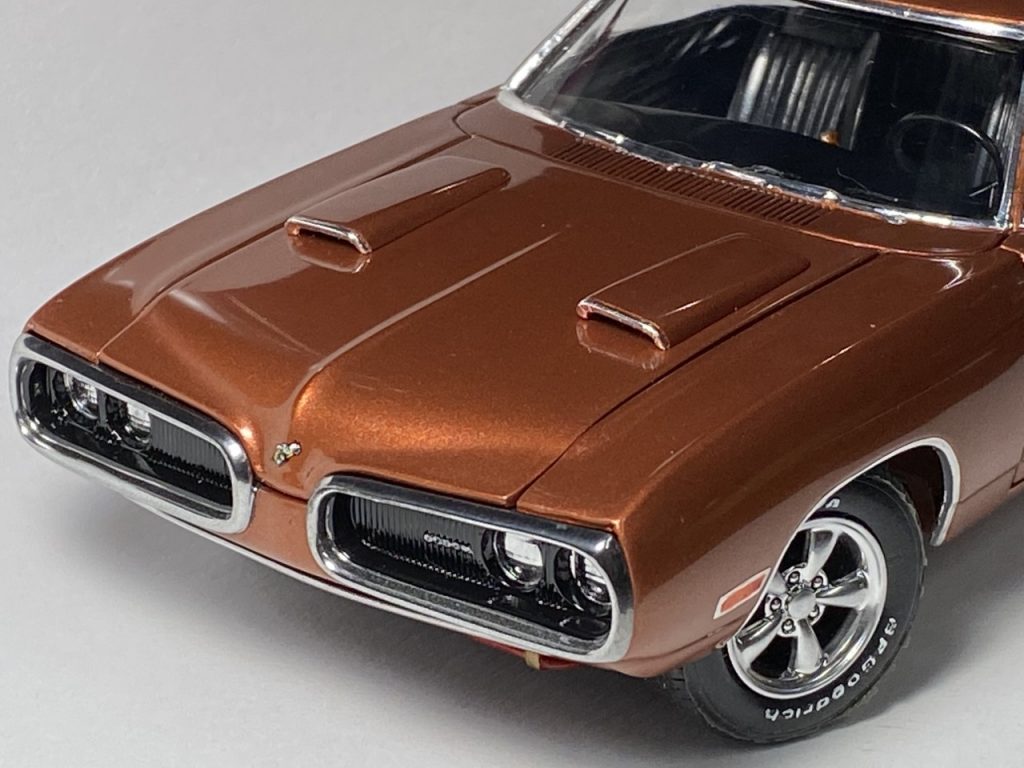
I’m not sure if I would say the grill was the greatest challenge of the build. Internet research showed that the center part of the grille could have come in chrome. This discovery came shortly after I stripped the part. Oh well. After the body color was painted, cleared, sanded and polished, I masked the piece for primer to unify the color of the grills. After primer, I sprayed gloss black. Once that cured for a few days I carefully masked the inner part of the grill and sprayed the rings with Spazstix chrome paint. Peeling back the masking revealed the fruits of my labor. I was pleased and relieved by the finished product. I wrapped up the work on the grill by hand painting the headlights and badge with Molotow chrome.

As they say, it was all downhill from here. I finished assembling the chassis and was ready for final assembly.

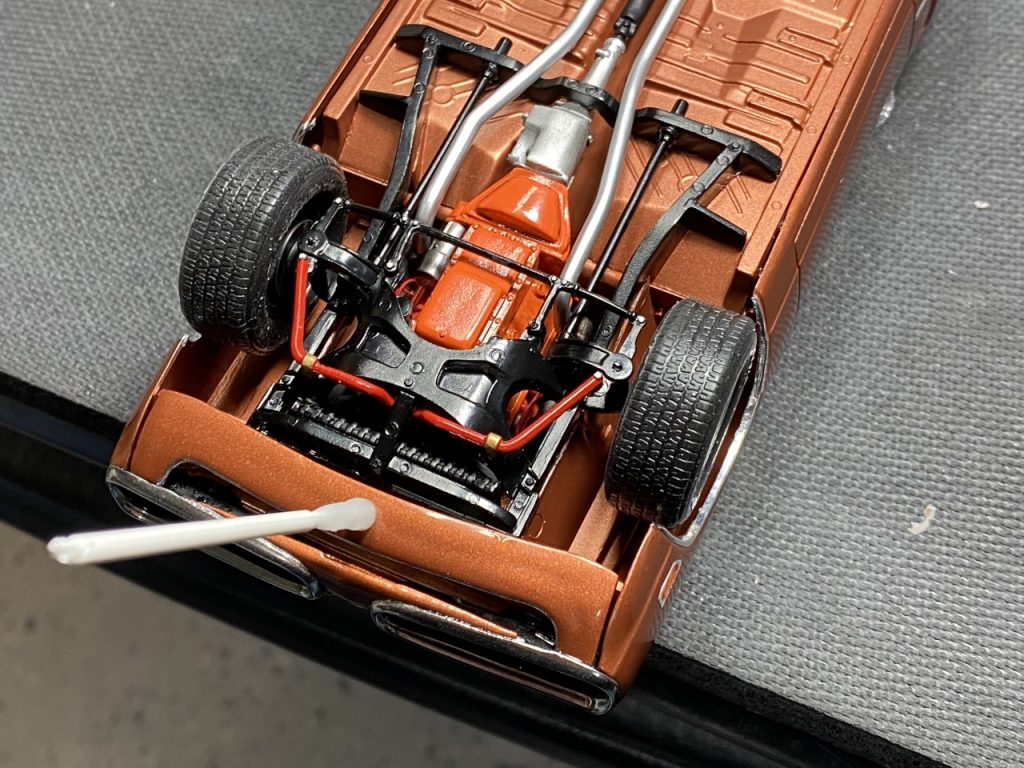
I glued the chassis to the body, glued the wheels in place and started adding the rest of the details. The rear bezel was painted and glued in place along with the bumper. The front lower valance was carefully glued in place. I found that there was minimal contact with any part of the car!
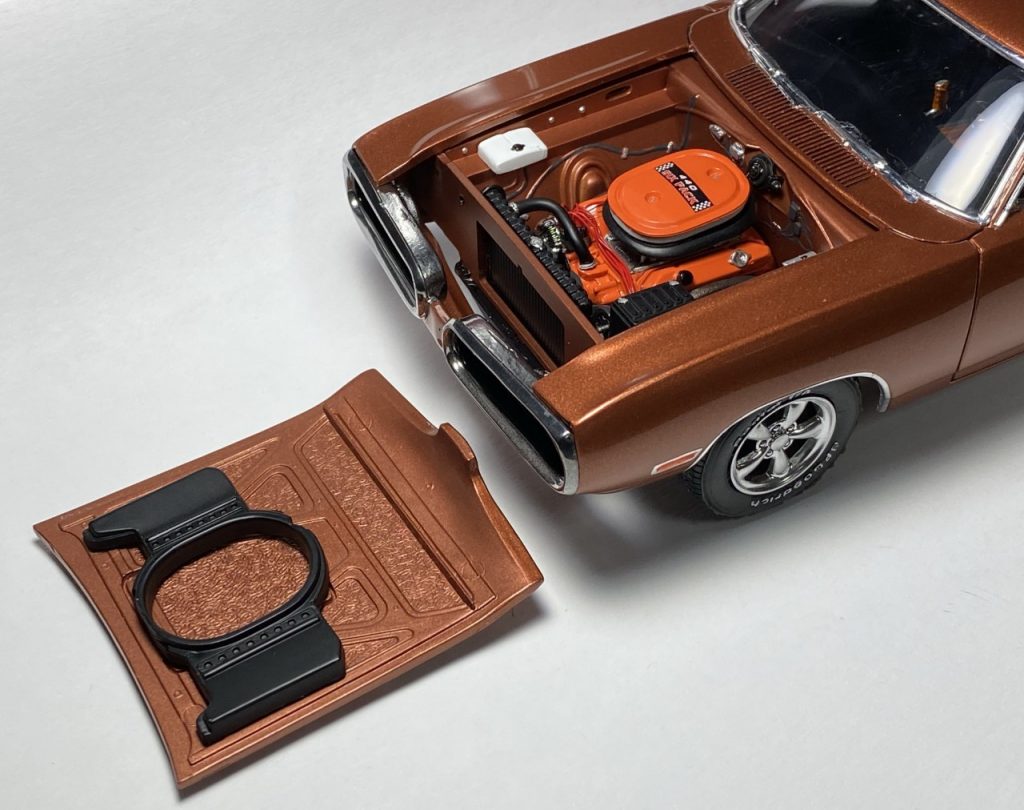
Not going down without a fight, the ducting for the hood scoops absolutely did not line up with the engine. After a great deal of scraping, cutting and grinding, I was able to line up the pieces and have the hood close properly.
The cherry on top came in the form of aluminum tubing to finish the exhaust.


Final Thoughts
I love the results of this build! The color is excellent, and the wheels and tires look amazing. The build did have several challenges that somewhat soured my experience and I outline them throughout this post. The kit itself has some rather painful inaccuracies, one which reveals itself after final assembly. The frame and sway bar seem to stick out much more than the 1:1. Had I known, I probably wouldn’t have painted the sway bar red. Overall, I’m still really happy with the build.
Another point of discussion is the wheels. If I were to buy these again, I would probably elect to buy the 15×9 wheels for all four corners and use the 235 tires. The 15×7 wheels have a really shallow offset which isn’t correct for old muscle cars. Even if used on a late model car the offset would be correct, but the diameter too small. The 295 tires are massive and will not fit most cars. Plus, had the kit not included the dragster inner wheels, I would have struggled to find a suitable means for attachment.
Completed: November 2019


