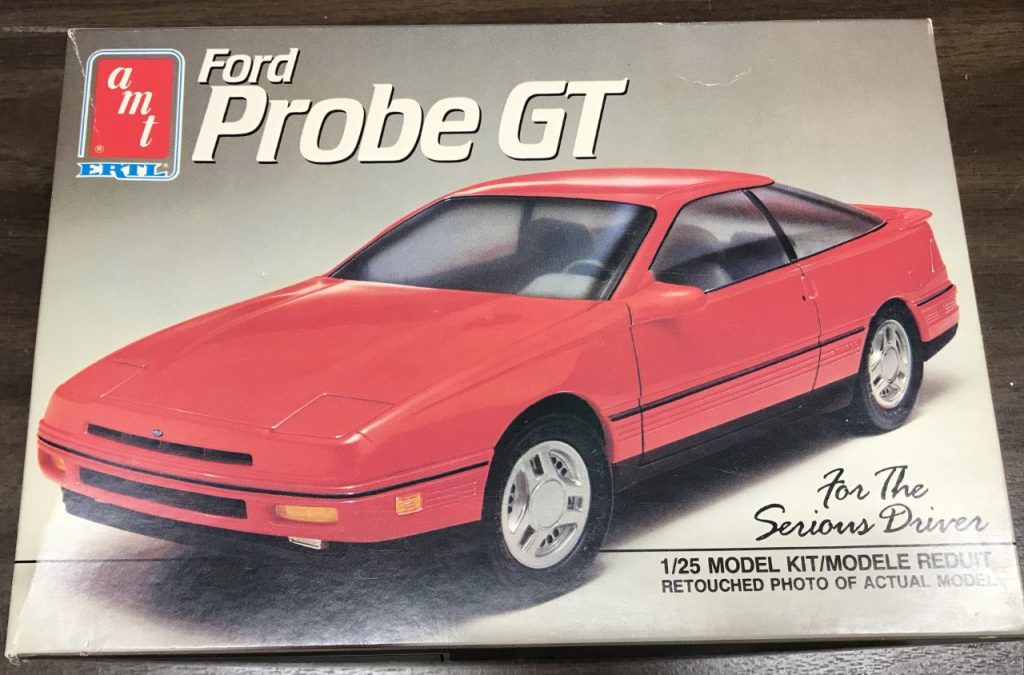
AMT’s Ford Probe GT
You’re building a what? Yeah, this is not a typical build for me. In fact, had I not received it as a gift, I never would have considered buying one. However, considering this comes from the “rad” generation, and rad is in style, I’m really excited about the build!
I’ve never cared for AMT models and this one continues my disdain. Since it is a flip-up headlight car, I don’t have to worry about chrome headlights. Although, it does come with the option for lights up…and they are chrome. The headlight covers, according to the instructions, are to be glued to the hood. Beyond that, the kit seems to represent the 1:1 reasonably well.
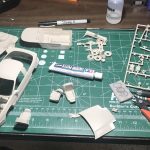
Prepping the Body
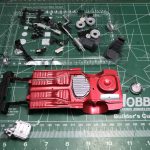
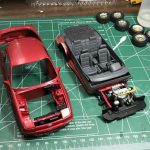
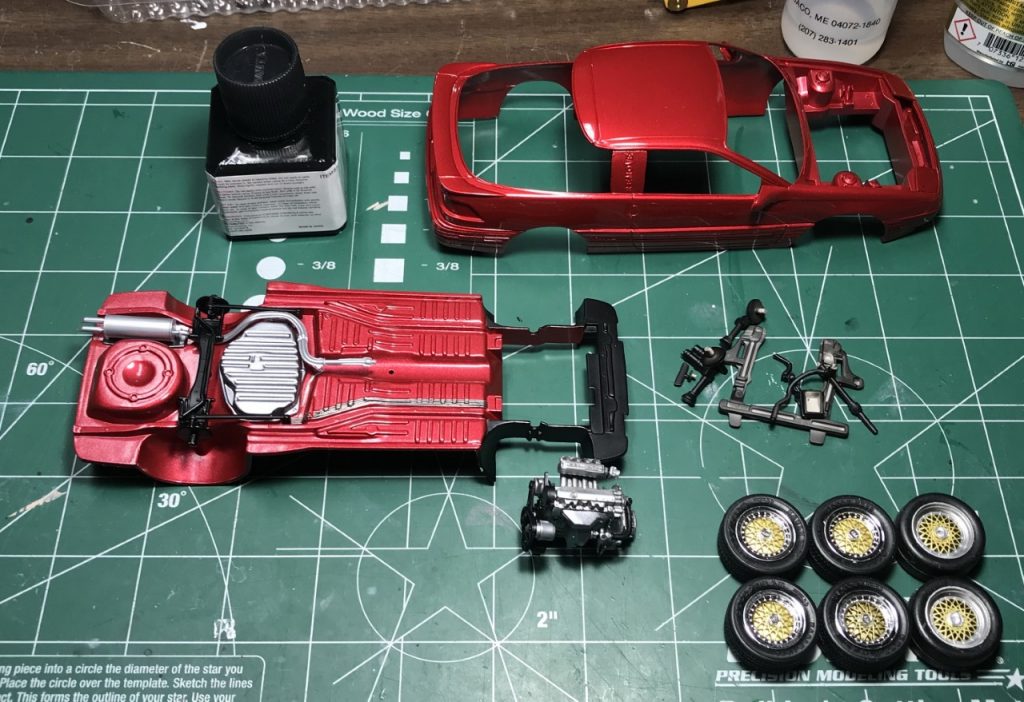
I was surprised by the number of separate parts for the body. If AMT released this as a non-GT model, I could understand why. I quickly discovered that the chassis will slip into the body with the bumpers attached. I glued the bumpers, side skirts, wing and mirrors prior to any body work. I also glued the headlight covers to the bumper rather than the hood.
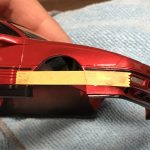
Once everything was in place, I started deepening the panel lines. The more I worked on panel lines, the more work I made for myself by slipping out of the panel lines. That’s how it goes sometimes!
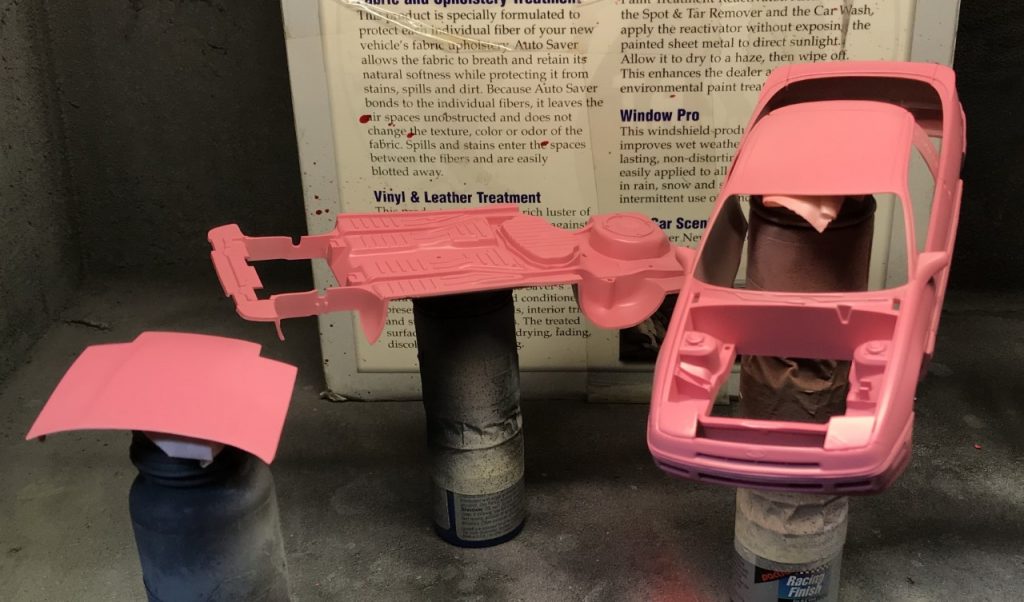
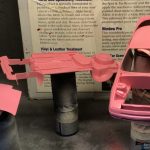
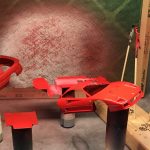
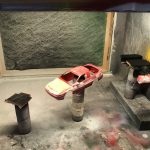
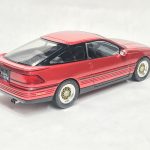
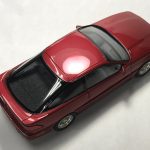
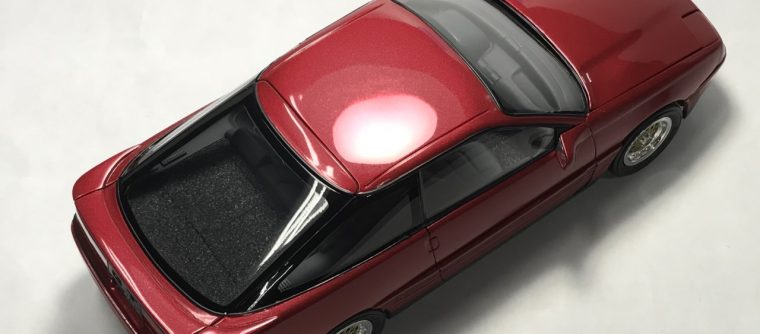
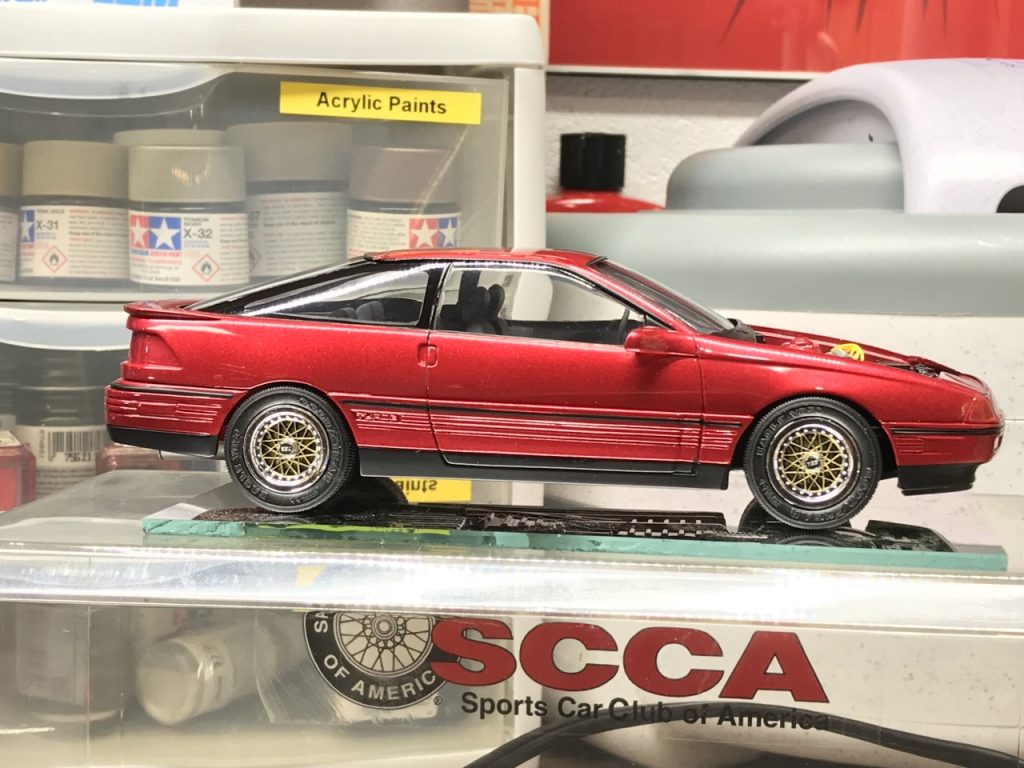
Once all of the prep work was completed, it was time for one last round of primer, a bit of surface prep and on to paint. I used Tamiya Metallic Red straight from the can.
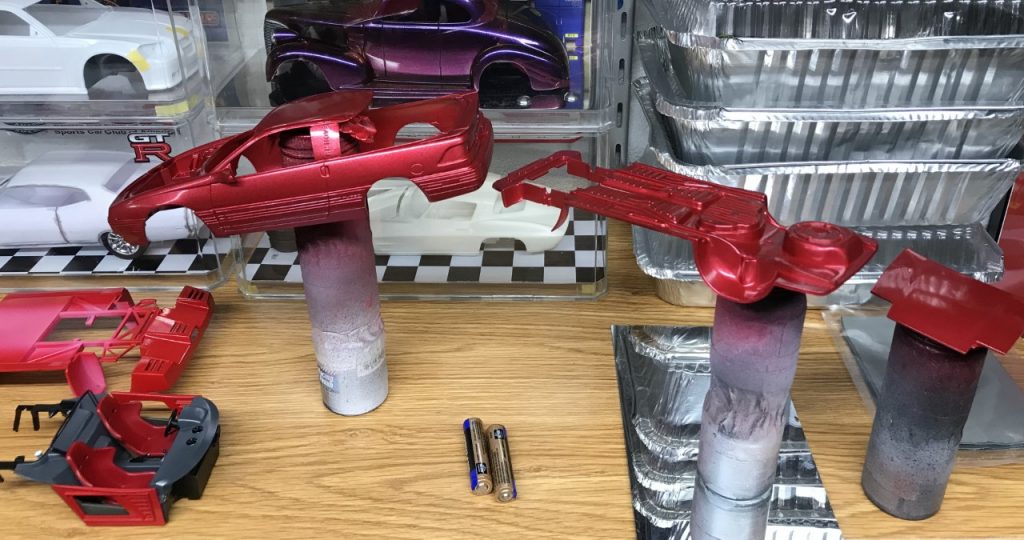
This is the second time I’ve used a metallic red paint. My first experience was using Testors metallic red, over grey primer, on my ’69 Camaro build. It looked pink no matter how much I sprayed. Using Tamiya’s metallic red, I ended up with a similar problem. Rather than worry about the color, I forged ahead and sprayed Tamiya clear. At first, I sprayed decanted clear through my airbrush then finished by spraying straight from the can.
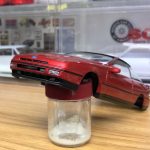
Interestingly, the paint looked more red after the clear was sprayed. In the end, it worked out and I was pleased with the color. I let the clear set for a few days and started
Interior and engine
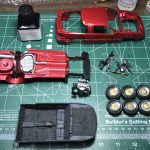
Initially, I was going to try and complete the interior with several shades of gray. It was one of the color options for the interior. By the time I started working on the interior, I was ready to finish this project. I knew that flocking would provide more than enough contrast for the interior along with a few other brush painted details.
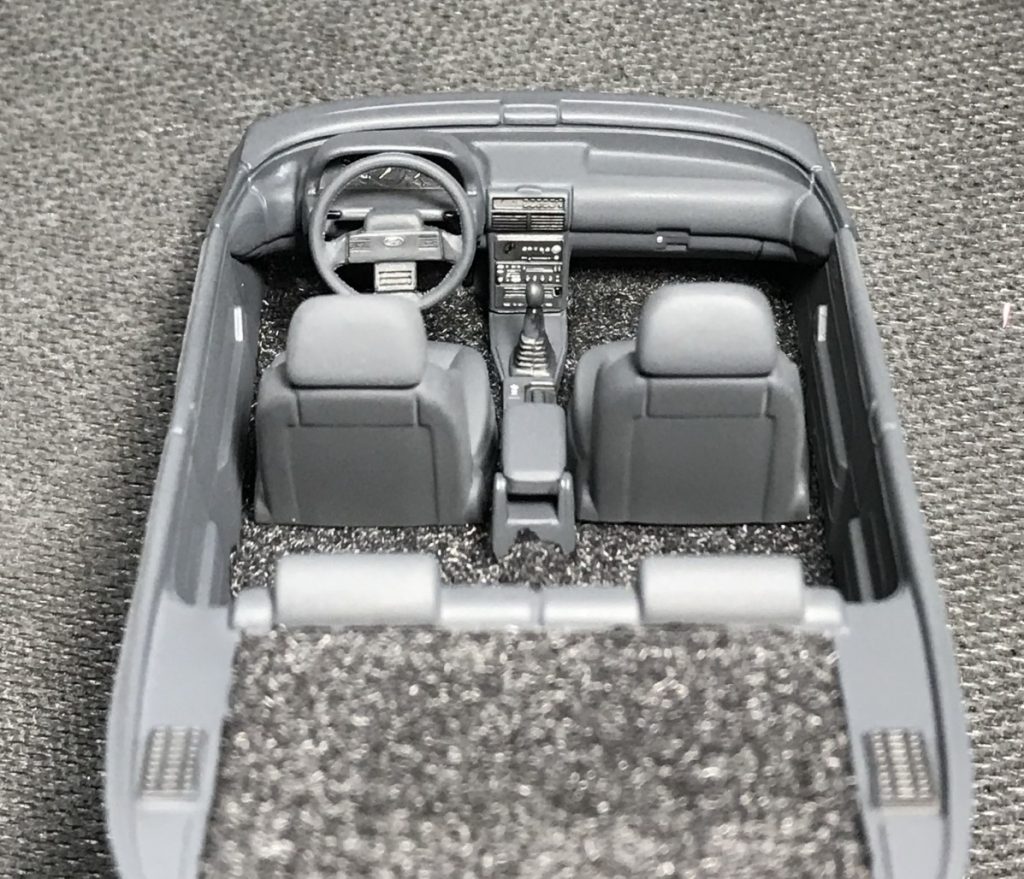
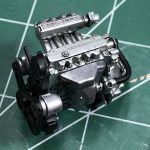
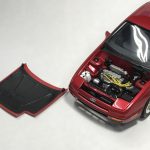
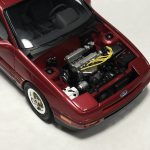
The engine was surprisingly well detailed. I did manage to lose the distributor and substituted it with one from an old Mopar. I added wiring along with a black wash to add as much detail as possible.
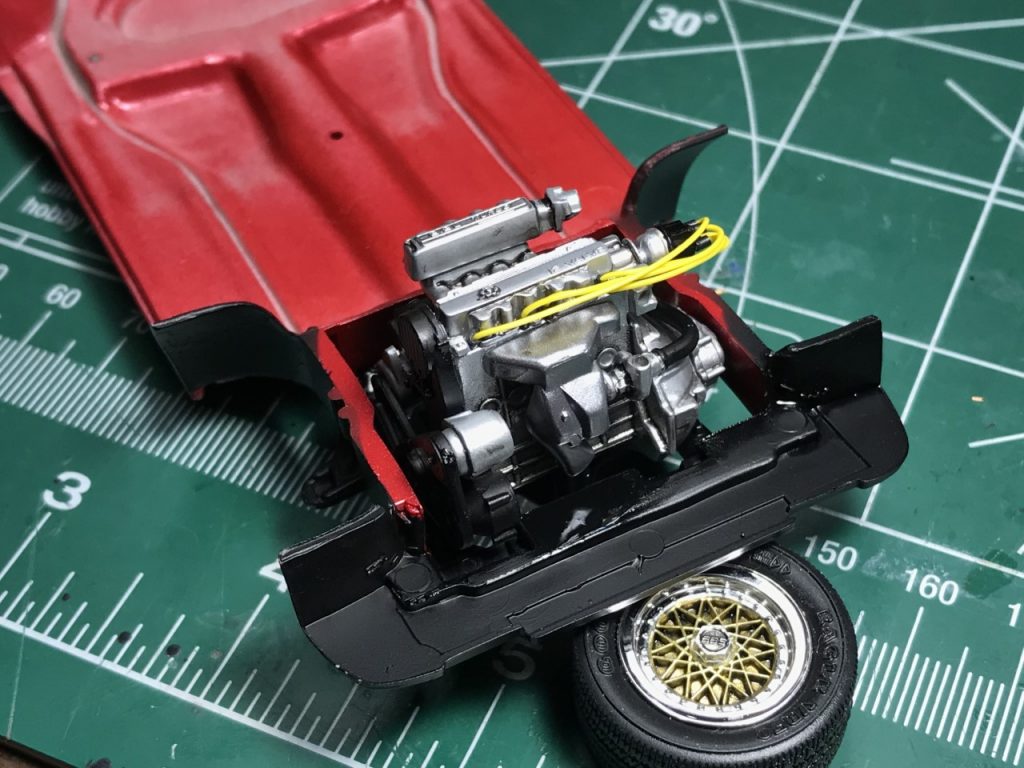
Suspension and Wheels
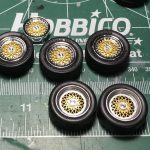
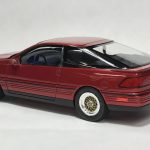
The kit includes the stock Probe GT wheels and a set of BBS wheels. The spokes on the stock wheels are comically thick so I opted for the BBS wheels. I had agonized about how I would mask and spray the spokes. In the end, I brush painted the gold paint with no issues. I’ll keep this in mind for future builds! I followed up with a black wash to help bring out the detail in the mesh.
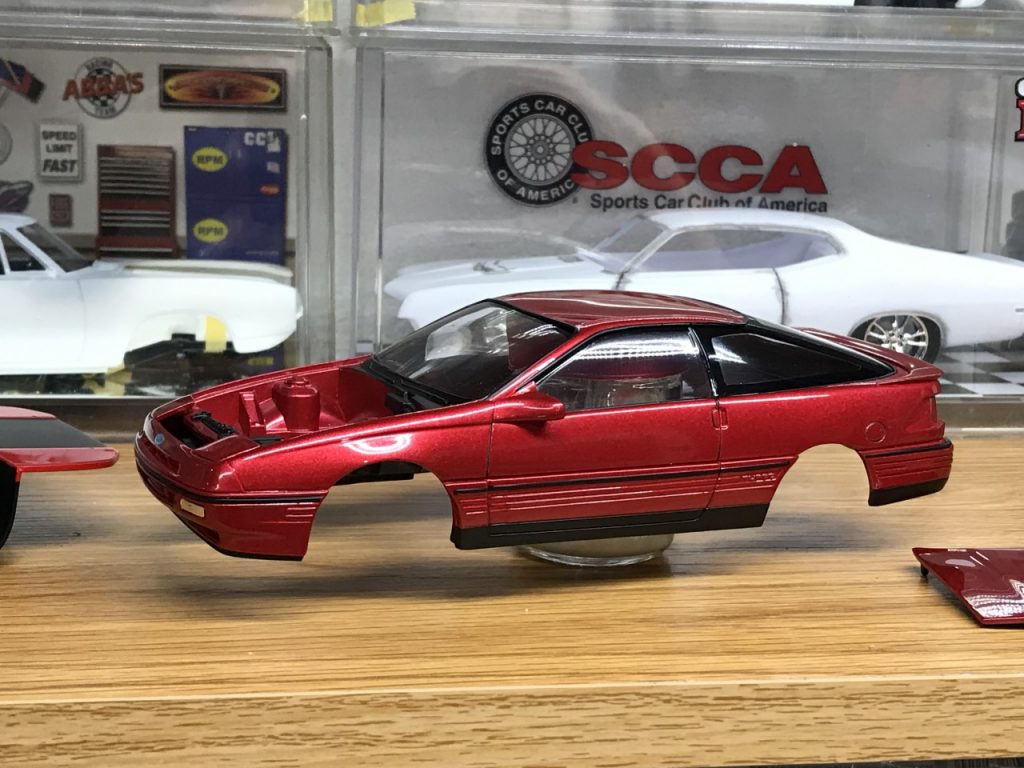
Details and Final Assembly
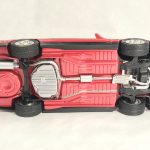
Having completed the major components of this build, it was time to bring everything together. The body, interior and chassis were all glued in place. It was at this point when I discovered a twist in the chassis that would prevent the model from sitting flat. I wasn’t too worried since I removed the wheel mounting pin. This build was never going to sit right as it was molded. I took care of both issues by gluing the wheels where then needed to be.
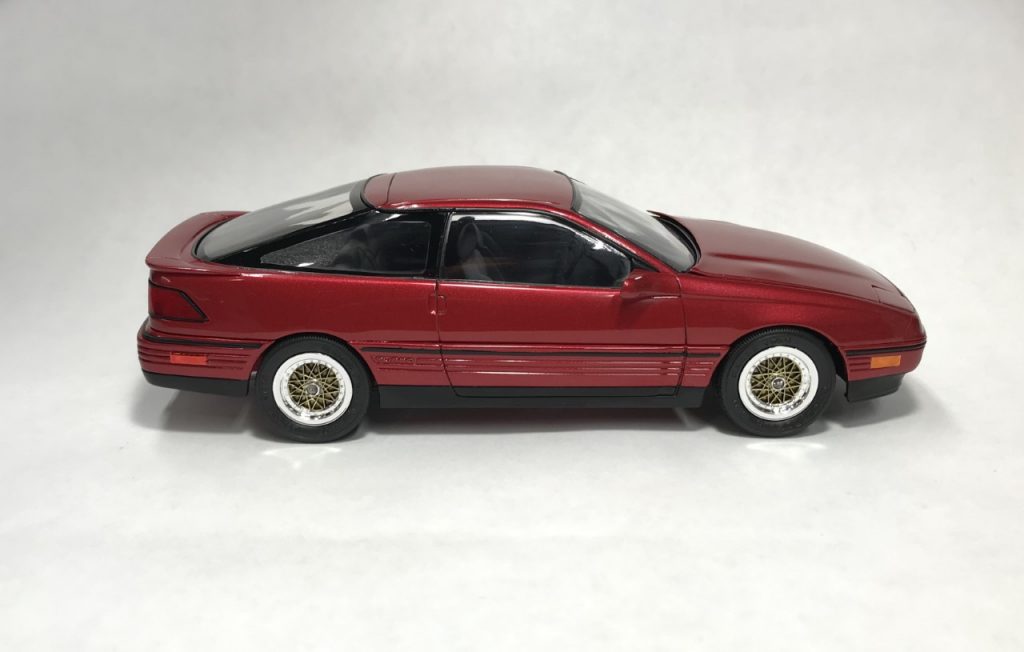
After gluing the wheels in place, I needed to finish adding side markers and tail lights. I used bare metal foil and Tamiya clear colors for the side markers. The tail light panel was masked and sprayed where it wasn’t supposed to be red. As a kid, I always liked clear red parts. As an adult, I find it disappointing since I can’t paint the pieces correctly. To finish off the build, I added aluminum tubing for exhaust tips.
Final Thoughts
I’m glad I had an opportunity to build a kit/car from the “Rad” era. For the most part, the build went smooth with minimal issues. Most of this issues were resolved easily. The tires appear to be much bigger than they should be for this kit but do not distract from the completed build. I’m really pleased with the build!
Completed: April 2019