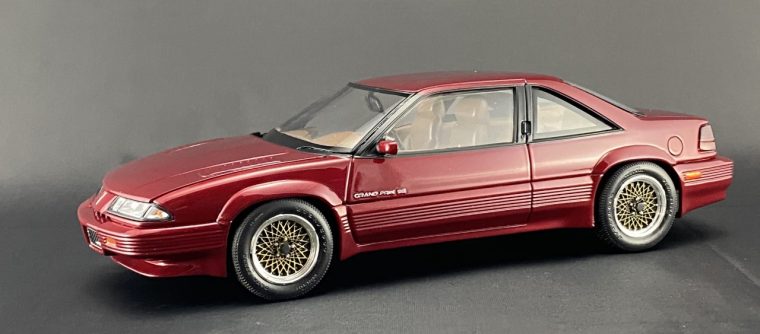
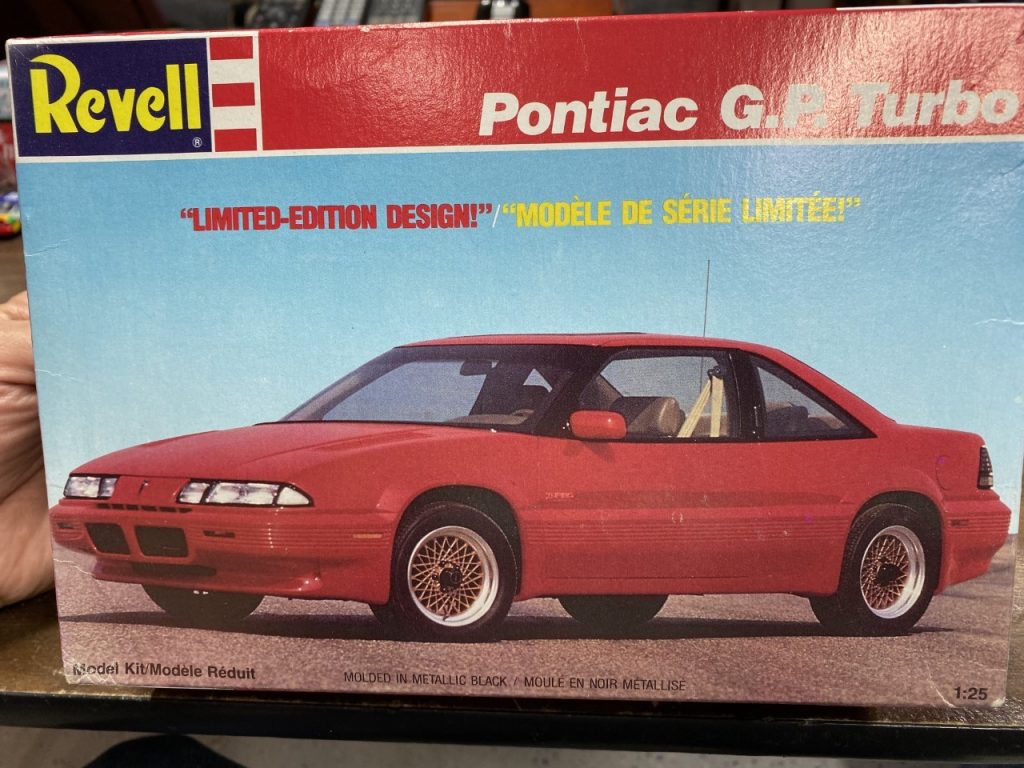
Why not? I’ve been picking up “rad-era” cars simply because they are now cool! I found this at a local swap meet for $5. You can’t beat that! At first glance, the kit appeared to be complete. That would prove to be false.
The kit
While sorting parts for this build, I realized the kit was very thorough and did a nice job of representing the 1:1. I later learned that Revell offered several versions of this kit ranging from this Turbo to some of the lesser models. Parts were included for both the turbo and non-turbo versions. Evidently, there are versions of this kit with a manual transmission.
Prepping The Kit
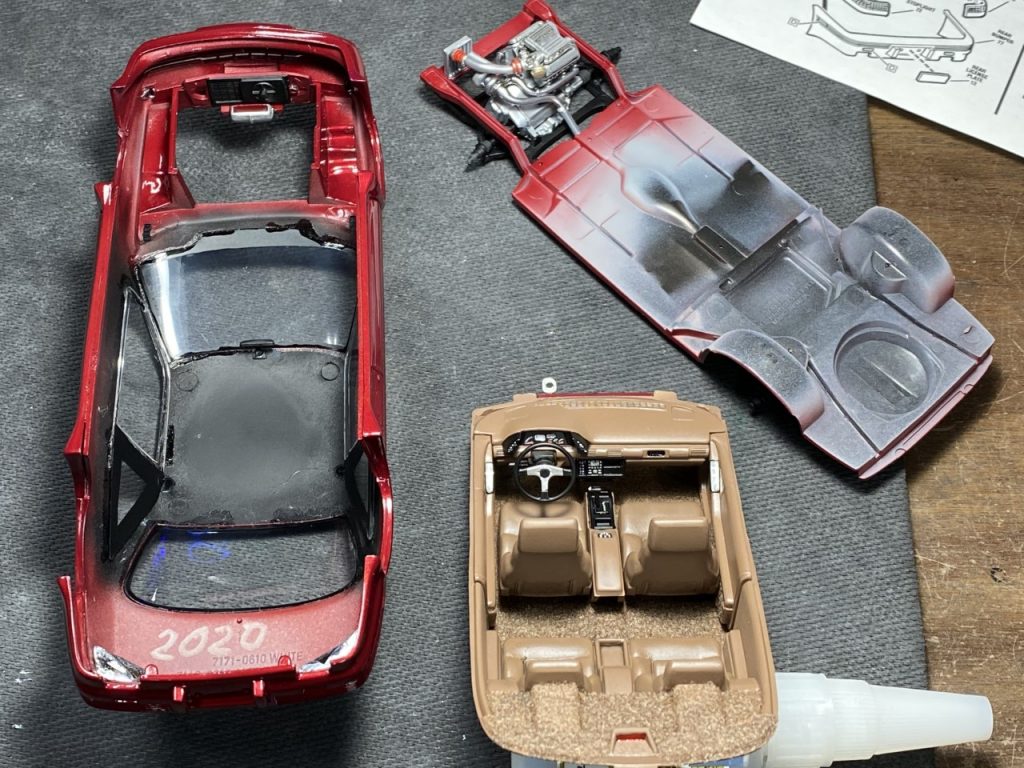
After reviewing the instructions and test fitting the chassis with the bumpers attached, I learned that all of the body pieces can be attached which will make painting and detailing much easier!
Interior
The interior was the first place where I realized I was missing a part. I’m not sure how I didn’t see that it wasn’t there. This was an easy correction having replaced it with a Momo wheel from my stash.
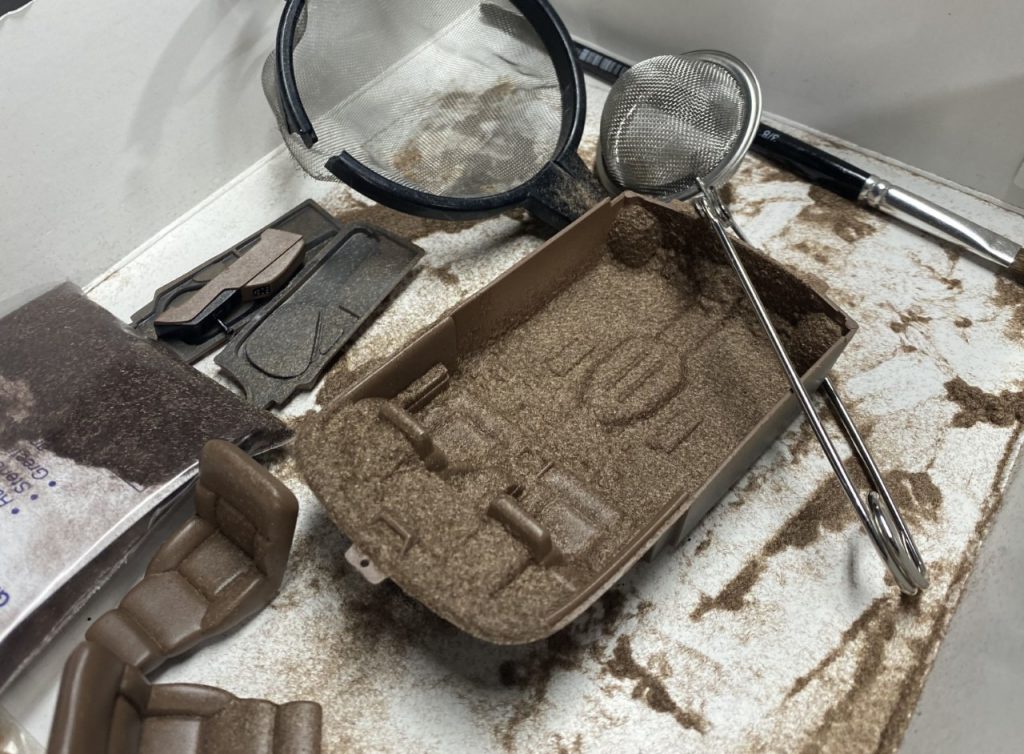
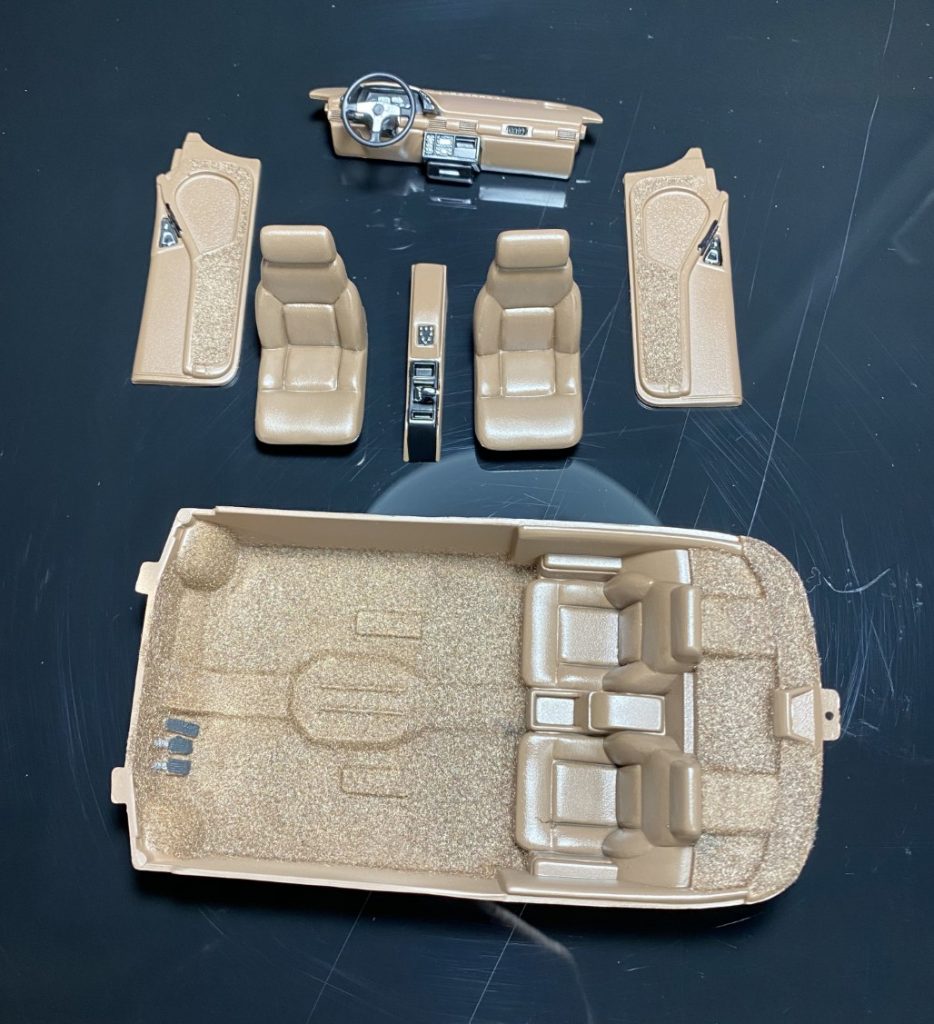
The rest of the interior went together well and was easy to detail. Aside from the base color and black accents, the rest was hand painted. The gauges, center console and buttons were painted various colors. Flocking was used to give the interior even more detail!
I really appreciated the ability to add detail to this interior. The dashboard and center console looks amazing with all of the buttons and gauges painted.
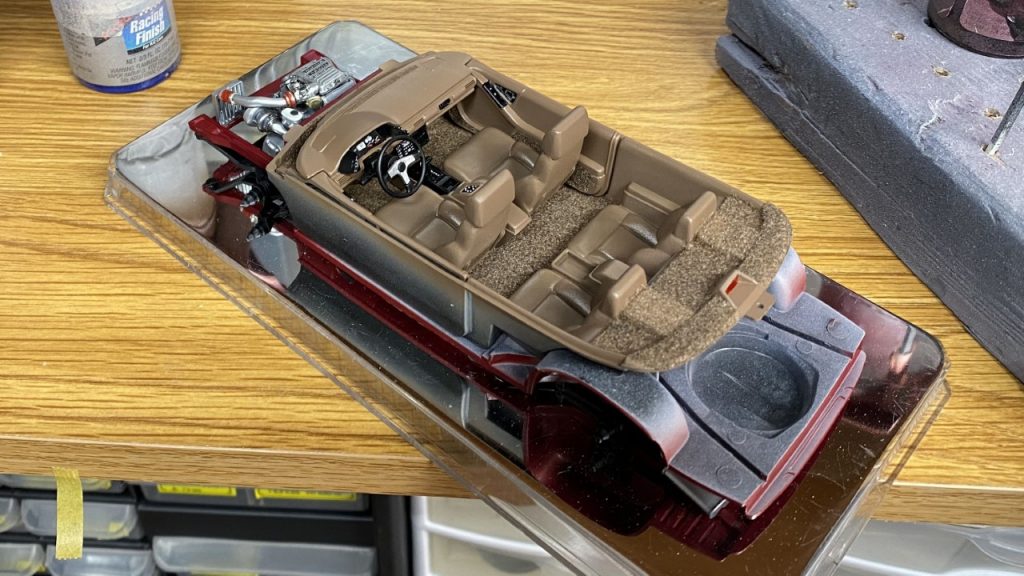
The chassis and interior are complete.
Body
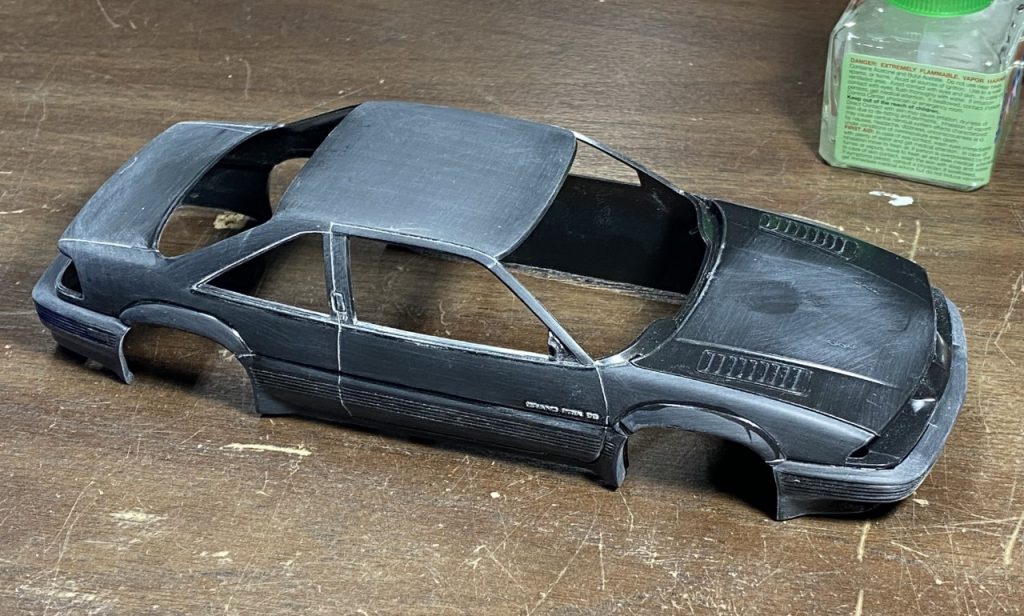
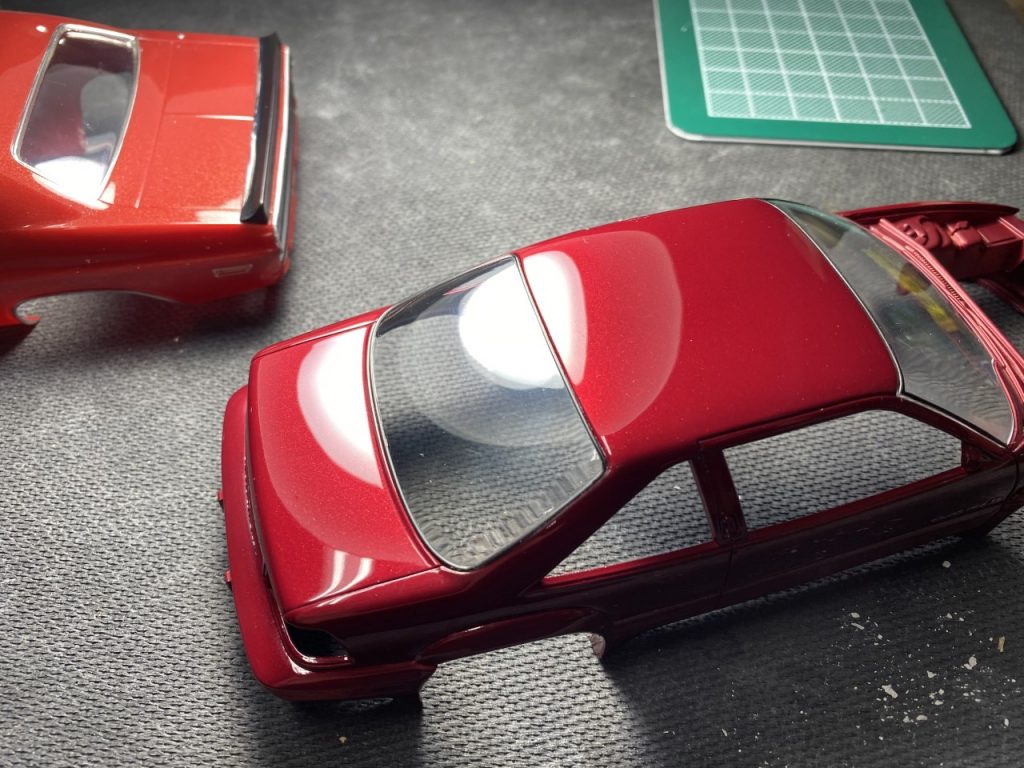
Prep work went very quickly on the body. Mold lines were minimal and easily cleaned. Other than having to repair a cracked fender flare, I was able to get it in primer, then color and clear quickly.
My original intent was to use a leftover Ferrari color however I ran out before I could finish. I switched to a Subaru color that was a leftover OEM touch-up bottle. The script on the sides and back were painted and then I sprayed the body with 2 part clear.
I did realize after painting was complete that I was supposed to remove the script on the sides and use the “Turbo” decals. Too late!
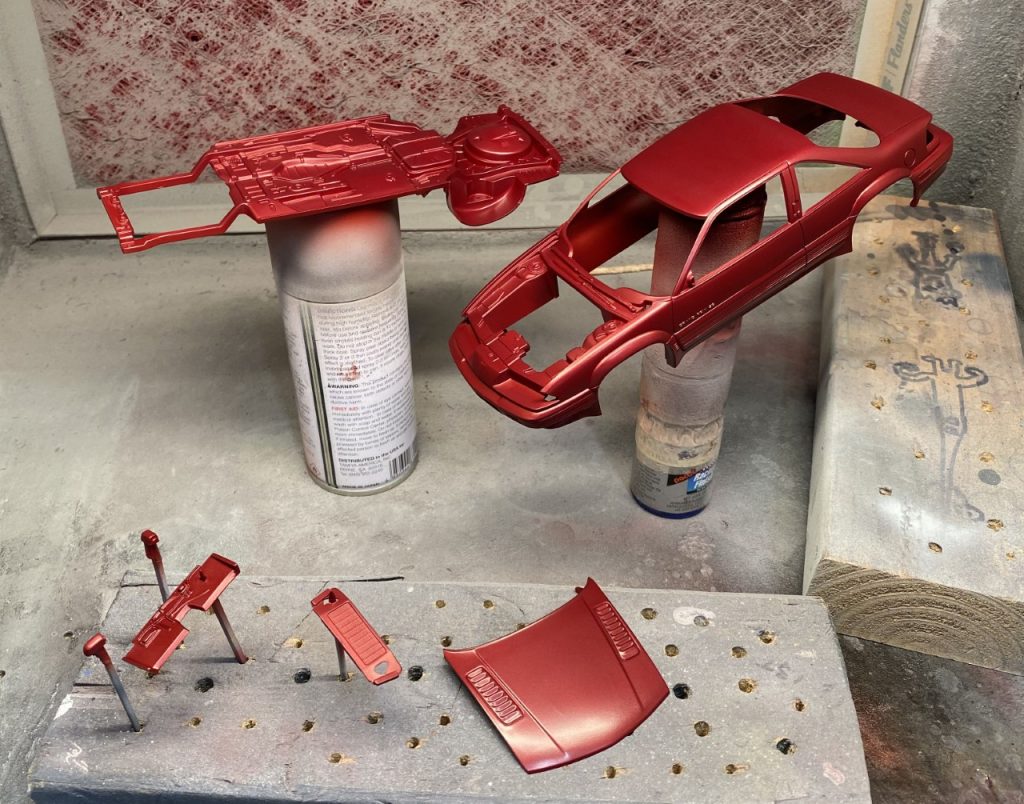
Once the clear had about a week to cure, I sanded and polished the top surfaces of the body. The sides were smooth enough.
Chassis/Engine
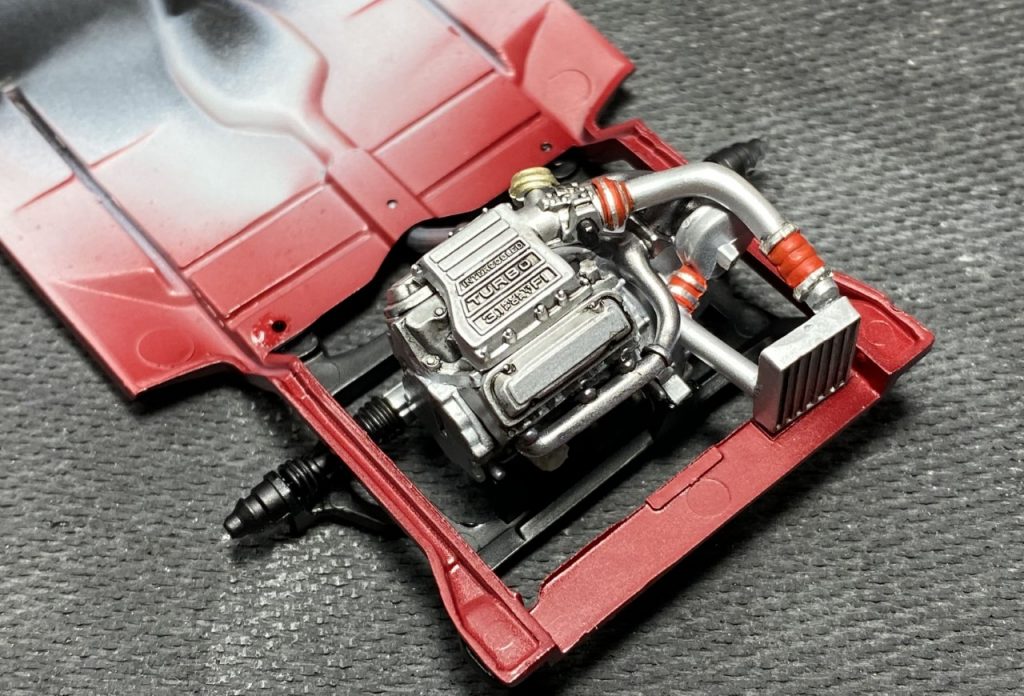
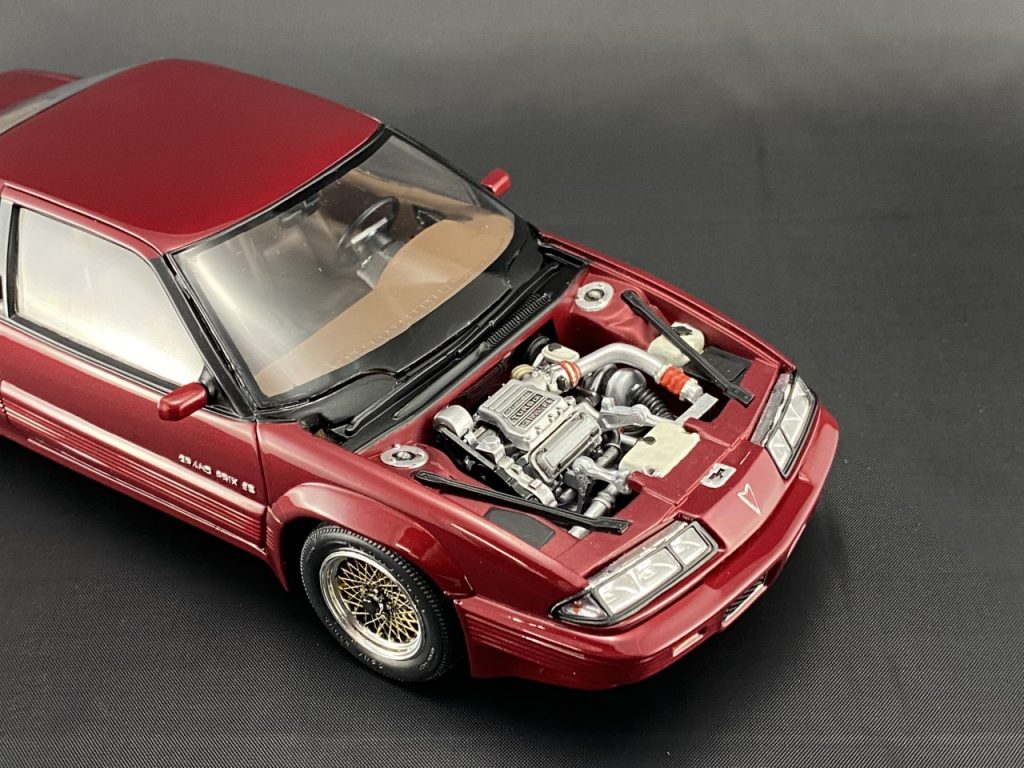
The chassis and engine offered plenty of opportunity for detailing. I took the opportunity to go above and beyond with the turbo piping by painting the couplers red and using thin strips of bare metal foil to simulate clamps. I was very pleased with the appearance.
Missing from this picture below are the engine front cover and drive belt. The cover was missing and the drive belts were in pieces. I was going to skip these and move on but later bought a second kit to replace the missing pieces.
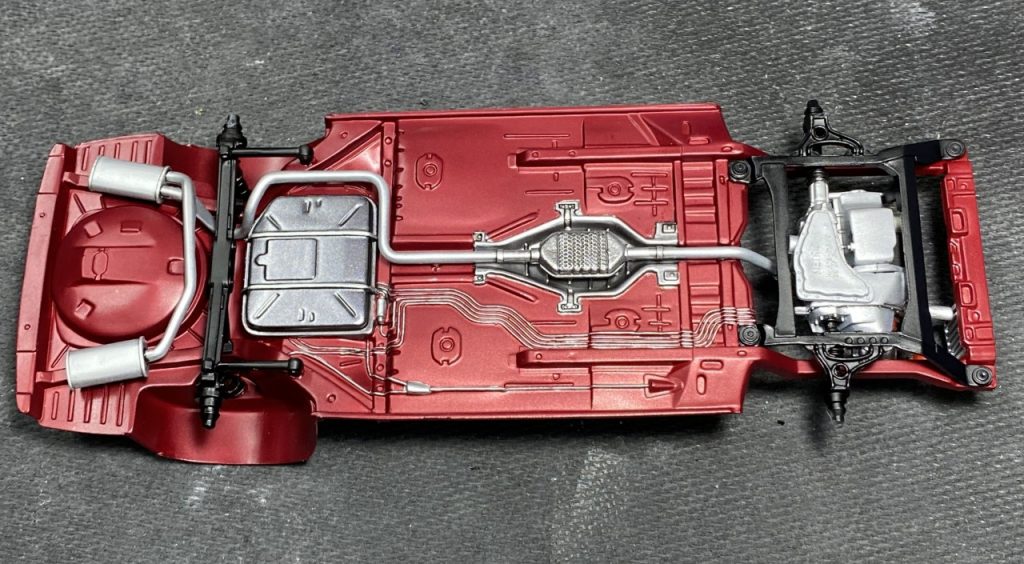
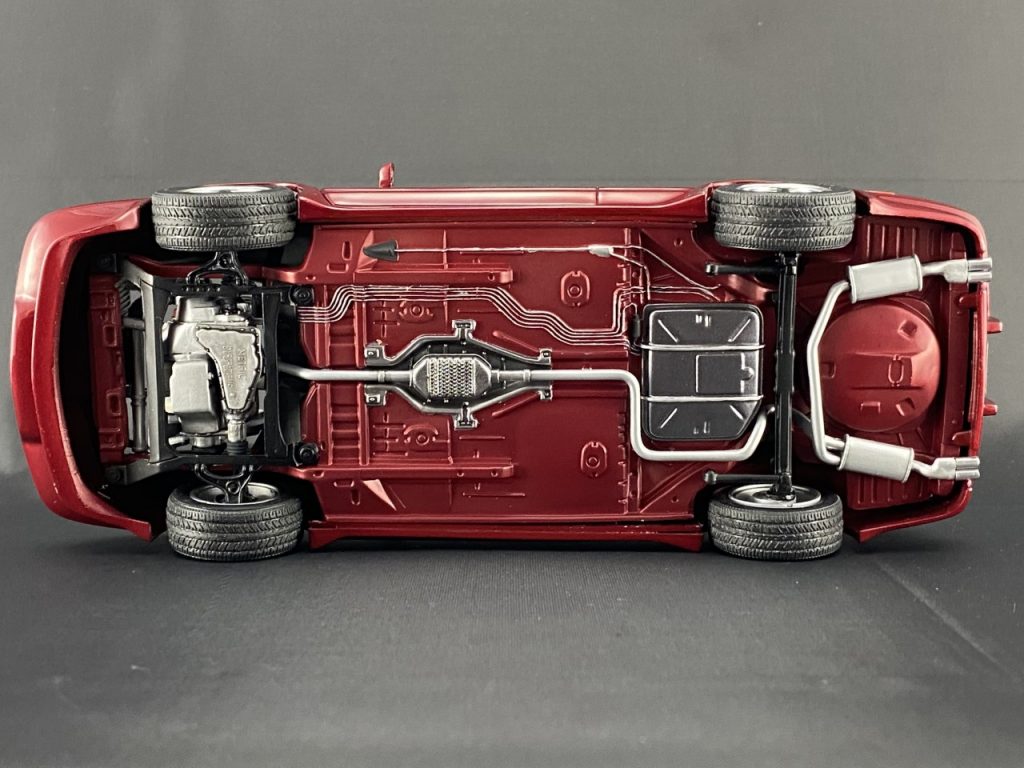
Chassis detailing included painting the heat shield for the catalytic converter, fuel tank and brake lines. Once that was dry, the suspension and exhaust and engine were added.
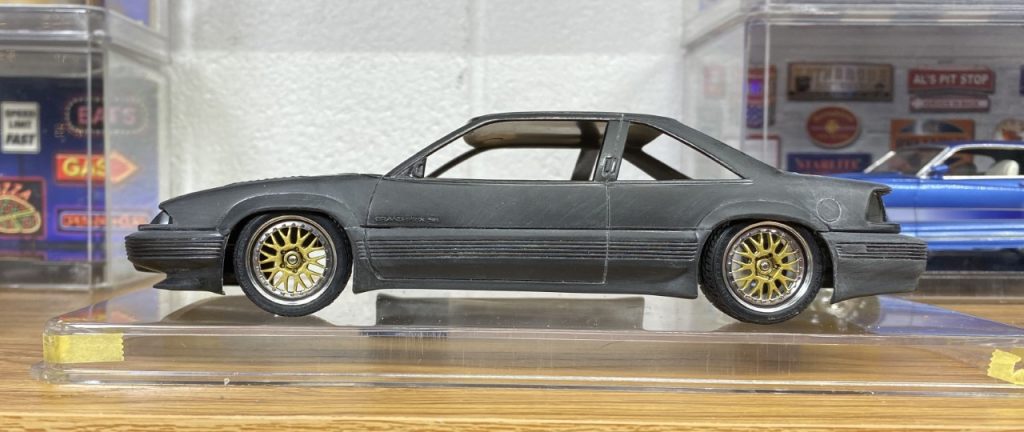
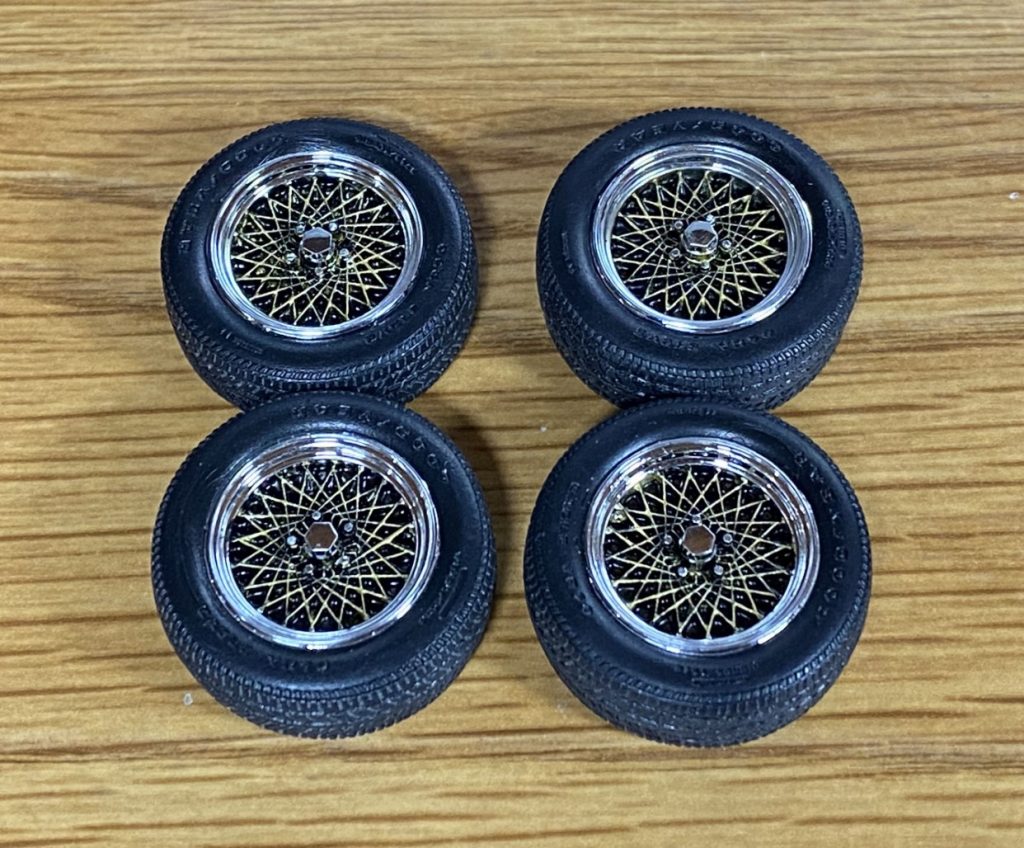
Detailing the wheels involved painting the recessed area around the spokes black then dry brushing the gold on the spokes. Later, I painted the center caps semi gloss black. I also scuffed the treads to add more realism.
Final Assembly
Up to this point, I was really pleased with the quality of this kit. Part of the problem that surfaced involved the fit of the side windows. I didn’t prep the window openings to be painted and still have the glass fit. Whoops. This caused issue with the interior tub fitting into the body. I managed to force it in and glue the main components together. This caused the windshield to pop out slightly. I filled the gap with window glue and touched up the semi gloss paint.
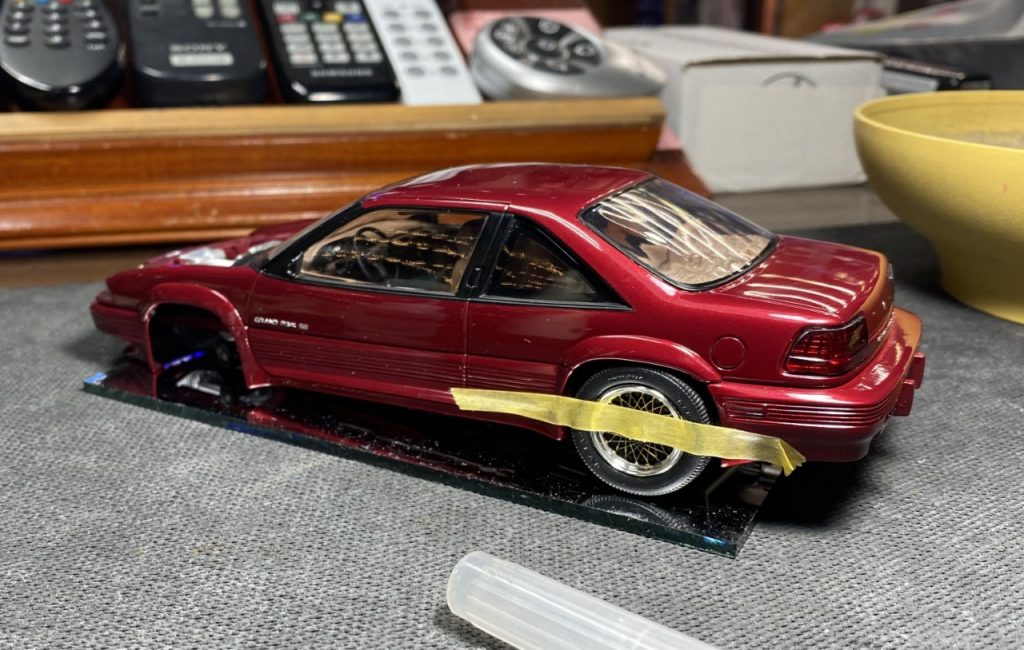
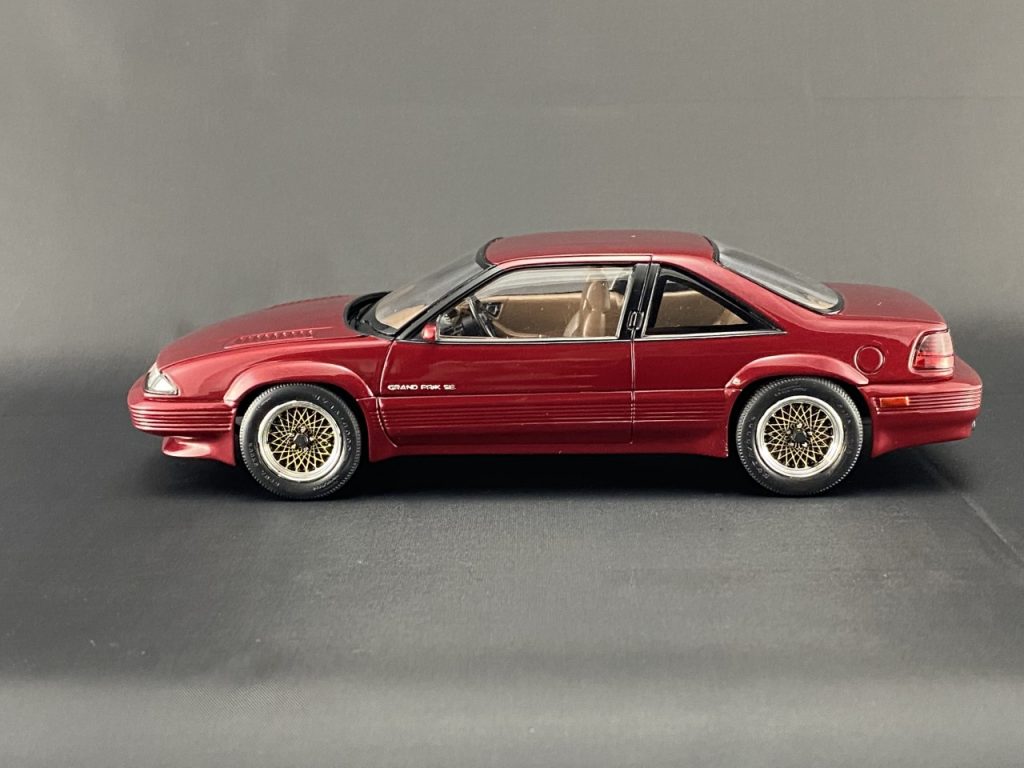
After sorting the issues with the body/interior fit, I ran into the next hurdle. Considering the box art, I had worried that the wheels were going to fit poorly. In a way it was true. The axle location for the front and rear were significantly off. There was no clean solution other than cutting the pins and gluing the wheels in place. The positive side to this is the offset of the wheels coupled with the ability to put the wheel anywhere allowed for a nearly flawless stance. I was pleased!
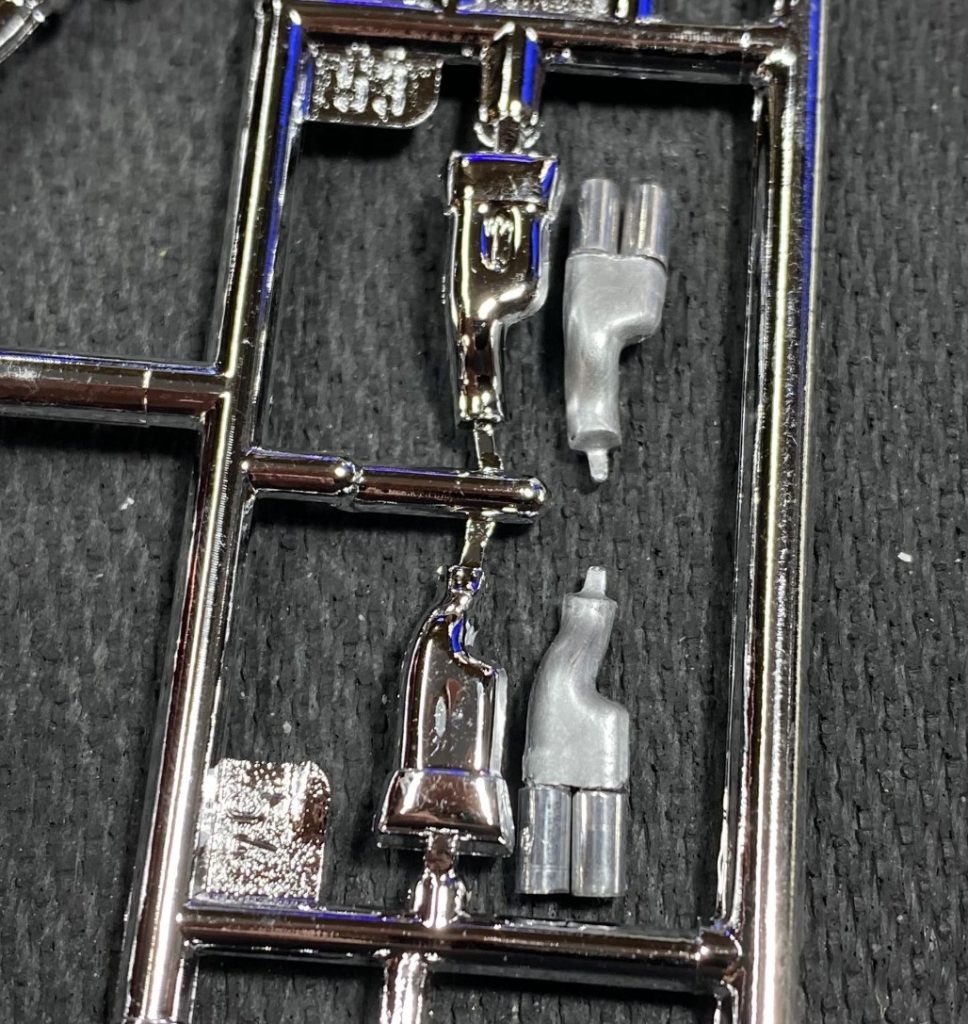
Continuing the gripe: The exhaust tips were awful. I had no idea what Revell was thinking. I lopped off the end and added tubing for tips. It isn’t perfect but looks much better than the original. The picture below shows my modified tip compared to the original.
I mentioned before that the kit was missing the engine front and needed a new drive belt. Reluctantly, I bought another kit off of Ebay and had the parts I needed. (Later, I sold the kit on Ebay with a note about the missing parts). After detailing those parts, I added them to the engine.
Final Gripe: The engine parts that had to be added after the body and chassis were joined did not want to fit properly. Looking over the pictures on the box art, you can tell the builder omitted parts. I didn’t want to leave anything out. To avoid that, I modified several pieces to allow proper clearance.
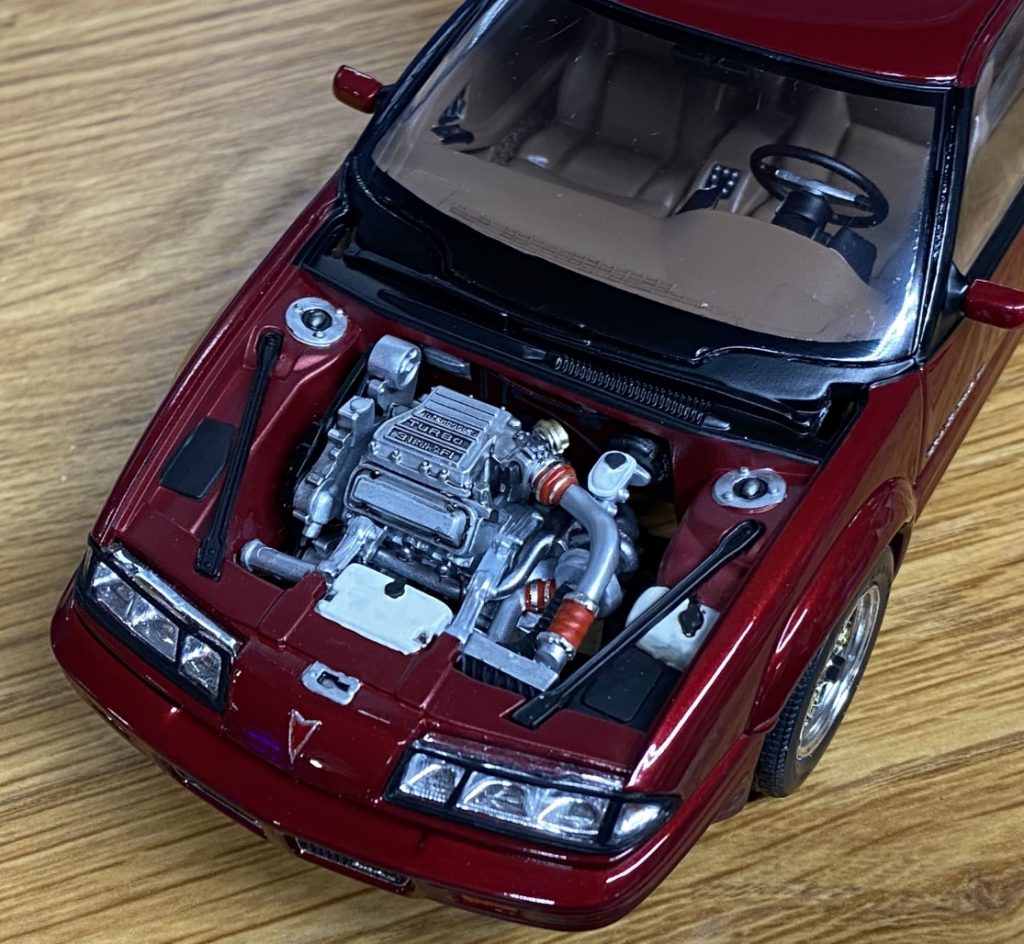
The final details added were the head and tail lights and attaching the modified exhaust tips.
Complete!
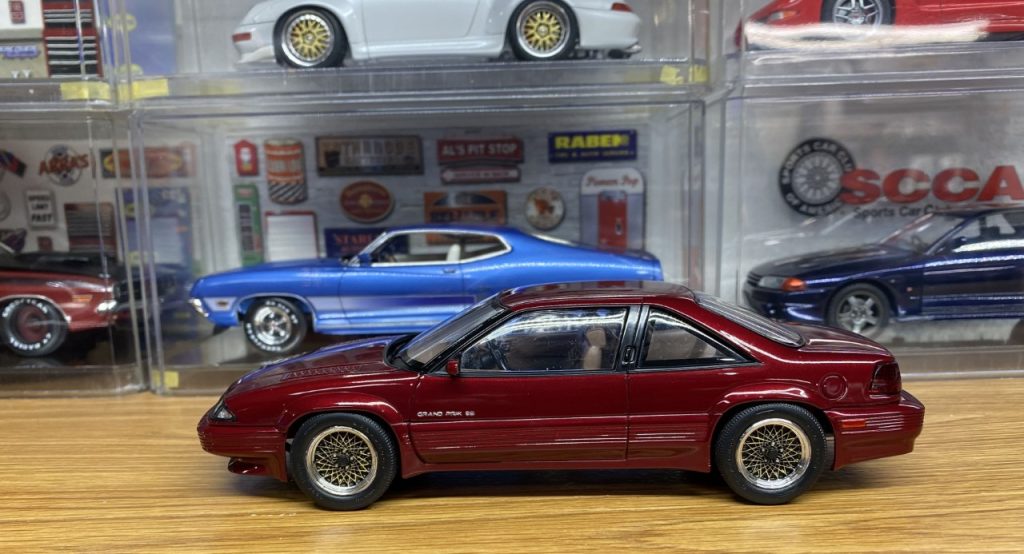
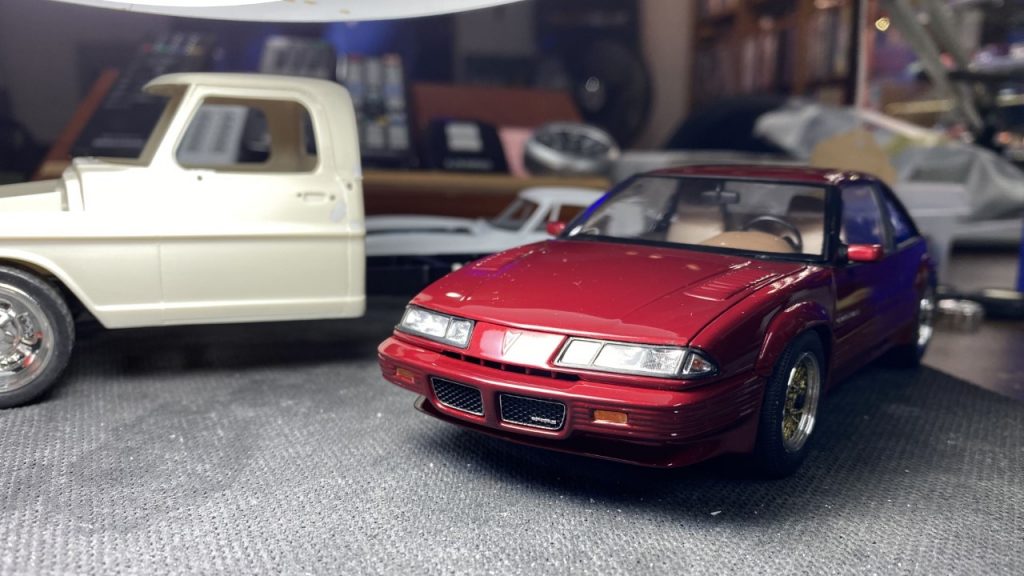
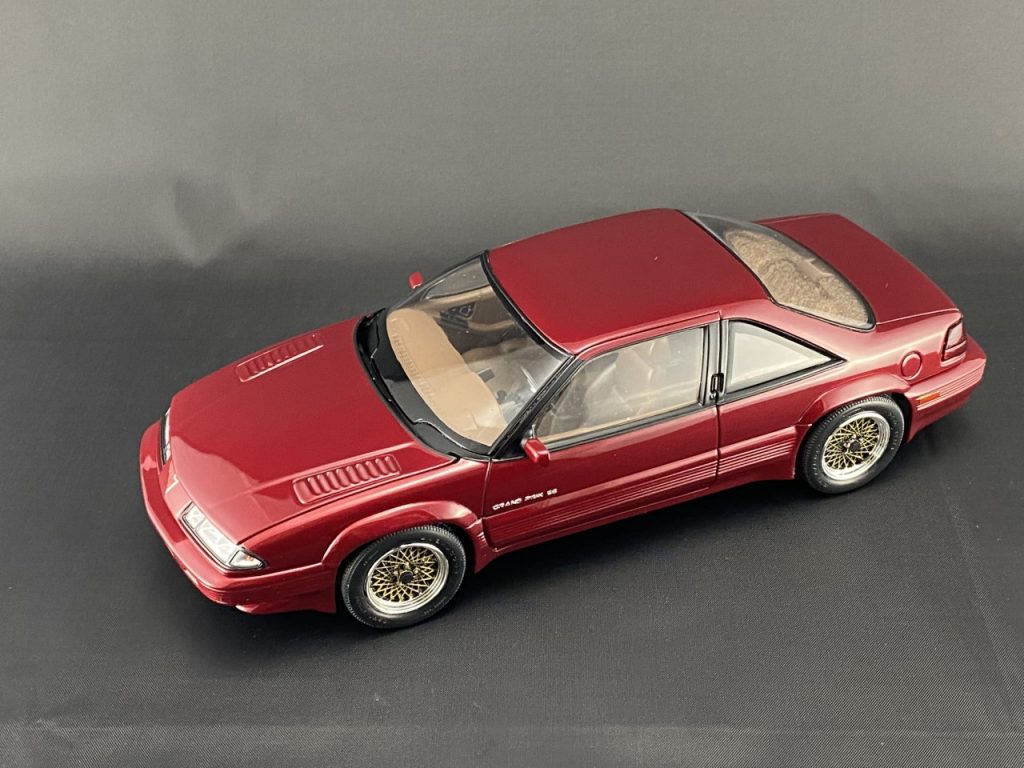
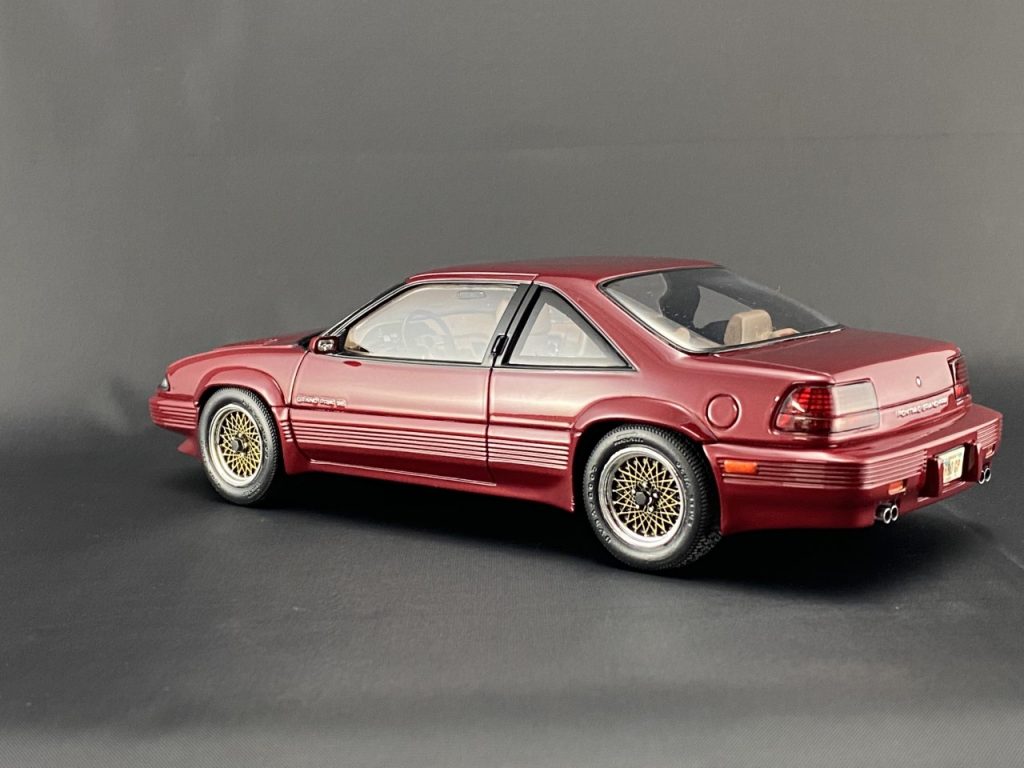
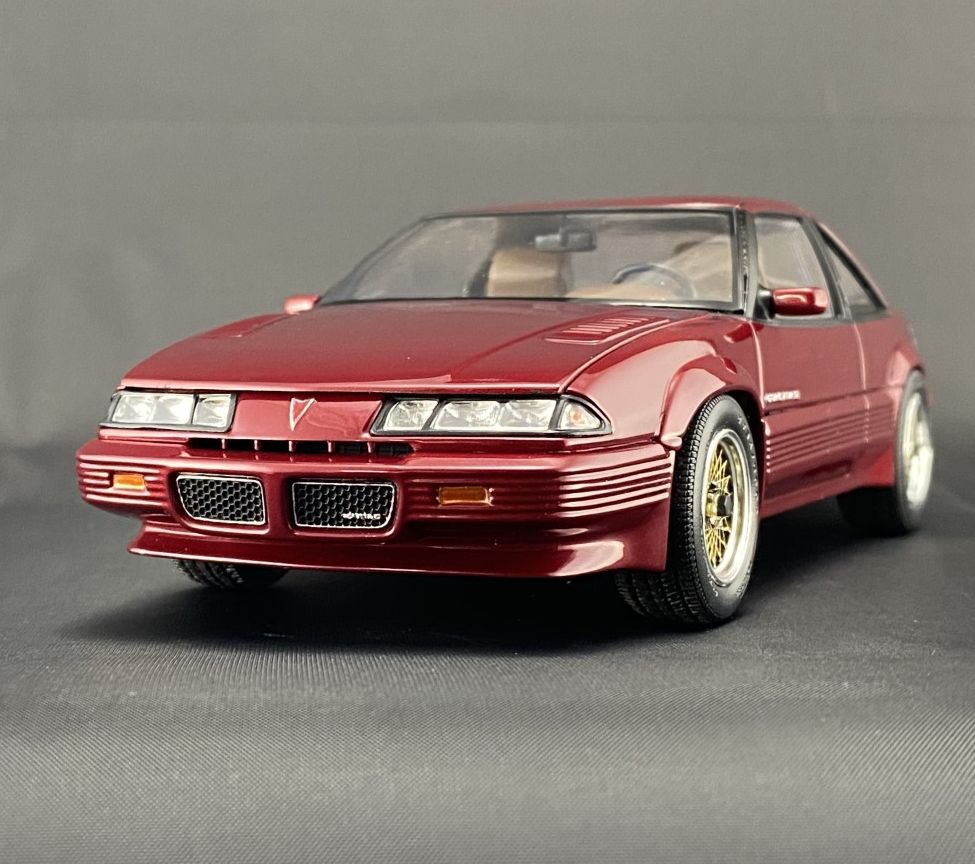
Whew! The Grand Prix was a fairly quick build even with the challenges. I’m not necessarily really excited about it now that it is complete. It happens. Overall, it turned out great! It will be parked with my other Rad-Era builds!

Final Thoughts
As I pointed out through this write-up, the challenges faced towards the end of the build were frustrating but not insurmountable. My decision to buy another kit to replace the missing pieces was frustrating from a cost perspective. I had hoped to use nothing but leftover materials to keep the cost below $10. Buying the kit cost me $20 and I recovered about $5 from selling it less engine parts.
Overall, I’m pleased with the build. The finish and stance look great and it sits well the rest of my Rad Era builds!
Completed: November 2020
