
For the love of Corvettes
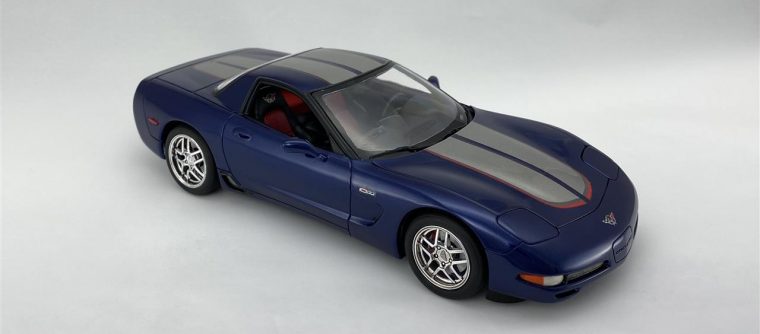
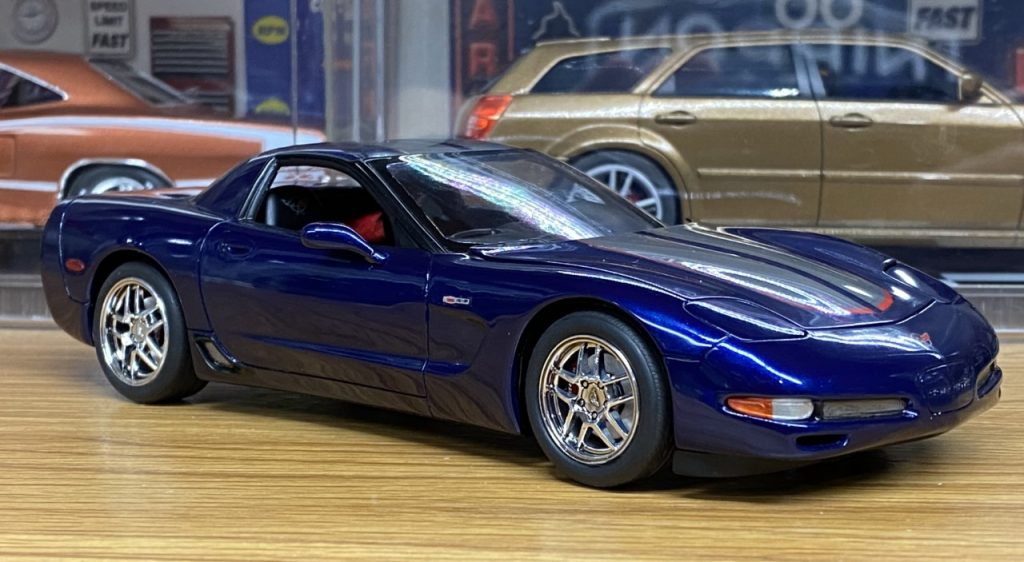
Over the past few years, I’ve really grown to appreciate Corvettes. At this time, the C5 Z06 is one of the best bargains for a modern Corvette. As much as I’d love to park one in my garage, it’s just not in the cards. I can do the next best thing and build one in scale! The 2004 Commemorative Edition is by far my favorite version of the C5.
The Build
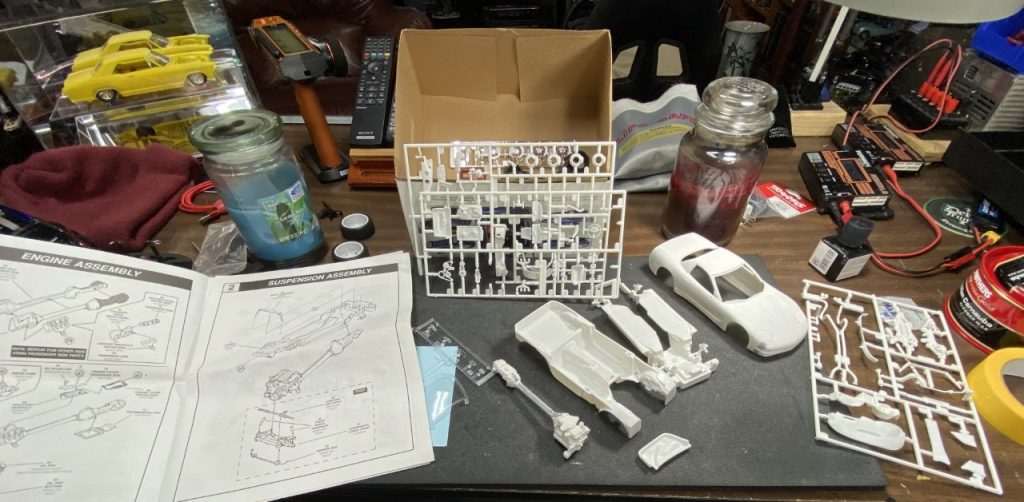
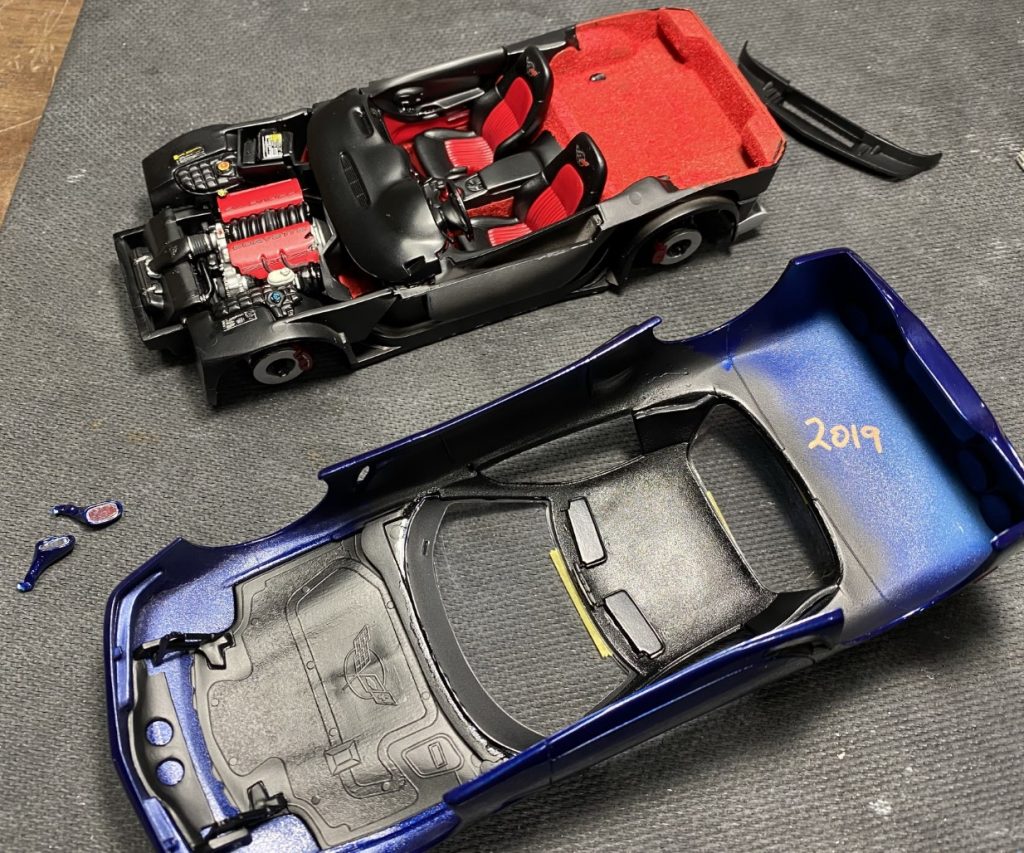
I started working on this build earlier in 2019 by assembling the engine and seats; parts that needed seam filling. I also finished the majority of the body prep by scribing panel lines and filling sink marks. In my attempt at avoiding distractions, I set it aside to focus on other builds. In the meantime, I ordered Chevrolet Le Mans Blue from Scale Finishes.
As the year progressed, I was getting closer to beating my personal best year of kits completed. I needed one more and decided to finish this build. Between my interest in this car, and the need to finish “just one more” I was excited to get it built!
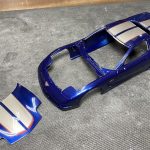
Body Prep and Finish
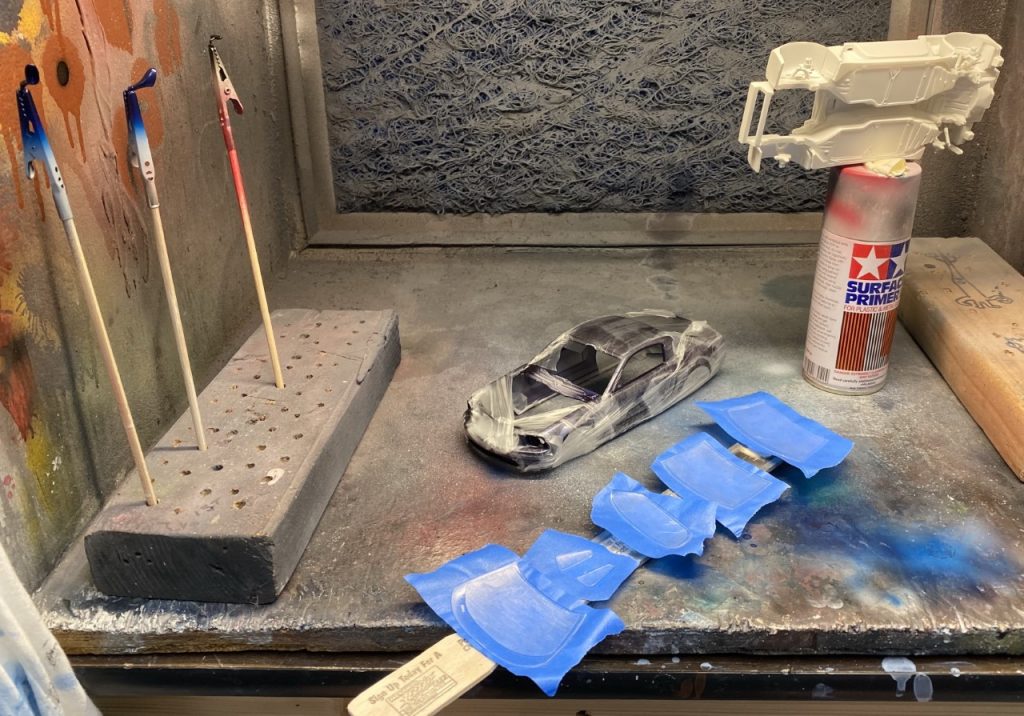
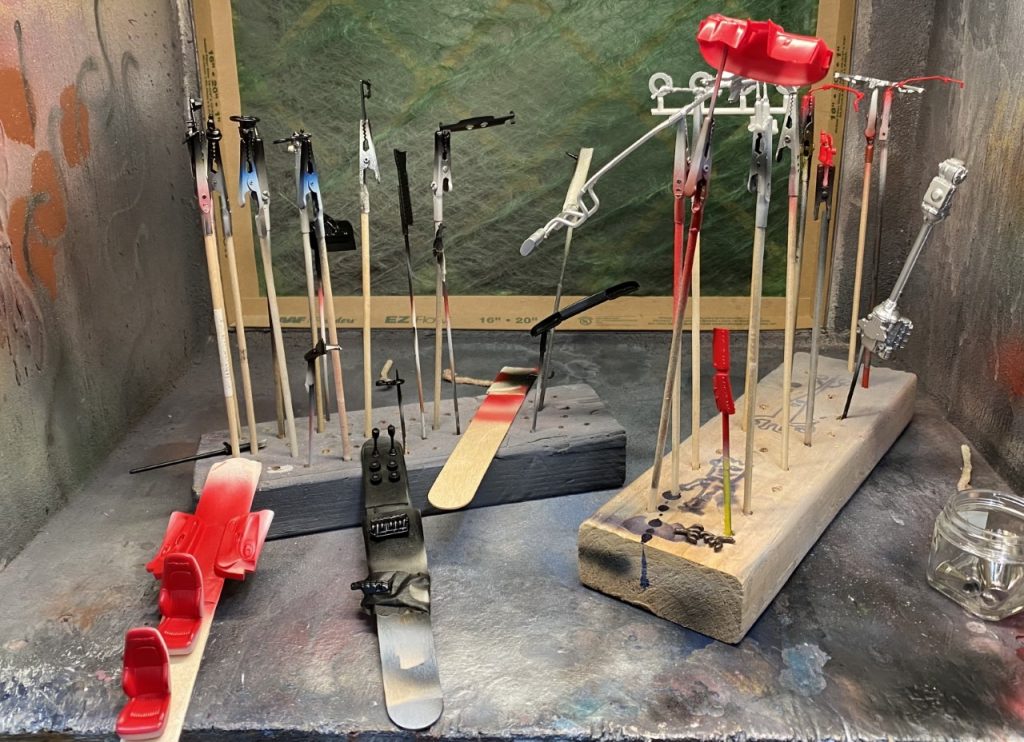
Prepping the body for paint was relatively simple. I cleaned the mold lines, deepened all of the panel lines and filled in a few sink marks.
After checking my work with a coat of primer, I made corrections and sprayed the final coat of primer.

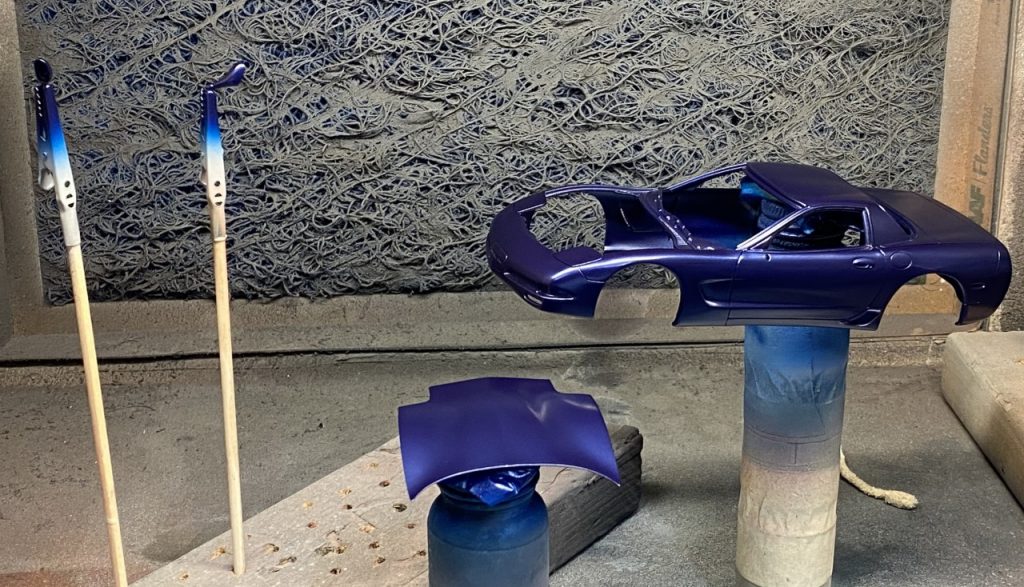
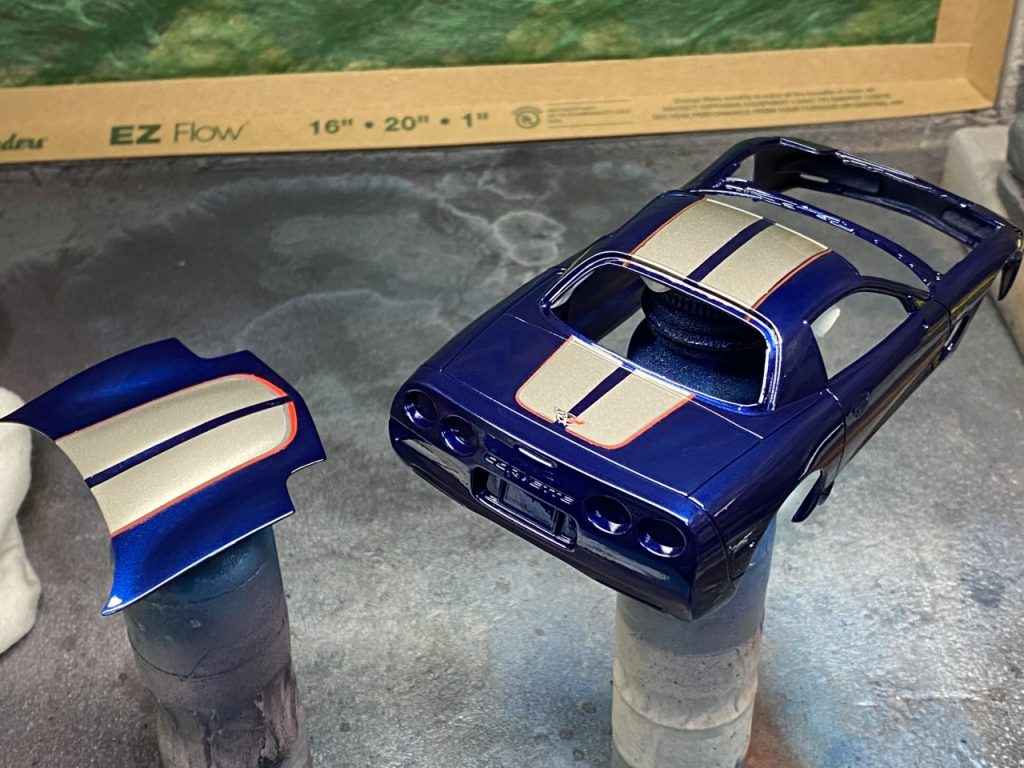
My last few experiences with Scale Finishes glossy finish paints haven’t been very good. When I had to order more paint for my Magnum build, I decided to try the base-coat finish. While I was ordering, I bought a bottle of Le Mans Blue for this build. I’m happy to report that the base coat version of their paint sprays and builds very well! I’m pleased with the results.
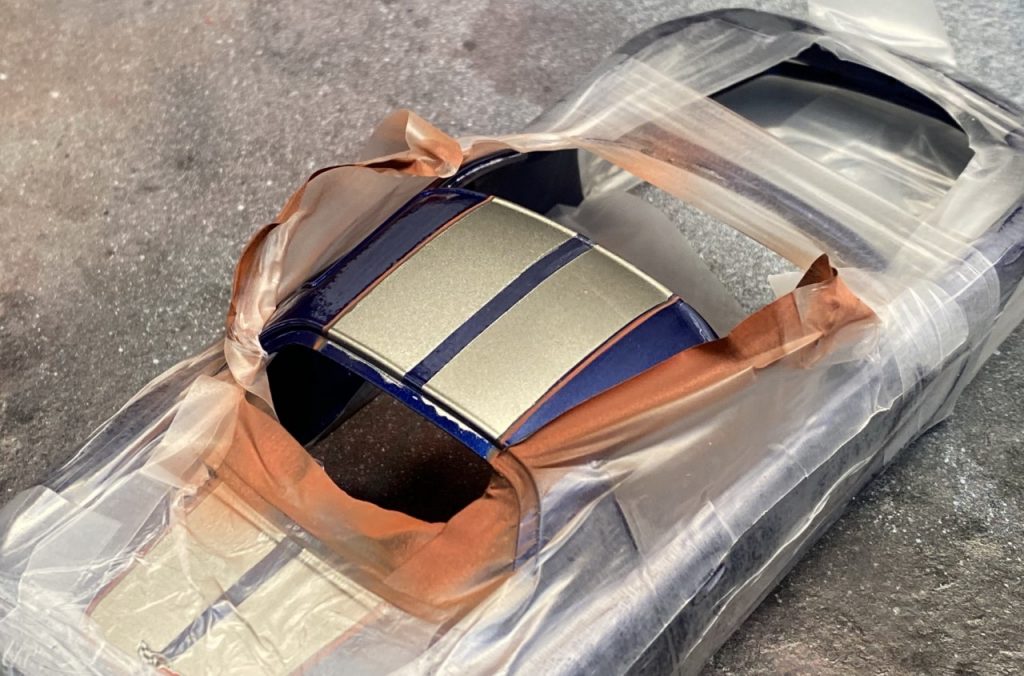
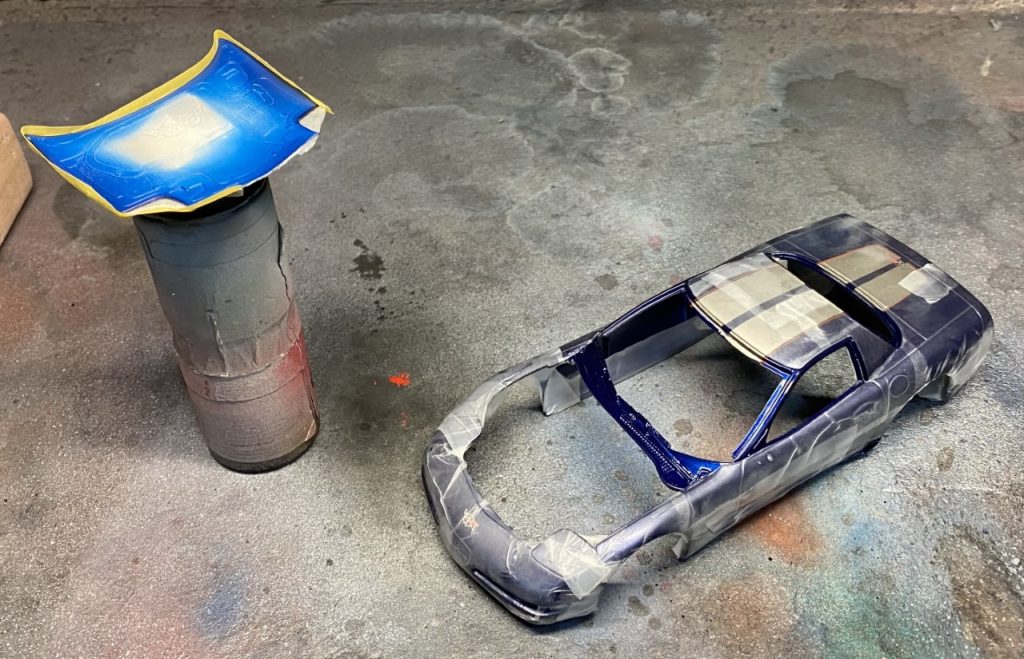
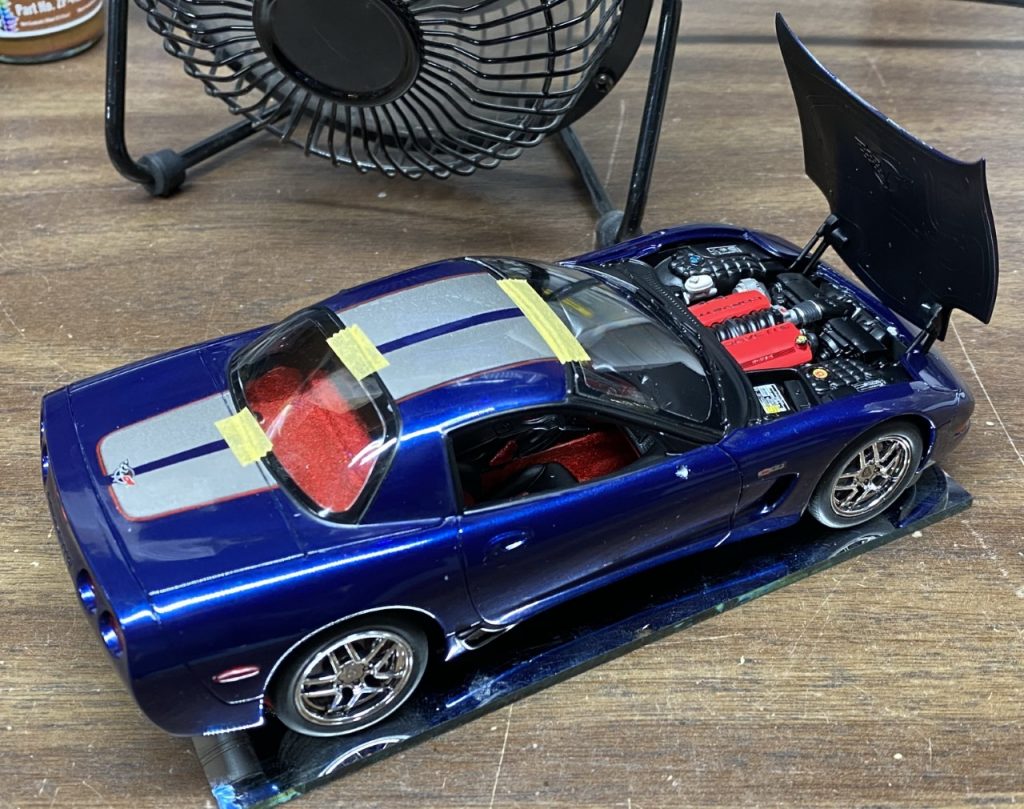
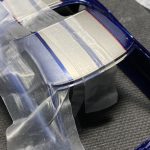
Up to this point, the build was going very smoothly. Now it was time for the signature strips used on the Commemorative Edition of the ’04 Z06. While getting them to sit properly, with setting solution and heat, the color started to flake. I thought I could live with the blemishes but changed my mind after one coat of clear. I carefully masked the grey stripes and sprayed them with a tinted silver.
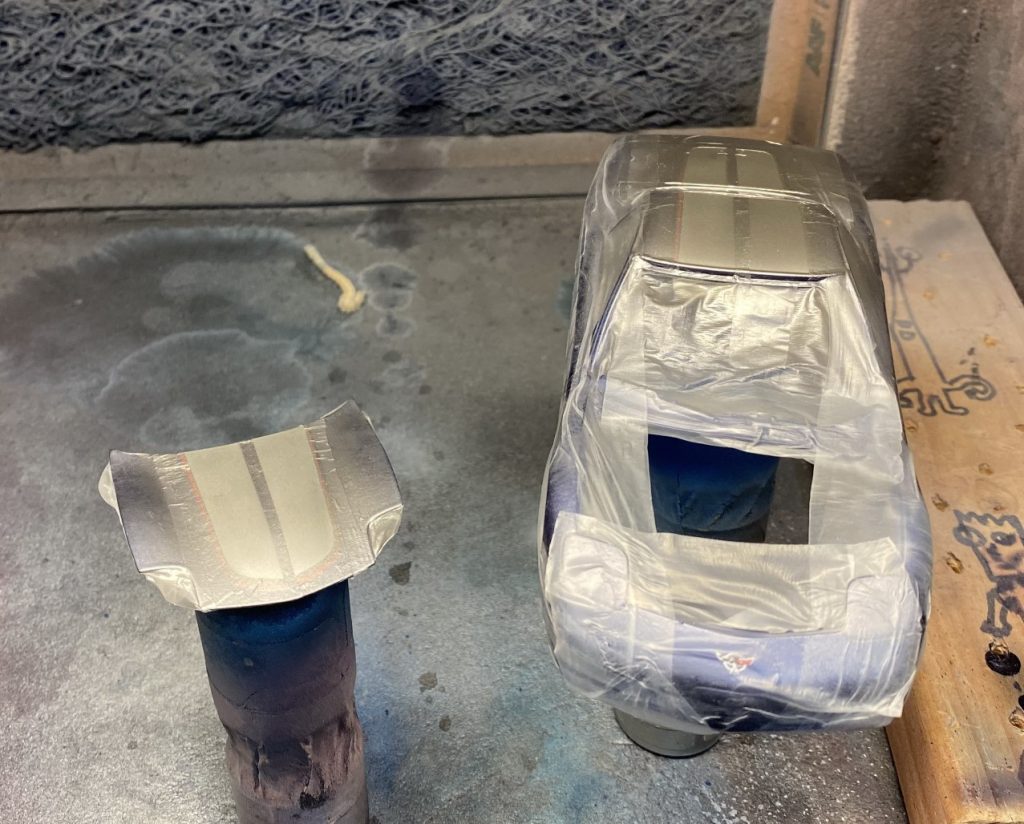
This is when things got out of hand. On the roof, I hadn’t cut the line tight enough to the edge of the silver which was a problem since I hadn’t mixed an exact match and you could see the silver of the decal. I masked it and sprayed it again. Then I noticed the other strip was off. That was masked with masking tape (rather than parafilm) and I managed to peel the clear coat and decal away! At this point, I thought lost my chance at finishing this project quickly. After finishing my string of endless swearing, I removed the rest of the flaked clear, prepped the surface and masked for the red and dark grey stripes on the roof. I did both stripes to keep the colors consistent. Although not perfect, I think it turned out well.
Once the decal disaster recovery was complete, I covered the body and hood with Gravity Colors 2K clear.
After the clear cured for a few days, I sanded and polished the paint and masked the body for trim paint. I took this opportunity to glue the visors and b-pillar inside trim then sprayed the headliner and trim satin black.
Admittedly, my drive for doing my best work faded when I ran into the decal issue. The body looks great but has more light sanding scratches than I would prefer. Maybe one day I’ll come back to it and clean it up.
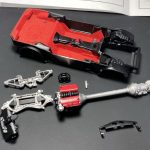
Interior – Chassis
As I was reviewing the manual and how the kit was built, I decided it was easier to join the chassis to the interior tub. The inner fender pieces for the rear do not have obvious mounting points. With the interior tub in place, the fender liners can be glued in place. Once the rest of the chassis pieces were attached, it was ready for paint.
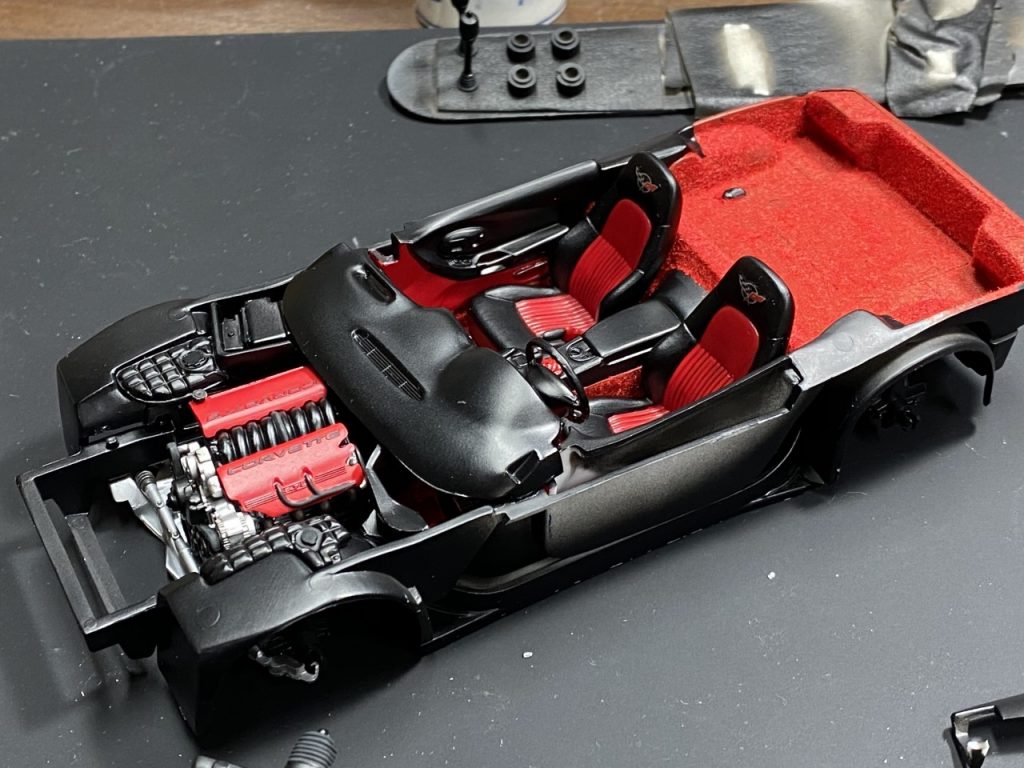
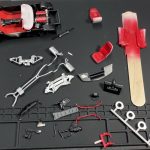
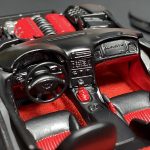
For what appears to be a simple build, there are quite a few parts! The rest of the parts were prepped, primed and then painted various base colors. I chose to use red accents in the interior to add contrast.
After spraying base colors on all of the parts, I masked the interior for black paint and hand painted details on the rest of the parts. I also decided to flock the interior with red flocking. The 1:1 Vette did have the option for red accents, but not the carpet. I’m on the fence if it was the right decision.

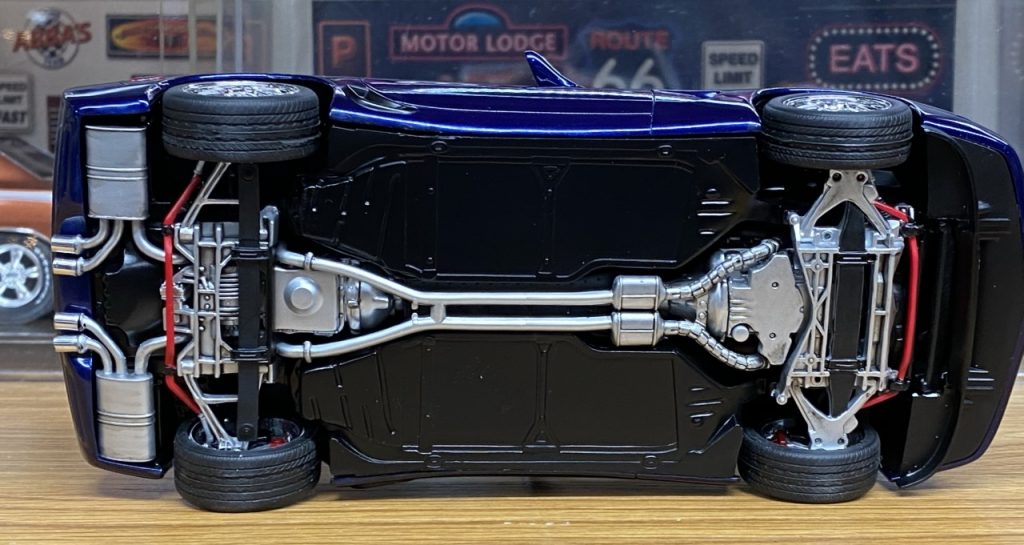
Once all of the pieces were detailed, I assembled the interior, suspension and brakes. I hand painted the shift knob and parking brake cable as well as other details wherever possible.
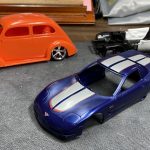
Things continued to get hairy with the build. When I tried marrying the body to the chassis, I discovered that things just didn’t fit. The body didn’t sit low enough which exposed the inner fenders. Everything I tried seemed to make something else not fit. I pulled it back apart and started test fitting with another Z06 kit’s parts. I then realized that the dash wasn’t sitting low enough in the interior tub. Once I shaved the mounting points, the body sat infinitely better.

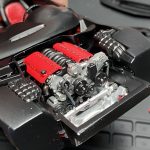
Engine
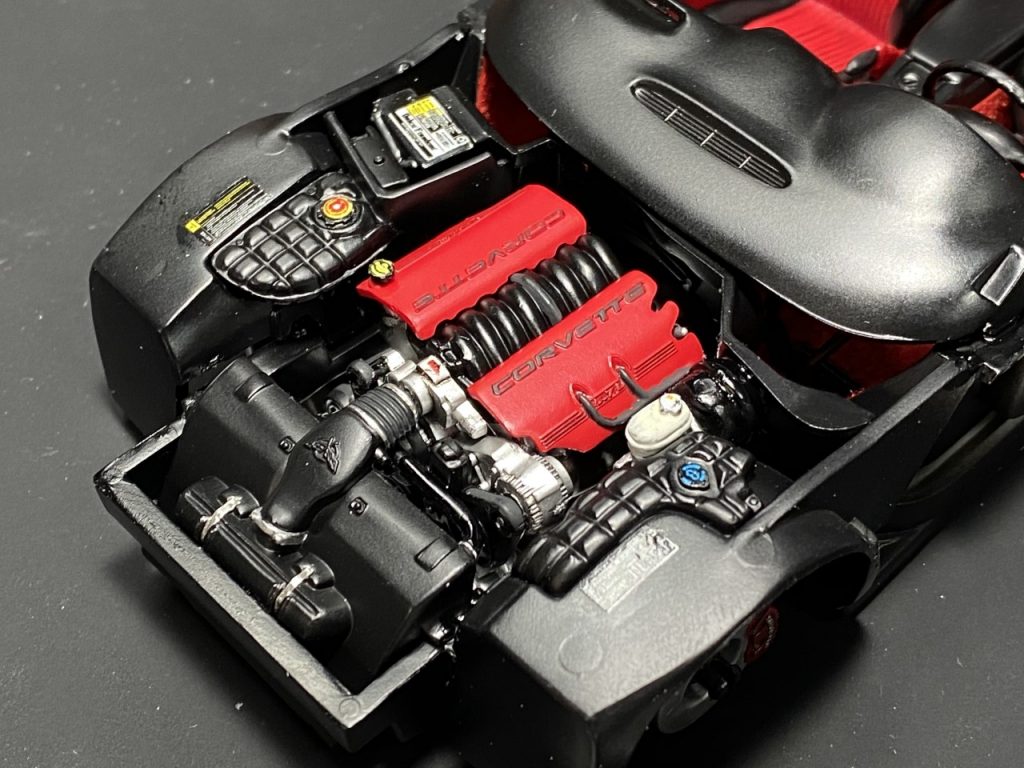
Considering the fact that most of the engine, torque tube and transmission are covered, I probably didn’t need to fill the seams. Even so, I took the time to do it. The rest of the engine parts were painted along with every other part. Assembly went quickly and without too many issues. I hand painted the Corvette lettering then found the decals for it. Oh well.
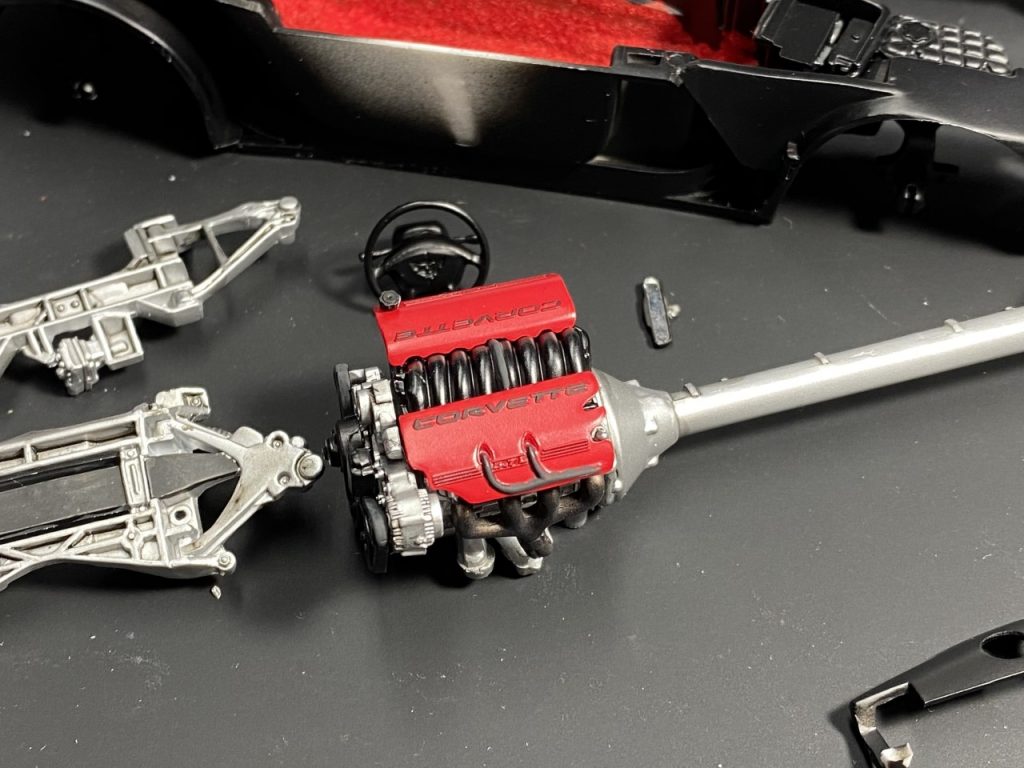
I hand painted the flexible part of the air intake with Nato black and use thin strips of bare metal foil to simulate clamps. Bare metal foil was also used on the air box clamps. Tamiya black panel line accent was applied to wash all of the aluminum parts for added depth and realism. Overall, I’m very pleased with the engine detail.
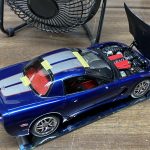
Final Details
Now that the fitment issues were resolved, I could put the body and chassis together for the last time. The hood hinges were installed and the glass glued in place. It was time to bring it together for the last time!
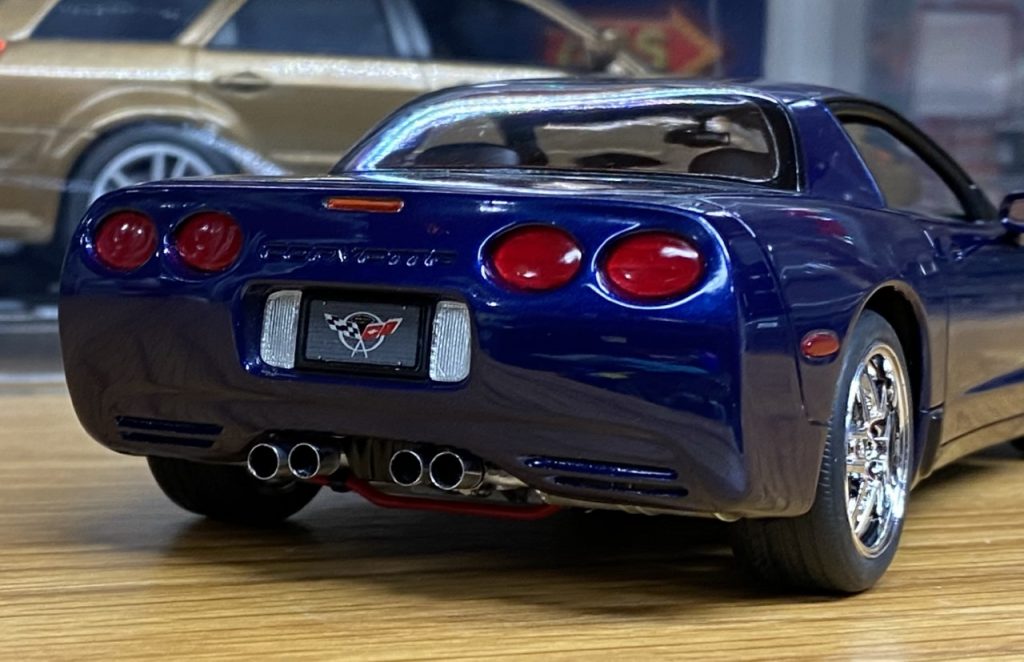
The last hurdle involved the front splitter. The fitment issues around the chassis, hood, and wheel wells also included how the front splitter shared the space. The part could capture the front of the chassis. However, due to all of the previously mentioned issues, the splitter cannot sit flat. Fed up with this build, I notched the splitter to let the chassis sit around it and I was done. I wrapped up the build by attaching the rear view mirrors, used aluminum tubing for exhaust tips and glued the license plate in place.
Fitment Woes
This kit had so many fitment issues that I wanted to list them for reference.
- Body to Chassis fit – The dashboard needs to be lowered in the interior tub. Cut the bottom of the center console and the attachment points on the interior tub.
- Sway bars – As molded, I would swear they were not for this kit. I had to use online references to understand where they need to be mounted. Through trial and error, they were trimmed to fit.
- Brake Master Cylinder – Another part that didn’t seem to belong in this kit. I cut the mounting post and glued it where it would fit. This is done after the engine is glued in place.
- Steering Rack – Not as bad as the other fitment issues. It is a little more obvious where it has to go but still doesn’t have positive moutning.
- Rear inner wheel wells – The manual indicates installation while building the chassis. It is absolutely not obvious where these are supposed to go. You don’t have to glue the interior in place but it not doing so will require you to wait until the body is attached to the chassis. It’s up to you how you will proceed.
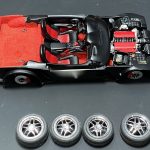
- Wheels – It looks like the wheels can be clicked into place based on how the hubs are made. I didn’t have any luck. Pushing any harder would have broken the parts. I clipped the ends of the hubs and glued the wheels in place. Not surprisingly, the model didn’t sit flat. I cut one wheel off completely and glued it back on to make it sit evenly.
- Chassis to front splitter – This was the final straw! The fit between the hood, chassis and splitter is incredibly tight. This area also appears to have no room for errors meaning everything sits where it belongs. I had to hack the splitter to allow the chassis to fit through it. Otherwise, the splitter would sit at an angle. Ugh.
Final Thoughts
Given my laundry list of gripes, I want to finish this write-up on a positive note. I love this build. The details of the kit were well executed. The color looks amazing and the overall finish is excellent. I do plan on building my second kit (2001) and I know what to expect!
Completed: December 2019

1 thought on “2004 Corvette Z06 – Revell”
Comments are closed.