
The Build
My motivation for building this kit came from the fact that I ordered a 1:1 Challenger. It is the earlier version of the challenger where mine is a ’21. There aren’t any options for the refresh or even the widebody versions of the challenger so this would have to do. I did buy the correct color: F8 green!
Body
A few years ago, I build the Revell Dodge Magnum. It was a really straightforward build with minor issues. The Challenger was no different. The body took minimal work to prep it for paint. I did attach the rear bumper before paint. There were minor fit issues and was happy to get the piece attached and corrected.

Soon after, I sprayed all the body color parts Automotivetouchups.com F8 green.

Before clear, I attached the front bumper with tape to help align the decals. Once that was done, I was ready to spray clear-coat.

I used automotive 2 part clear for clear-coat.

After letting the paint set for a few days, I sanded and polished the body.

Soon after, I masked and sparyed all of the black trim.

Chassis/Engine
Every other part was prepped, attached to sticks and sprayed their respective colors.

Before attached all of the suspension, drive train and exhaust, the chassis was sprayed body color and then masked to spray the heat shields.

The engine was a very straight forward build and slipped into place with no fuss.

Interior
The Challenger’s interior for my Challenger is all black from the factory. Although it is hard to make details pop on a solid black interior, I used the SRT decals for the seats and did my best to pick out as many details as possible. I also flocked the interior.

The decals for the dashboard help to break up the solid color.

Windshield
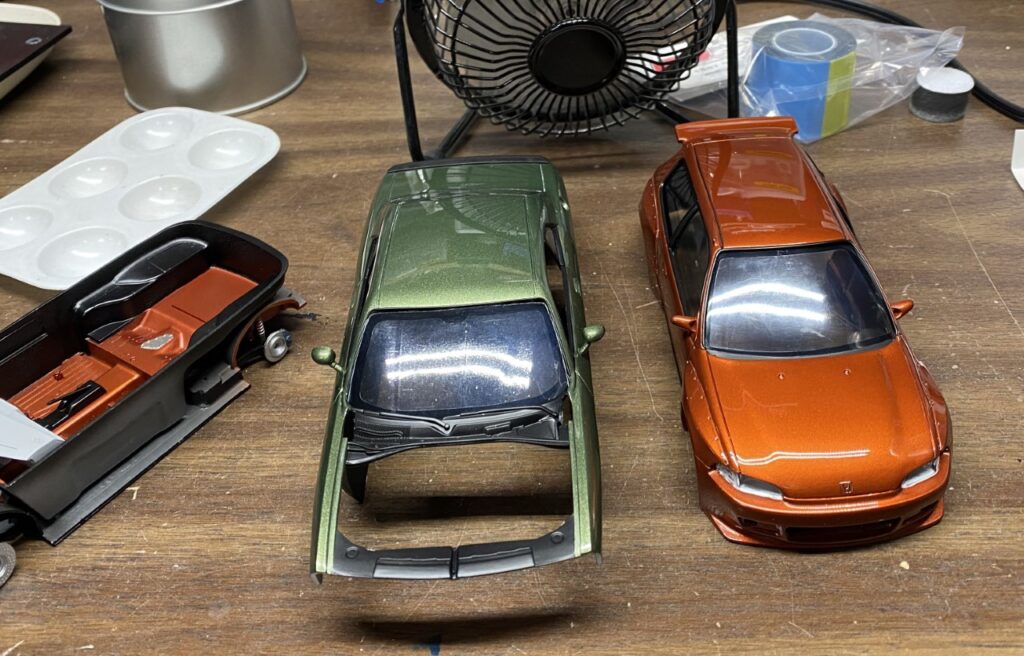
Normally, I don’t focus on one part. However, I managed to snap mine while polishing it. I was just about to glue it in place! I wanted to buy another kit, just for the windshield, but unfortunately, the Revell Challenger was not in production for long and kit prices are through the roof!
I read about creating a buck out of the broken part and use a soda bottle and a heat gun to form the piece.

It took me a few tries but I was finally able to get a piece that turned out really well. Before I cut away the part, I marked the edges, and the line for the black outline.


After trimming the new glass, I masked and sprayed the black trim and glued it in place. It isn’t perfect but I’m still really happy with it.
Assembly
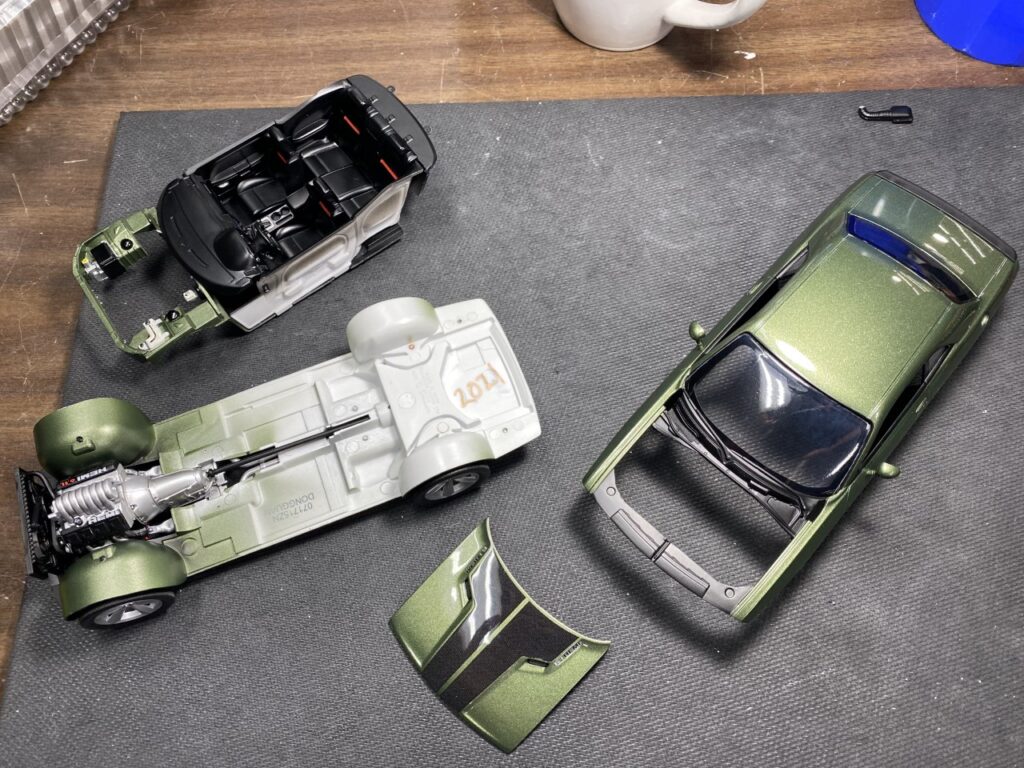
Once all of the major components were ready, the kit fell together. Below, the chassis is fully assembled and ready to be attached to the body.

The main components were detailed, year marked and ready for assembly.

The last parts to be attached were the tail pipes and license plate.

Done!
The Challenger was a really great build that turned out very well. It’s not a copy of my new 1:1 Challenger but it still looks great!


I went a little crazy with the F8 green and finished a 1/64th scale challenger as well as a Honda CRX.

As you can see, the Automotivetouchups.com F8 green is a perfect match to the original paint on my Challenger!


