Takin’ a break
After finishing the last build of the year, I decided to tackle a few other side projects before I dug back into building. Given then, I did nothing in January.
Shortly after photographing all of last years’ builds and setting them in my display case, I selected several projects that I intended to build. There were three leftovers from last year and many new builds.
Civics
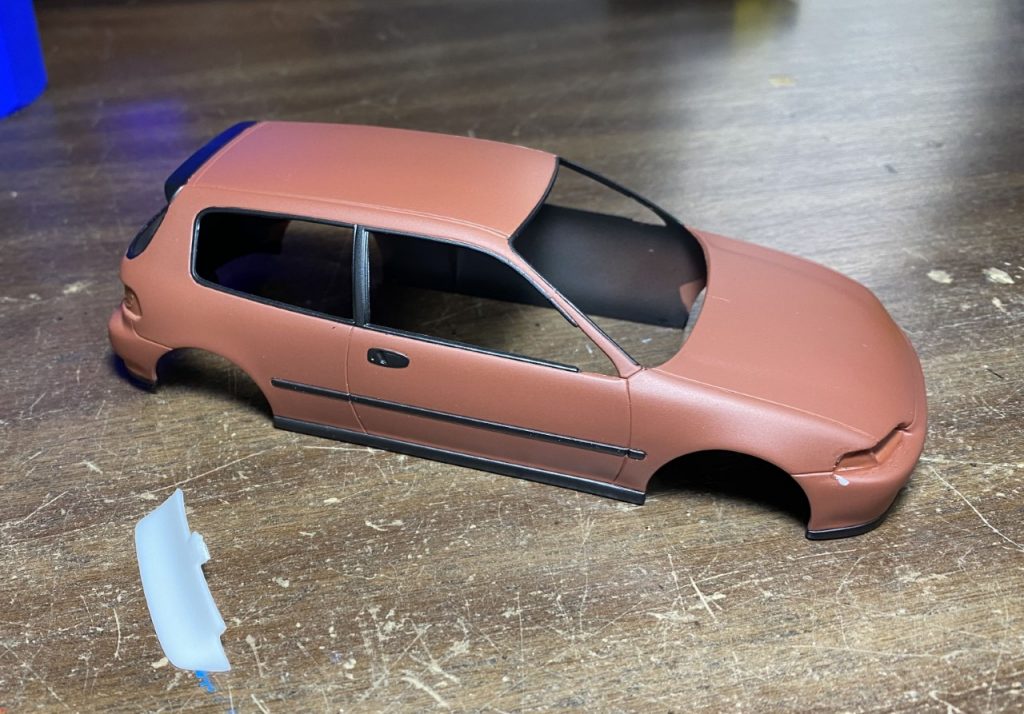
Originally, I had only planned on building the USCP Civic Coupe trans kit. While deciding if I wanted to use the parts from a new kit to complete the build, I pulled the first Civic build from my case with the intent of using it’s parts. The original build was a quick rework that was fun at the time.
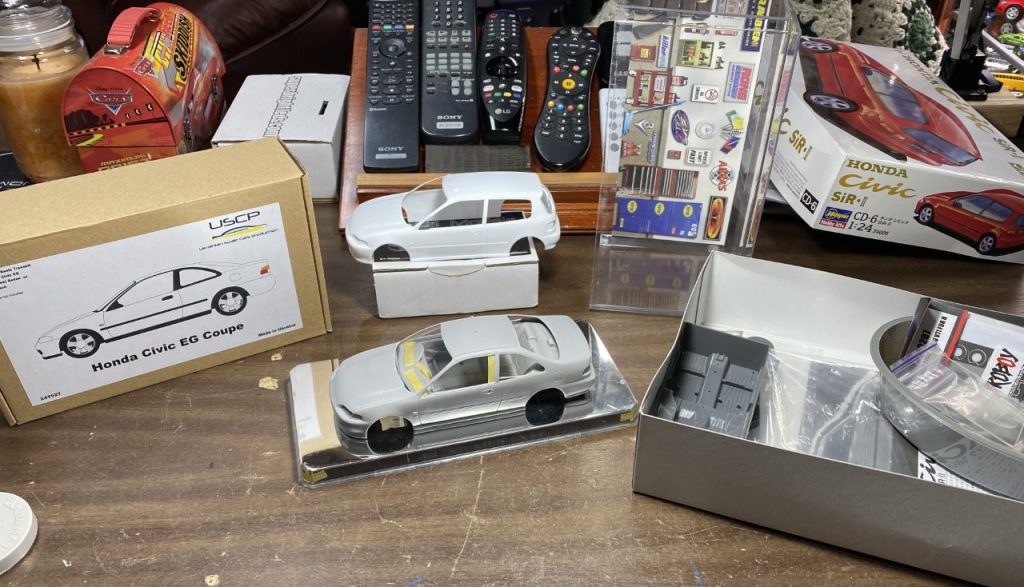
The rework addressed a botched paint job and missing headlight lens. In the end, I decided to rework it again rather than scavenge the chassis/interior parts for the coupe build. After pulling it apart, I soaked the parts in degreaser giving me a clean slate. I also decided to add and “eighty-one” duck-bill spoiler.
Using a new kit to supply parts for the Coupe trans kit left me with a spare body. I decided to start building my C1 models widebody kit. I would still need a kit for the rest of the parts. While I wait for the additional kits to arrive, I can get the body 100% done (that’s the plan at least).
Both the rework civic and widebody civic received a new rear spoiler. The widebody also received lower side skirts and fender flairs.
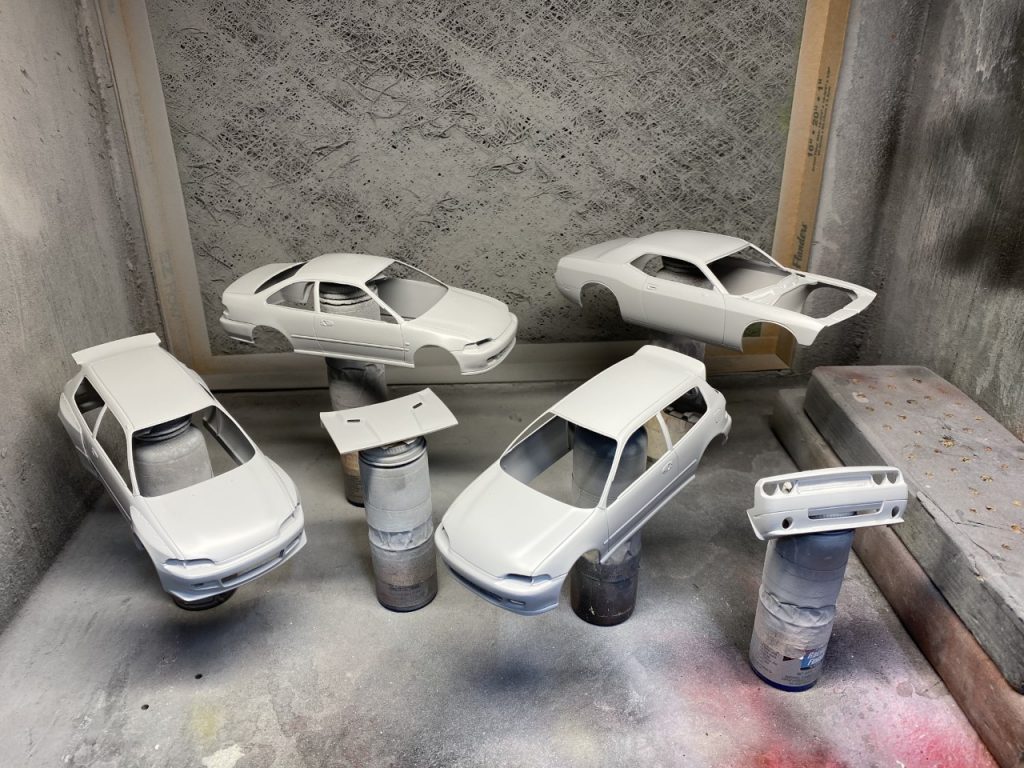
After completing the body work, it was time for final primer and color.
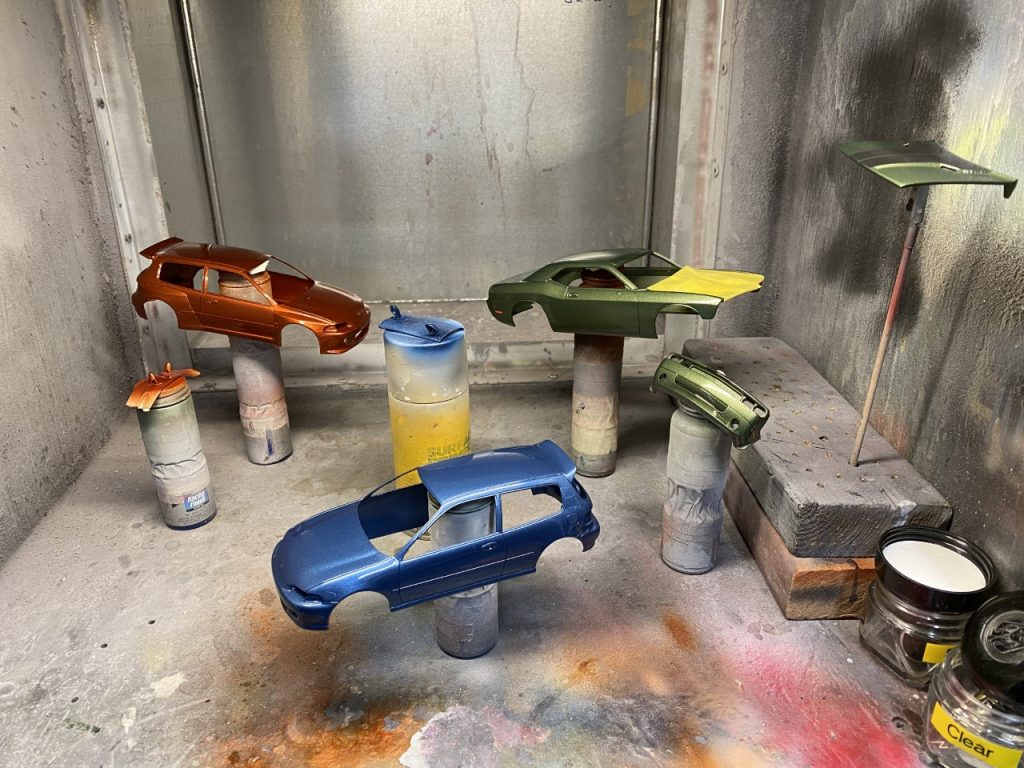
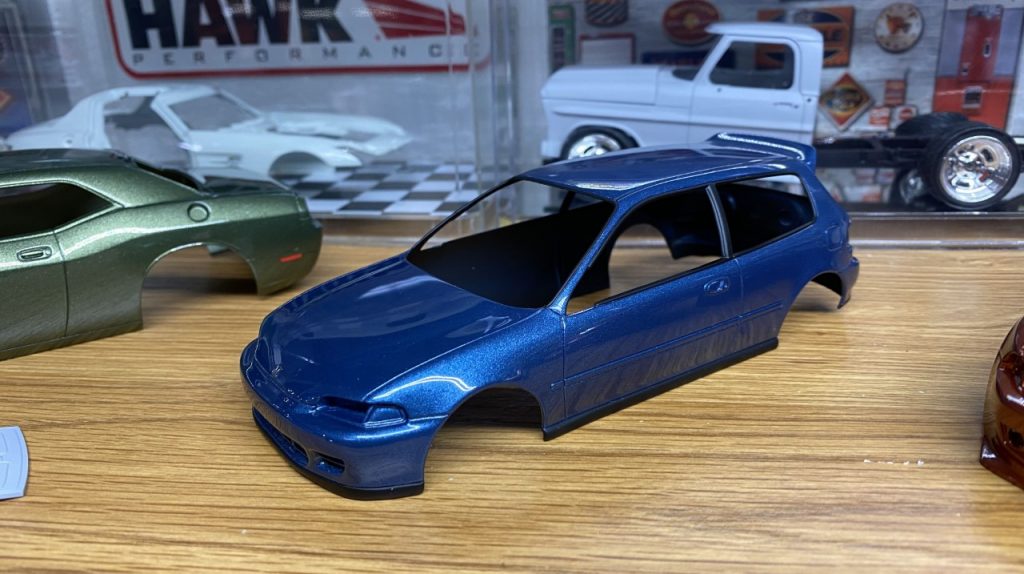
For colors, I chose Dodge Frostbite blue for the rework Civic and Dodge Sinamon Stick for the widebody Civic. Before clearcoat, I applied Zoomon photo etch emblems and script to the Civics.
The rework Civic was sanded, polished and trimmed with satin black paint. Next step: Finishing the new wheels and the interior.
The USCP kit almost met an unfortunate end. Considering what I paid for the kit, I wasn’t going to give up. While priming the body, I encountered heavy fish eyes. Not normal for Tamiya primer. Through the process of stripping primer, I made the body very soft and degraded some of the detail. Sanding or scribing the body was resulting in chunking. I cleaned it the best I could and covered it in primer. No fish-eyes this time and over time, the resin hardened again. It will take more work to resolve some of the damage but I will build it!
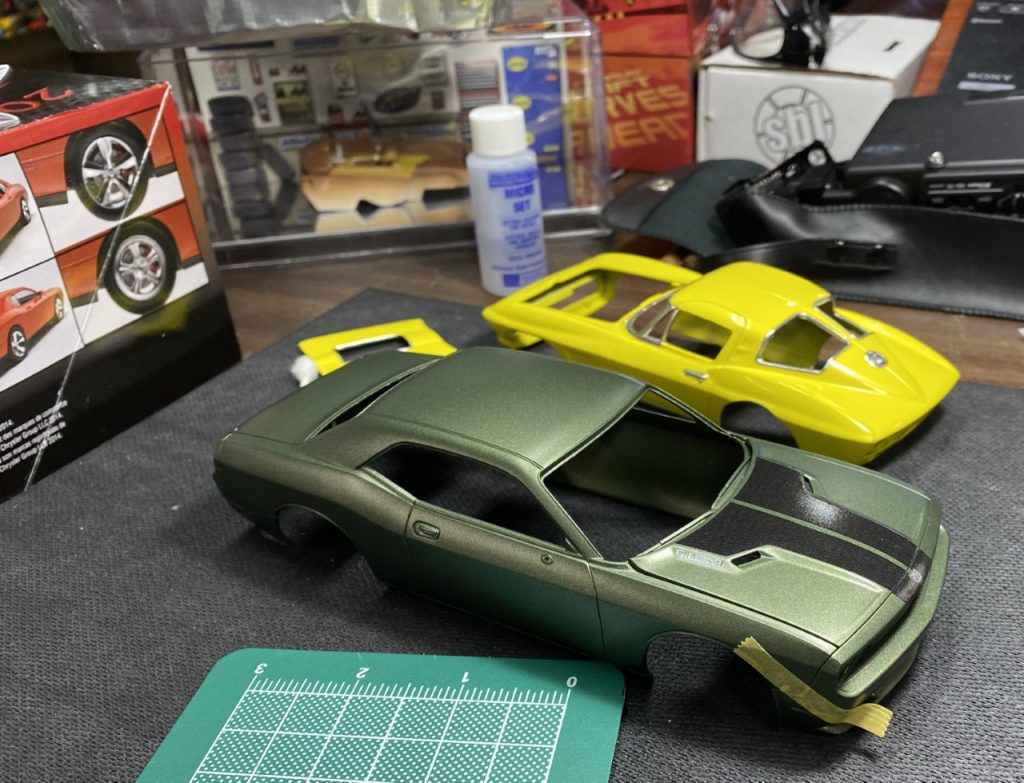
Challenger
My motivation to start this build is being driven by the fact that I ordered a 1:1 Challenger this month. I painted this model the same color as the 1:1 I ordered. F8 Green. It is identical to the F8 green used in the last 60’s early 70’s. Granted, the model is not a wide-body scat pack, but it will have to do. If someone knows of a widebody trans kit for these Revell challengers, please let me know!
Very quickly, I finished the body prep work and sprayed primer and color. I had hoped that the front and rear bumpers could be attached prior to paint to simplify the work but it would not fit over the chassis. I chose to attach the rear which ended up being a happy accident. The instructions show the front being attached before mounting the body to the chassis. The reason why my deviation from the instructions worked well was the fact that the rear piece needed more work to properly blend into the rest of the body.
Shortly after spraying color, I attached the decals. The next day, I sprayed all of the exterior parts with 2 part automotive clear.
The rest of the Challenger’s parts were prepped, mounted to something, and the painted. Detailing the chassis and other parts is coming next and then assembly can begin.
Corvette
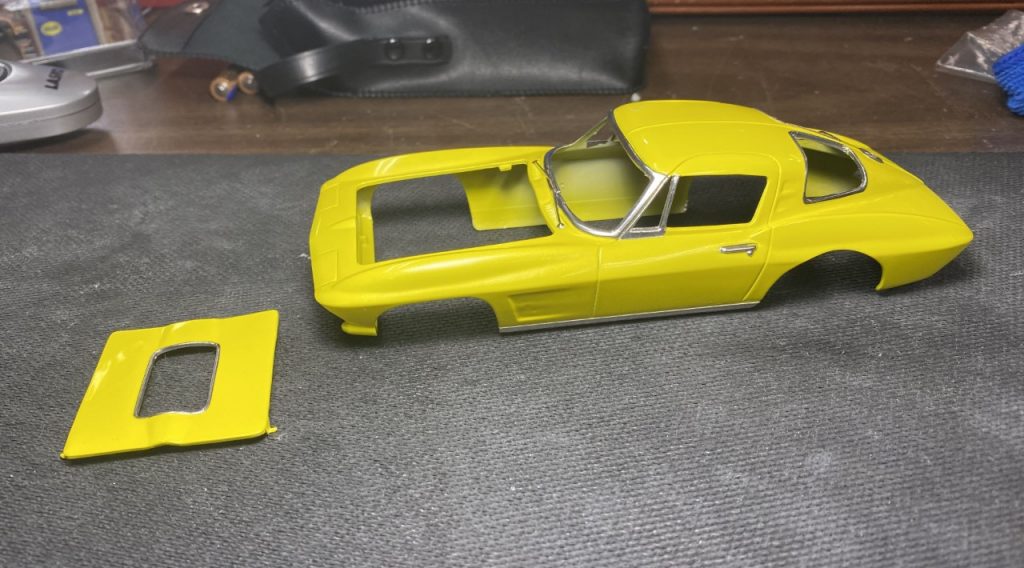
I…really don’t like this build. Some of the issues are self induced, many others are a function of this being a lousy kit. The only self induced issue was using enamel paint. I wanted to give this build a flashy look and chose an old bottle of Testors Boyd’s Aluma coupe yellow. Dry time is much longer and I swear the paint is still soft nearly 2 months later. Alas, I press on. The paint was lightly sanded and polished by hand. Using my Dremel tool and polishing pads seem to be too aggressive. Trim work was finished by using Bare Metal Foil. The next step is building the engine and pulling everything together.
Chrysler Turbine Car
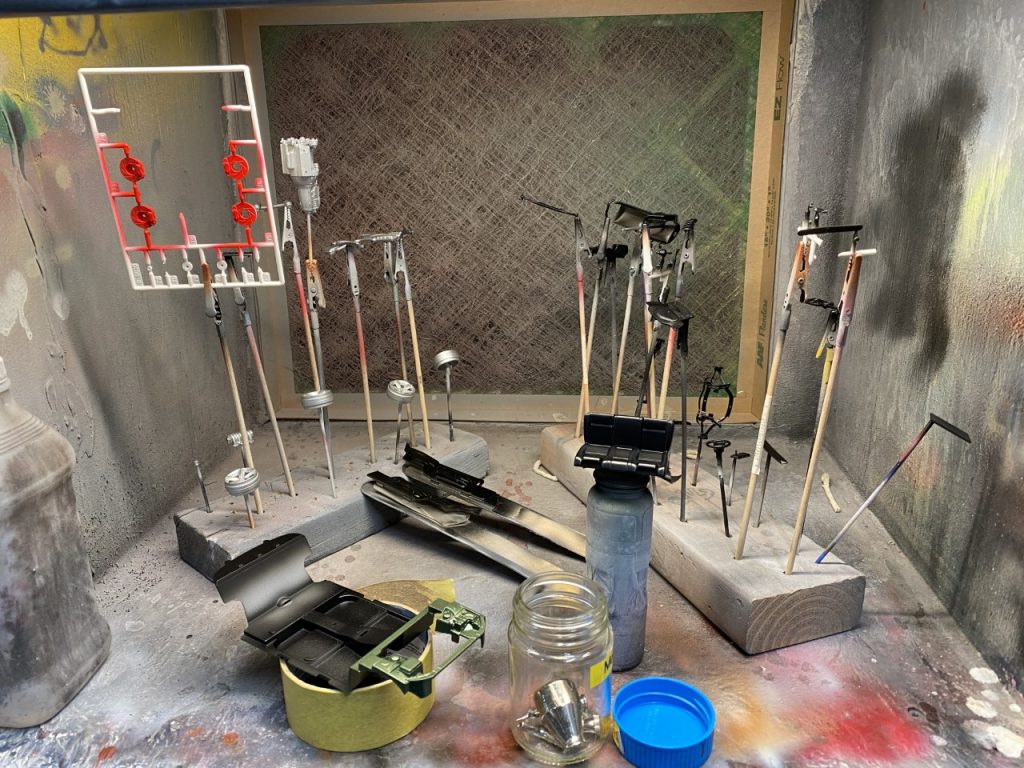
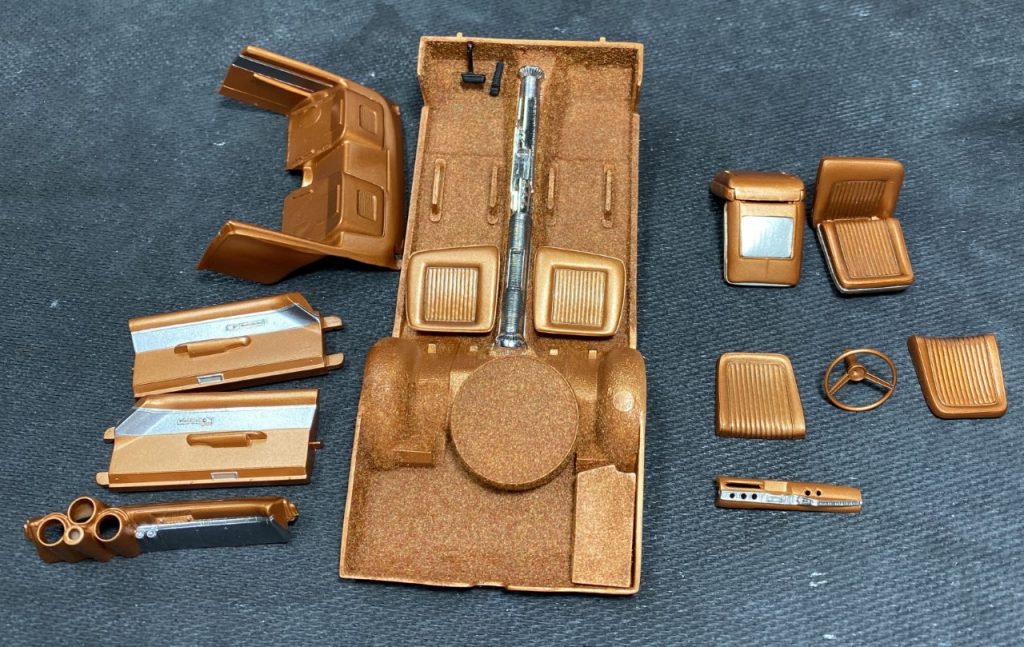
So many parts. Every time I pull this project out, I’m blown away by the number of parts to build simple assemblies. Parts count tends to be the demotivator when I try to make progress. Also, I wanted to use a different color for the interior and it took me a while to find something I liked. I settled on Tamiya metallic brown. I think it is the closest approximation to the factory interior colors.
All of the interior parts were prepped and mounted on sticks or clips. They were primed then painted with metallic brown.
The interior was flocked with a custom blend of flocking that I made using red, yellow and orange. Additional details were added using Tamiya light gunmetal and bare metal foil. Parts that could be attached at this point in the build were glued in place.
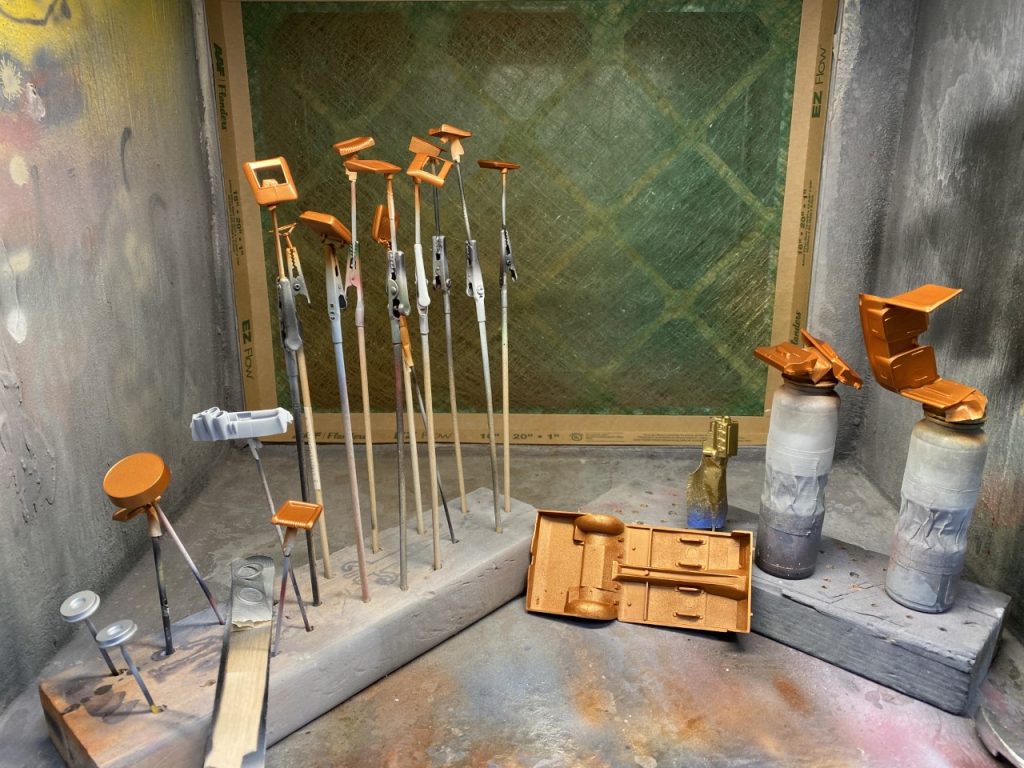
For the body, I wrapped up the body work and repaired a “short-shot” issue in the trunk using sheet styrene. The body was primed, checked for imperfections and sprayed in Dodge, FK5 burnt orange. The paint was leftover from a Super bee built and was close to the factory turbine bronze.
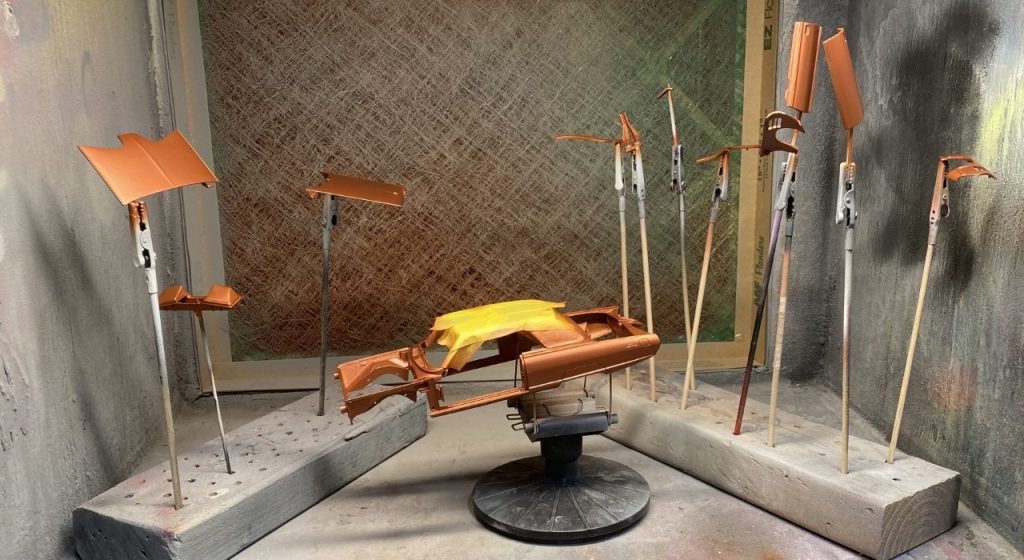
The next step involves painting the script on the body and spraying clear.
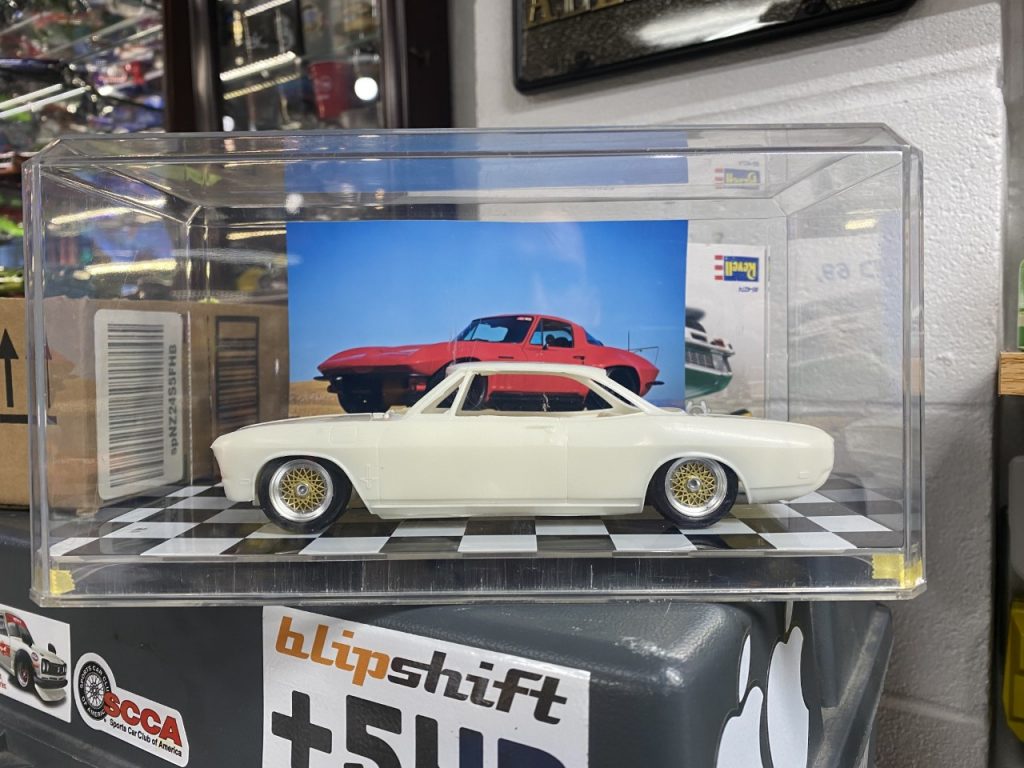
Corvair
With so many active builds on my bench, I shouldn’t be digging into others. Alas, I started prepping my Corvair build. The kit wheels and tires seem comically small which led me to digging through my stash for options. I landed on a set of racing wheels/tires from a Fujimi M3 race car kit. They are perfect!