The Build
The Mazda Cosmo isn’t one of my favorite classic Japanese cars. However, it is an interesting early rotary powered car. While on vacation with my family, we stopped at a local hobby shop, as I always do, and found this kit. It was cheap and looked like it would be a great quick build.
Body Prep
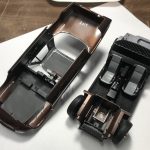
This is a fairly simple kit. The parts count is low due to the fact that it is a curbside kit and the interior is simple as it is on the 1:1. Prepping the body involved a significant mold line that followed the edge of the headlight bezels. Cleaning those lines without damaging the shape of the bezels was the biggest challenge. Once that was resolved, the body was primed and ready for paint. The rest of the parts were easy to prepare for paint.
Paint
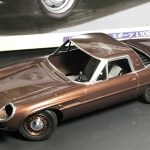
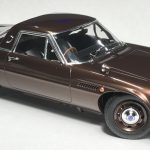
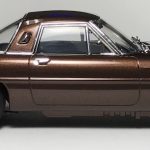
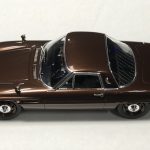
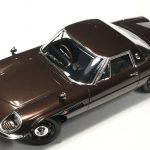
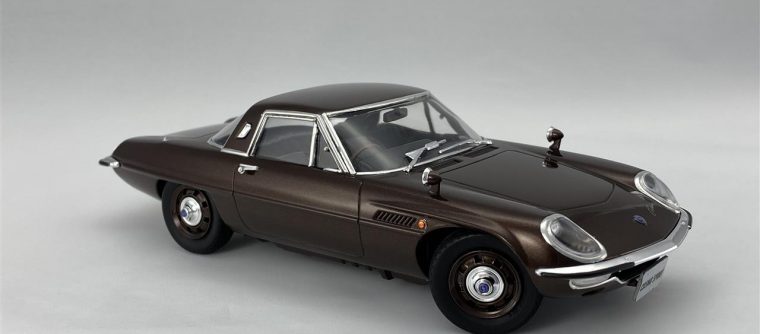
The kit is a police car and I had no intention of building it that way. I had intended to paint the body a gunmetal color but decided that I wanted to try out the Gravity Colors paints I bought recently. I chose Mercedes Benz Mystic Brown.
This was the first time using Gravity Colors and I was impressed. I was concerned that I wouldn’t have enough paint with the small 1.2 oz. bottle. According to Gravity Colors, it is pre-thinned and ready to spray. However, the paint was almost gel-like and wouldn’t spray through my airbrush. I cut it with lacquer thinner and was blown away by how well it sprayed and covered. After spraying the body, chassis and wheels, I still have half a bottle of paint left!
After applying decals and metal transfers, I mixed the Gravity Colors 2 part clear and sprayed the first coat. I really appreciate how quickly and effectively the clear builds and covers the surface. I sprayed one medium thick coat and followed with one full wet coat. Since I had not scribed the panel lines, I wasn’t comfortable spraying a second full coat. Once again, I was able to finish clearing having used a very small amount of paint.
After a few days of curing, I wet sanded and polished the body and followed that with bare metal foil.
Parts Prep, Paint and Assembly
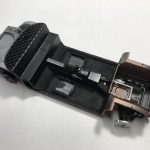
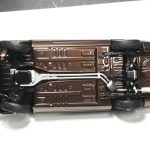
While the body was curing, I worked on prepping and finishing the rest of the parts. The chassis details beyond the main color were minimal. I hand painted the engine, transmission and driveshaft. Once that was complete, I quickly assembled the rest of the suspension.
Interior
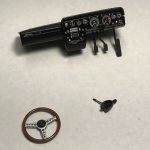
The chassis plate is also the bottom of the interior. I attached the interior “back” and package shelf then flocked the floor. The kit included carpet pads, but I didn’t care for them. I used various sized pin vises to drill the holes in the steering wheel spokes to add realism. Once finished, I painted the wheel rim and shift knob “leather” to give it a wood-like appearance.
Assembly and Final Thoughts
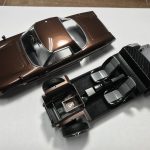
As with any project, the detail work is always more involved than I give it credit. Even with a project this small and simple, I still spent quite a bit of time getting all of the smaller details painted and glued in place.
I’m really happy with end results. The kit was easy to build and helped me get back into building after a short slump. I’m really pleased with the new paint and look forward to using it for other projects. I couldn’t be happier with the color and the impact it has on this build.