Nostalgia
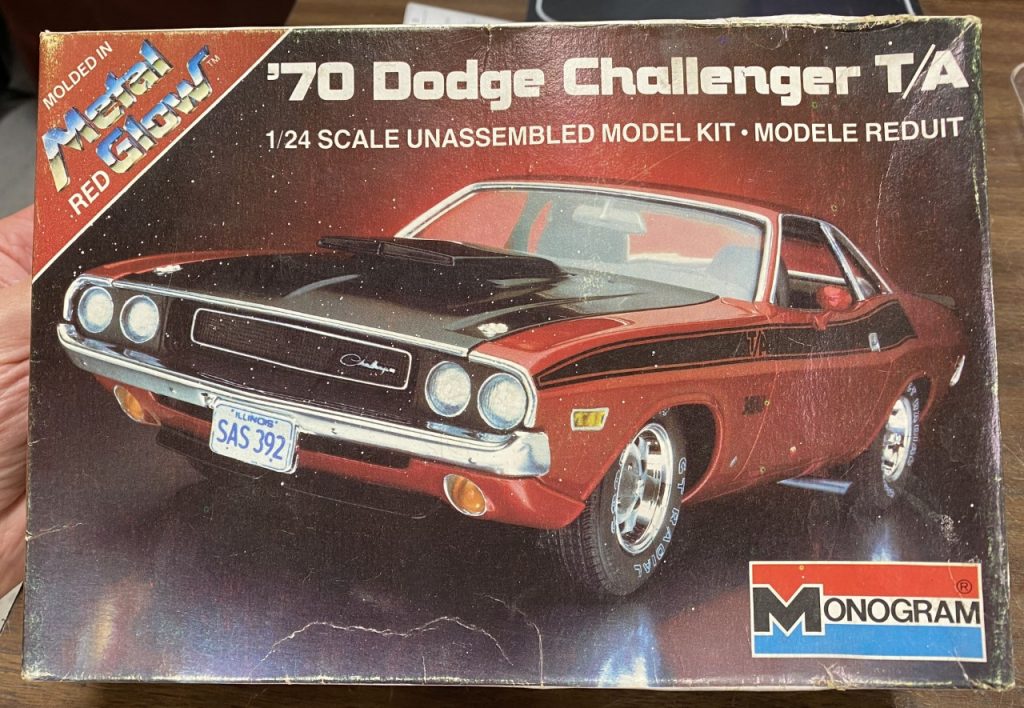
While perusing through “junkyard” Ebay search, I found this Challenger kit. On the surface, it is nothing remarkable. However, this kit takes me back to my earliest days of model building! I believe I had three or four of them. I’ve had a lifelong love of Challengers as a result of this kit! Given the fact that the kit was 100% complete, I had to buy it!
The Build
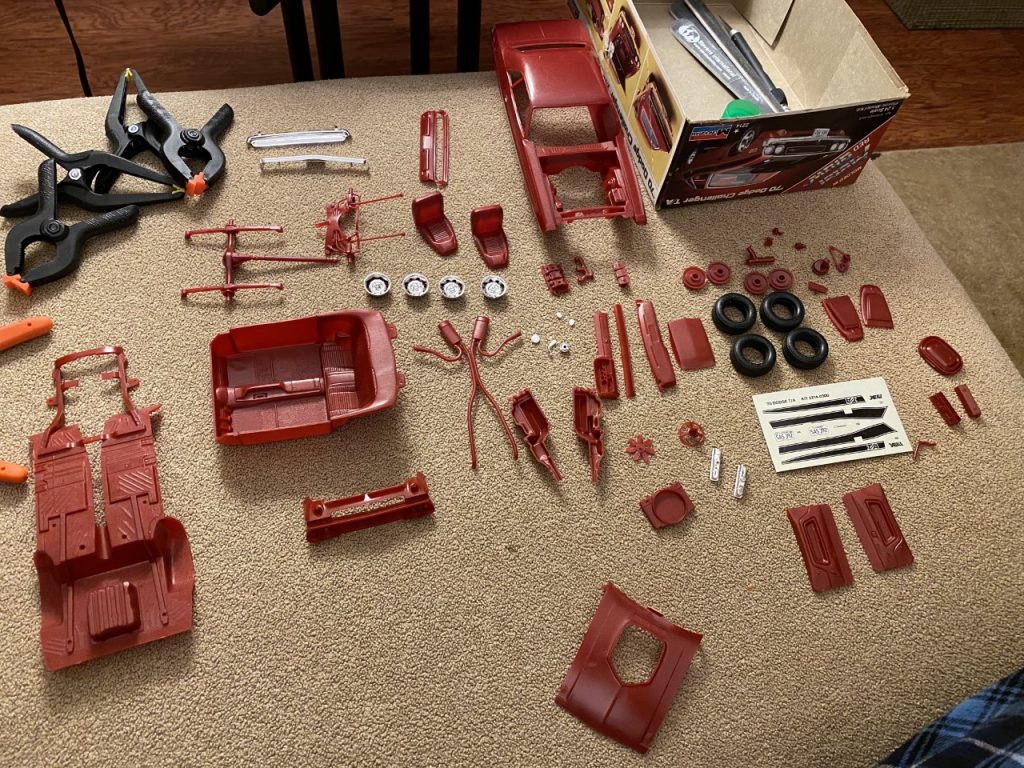
Without hesitation, I decided that the body would not be painted. My early builds were never painted beyond what I could do with a couple of paint markers. To create an homage to my younger self, I knew it had to stay in its molded color! The color appears to be close to ER6 Scorch Red. A quick polishing experiment was conducted with a hidden part that produced astonishing results! I was set! The rest of the build will be built and painted based on my current building skillset!
Parts Prep
The body was mercifully graces with barely visible mold lines. I carefully cleaned them by scraping with a sharp hobby knife. There was some sanding involved but it was cleaned up through polishing.
The rest of the parts received full attention to remove seams, sink marks, and mold lines. The original chrome plating looked poor. They were stripped and chromed with Spaz Stix chrome paint.
Interior
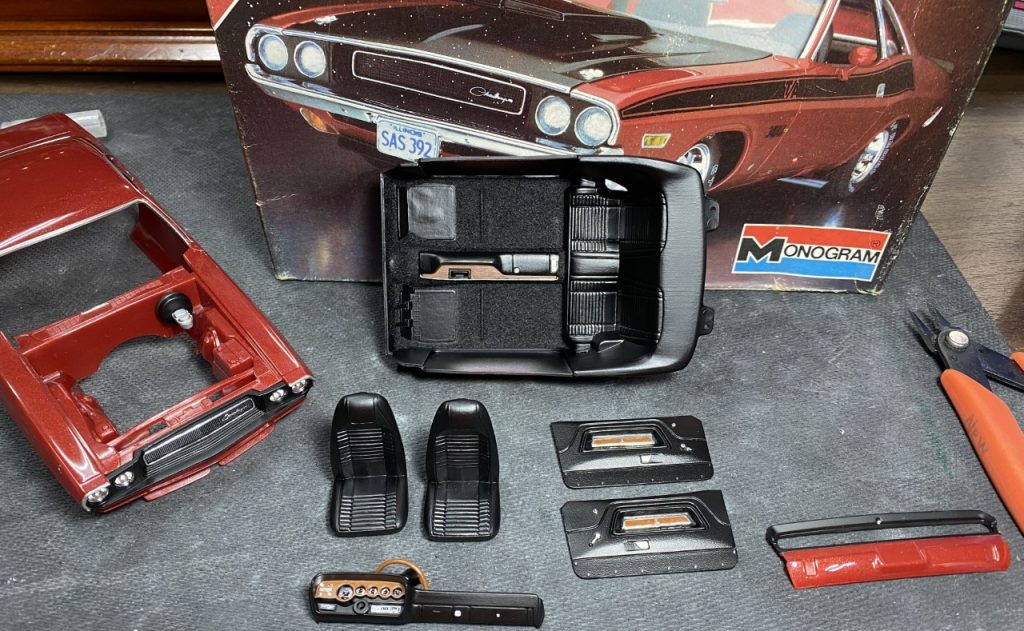
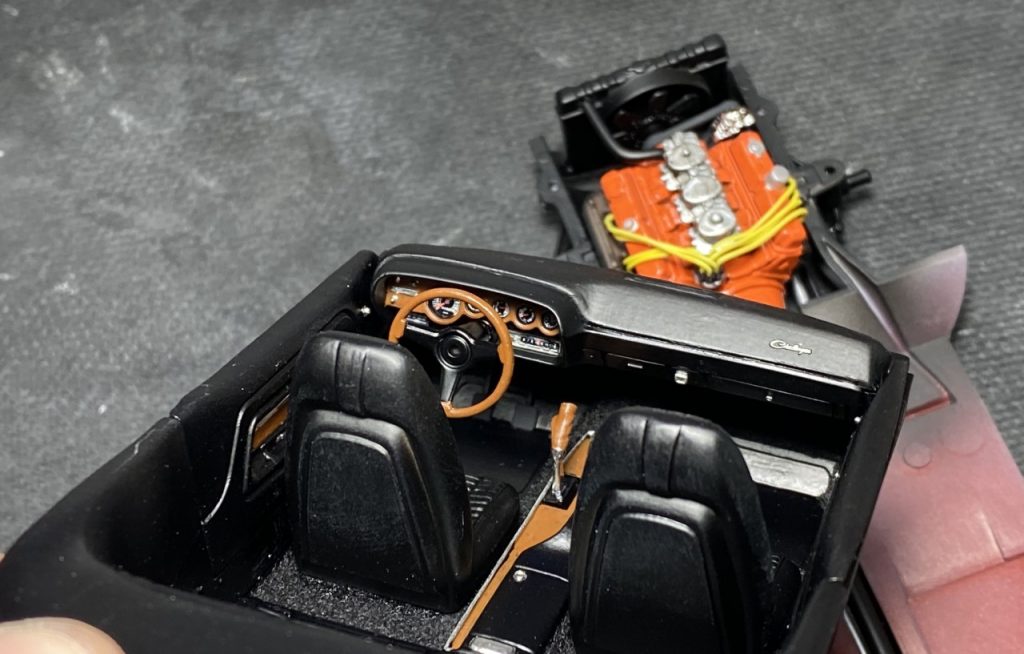
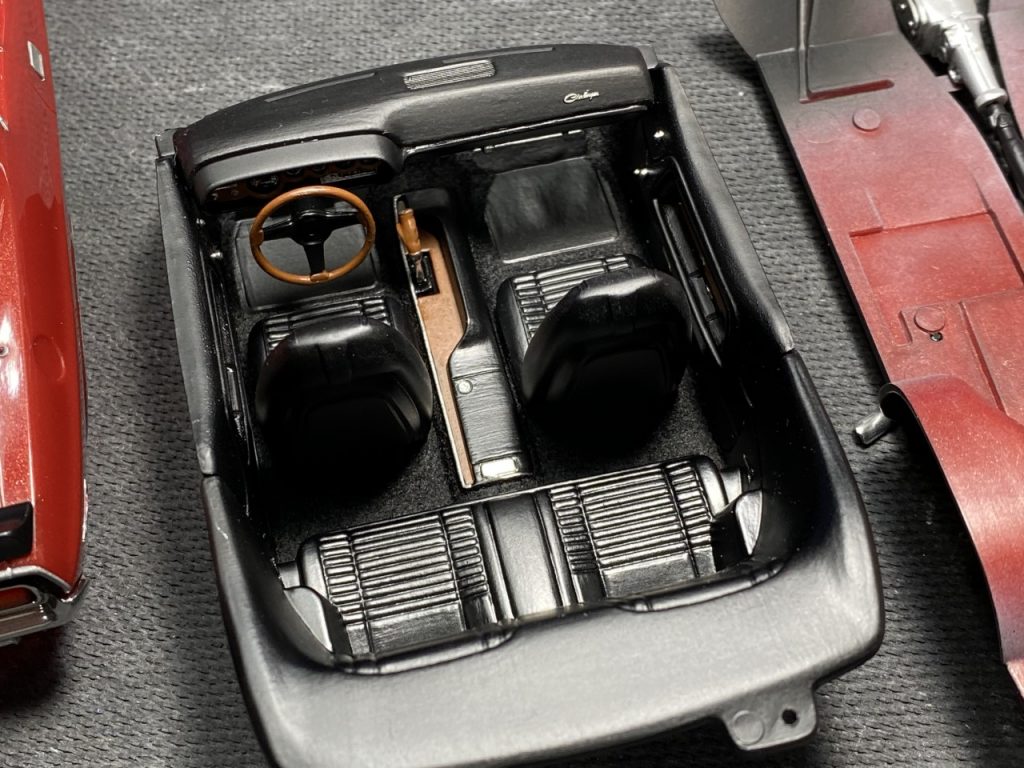
The seats were glued together and the seam filled with filler. Once that work was completed, I primed and painted all of the parts semi gloss black. I used Testors leather paint to simulate woodgrain on the dash, center console and door panels. Bare metal foil and Molotow chrome paint were used for additional detail. No interior is complete without flocking! Lastly, I used gauge decals from Best Model Car Parts from ebay to make the dashboard stand out!
Chassis and Engine
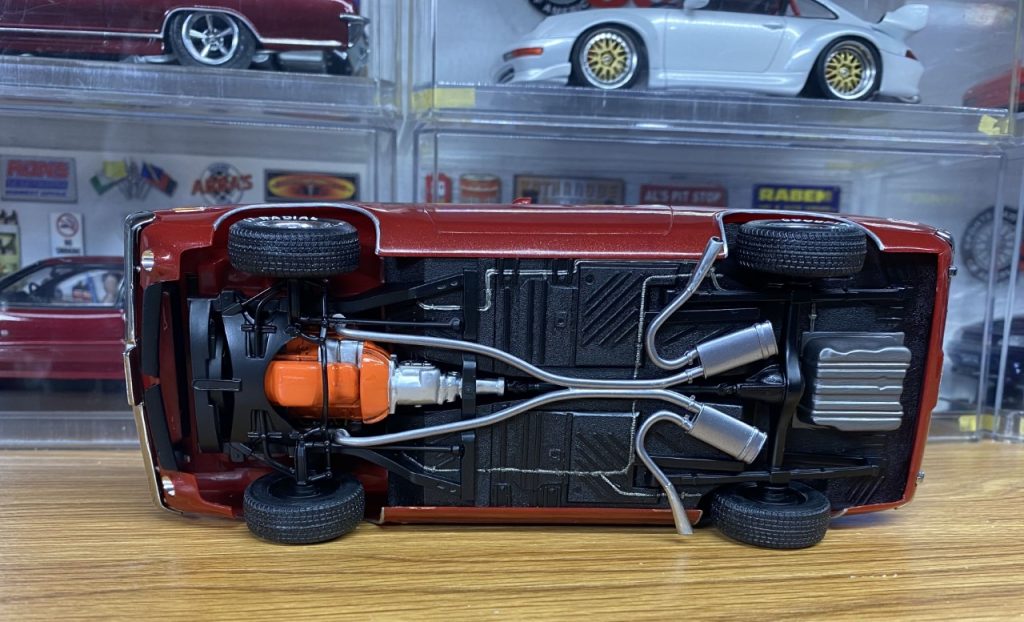
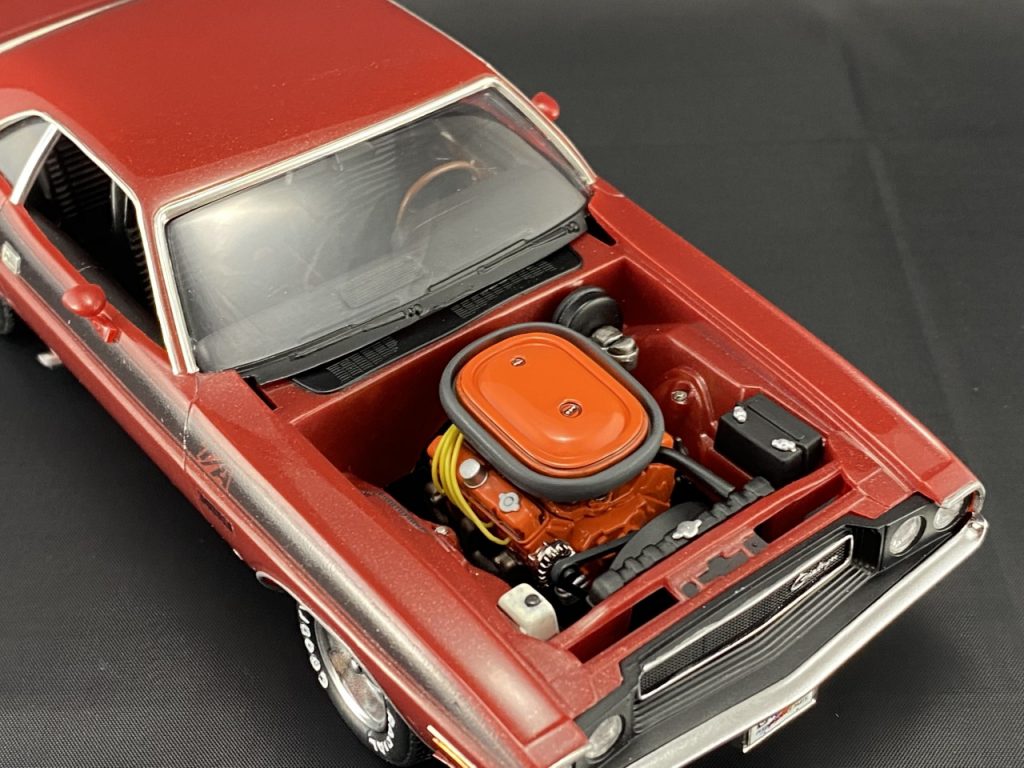
Detailing the engine and chassis was a straight forward process. Sink marks in the front sub-frame were filled prior to painting. The seam in the engine was also filled prior to paint. Details in the chassis were picked out with various shades of silver paint.
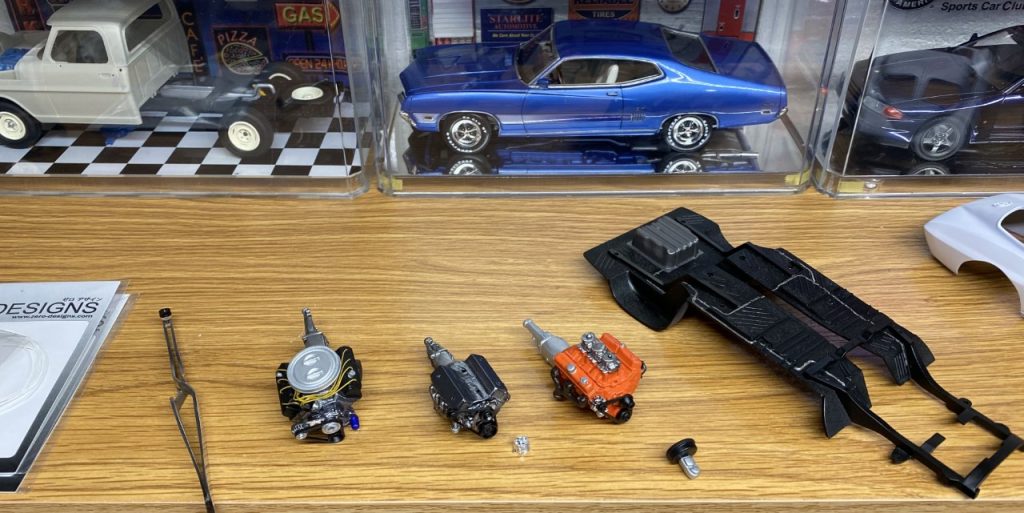
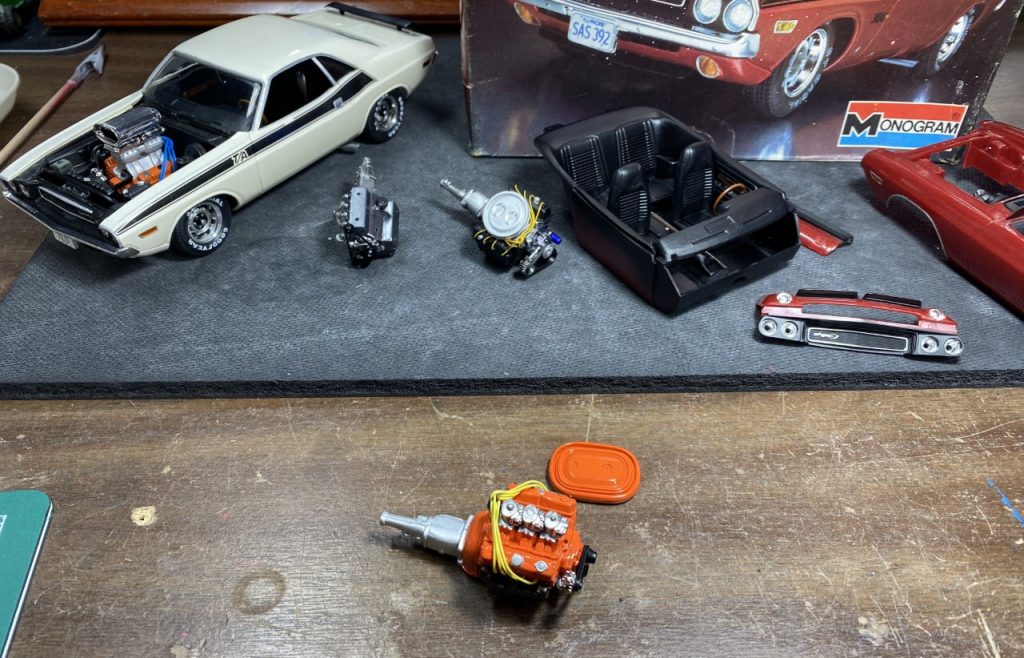
In order to get the plug wire routing correct, I used a previous challenger build. I had researched wire routing for that build so it seemed like a safe resource!
Body
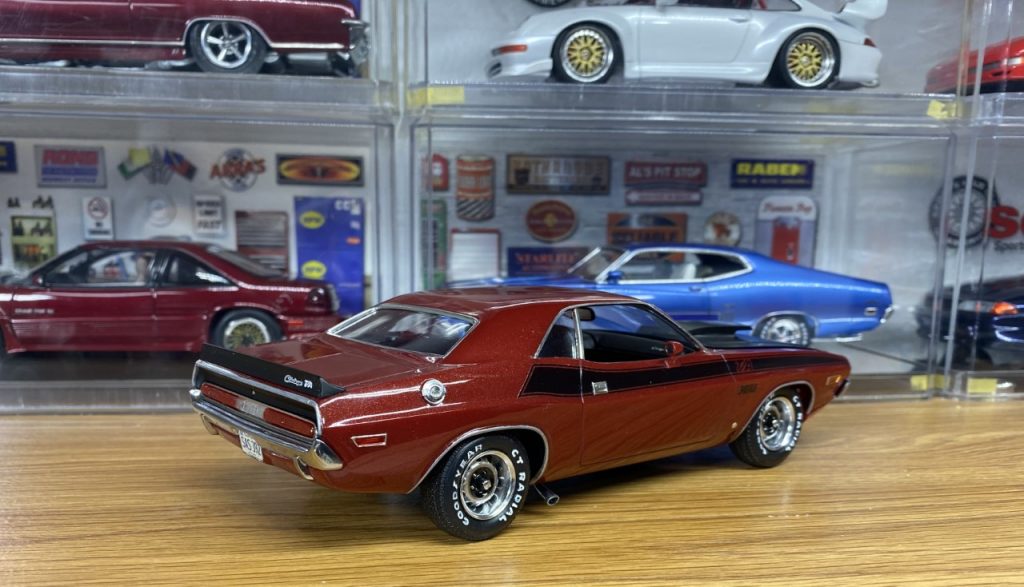
Once all of the mold lines were removed, I used 3M perfect it II rubbing and polishing compounds along with polishing pads for my Dremel tool to bring out the shine.
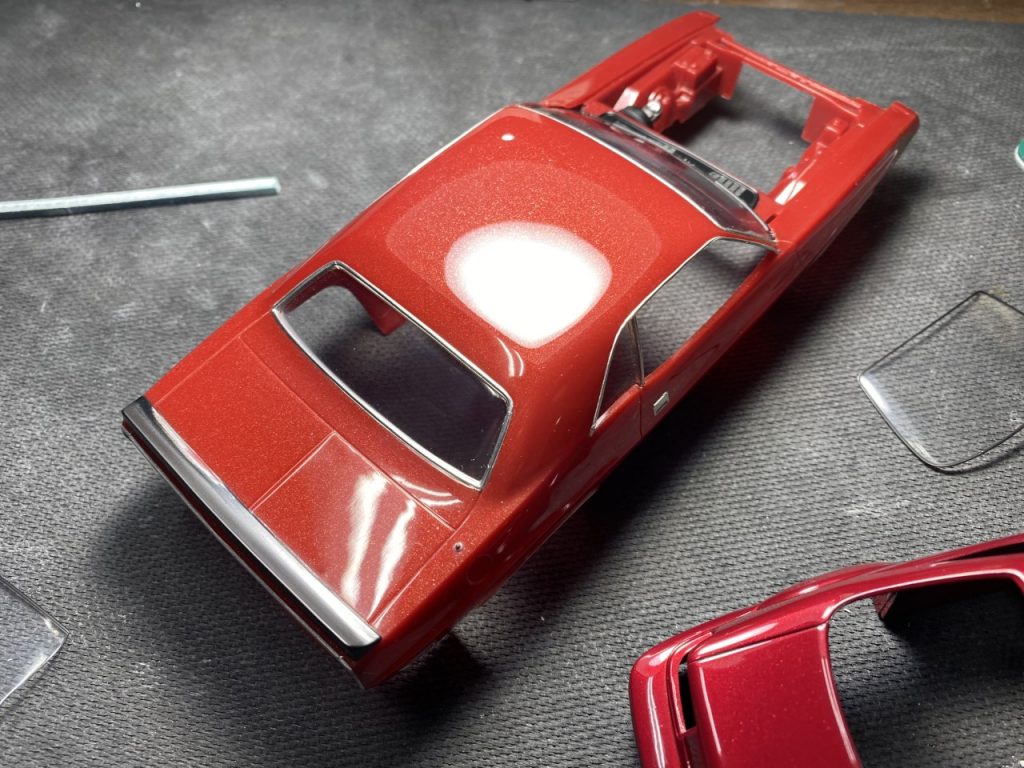
Final Assembly
Bringing everything together for this build is very straightforward; just as I remember it back in the day! The three main components pop right into place and do not require glue to keep them together.
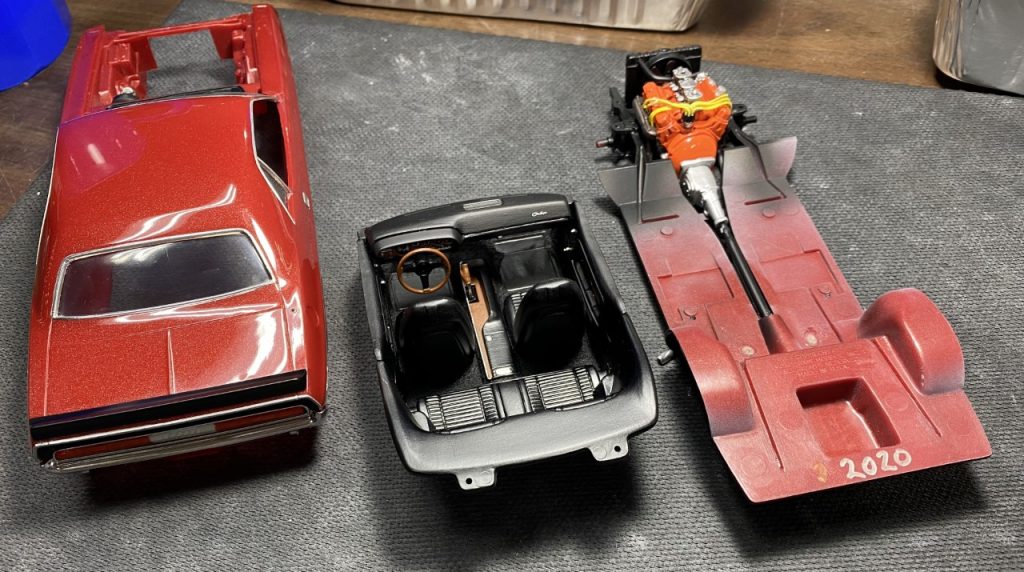
At this point, the build was complete other than the wheels. I botched the primer and couldn’t strip the paint clean enough to start again. In order to finish the build, I had to dig into my parts stash for another set.
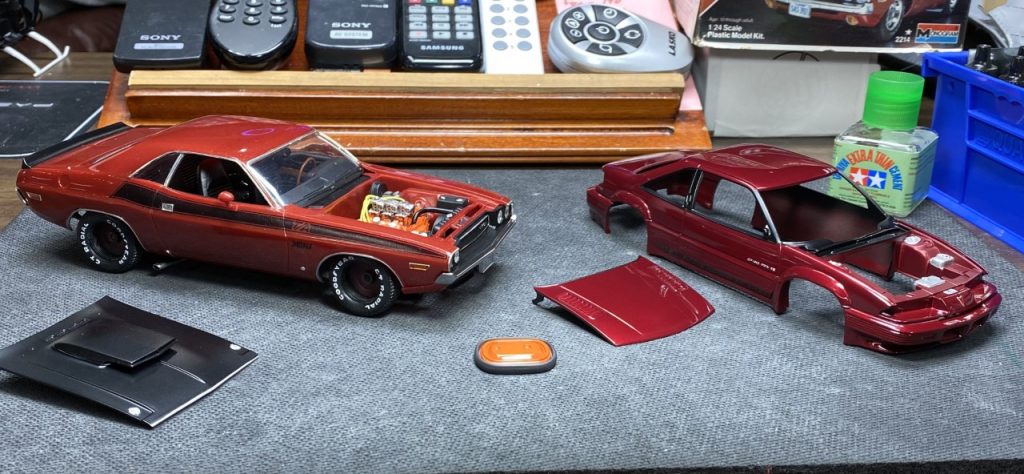
My stash has several sets of the Mopar rally wheels. I picked four that were the cleanest. It wouldn’t surprise me if two of those were from one of the originals. Possibly a way to honor those original wheel?
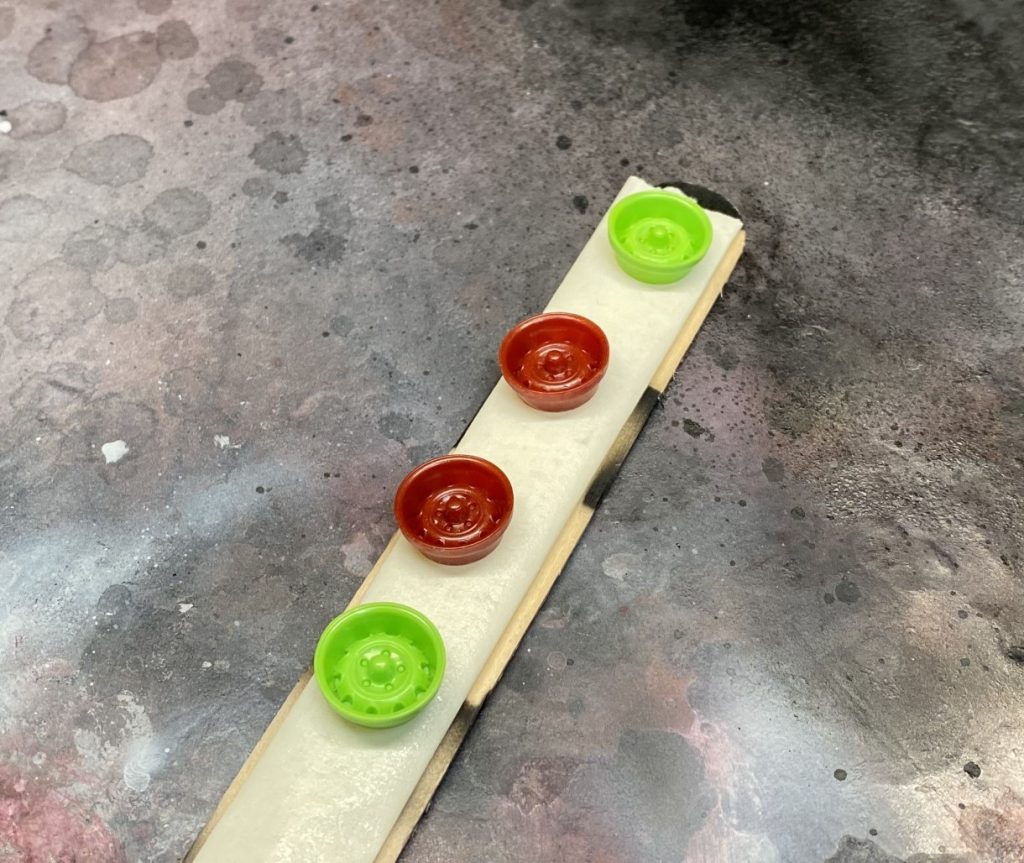
I primed the wheels, better than the first try. Following that, I sprayed the wheels with enamel gloss black. Before I sprayed the Spaz Stix chrome, I used silly putty to mask the center caps.
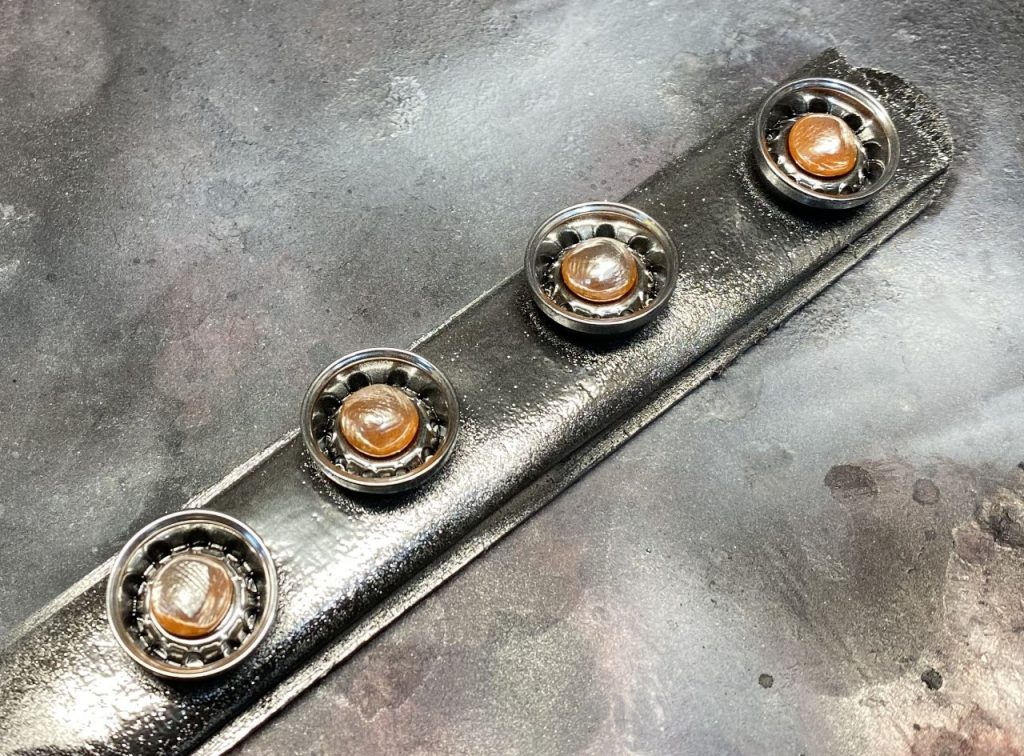
After spraying the Spaz Stix chrome, I masked the trim rings and sprayed the wheel with silver paint.
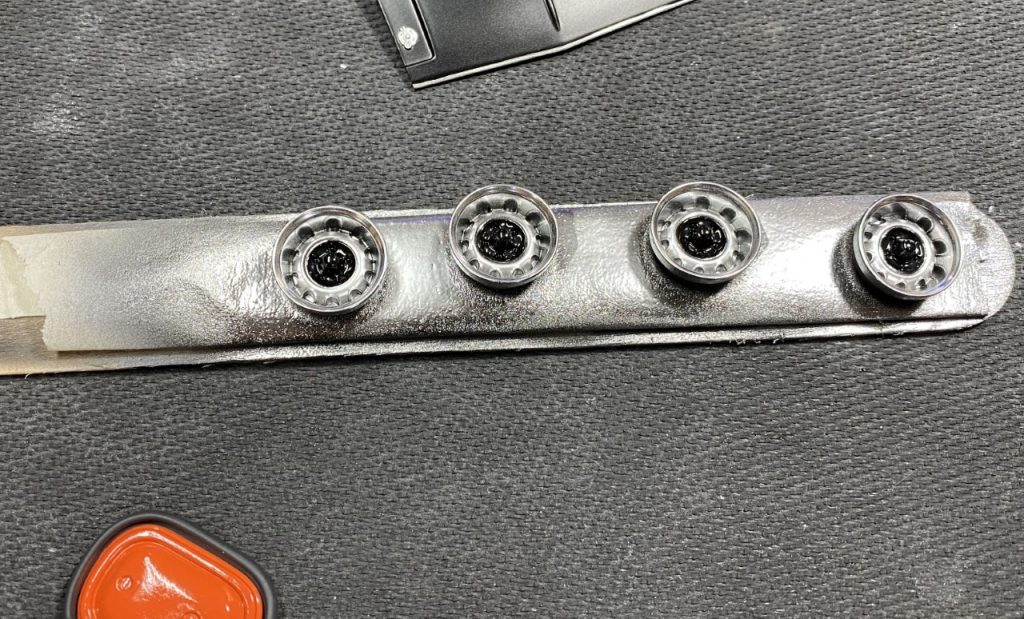
The last step was to paint the lug nuts and center caps chrome. It was time to wrap up this build!
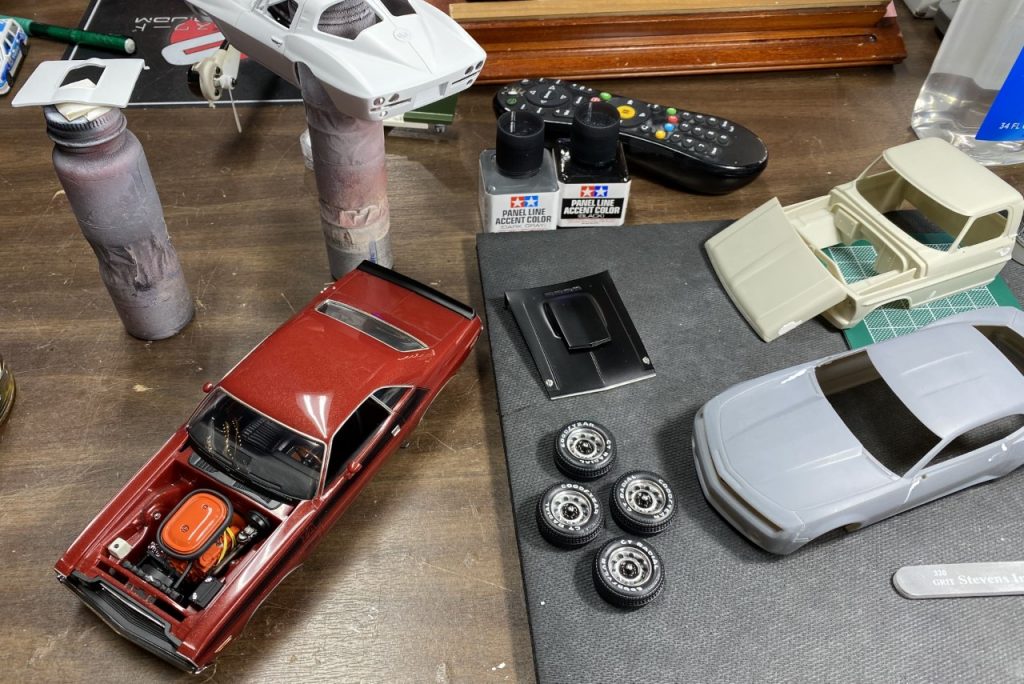
Complete!
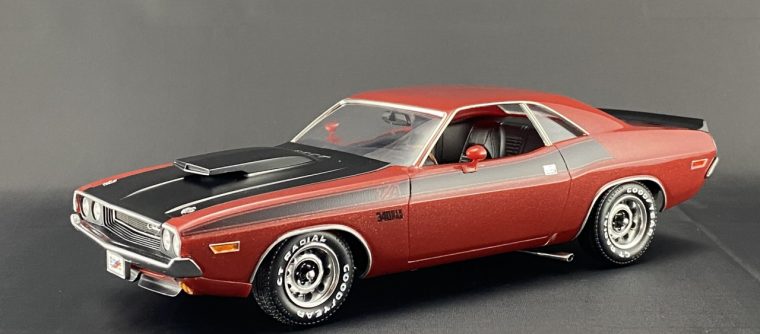
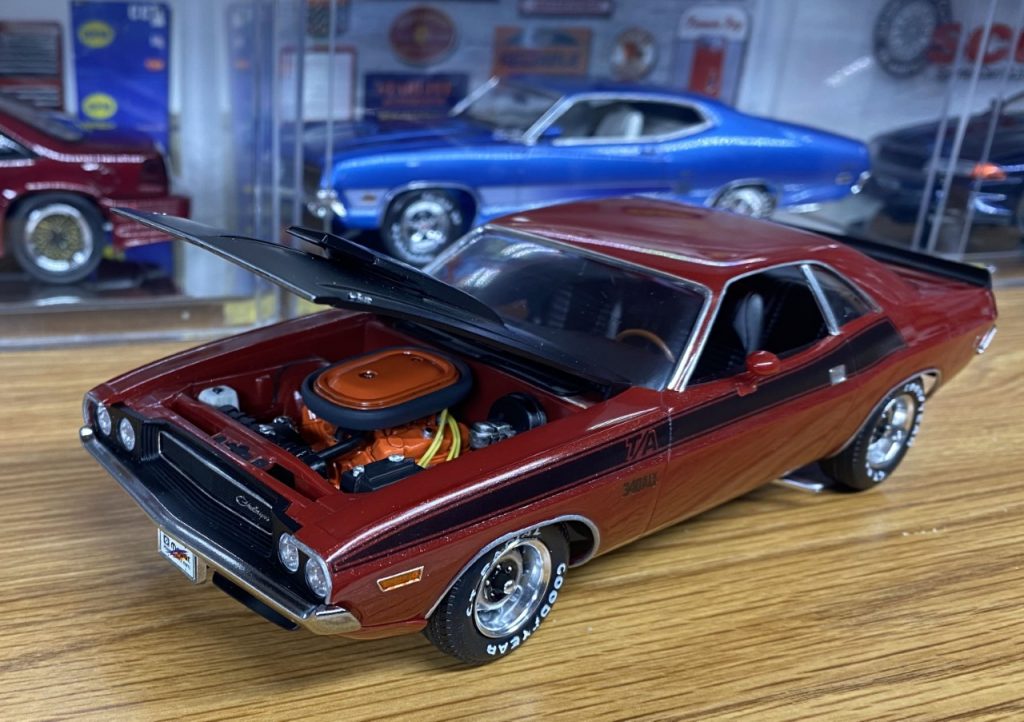
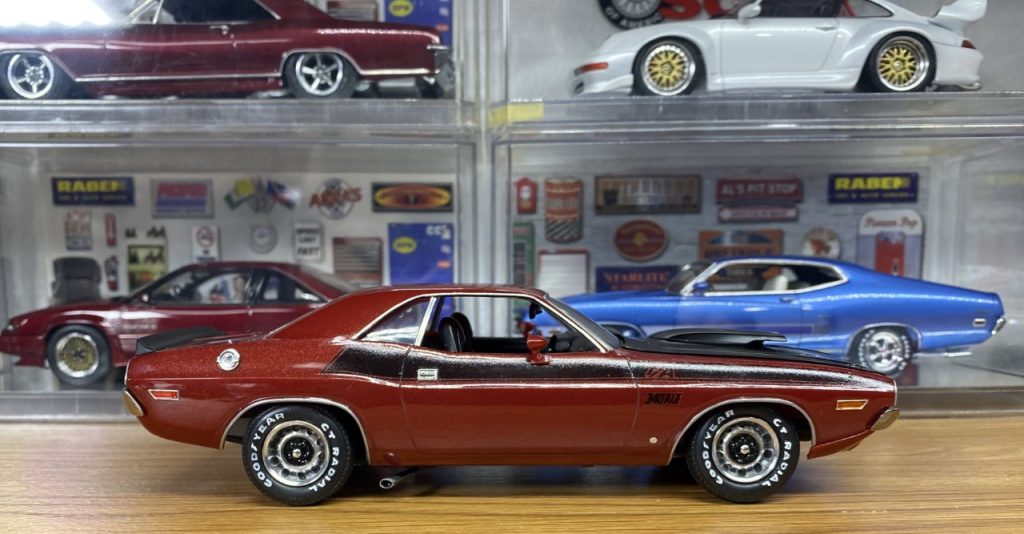
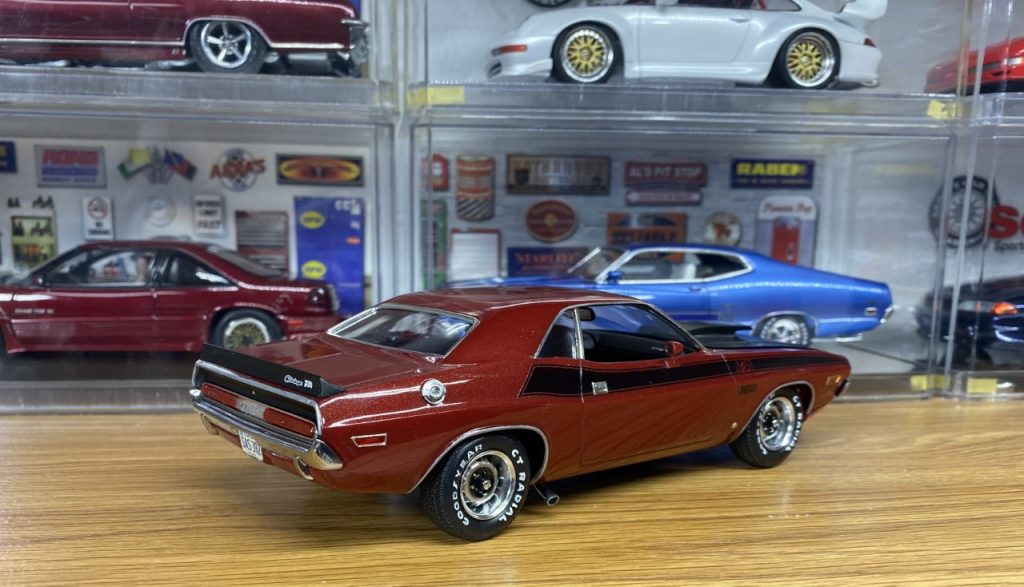
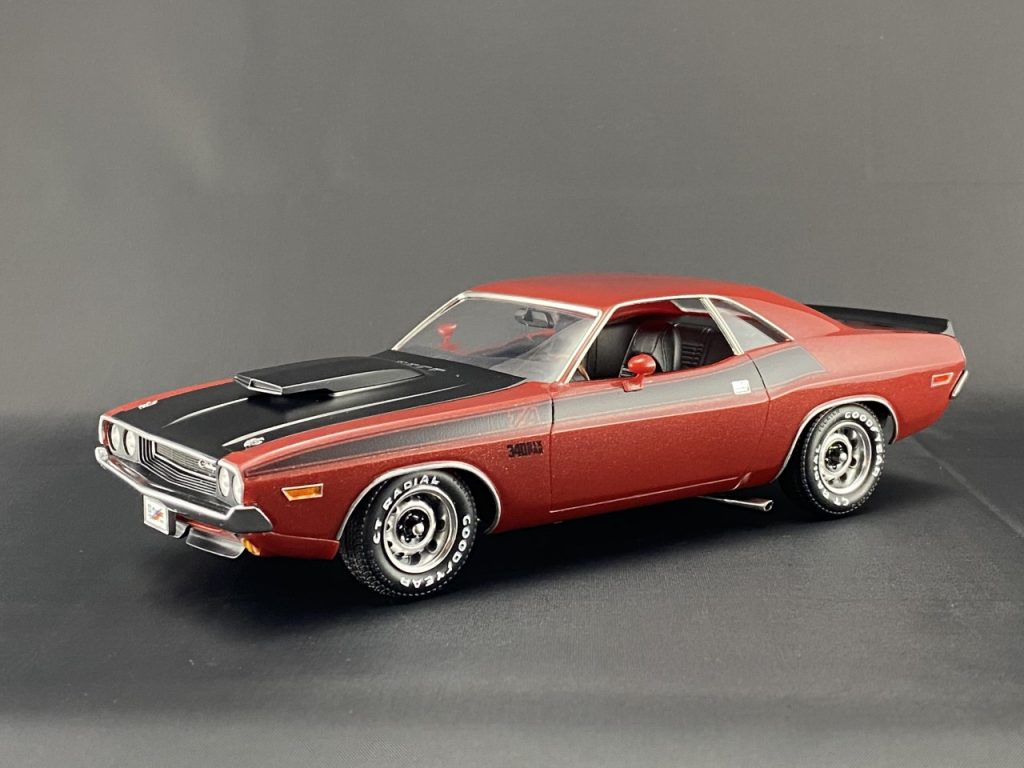
In short order, I had a build that brings me back to my childhood. However, it is wildly better looking than those builds back then! I remember how much I wanted my builds to look like the box art. It only took me 30+ years but here we are!
Final Thoughts
I love it! I couldn’t be happier!
Completed: November 2020

1 thought on “1970 Dodge Challenger T/A – Monogram”
Comments are closed.