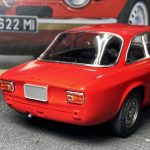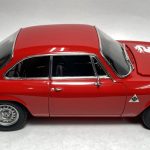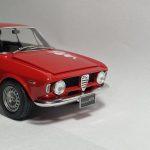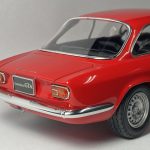
Motivation
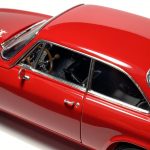
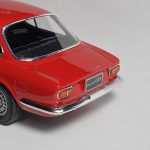
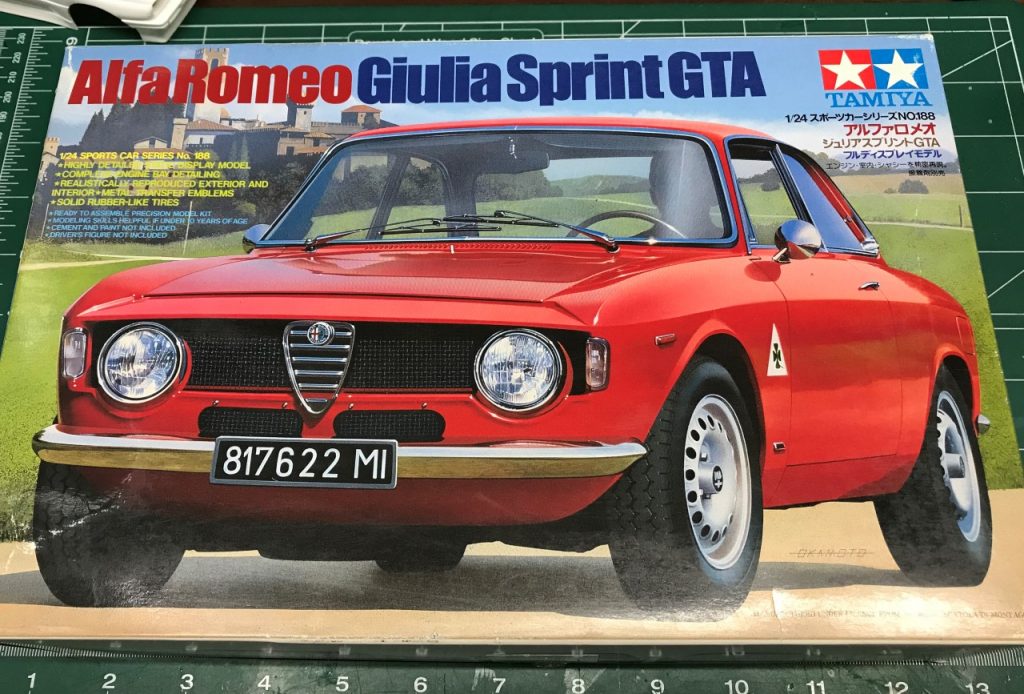
The first time I saw one of these Alpha’s was during a commercial for XM radio back in the early 2000’s. My enjoyment of the commercial motivated me to find a kit and build one. Shortly after, I bought this kit. Several years passed before I started the build but here it is! My I plan was a box stock build with Tamiya Italian Red.
Body Prep And Finish
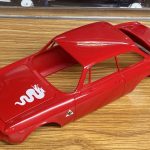
As would be expected from Tamiya, the body was fairly free of defects and mold lines except for a really nasty defect in the rear-most part of the rear side windows. The repair required aggressive panel scribing and filler to eliminate the “step”. Unfortunately, I don’t have a picture of the defect. I tend to procrastinate repairs like these and as a result, the kit sat for a while. After forging forward and making the repairs, the body was in color, decals and clear fairly quickly.
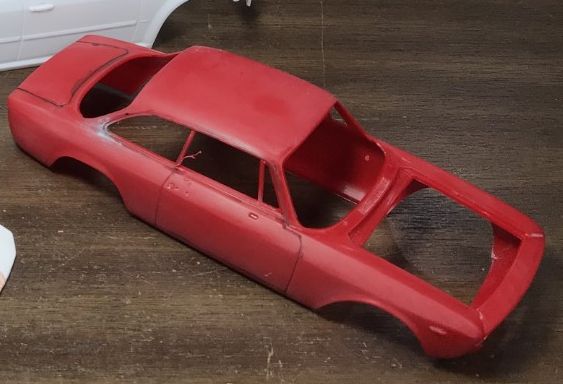
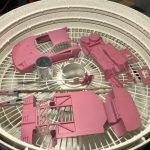
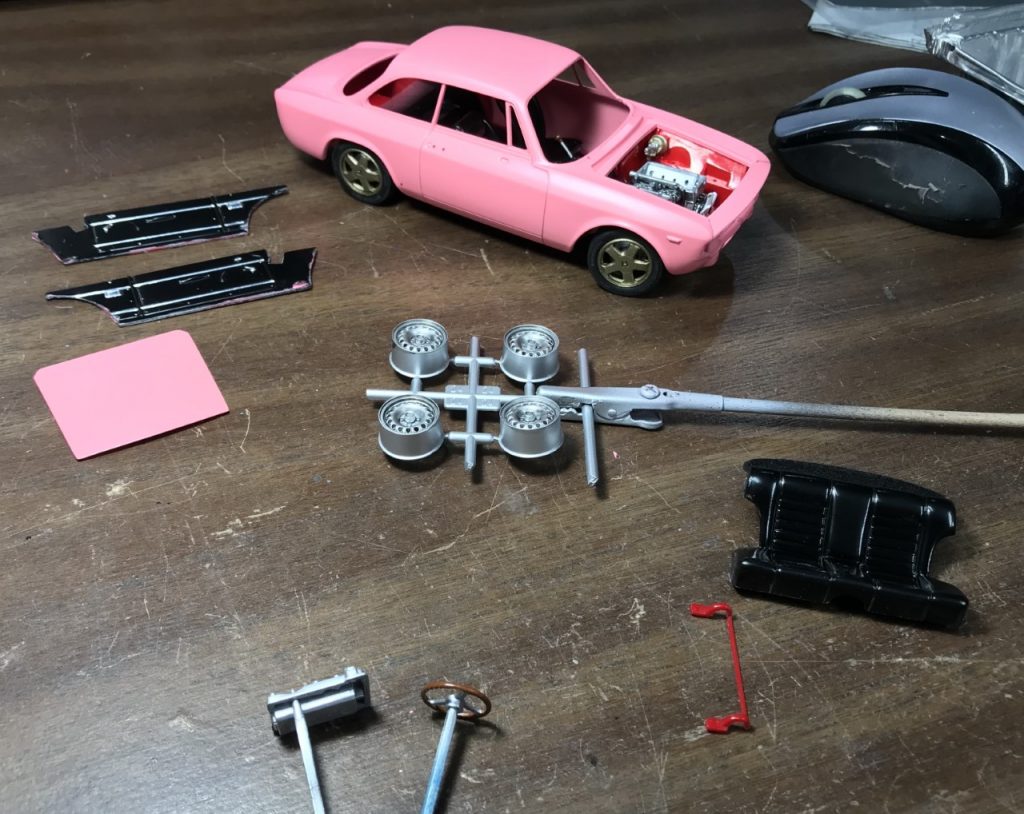
After finishing the repair, I wrapped up the rest of the body prep and sprayed Tamiya pink primer on the body and hood. The Tamiya primer works infinitely better than Zero Paints!
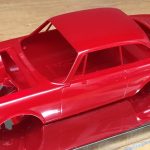
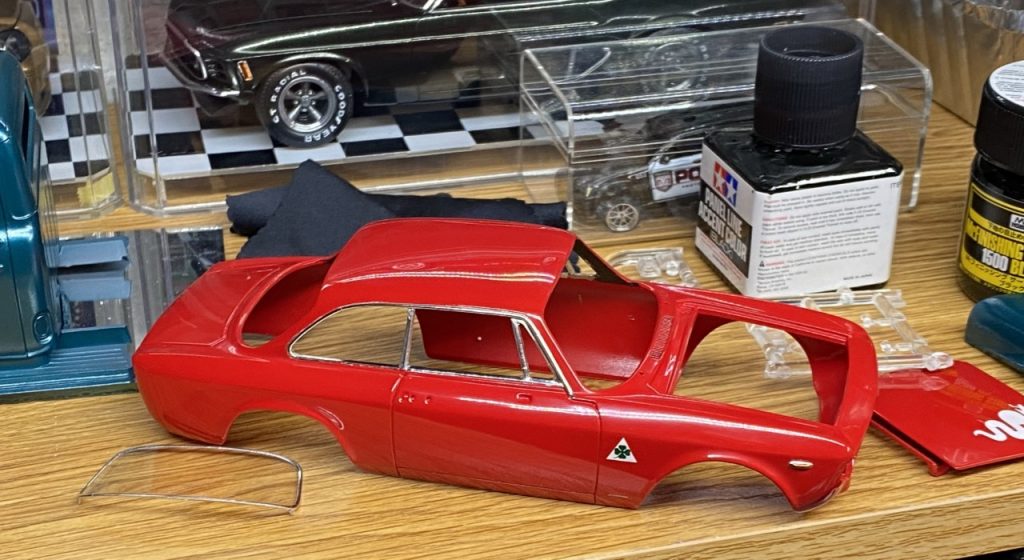
I sanded the primer and sprayed decanted Tamiya Italian red to fill the panel lines. Follow-up coats were sprayed directly from the can. The next day, I attached all of the decals and metal transfers.

After the decals had time to set, I sprayed Gravity Colors 2-part clear. I managed to spray too aggressively and created several fish-eyes on the hood and roof. The hood was sanded and resprayed with no issue. The roof required color and clear ensure uniform color. Shortly after, I sanded and polished the paint. Bare metal foil was added to the front and rear glass, side window trim and front turn signal indicators.
Interior
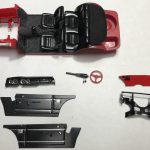
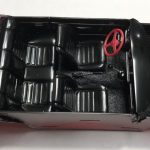
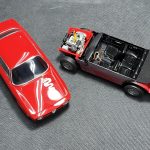
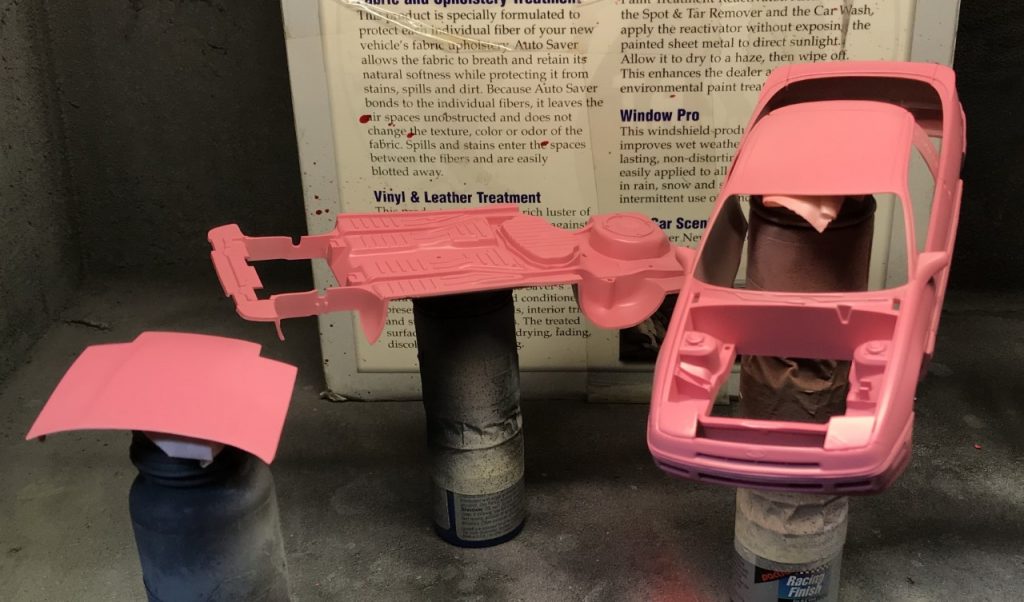
The interior is part of the chassis plate and has separate door panels and seats which greatly simplifies detailing. While preparing the chassis/interior, I primed it with Zero Paints pink primer. I would later discover that the Zero Paints primer had significant adhesion issues. In retrospect, I probably should have stripped the chassis plate and started over.
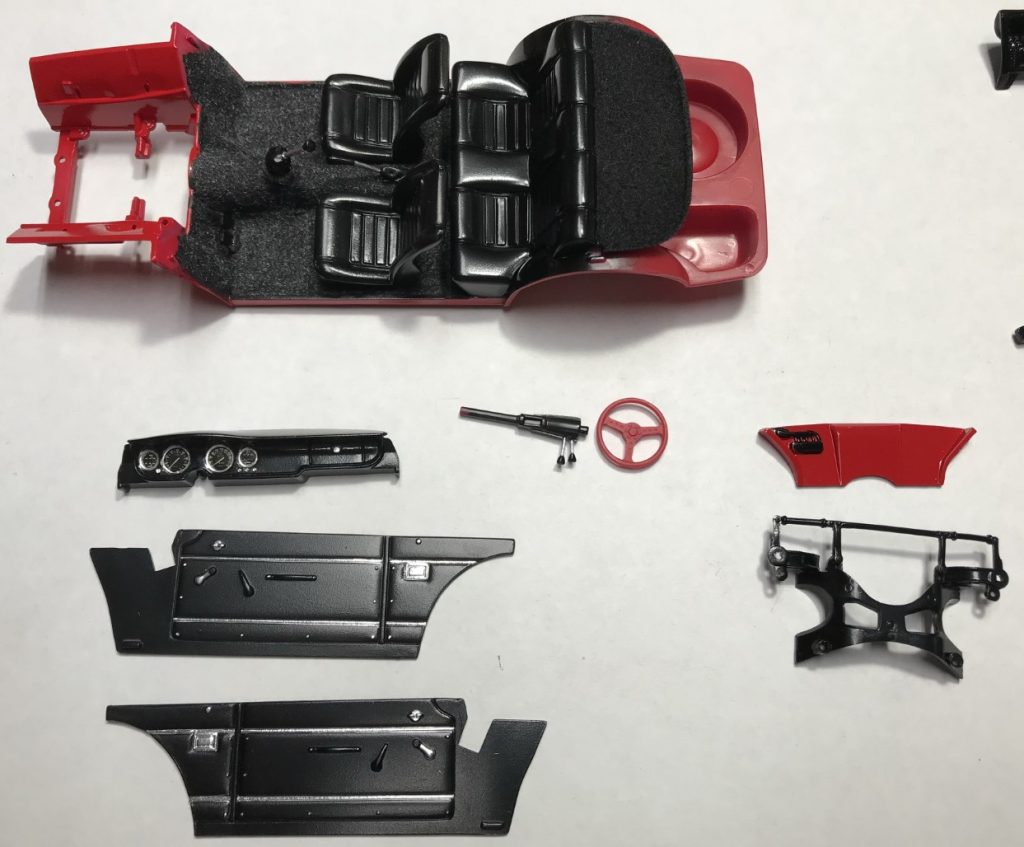
Primer issues aside, the rest of the interior came together quickly. I painted and detailed the door panels, seats and dash. The floor was flocked with charcoal flocking. Much later in the build, I drilled the spokes on the steering wheel, painted them silver and used Testors leather to simulate a wood wheel. Molotow chrome was used for the gauge bezels prior to applying the decals.

Chassis and Engine
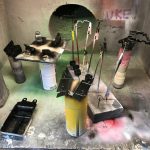
As I mentioned earlier, the chassis and interior were completed early in the build prior to going stagnant. When I dusted off this project and finished the repairs to the body, I tore through the rest of the parts, prepped them and had them in paint quickly.
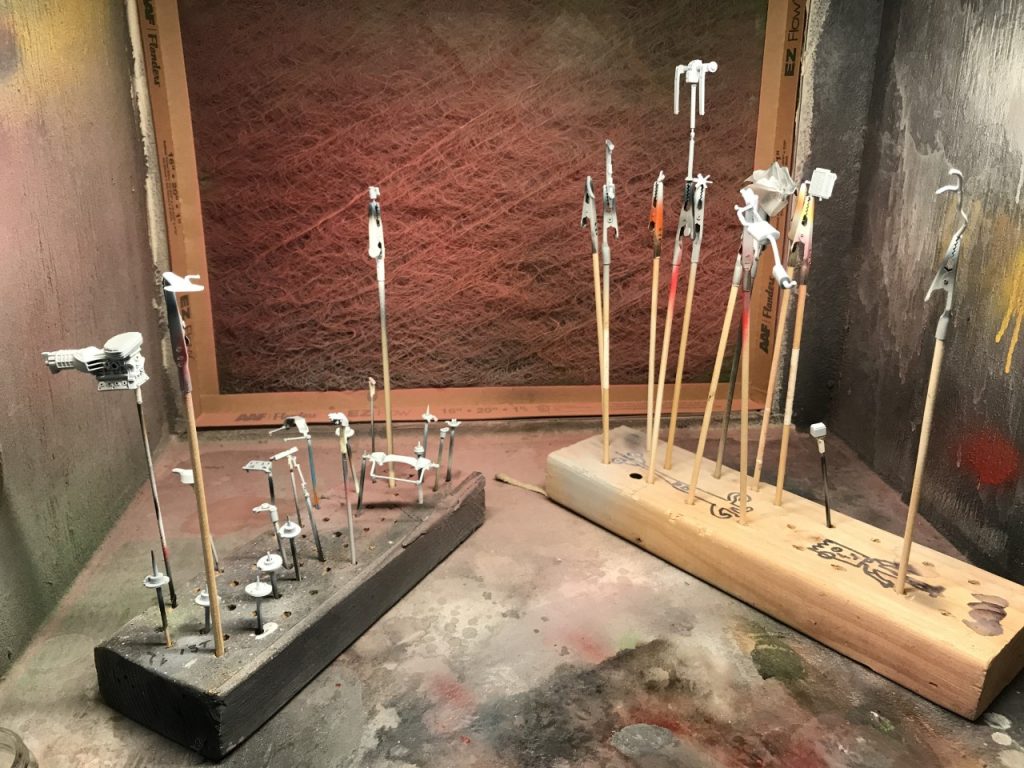
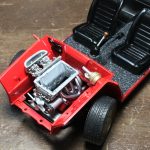
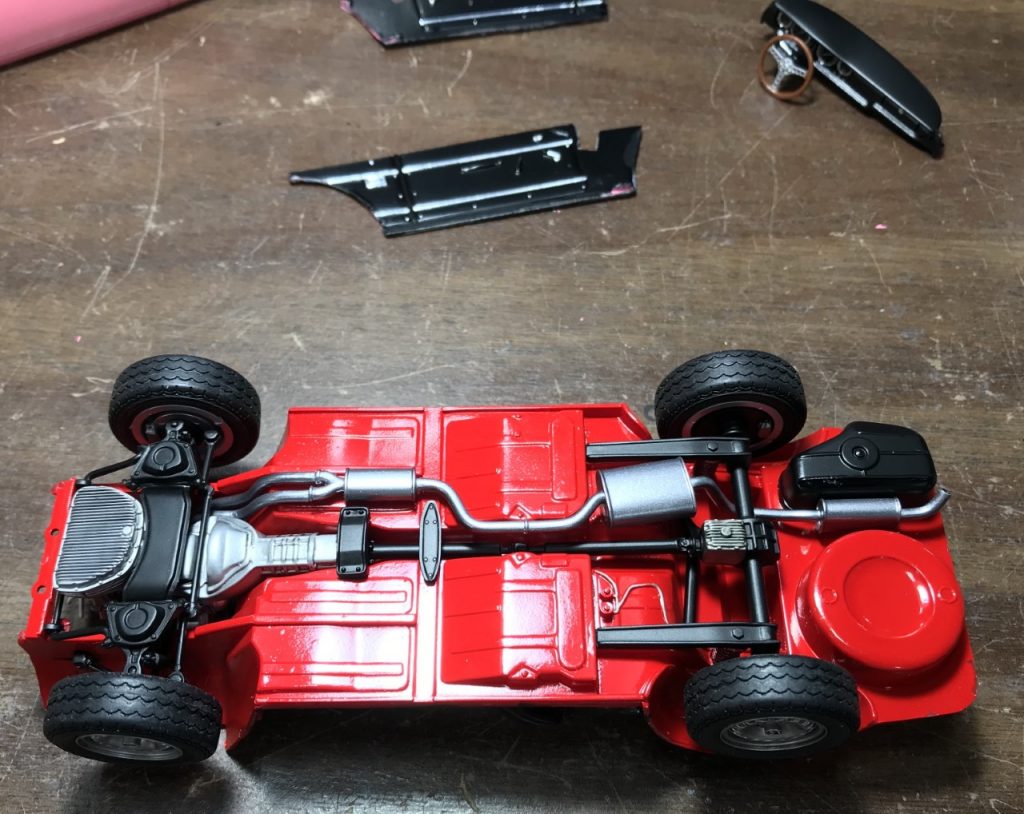
In what seemed like a blink of the eye, I had the chassis detailed and all of the parts attached. While test fitting the incomplete engine, it popped into place and couldn’t be easily removed. I was able to finish the rest of the engine detail work while in place even though it was more challenging.
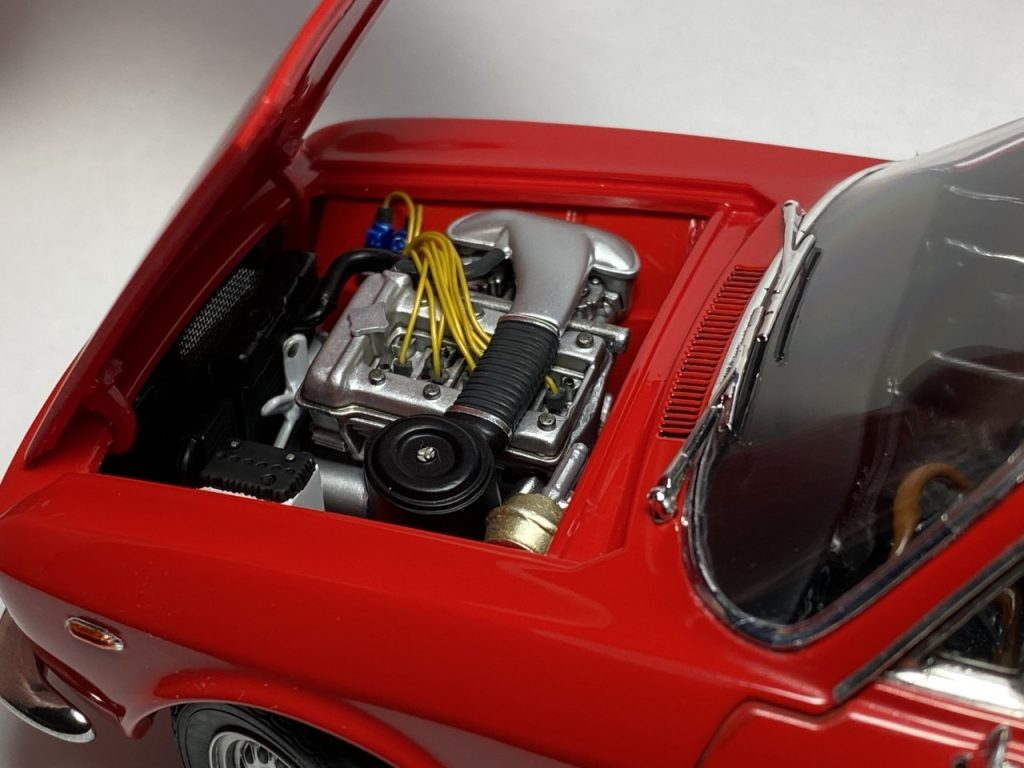
The engine is a nice piece that is begging for details. I added plug wires to this twin spark plug engine. My only minor mistake was using thicker gauge wire. It is a little busy with the thicker wire. Even so, I love how it turned out. Beyond the wires and other paint details, I used nato black on the corrugated part of the air intake and bare metal foil for clamps.

Final Details
Now that the major components were completed, It was time to bring everything together and wrap up this build! I used the mesh included with the kit to make the grill. After that, I installed the grill and headlights.

Once the grille was glued in place, I could bring the chassis and body together. Painting the tail lights on this build may have been one more the more challenging pieces I’ve experienced to date! I had to look for online references to make sure the color call-outs in the instructions were accurate. The challenge involved the raised reflector and trim ring in the middle of the lens. It took several tries to complete the bare metal foil detail. Color was greatly simplified by using Sharpie markers. Lastly, I masked and sprayed the black molding.
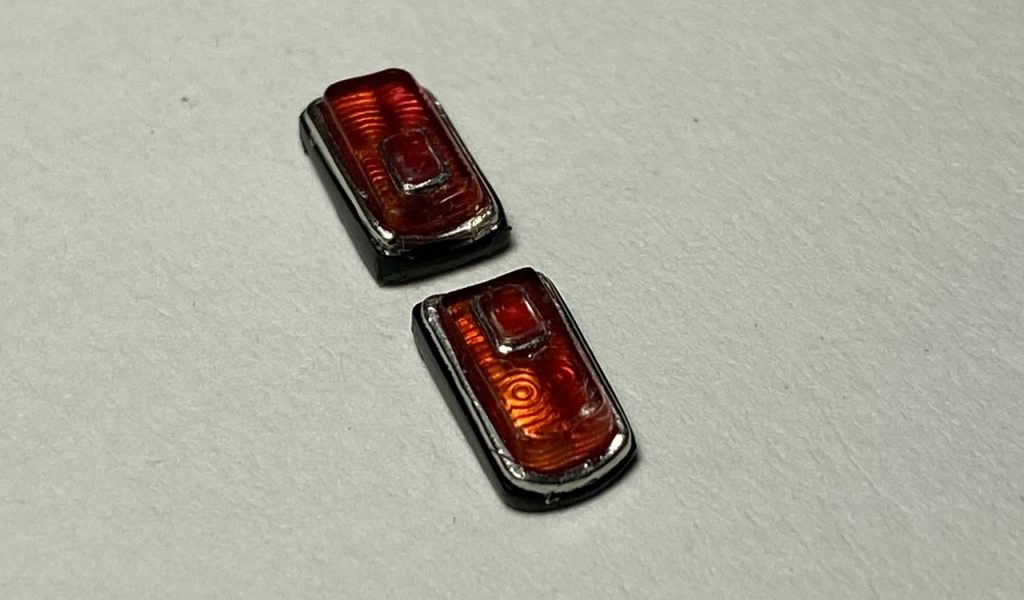
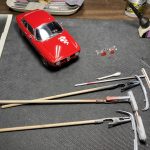
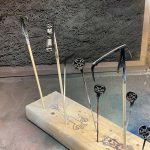
Having tackled the tail lights, I glued them in place and started attaching the rest of the details. The wipers and door handles were installed as well as the rest of the small exterior details. The bumpers were stripped and mold lines were sanded smooth. Spazstix chrome paint was sprayed over Testors enamel gloss black. After curing for a few days, the bumpers were attached.
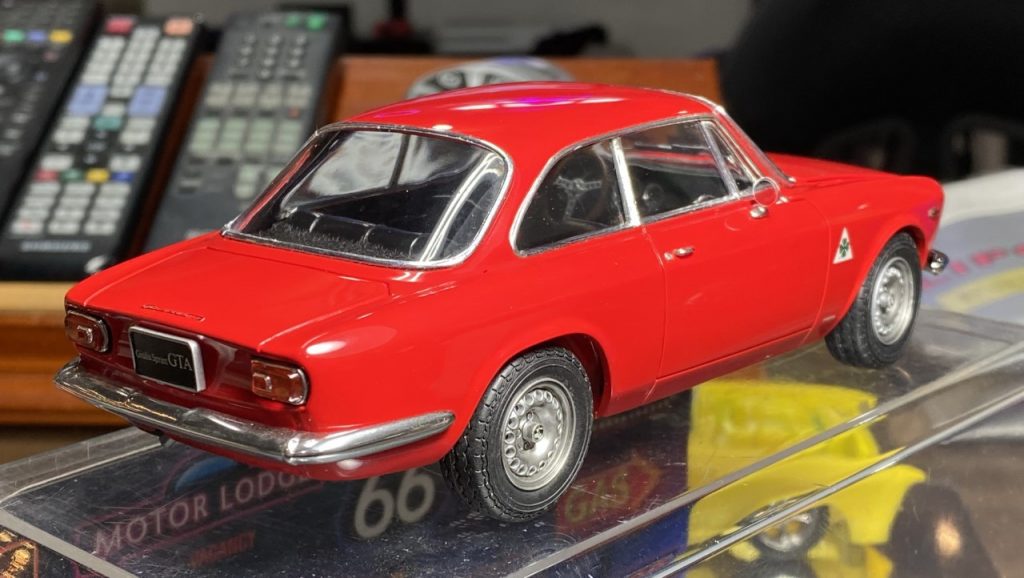
While looking over the finished project, I realized it wasn’t sitting flat. With the body attached and properly situated, the chassis no longer sat with all four tires on the ground. I decided to risk damage and pull the body and chassis apart. The problem was a result of gluing one of the door panels incorrectly. I pulled the interior apart, cleaned the glue and then glued everything back in place correctly. I also took the time to modify the hood hinge to help it sit flat. Once the repairs were completed, the chassis fit in the body correctly and the stance was correct.
Final Thoughts
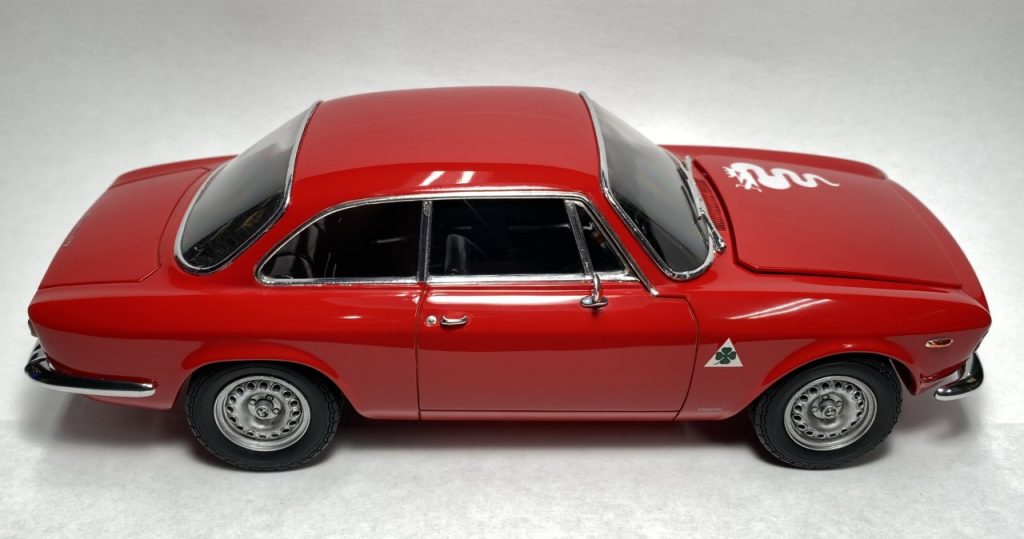
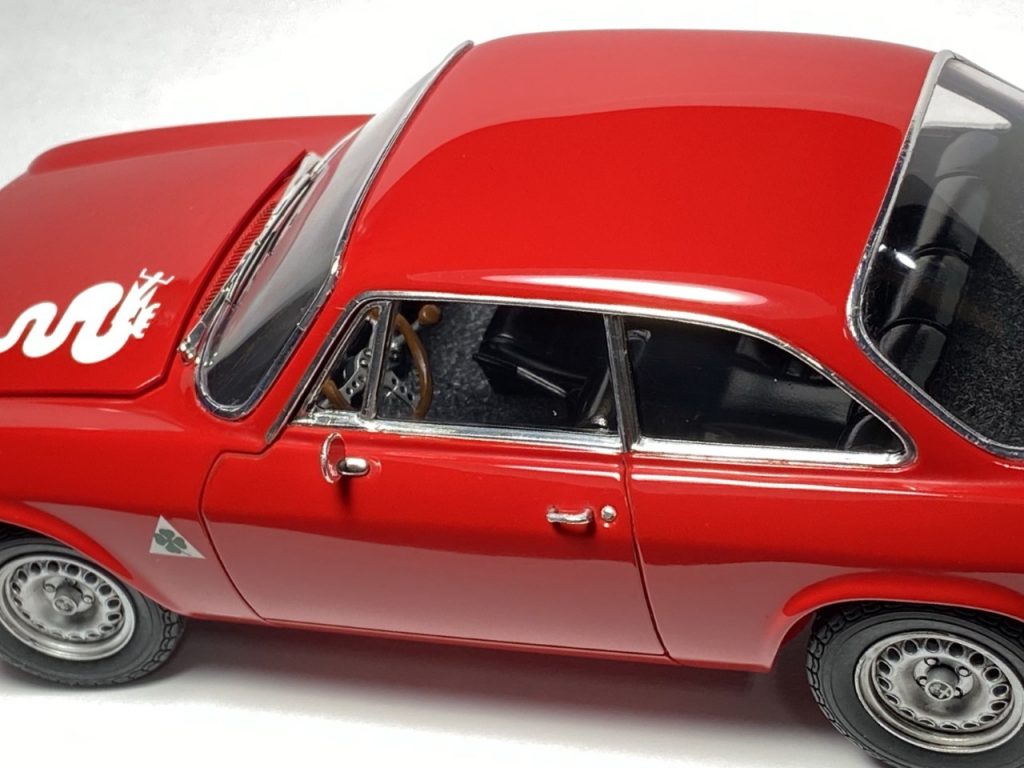
I’m really pleased with this build. Aside from the rear window trim problem, the only other issue I faced through this build were self inflicted. I’m happy to add this little Italian to my collection
Completed: November 2019

