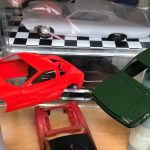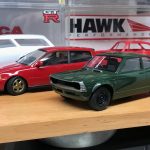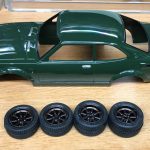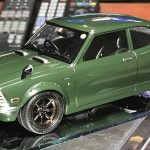
I love old Japanese cars. That was my motivation for buying this kit. Since it is a curbside, I’m planning on a quick build. Originally, I wanted to build it 100% box stock however, while researching the car online, most examples had Watanabe wheels. I liked the look and ordered a set.
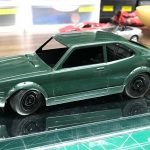
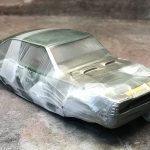
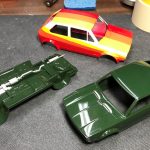
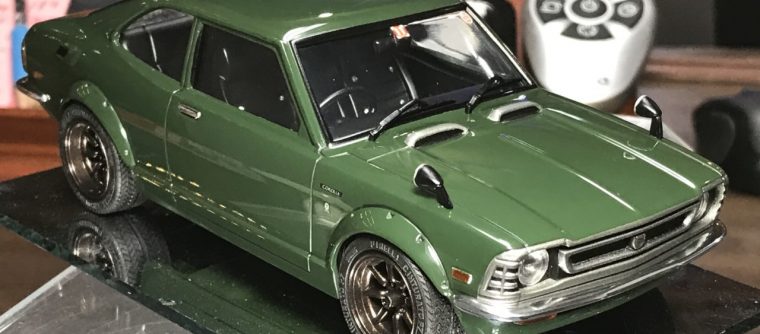
I chose Tamiya’s British Racing Green for the color. I decanted the paint and sprayed it with my airbrush followed by Tamiya’s spray clear.
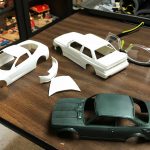
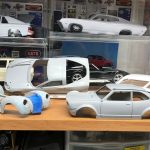
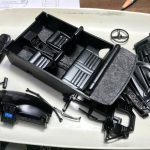
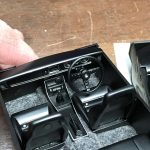
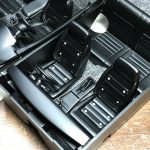
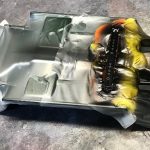
For the interior, the dashboard needed quite a bit of fill to correct several bad sink marks. After that, the rest was straight forward. I used Molotow chrome to paint the rivets in the seats and trim around the dash and center console. I then flocked the interior with Flock It charcoal flocking.
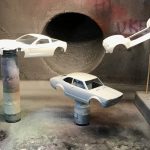
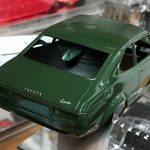
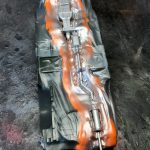
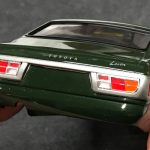
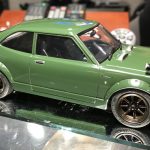
For the exterior, I sprayed the body and chassis with Tamiya primer then decanted Tamiya British racing green. After applying decals, I cleared the body with decanted Tamiya clear. After I let the clear cure for a few days, I sanded and polished the clear. Once that was complete, I masked and sprayed the trim around the windows as well as the moldings in the front and rear. After reviewing reference photos of the tail lights, I discovered that they were not molded in a way that would accurately reproduce the look of the full scale car. I did my best using bare metal foil to create the trim around the lenses. Wrapping up the body detail, I applied foil for the side markers and painted them the correct colors.
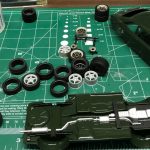
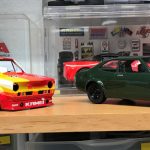
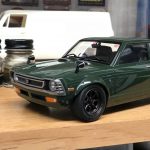
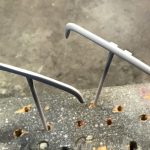
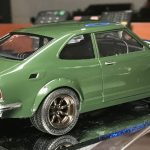
I had intended to use the stock wheels all the way up to the end of the project and realized that it needed more. I ordered a set of Fujimi Watanabe wheels to improve the look of the build. Once they arrived, I painted and detailed the wheels. I quickly realized the Corolla needed to be lowered to complete the look. The rear was easy given the fact that it uses a metal axle. I opened up the holes to drop the axle. The front was far more complicated. I shortened the struts, drilled and pinned them. I bent the control arms up to meet the shorter struts. After quite a bit of fighting and manipulating, the lowering was complete. With the wheels in place, it was time for the final details.
I added an aluminum tube for the exhaust tip. It wouldn’t look right without it! The last thing I needed to attach were the bumpers. They were only chrome parts in the entire kit! I found mold lines on the chrome parts but they were acceptable. What wasn’t acceptable was the piece of dust stuck in the chrome! I stripped the bumpers, cleaned the mold lines and chromed them with Alclad chrome paint.
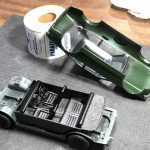
One last thing to note, I used thinned dark grey paint for the mold lines.
With that, the project was complete. It was a quick build and I’m pleased with the final results.
Completed: April 2018