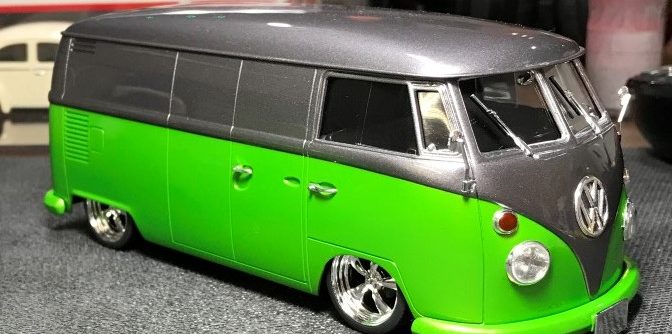
The Build:
Back in 2007, I watched a video of a VW bus with a 911 engine and suspension running competitively on a race track. I immediately knew I had to build a model of one Porsche engine and all! When I bought this cargo version of the bus, I forgot that the one from the videos had windows. I realized, with either bus, that you wouldn’t see the engine. I had already shaved and completed the body work when I abandoned the 911 powered bus idea. With that, the bus sat on the shelf for many years.
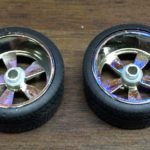
Sometime in 2014, I saw a picture of the same bus on 12-twentyfour.com. It was slammed and painted pearl orange and silver. I finally had inspiration to move forward with the project! I decided that I wanted lime green pearl and silver and even had the same wheels the other builder used.
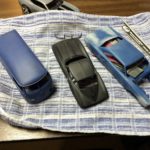
I decided to strip the bus back to start with a clean slate. I had used quite a bit of paint while completing the earlier body work and didn’t want any issues as a result. Once stripped, I refilled the door handles, scribed the panel lines and prepped the body for paint. I wanted the bus very low and chopped the suspension to make it work. At one point, I thought I needed more clearance for the rear tires and proceeded to shave the inside of the body. While prepping the body, I cracked the plastic in the thinned area. This lead to a great deal of body work but managed it get it ready for paint. The first of many…
Paint Job 1
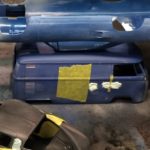
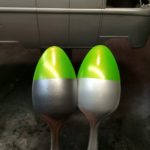
Originally, I had planned to do silver and lime green. I tested the colors on a spoon but also tested the lime green with Tamiya light gunmetal. I liked the darker gunmetal but had already sprayed the silver. I sprayed the light gunmetal then masked the top half and sprayed the Tamiya lime green. I was rather impatient to remove the masking and accidentally dropped tape onto the fresh paint. I managed to pull a small chunk of paint away from the body. While trying to repair the hole, I managed to re-crack the body near the rear wheel. Body work, paint, body work, paint…things were getting out of hand. I realized that the paint was so thick that I was losing detail. It was time to pull the plug. The body was stripped back to bare plastic.
Paint Job 2
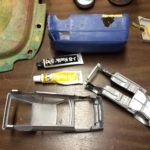
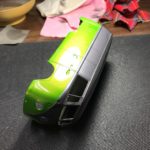
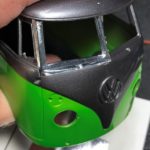
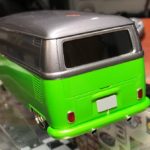
Once all of the paint was gone, and I finished swallowing my pride, I set to work on repairing the body work. I decided that I would like to keep the door handle detail. In order to avoid cracking the body by the rear wheel again, I used epoxy and a sheet of styrene to reinforce the panel. I used JB Weld to fix the crack on the outside. Once again, I scribed the panel lines and prepped the body for paint. This time, I sprayed the green first, masked the body and sprayed the gunmetal. Masking in this order was much easier. I made sure the paint was dry and removed the masking. I was very pleased. After the paint had cured few a few weeks, I was ready to spray clear. I decided to try UPOL clear after reading about it in Scale Auto. Before I sprayed the body, I lightly sanded a few spots of sand. I sprayed a couple of coats on the body and set it aside to cure. After a few days, I looked over the work and noticed that the sanding marks, from removing dust from the paint, were very obvious through the clear when viewed in the right light. I was devastated. After swallowing my pride once more, realizing I would never be happy with the obvious imperfection, I stripped the paint.
Paint Job 3
This was it. If I wrecked the paint again, it was all going in the trash. Most of the body work was quickly completed. The crack repair on the outside was not giving up without a fight. The JB weld that worked so well before was completely failing. I could not sand it smooth. After several failed attempts, I decided to auger out the crack with a scribing tool and fill it with CA. I have no idea why I didn’t do this for paint job 2. I quickly fixed the crack and finished prepping for paint. Color and clear followed. This was looking hopeful!
Finishing The Build
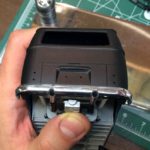
Third time was the charm with this build. With the paint work complete, it was time to wrap this up. I did have to strip the bumpers and respray. The Upol clear I tried cracked. As for the trim, after looking over many reference photos, I found that the window trim on the Bus tended to be either black or body color. I wanted chrome and used BMF to get it. I’m especially pleased with how well the emblem looks in BMF! The windows and dashboard were glued in place. Shortly after, all of the door handles, mirrors and wipers along with the headlights, tail lights and indicators were installed. I quickly painted the tail lights and indicators with Tamiya clear red and orange, respectively. Once the bumpers were finished, they too were attached. I then attached the aluminum tubing for my custom exhaust. The last step was applying license plate decals and touching up paint.
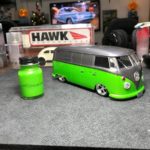
It took me almost nine years to finish this model. Granted, I didn’t get inspiration for how I would actually complete this build until a few years ago. In the end, I’m very pleased with the build.
Completed: November 2016


