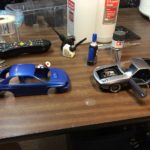
Gunze Sangyo? Prior to buying this kit, I had never heard of this brand. I was looking through eBay for loose model wheels and this kit, along with another Porsche 928 (also made by an unfamiliar brand), popped up. Other than missing wheels and tires, this was a complete kit (the same could not be said for the other). For $15 shipped, I picked them up.
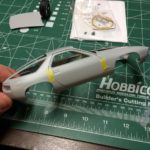
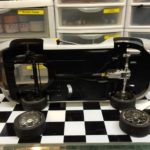
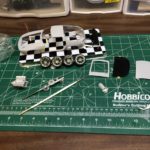
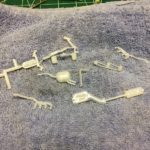
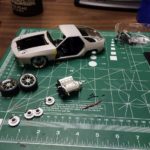
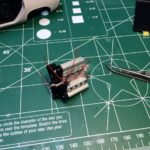
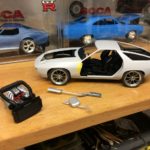
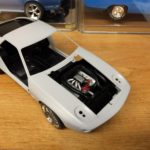
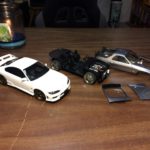
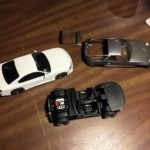
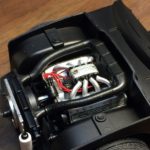
I discovered that the kit was designed to be built roughly four different ways. You could build a powertrain setup which included the engine, transmission, suspension, driveshaft and the wheels and tires. Then, it could be built as a no engine curbside or it could be built with an electric motor. The final build option was a fully detailed kit. I opted for the fully detailed version.
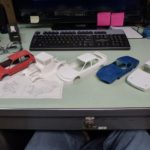
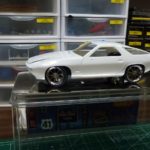
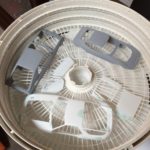
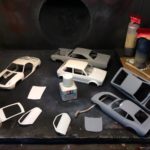
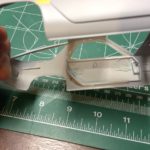
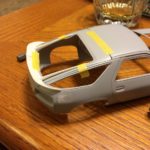
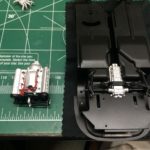
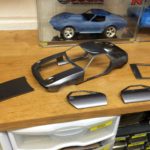
This kit was riddled with sink marks. Even the box art showed how bad they were. I spent quite a bit of time filling everything with body filler or Tamiya filler primer. Once I felt the repairs were sufficient, I shot everything in primer and checked for anything I may have missed. I had to make a couple of additional corrections but once they were resolved, it was ready for paint.
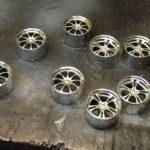
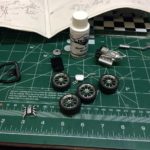
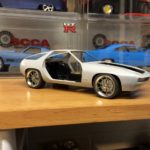
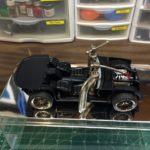
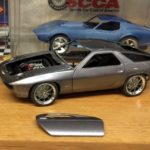
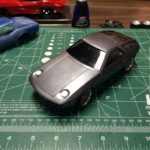
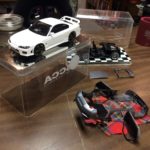
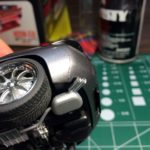
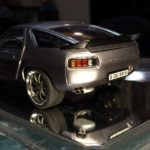
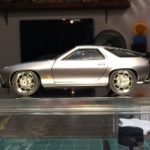
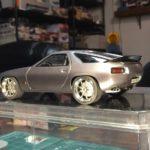
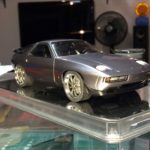
As I mentioned in the intro paragraph, the kit did not have tires. For the most part, the kit was proportionally correct except for the wheels. They were cartoonishly incorrect. I tried a set of Pegasus wheels and knew they were the answer. I painted the center section light grey to help tone down the chrome. The stance in the rear was correct however I needed to address the front which sat too high. I was able to flip the spindles over and the problem was solved.
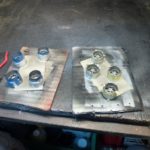
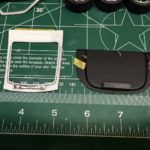
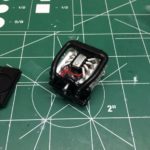
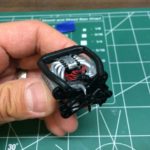
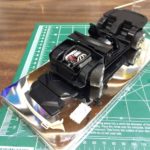
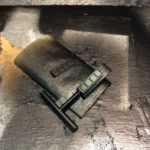
In order to keep the doors and rear hatch closed, I used leftover magnets from my Roadrunner hub cap project to keep the doors closed, and a larger magnet and scrap metal to keep the hatch closed.
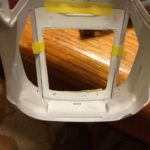
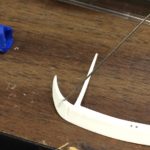
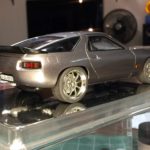
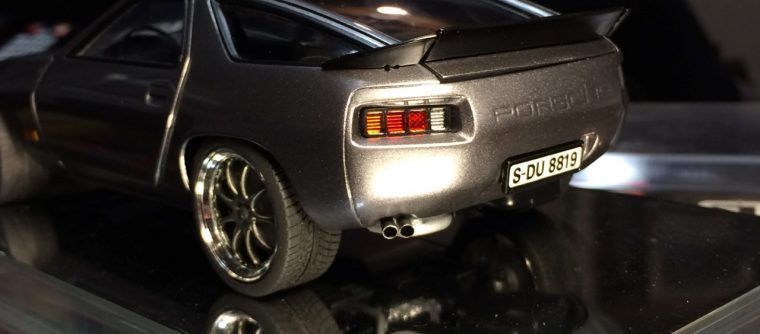
One last detail that had to be addressed involved the rear wing. It was a complicated piece that once separated was three pieces. It had protrusions that attached around the rear hatch glass. This was correct for the full scale version but offered a huge gluing challenge on the completed model. I elected to remove the protrusions to simply and clean up the look. Finally, I used pins to locate the wing and aid in attaching it once completed. This wasn’t a completely clean process but overall it turned out really well.
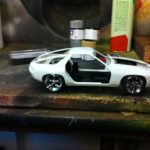
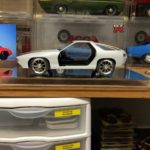
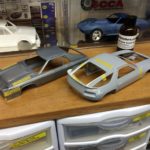
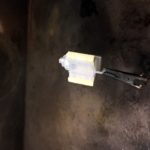
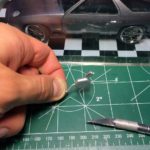
Once painted and cleared, the Porsche came together fairly well. I had trouble with the doors once installed. I chipped the paint on the leading edge and had to rework the opening. Once the doors were reattached, they opened and closed smoothly. I painted the indicators and other trim and attached them along with the exhaust. I always take the opportunity to install metal exhaust tips. I hand sanded the tips until I had the correct angles and polished them to a mirror shine.
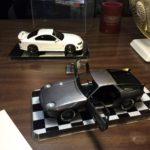
I never expected this kit to turn out this well! I am very pleased with the final results considering the fact that I didn’t have high hopes earlier in the build.
Completed: November 2015