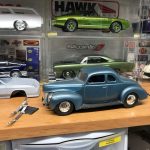
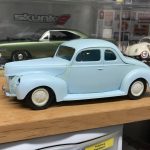
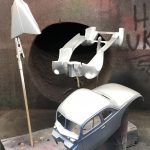
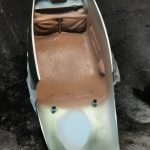
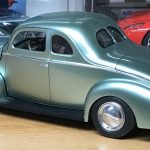
While I was at a local model/toy swap meet, I picked this up this model. I had been thinking about a restoring an unloved/glue-bomb model and found this AMT 1940 Ford Coupe. I wasn’t a glue-bomb but it could certainly use some love. What drew me to this project was the wheels. I just thought they were retro cool. While trying to figure out the original manufacturer of this Ford, I did find out that it was an AMT but I have not been able to find one that has the same OHV engine or wheels. The engine has the correct mounts to be attached to the frame which leads me to believe it is original to the kit as an upgraded engine.
Prep Work and Parts
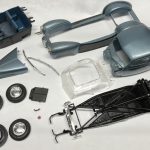
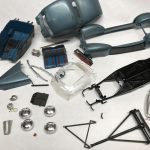
Shortly after I brought it home and grabbed a few before pictures, I blew it apart and dunked every last piece in floor degreaser. With a clean slate, I was ready to add my personal touch to this project! For starters, I ditched what looked like period correct drag tires. I found a set of tires in my parts box that fit perfectly. The odd-ball engine had to go. I dug through my parts box and found a 302 Ford engine from the Monogram 55 truck.
The Work Begins
With the kit stripped and the new parts selected, it was time to get busy!
Body Work
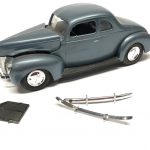
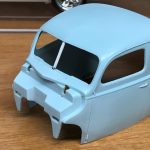
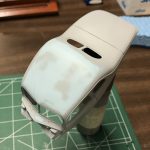
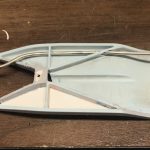
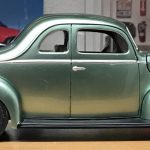
The body had a few nasty mold lines and needed quite a bit of panel line scribing. I also needed to repair the odd wheel openings. The were not round and based on reference pictures, the openings were definitely round. I found my Microset/sol bottles to be the perfect shape! I wrapped the bottles with sand paper and fixed the openings. The kit was missing the bar that splits the front window. As I understand it, it was a separate chrome piece. I used sheet styrene to build one. While working on smoothing the body, I was careful not to lose the side moldings, door handles and hinges.
Chassis and Engine
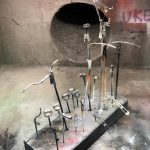
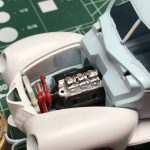
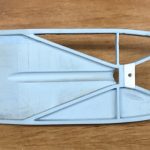
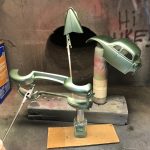
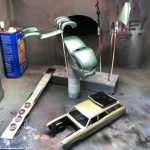
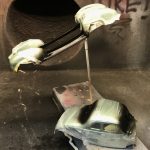
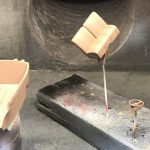
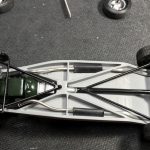
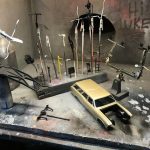
The original idea was to turn this project around quickly. With that in mind, I was going to leave the molded-in exhaust and find a y-pipe to tie in the new engine. Realizing this wasn’t going to be a quick build, I decided to cut out the exhaust and build a new one with solder and tubing. I cut away the chassis where I could and ground out the rest. I patched the holes with sheet styrene.
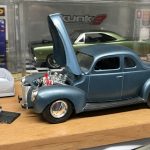
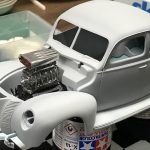
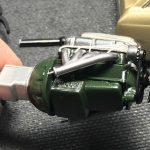
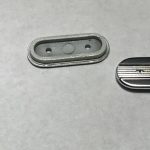
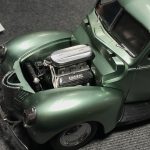
Swapping in the post flat-head engine proved to be a challenge. My original idea was to use the fuel injected intake manifold. Once I started mounting the engine, I realized it wouldn’t clear the firewall. I opted for the carburetor option. The only problem was that I didn’t have the air cleaner for it. I managed to score the 55 Ford truck I needed at a local swap meet that had the correct air cleaner. Once the induction was settled, it was time to build mounts. I chose to build mounts that attached to the front of the engine that landed on the front cross-member. I made pockets in the cross member to locate the engine. The oil pan had to be cut and flipped around to help clear the cross-member. I use more styrene to build a rear transmission mount.
Paint and Finish
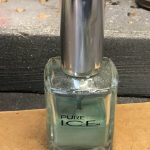
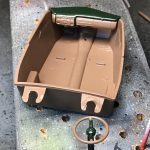
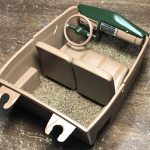
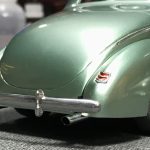
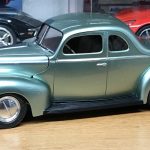
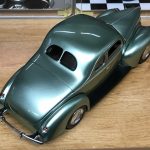
Having completed the prep work, it was time to paint and head down the path to completion. My original idea was to paint the car Testors “turn signal amber”. Along with that, the engine would be a gunmetal color. I eventually settled on a fingernail polish paint that my wife had given me years earlier. I also switched to Tamiya British racing green for the engine. For the interior, I settled on a British racing green and Tamiya earth color. Along with flocking and some shading, the interior nicely complemented the ice pearl blue.
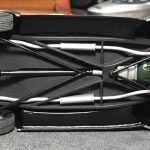
I knew I wouldn’t have enough paint to cover the chassis in body color. I used flat black and rubbed the finish to vary the sheen. The suspension was painted satin black. I made a proper exhaust using solder, aluminum tubing and parts box mufflers.
Wrapping up the finish work included Spazstix chrome for all the chrome parts and bare metal foil as needed.
Final Thoughts
As projects like this go, it strayed from the original concept. I wanted to quickly rebuild the car and move on. As I dug into the work, I simply couldn’t leave the molded in exhaust with the new engine. In the end, I’m glad I put in the extra time. It gave me the opportunity to paint with nail polish and create a stunning example of this old Ford. It may be missing a few details but having given it my personal touch, I’m really pleased with the build.