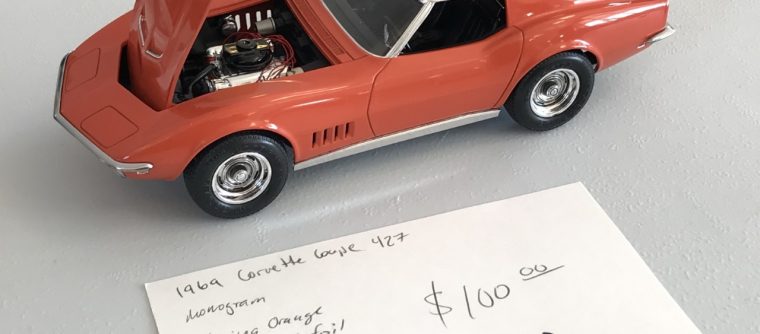
Quick Build ’69 Corvette
Wait, didn’t I just finish a Monogram ’69 Corvette? Yes. Yes I did. I don’t tend to build the same or similar kit. In fact, once I graduated to air brush painting and higher level detailing, I’ve never built a kit more than once. Given the limited time I have to work on my hobby, I like to build something new. So what’s going on here?
Original Plan
While I was still building my first ’69 Corvette, I found this partially assembled kit on the floor of a dank and nasty old hobby shop. The kit was missing the instructions but everything else was there. At more than half he regular kit price, it was a bargain. This kit also had rear exiting exhaust rather than the side pipes of the other build. I thought I would build my project without the side pipes. After I realized that I needed to modify the body to fit the rear exit exhaust, and the body was already painted, I abandoned the idea. I boxed up the kit and set it aside with no plans of a future build.
For Sale?
Recently, I thought about the quantity of models I would build through my lifetime and the space necessary to nicely display all of my projects and realized that my collection could get out of hand. I realize to some that this concern is foolish and that I should build/buy more display cases. Although I don’t disagree, I thought about how I could build and not create an horde like collection.
With that in mind, I decided to try my hand at building kits for sale. When I build any kit, as is evident by this entire web page, I take pictures through the process. I could enjoy the build, sell it and still have the pictures. This Corvette would be the first.
Can I Do It?
I wanted to build with high quality, speed and low effort. What can I sacrifice without losing overall curb appeal? With all that in mind, I started working. I decided that when I had time I would dedicate full evenings to this build. There is no way I can work on the build on consecutive nights, but I will document the build by day to get an idea of how long it will take.
Timeline
Day 1:
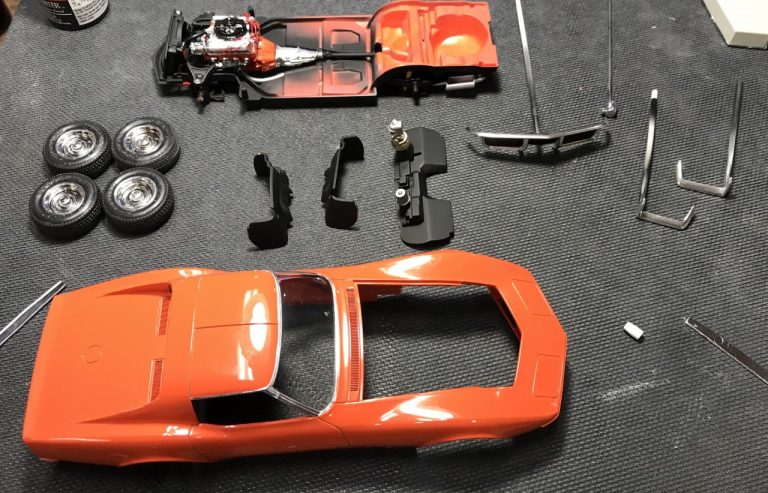
The first day was spent pulling apart assembled parts and starting part prep.
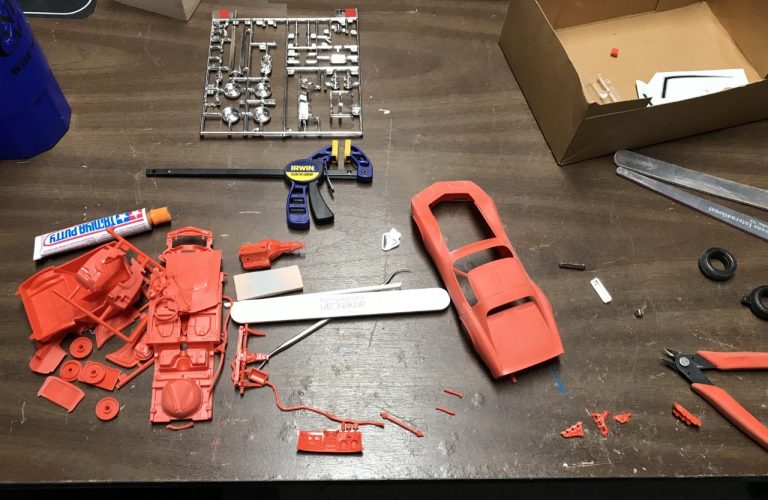
Day 2:
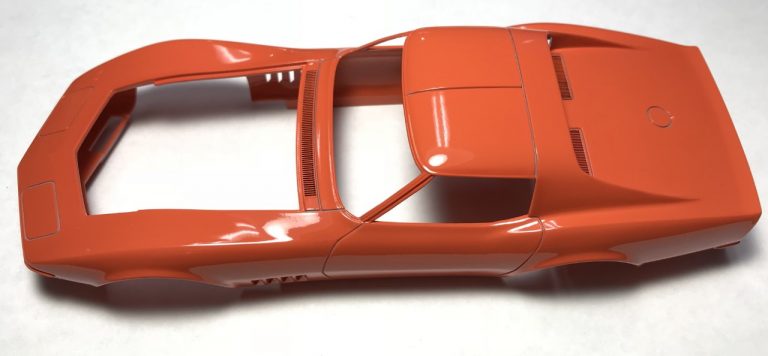
Prep work continued through the second day. After massive amounts of sanding and deepening panel lines, everything was ready for paint.
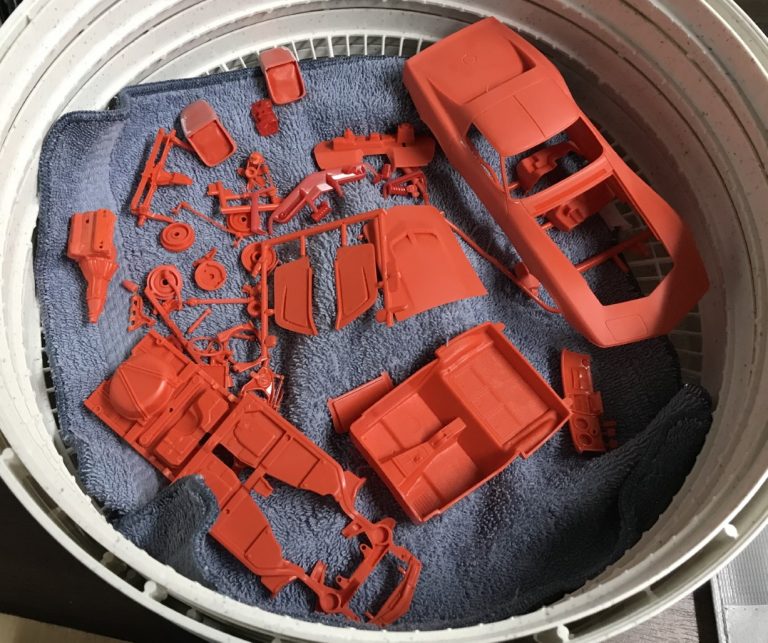
All The Parts!
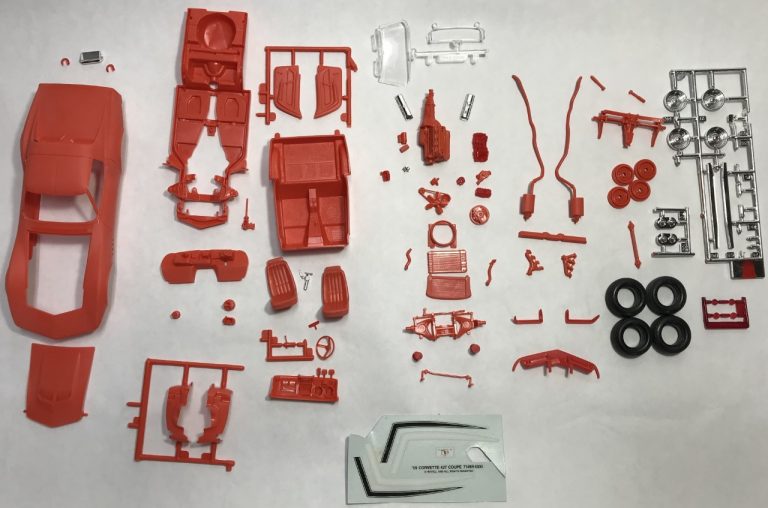
Day 3:
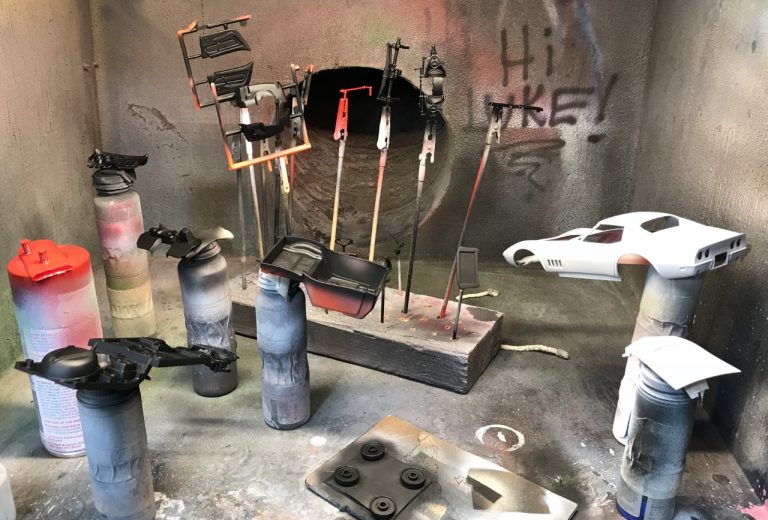
The third day was a flurry of paint and more paint. I primed everything and shortly after painted satin black on most of the pieces. Unfortunately, I over-thinned the Tamiya X18 and ended up with a hazy looking sheen. For most parts, it worked out well but there are many others that need another coat from a different batch of paint. I did find imperfections in the body that had to be corrected before paint.
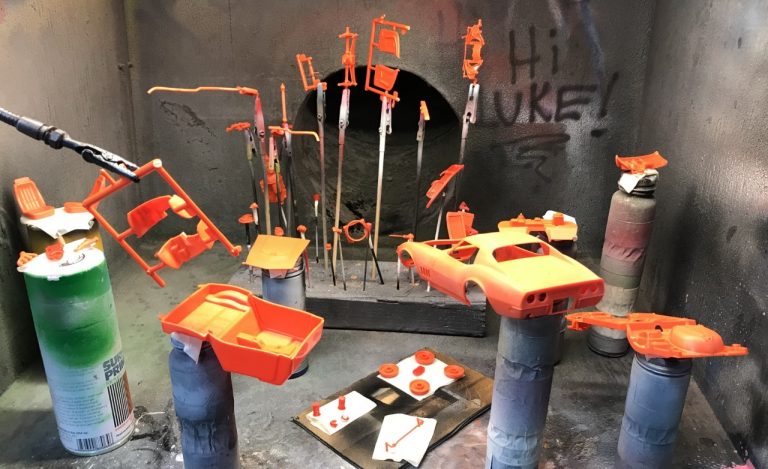
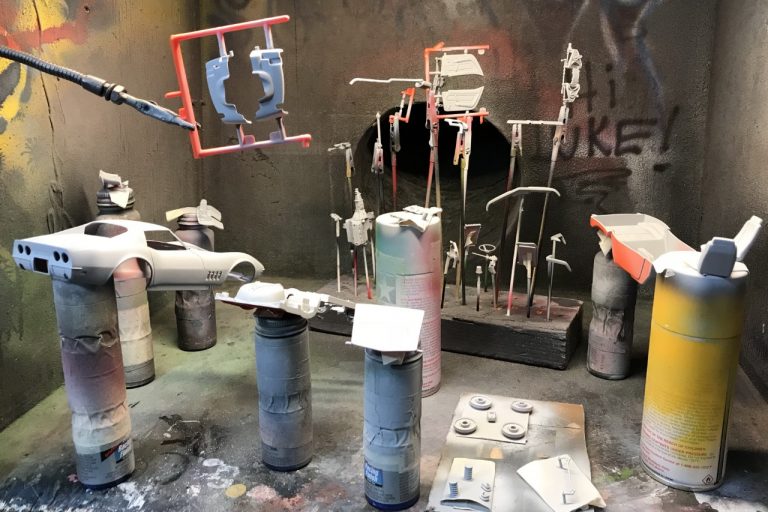
Day 4:
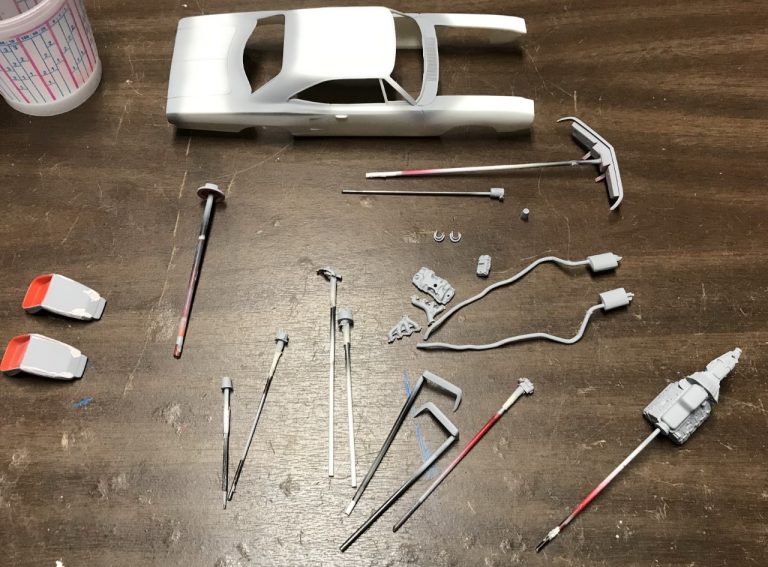
I resprayed all of the Corvette’s interior parts with a new batch of Tamiya semigloss black. The sheen was much better. Body blemishes repaired and resprayed with primer. Chassis and suspension assembly was completed. The engine was primed with white primer. Lastly, I used Tamiya panel line accent on the wheels and front springs to give them more depth.
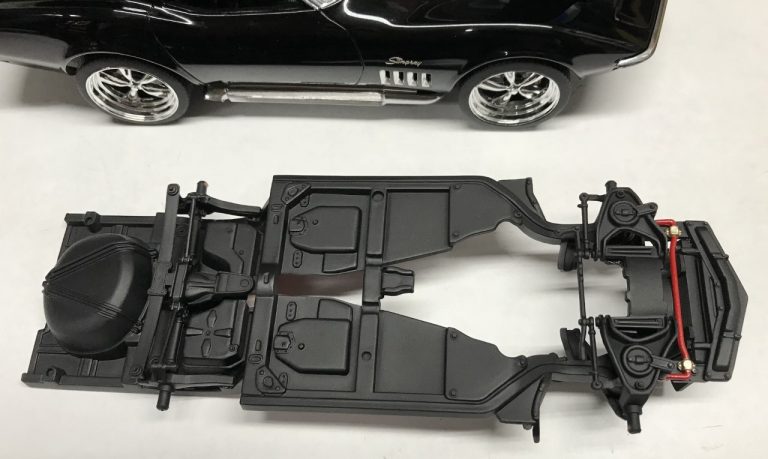
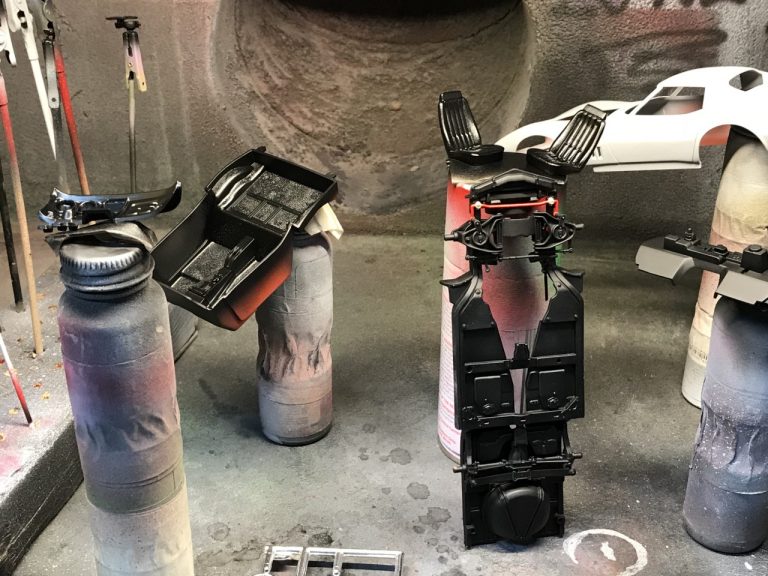
Day 5:
The exhaust and other parts requiring metallic paint were sprayed. I used decanted Tamiya TS17 gloss silver for most of the parts. I used other shades of metallic as necessary. Unfortunately, this is all I could accomplish today.
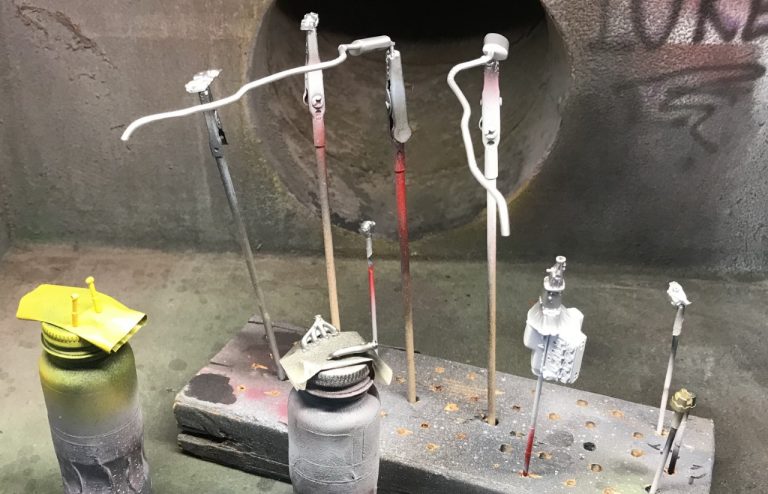
Day 6:
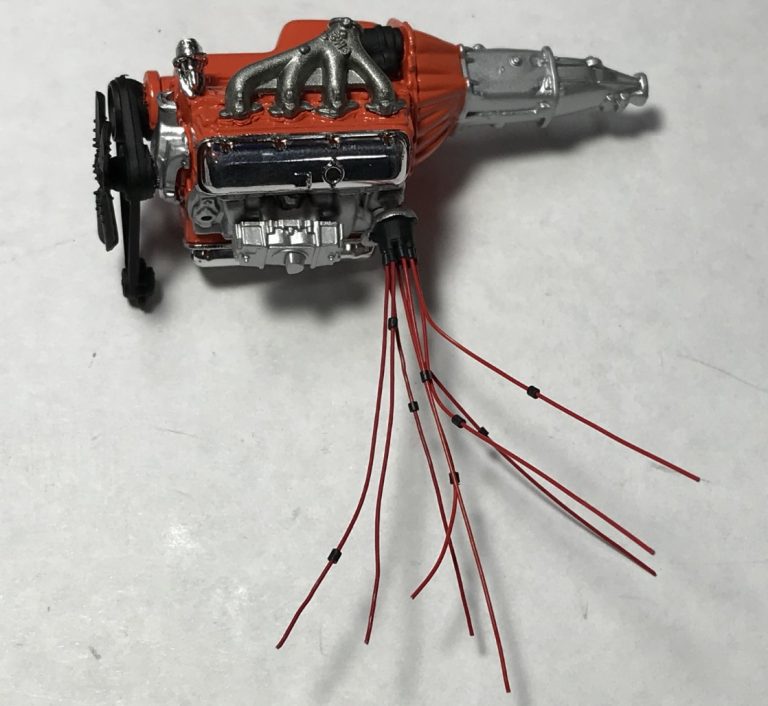
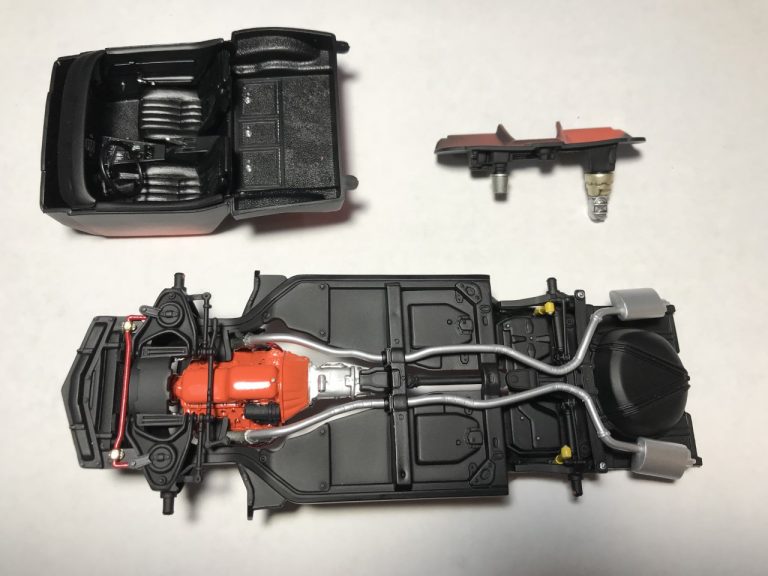
The Corvette’s engine was masked and sprayed. I finished the detail in the interior using silver paint, Molotow chrome and Tamiya panel line accent. I was going to add flocking and remembered that you can’t see any of it in the finished model. The interior was assembled and set aside. I assembled the firewall and most of the engine. I also painted the gloss black base on all of the parts that will be alclad chromed. If I had more time, I would have finished the engine and possibly wired it.
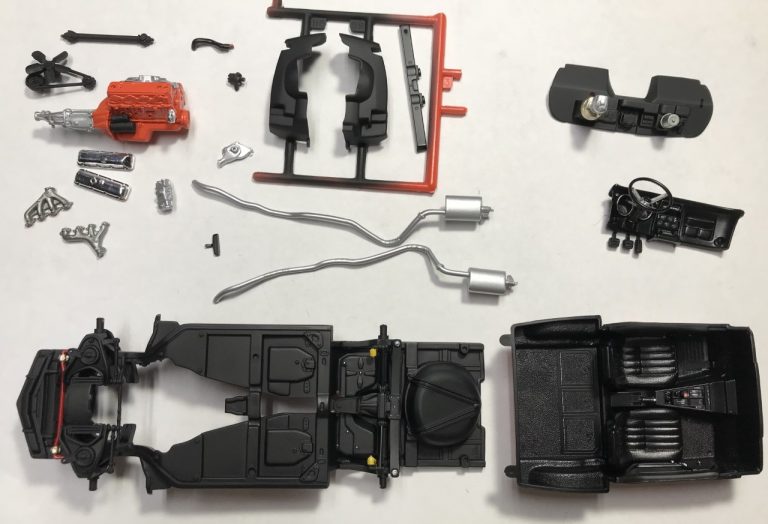
Day 7:
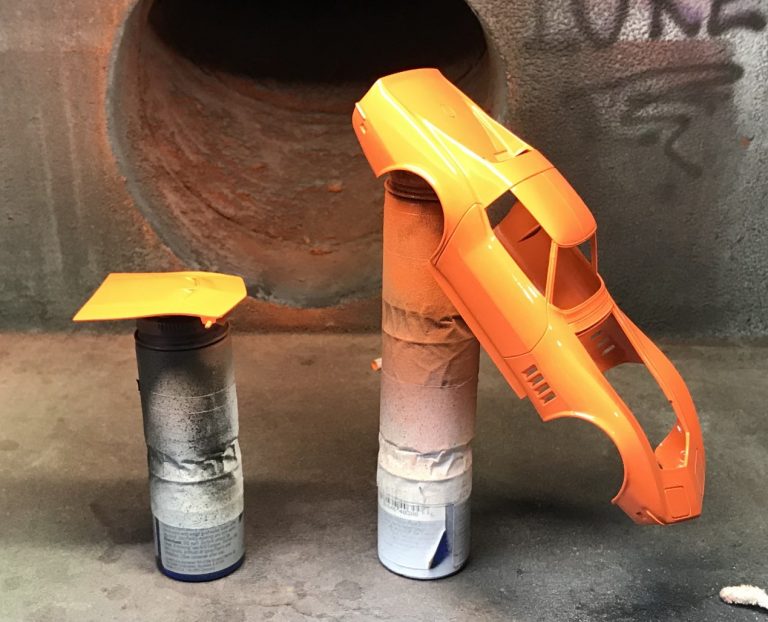
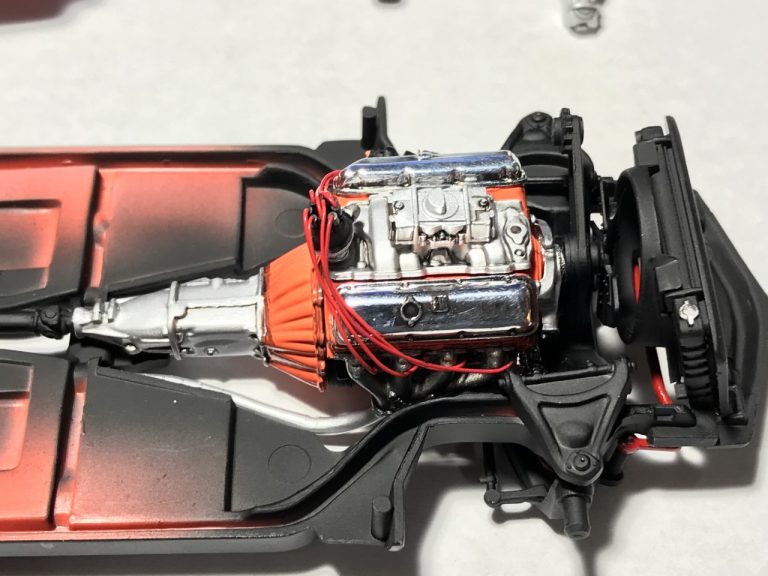
Big progress today. Engine assembly was complete and detailed it with panel line accent and plug wires. Once the engine was complete, I attached the it to the chassis along with the drive shaft and exhaust. Body prep was complete having smoothed out the last few blemishes, spot primed, sanded and sprayed in color. I started with decanted paint to fill in the panel lines and then finished with the spray can.
Day 8:
This is where the timeline gets a little fuzzy. I needed to sand and polish the body. I worked on it a few minutes here and there. I didn’t get it hammered out in one day as I had hoped.
Day 9-11
Once I finished sanding and polishing the body, it was off to the races. I tried using the kit decals but it was almost a disaster. I was able to get the decals off and smooth out the damage to the paint. It looks like vintage decals act really strange with set/sol…
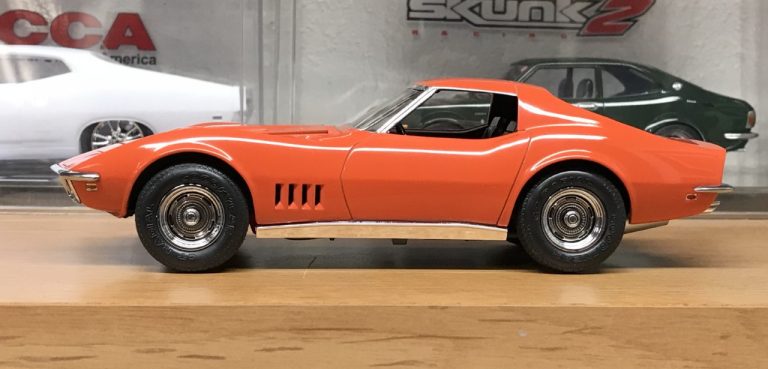
What I’ve learned through this build shortly after finishing a very similar kit is that I remember all of the corrections I had to make in order to make all of the parts fit. The hood and engine bay opening need massaging to make them fit and open smoothly. The radiator shroud needs to be shaved in order to give room for the hood to close. In the end, this went smoothly knowing the ins and outs of the kit itself.
Having finished two of these kits, I am confident in saying I’d rather not build one again. It looks great complete but the final steps in assembly are really challenging. For instance, the finder liners have to be glued in place before setting the body on the chassis. This makes it difficult to slip the two parts together resulting in ripping the glue apart. Then it’s a juggle to get them glued back on once the body is on. Other than that, it is a straight forward build.
The ‘Vette wasn’t as “perfect” as I wanted it to be and I was apprehensive about trying to sell it. Rather than list it on ebay, I decided to take it to a local model swap meet to get feedback on the build. Much to my delight, it was a success! I listed it for $100 and sold it for $80 within 10 minutes of having set it on the table. The buyer let me keep it at my table until the end of the show so that other could see it.
Having successfully sold my first “for sale” project, I’m happy to consider doing more in the future.


