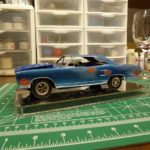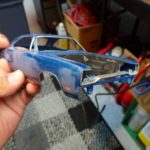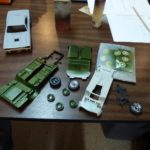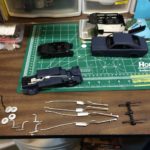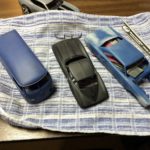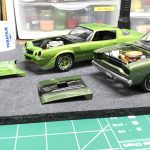
I bought this kit nearly 20 years ago and started building it. The original idea was to paint it true blue pearl but I used the wrong base and it didn’t turn out well. To make matters worse, the body was warped. I stuffed everything back into the box and set it aside. While eyeballing the completed, but unpainted GTX on my shelf, I decided to tear it apart and use the body to replaced the warped mess that came with this kit. This happened some time in 2005. While I started preparing the body, I ground down the door handles and side markers…which unfortunately, was my standard operating procedure at the time. I tended to grind away details that I struggled to finish. Regardless, I started the work and once again, stuffed all of the parts back in the box.
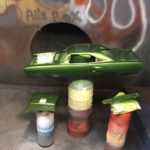
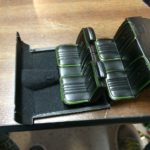
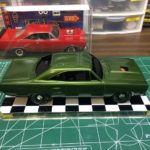
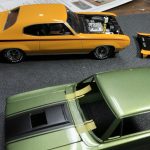
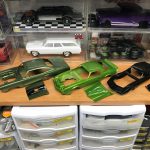
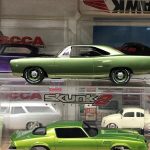
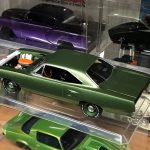
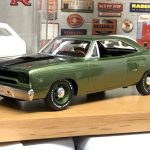
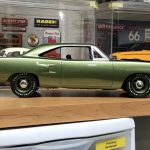
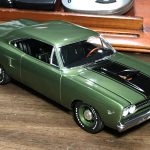
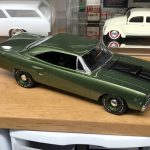
Fast forward several more years, I pulled the Roadrunner out and committed to finishing it. As I was going through the parts and trying to figure out what color I wanted to paint it, I decided that I wanted to use an OEM color. After researching the color options for the 70 Roadrunner, I elected to paint it F8 Dark Green Metallic. I ordered paint from Scale Finishes.
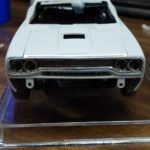
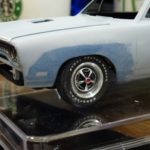
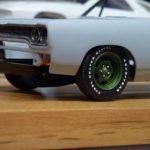
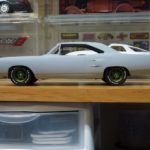
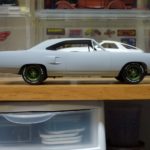
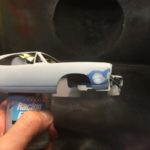
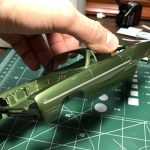
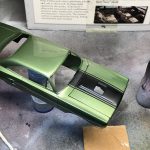
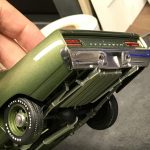
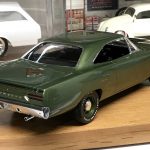
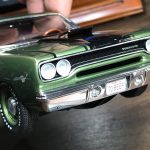
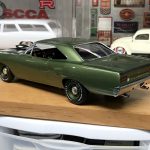
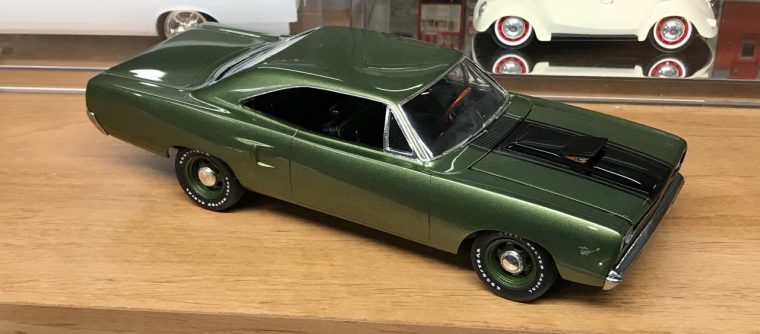
While prepping the body, I decided to eliminate some of the chrome trim. I found 1:1 examples where the same had been done and on the same color! I thought it cleaned up the look of the car and set to work on the body. I ground off the trim around the grill opening, wheel wells and the back of the car. I also finished removing all of the GTX markings and smoothing out the shaved side markers and door handles.
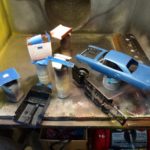
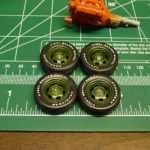
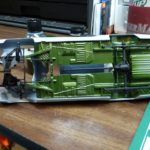
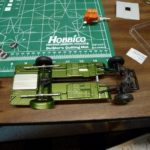
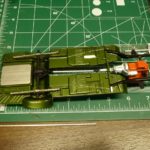
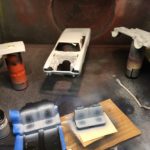
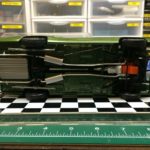
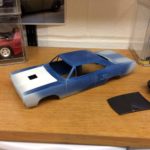
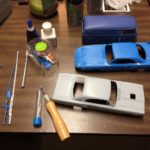
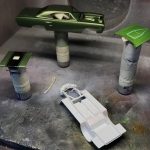
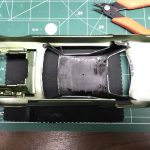
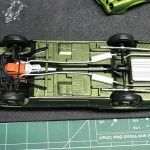
Prior to painting the body, I finished painting the chassis and wheels. The paint was somewhat transparent and I struggled to spray it correctly. I managed to get good coverage on the chassis and wheels but by the time I was ready to paint the body, I was running low on paint and rushed through the spraying. The end result was paint that had pulled away from the edges of the doors, trunk, etc. I rushed into spraying clear coat and made it worse. I had a body that looked back and there was no way to correct the mistake without stripping…so that’s what I did.
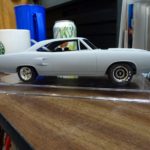
I ordered more paint and started reworking all of the body work. I also worked on scribing all of the panel lines. The lines were very shallow and looked like they had been filled with paint even without paint! Considering the problems I had with the paint the first time around, I was reluctant to spray the color. I ignored this kit for a while.
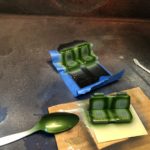
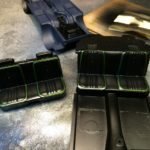
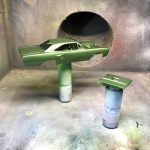
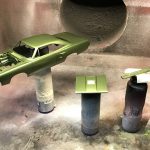
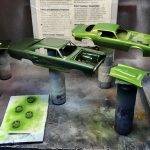
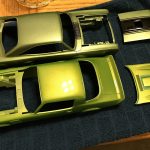
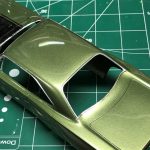
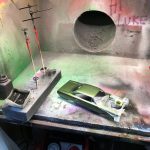
In the mean time, I started spraying models with spray cans. Once I got the hang of spraying with cans, I learned a new respect for paint volume and setting times. Thinking about the technique used for spraying with large volumes of paint, I approached my air brush with the same idea. I used much more volume, sprayed at a greater distance while respecting the panel lines, and waited considerably longer between coats. I sprayed two light dust coats with about 30 minutes wait time and then sprayed two wet coats waiting about 3-4 hours. The difference was profound! I had no issues with coverage! I set the body aside for a few weeks before I sprayed decanted Tamiya clear coat using the same technique.
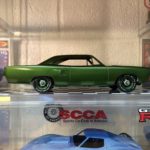
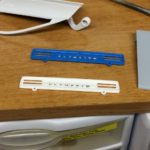
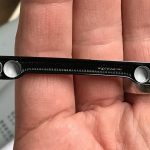
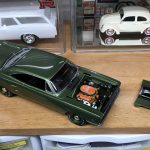
I bought a set of Kieth Marks decals which included the proper spacing for the hood paint and actual roadrunner logos. I had a problem with the dusty pinstripe and ended up only using the roadrunner logo on the front fenders.
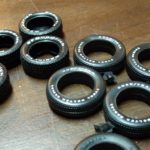
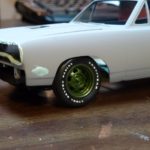
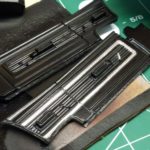
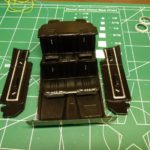
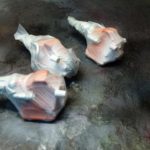
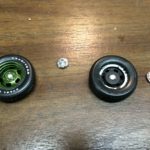
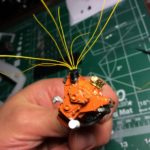
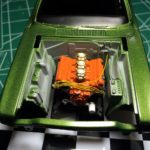
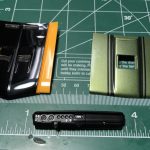
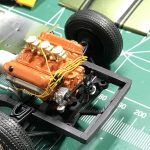
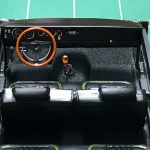
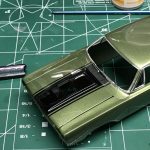
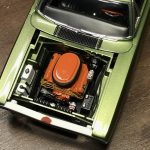
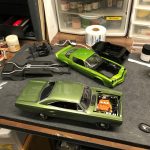
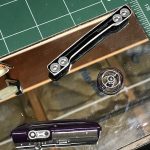
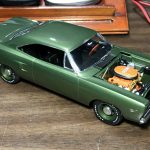
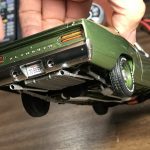
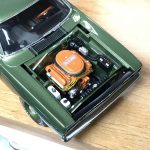
Finishing the detail, I used a Detail masters distributor kit to wire the engine. I used tiny magnets in the wheels to make the hub caps removable, bare metal foil for the exterior trim, I stripped the chrome bumpers and chromed them with Alclad and stripped the grill and did my best to recreate the correct colors of the 1:1 version. In the interior, I used embossing powder for carpet, bare metal foil for trim details, wood grain paint for the steering wheel and shifter, and dashboard details with a Molotow chrome pen. As a personal touch, I painted what is normally white seat trim, body color with clear semigloss.
Although I was disappointed that I had to strip and start this project over, it gave me the opportunity to learn better prepping and painting techniques that allowed me to finish this project better than I had ever hoped. I’m very pleased with the color and the overall quality of this build!
Completed: October, 2017