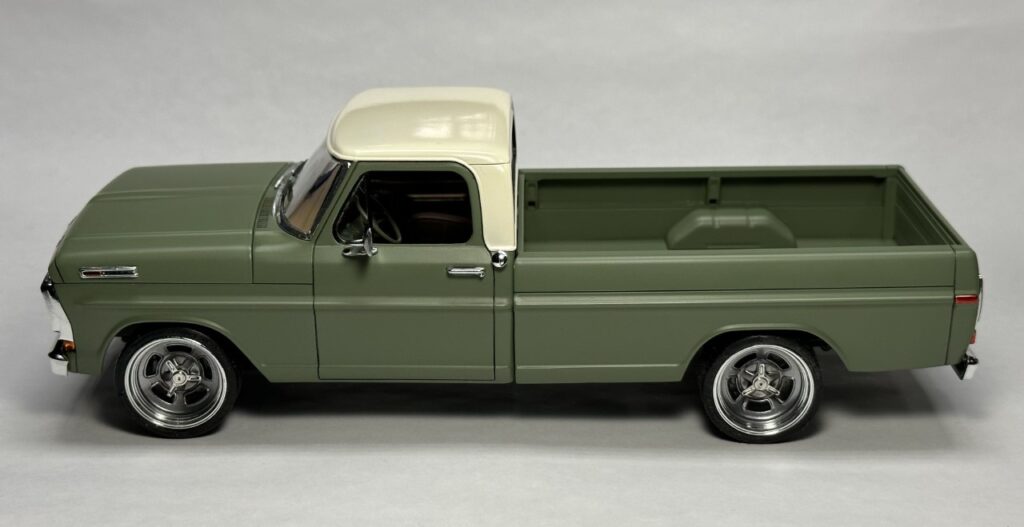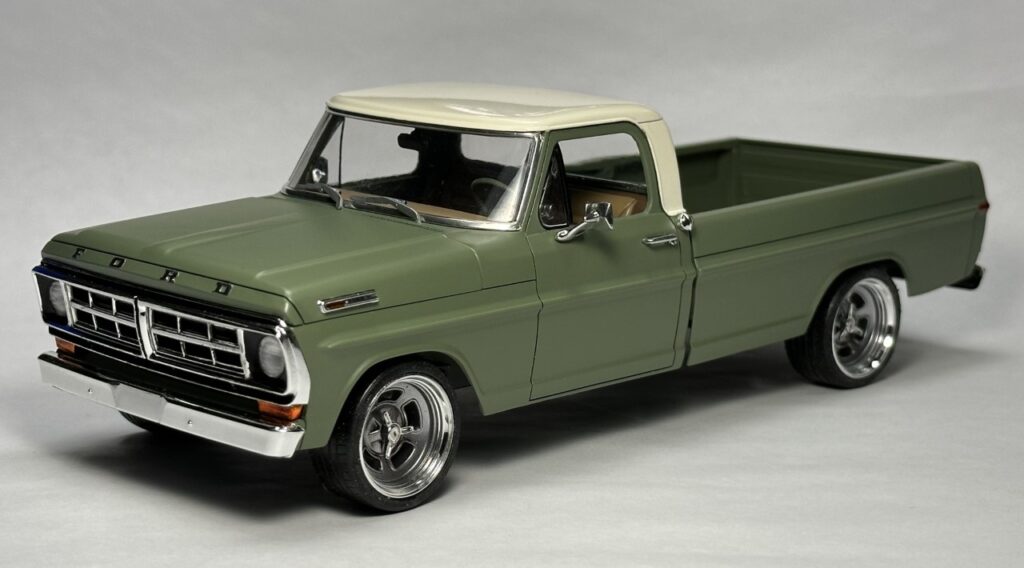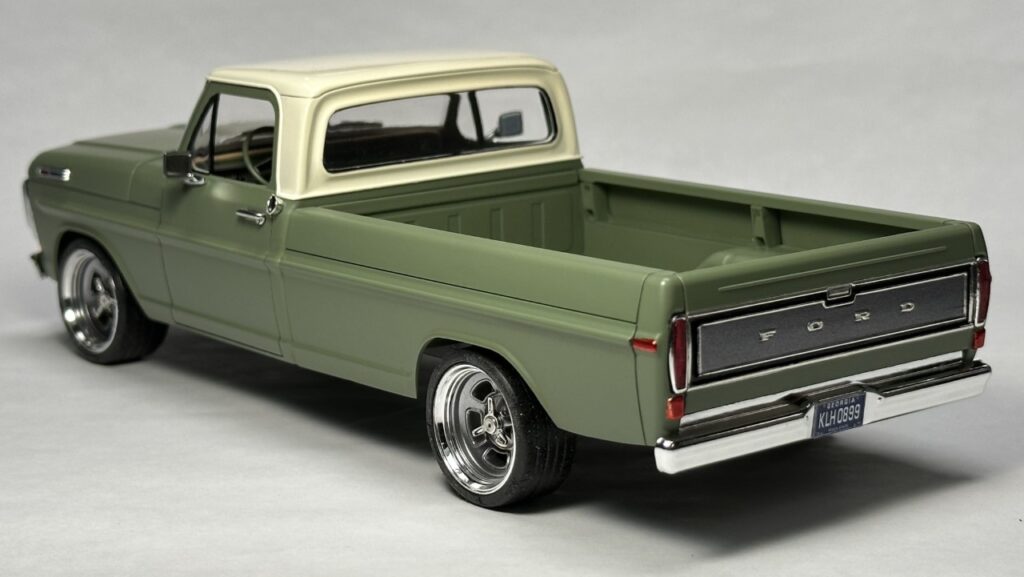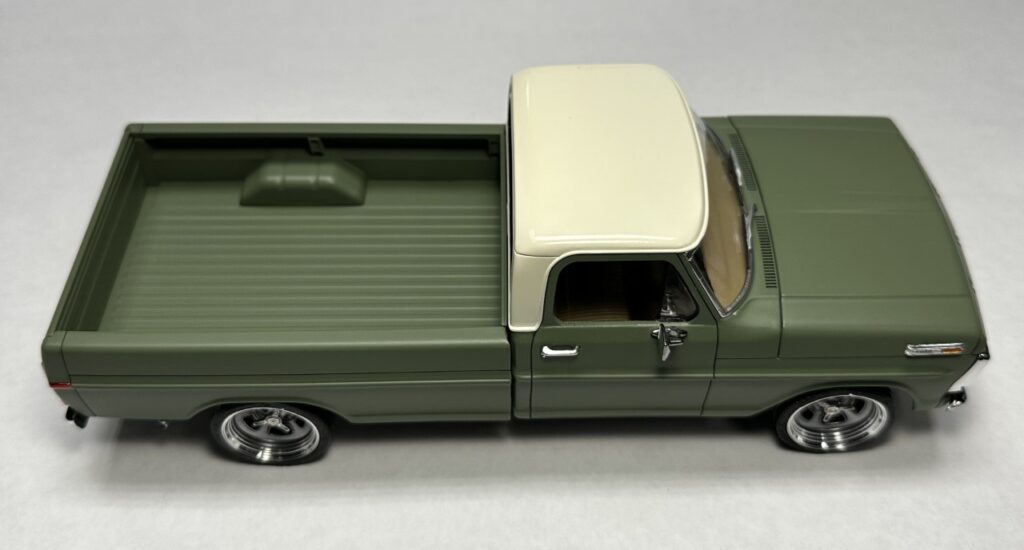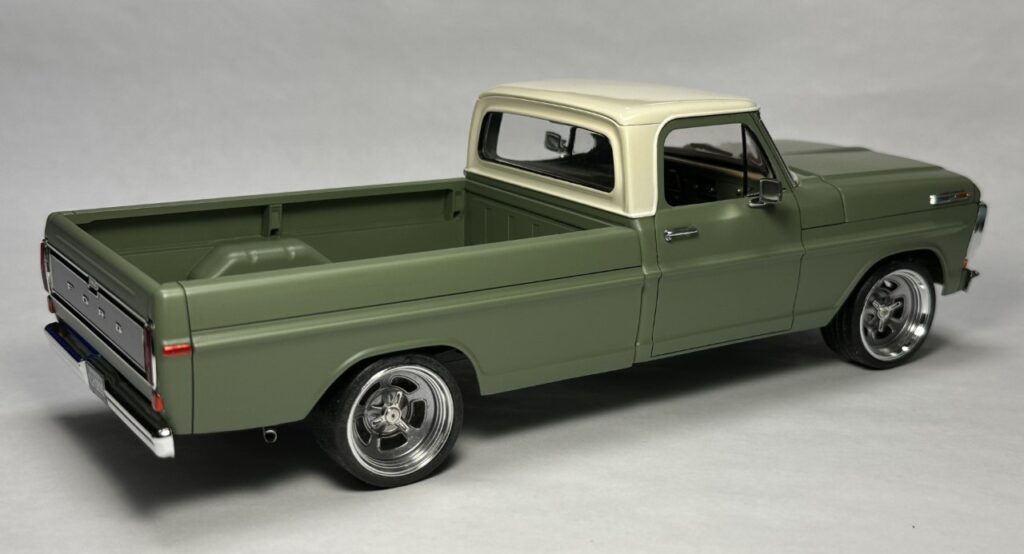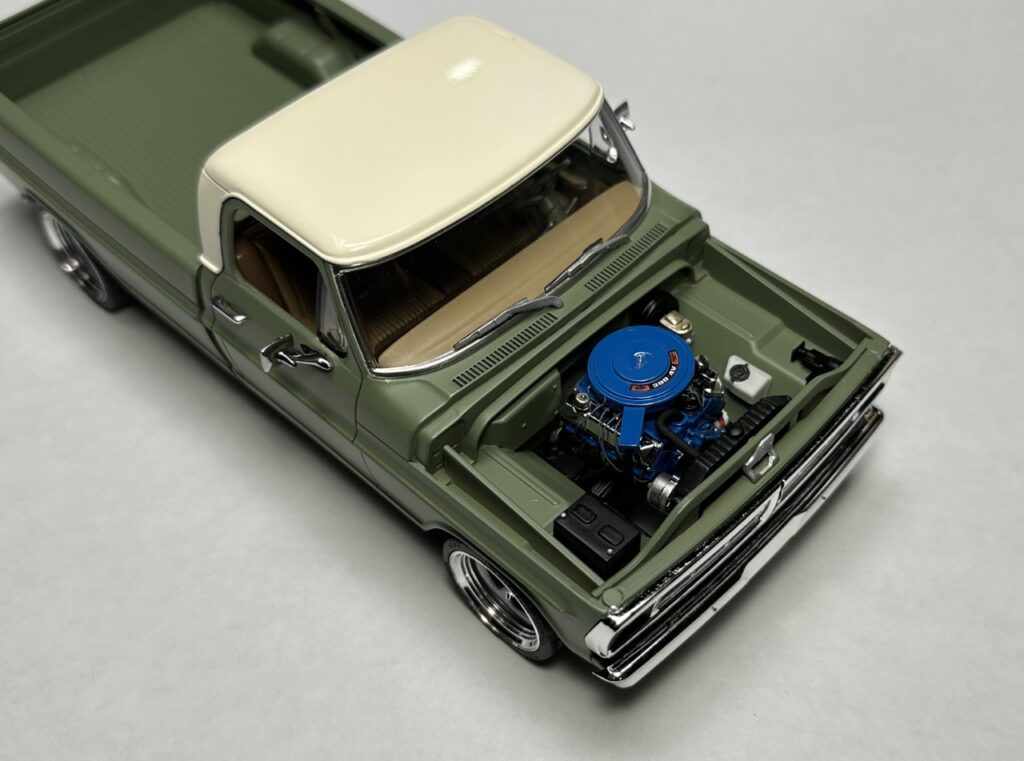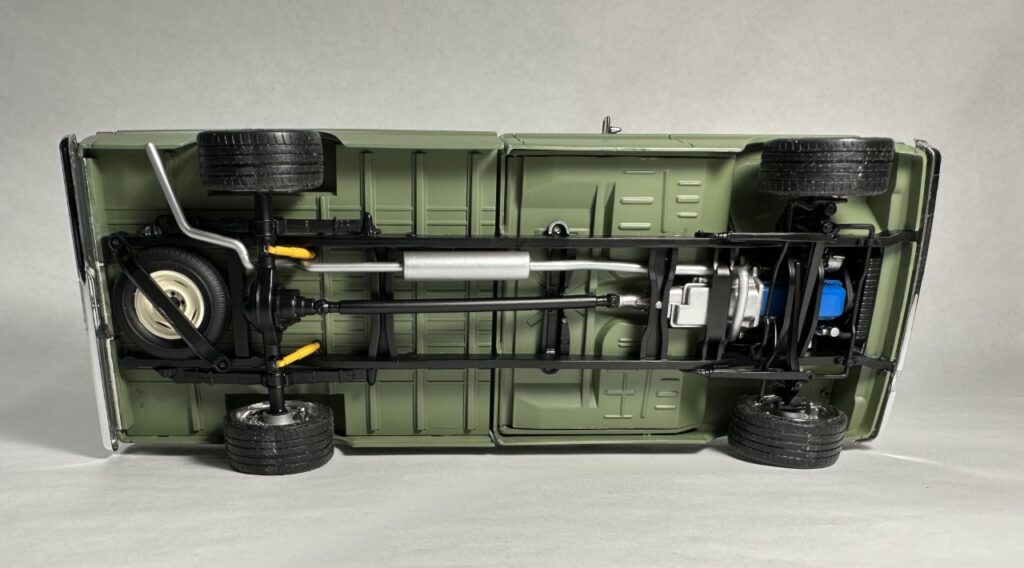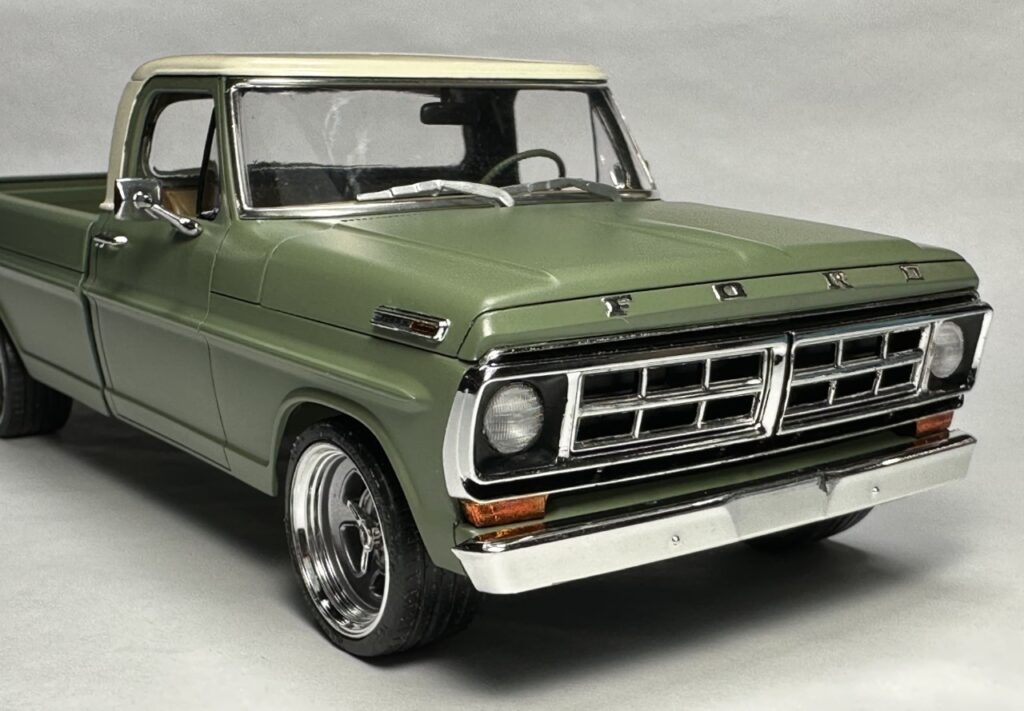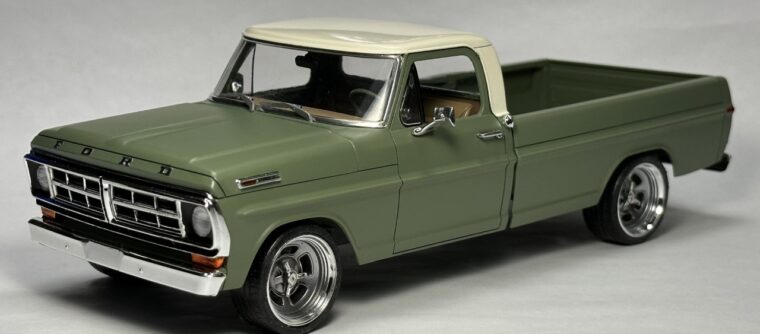
Typically, I don’t care to build trucks simply because there are far more pieces that comprise the finished model. How many model kits of cars have more than 2 and possibly even 1 piece for the entire body? The bed of this truck is built with 8 pieces! That aside, I really like this truck and it was the first Moebius kit I bought.
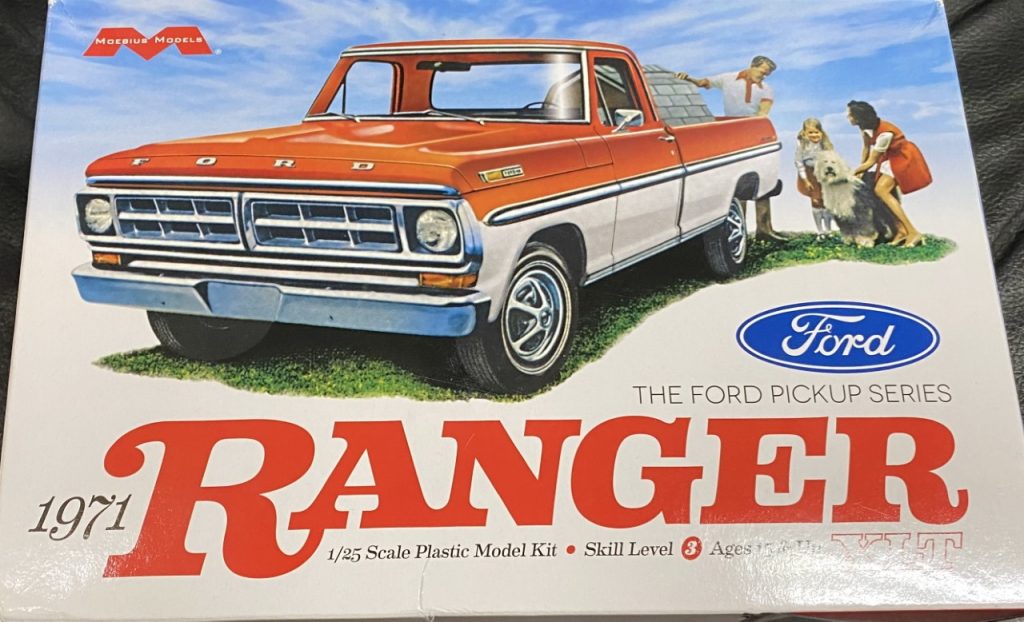
Body
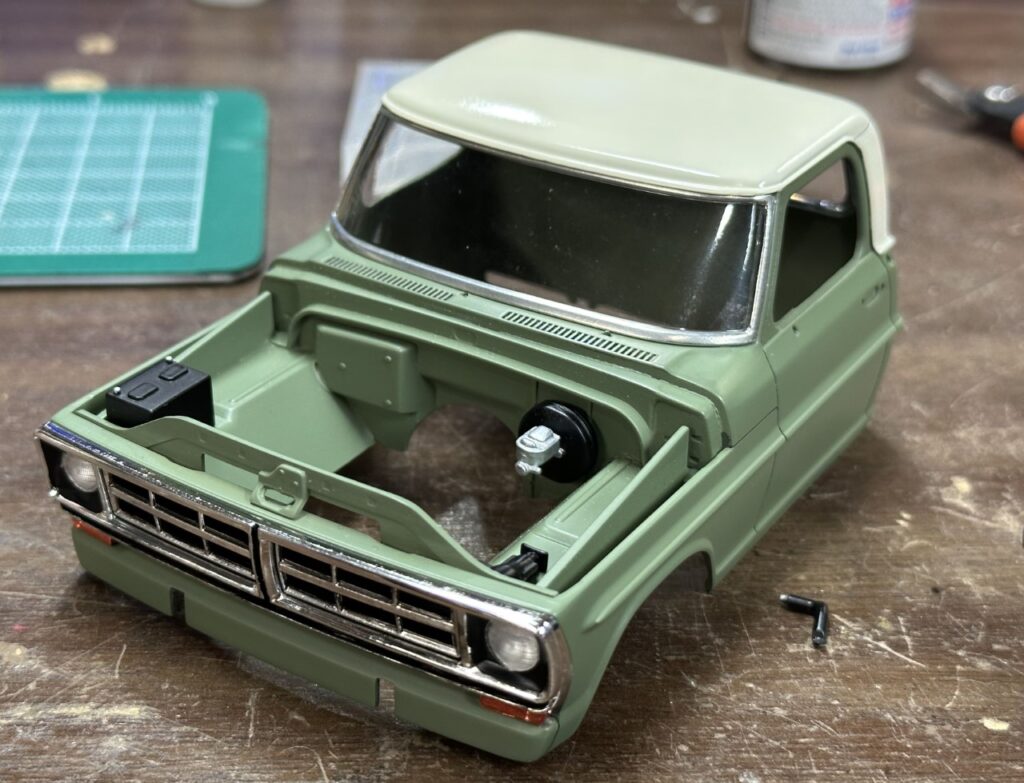
For the body, I chose to downgrade the trim level of the truck by shaving the lower trim piece. It cleans up the look along with leaving the side molding off. Overall, the body work was simple. There’s just so much of it!
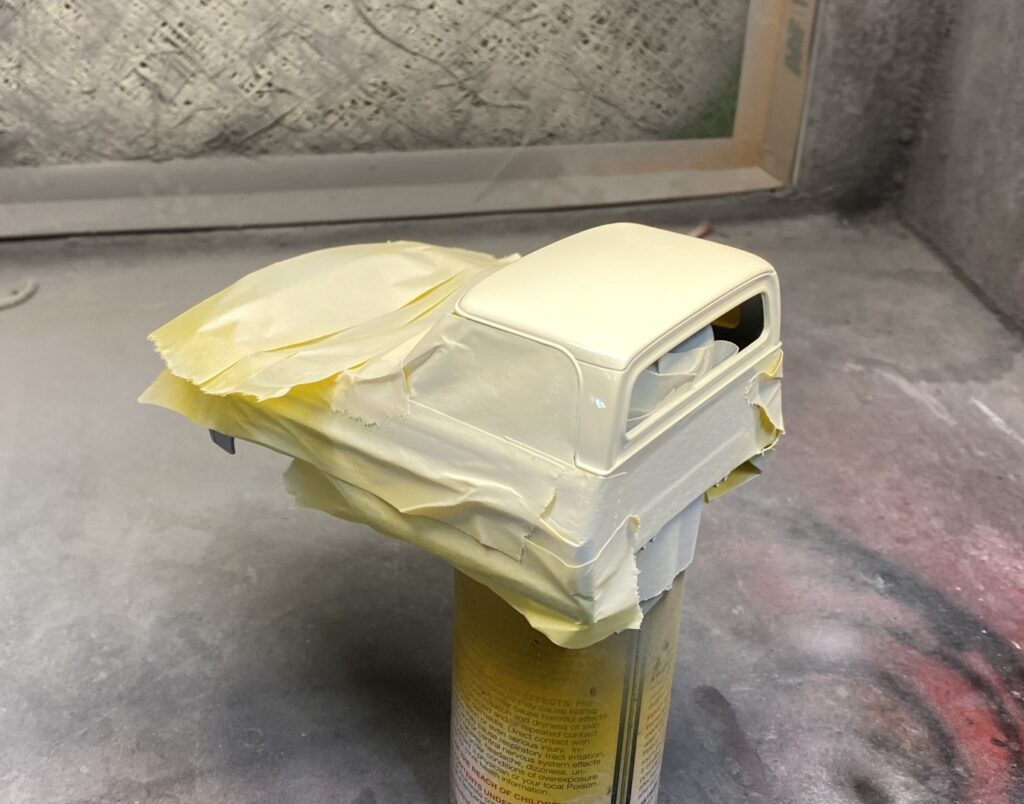
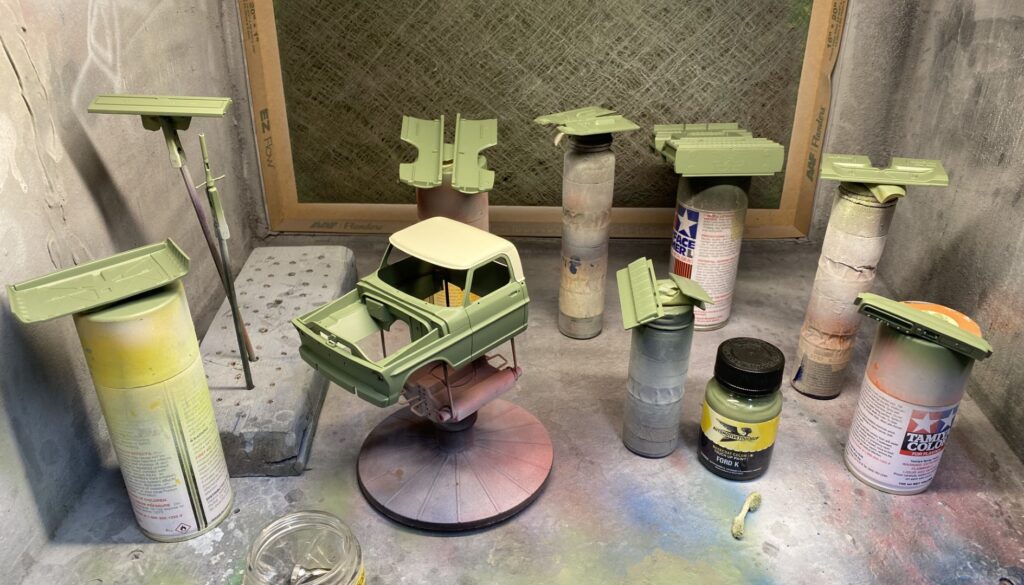
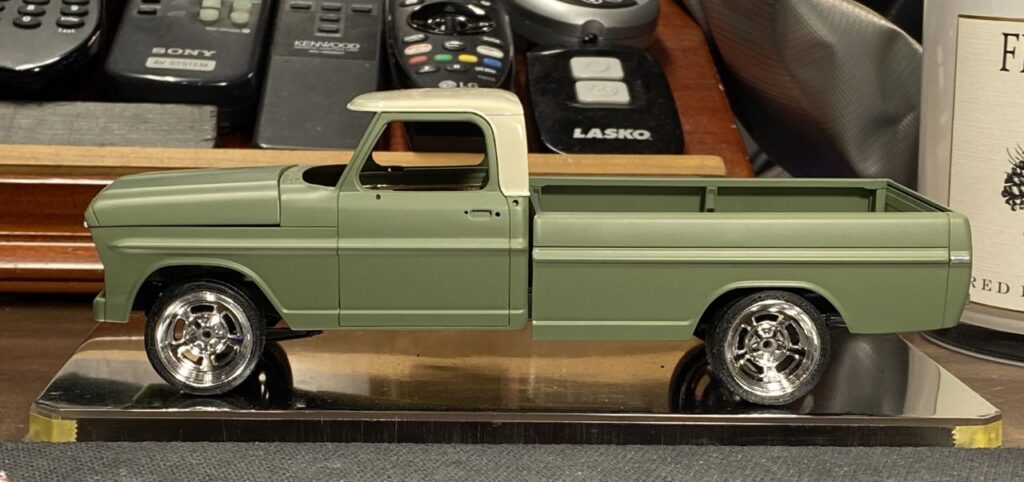
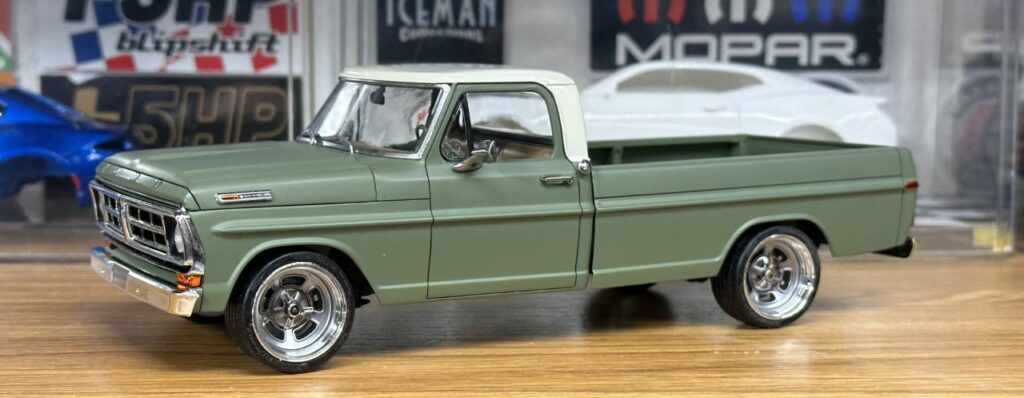
The manual, along with online references, point to several combinations of colors for this truck. Accidentally, I bought boxwood green thinking it was a completely different color (for a different project). Boxwood green is a color option for this truck. Happy accident! For my accent color, I used Tamiya Racing White for the roof.
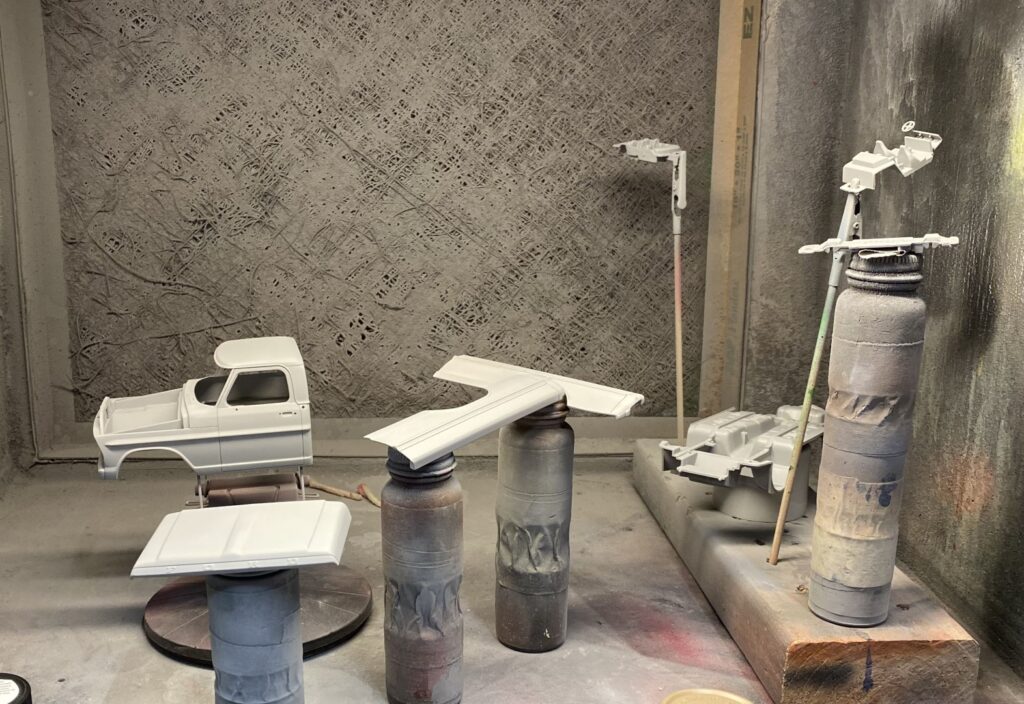
I will continue to point out the sheer number of parts that need body color. Also, most of the parts need that body color on both sides. This is why I don’t typically like to build trucks. Alas, I assembled what I could assemble, primed and painted each part. Both sides in most cases.
While painting both sides of each part is a chore, deciding what gets clearcoat and what doesn’t was giving me fits. My son pointed out that it looked good as a satin color. SOLD! I saved myself a lot of grief with that decision.
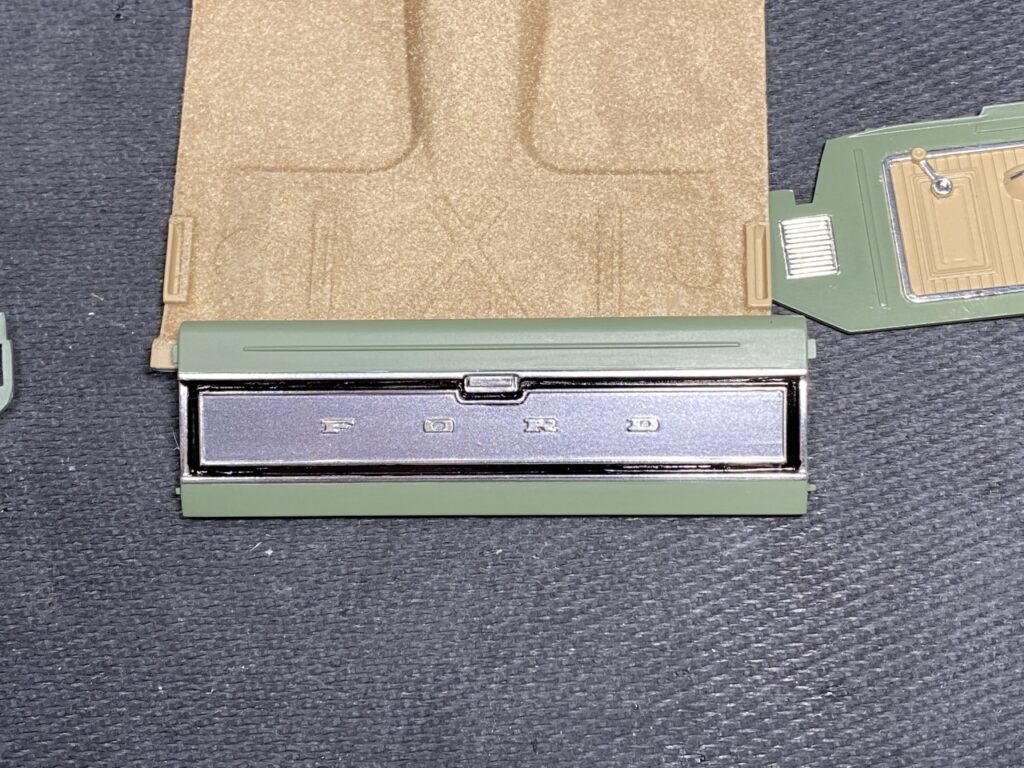
In order to bring the tail gate to life, I used a combination of light gunmetal grey, bare metal foil and satin black.
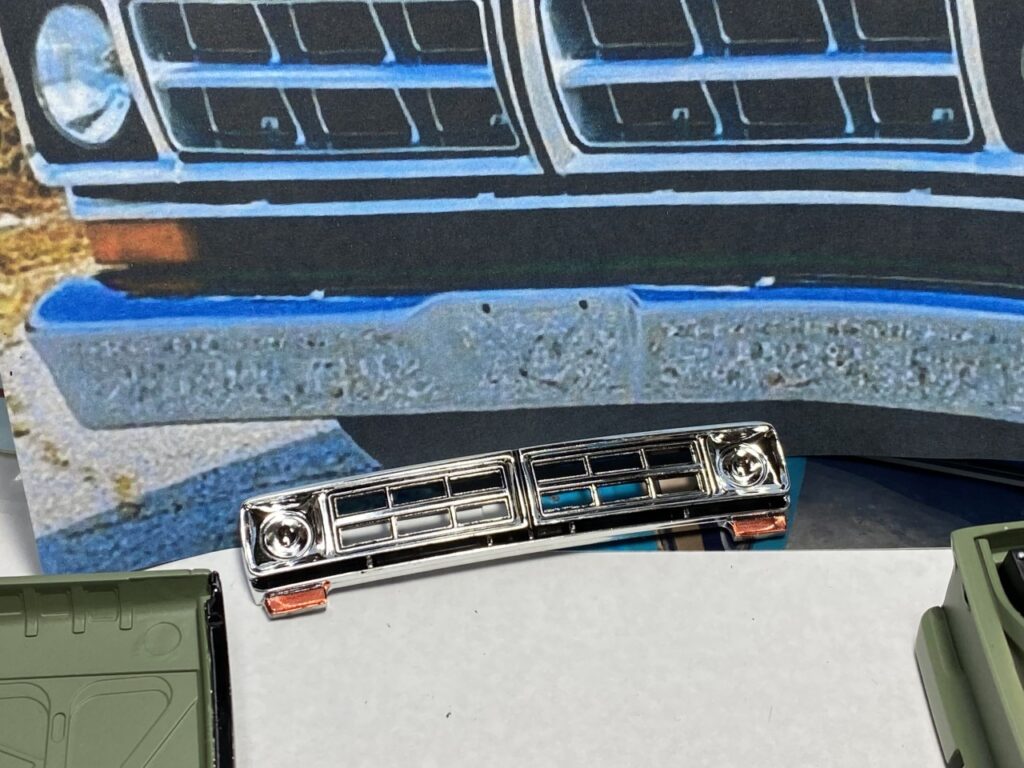
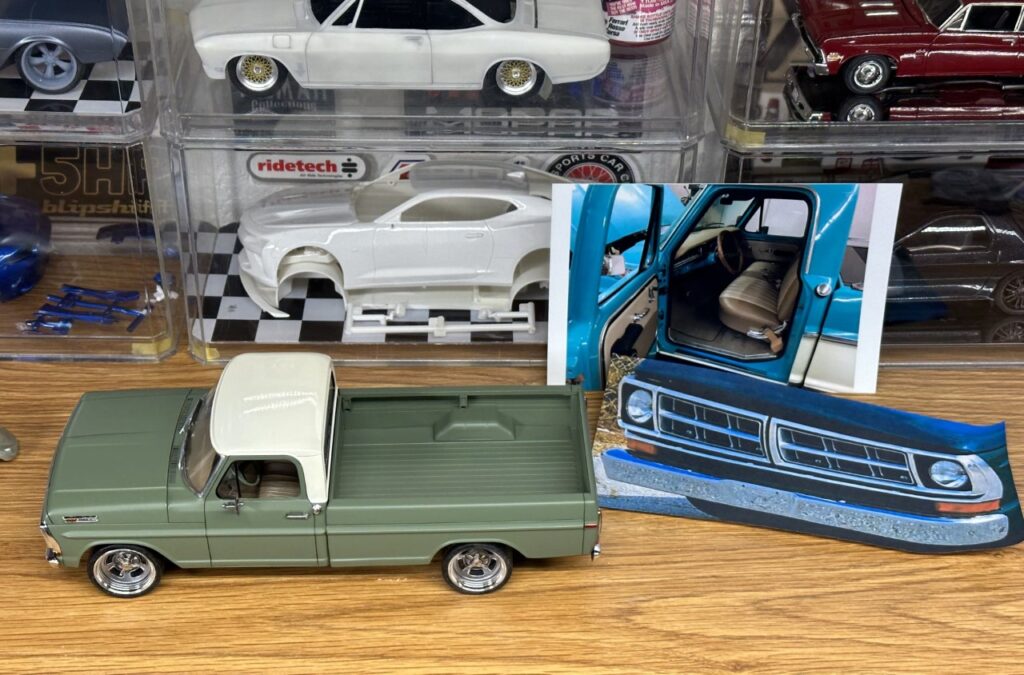
To me, the grill makes this truck. Getting the grill painted as accurately as possible is critical to capturing that look. For starters, using a reference photo I printed, I brush painted all of the grill inserts, grooves, gaps, etc.
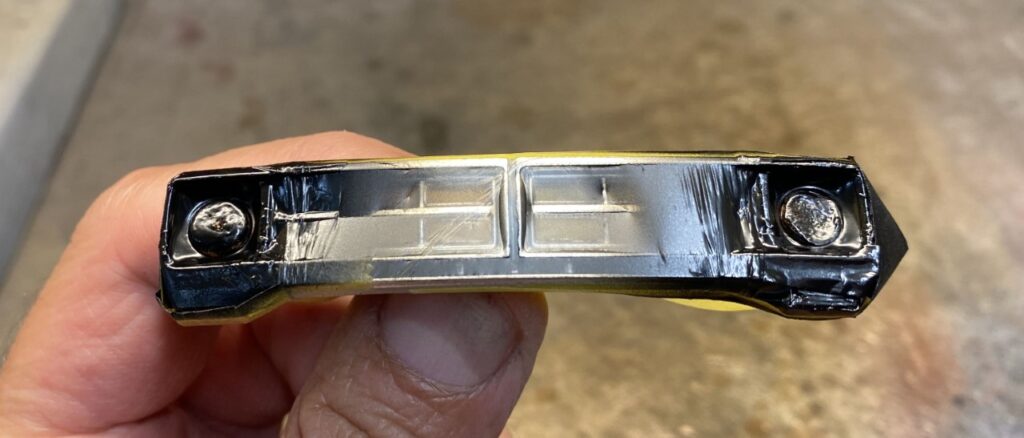
Lastly, and most importantly, the paint around the headlights themselves. I used parafilm and silly putty to mask and then sprayed them.
Having finished the grill, the rest of the detail work was finished quickly and assembly started.
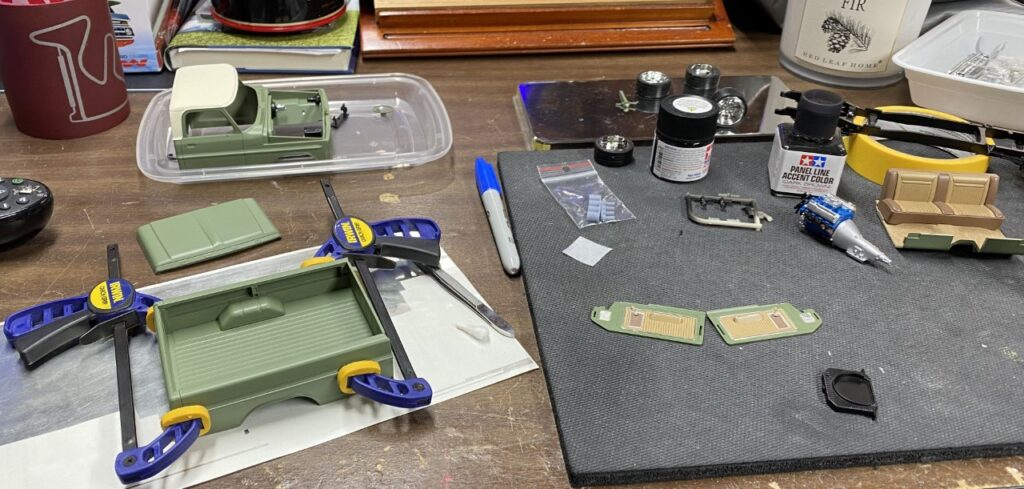
The bed, and all of its pieces were assembled.
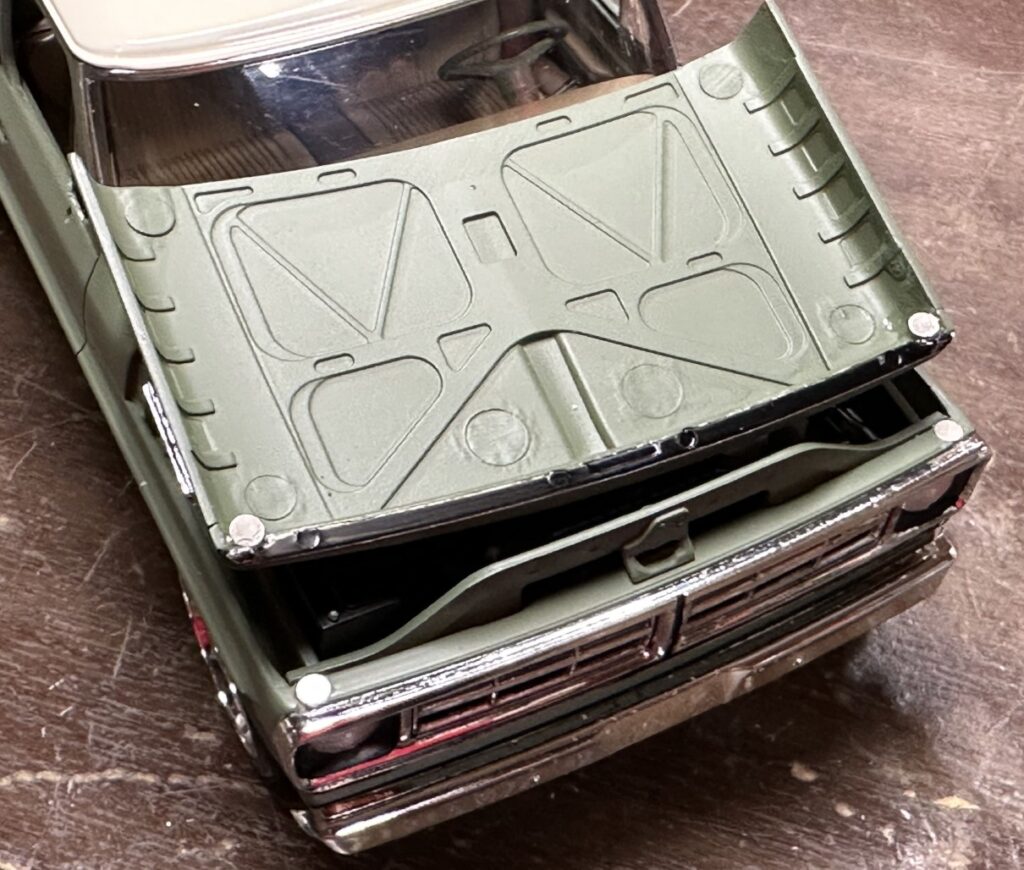
The hood has no locating pins, hinges, etc. It’s free to move around and because of that it would never sit properly and could fall off. To remedy that problem, I used magnets in the core support and the hood. Problem solved!
Chassis/Engine
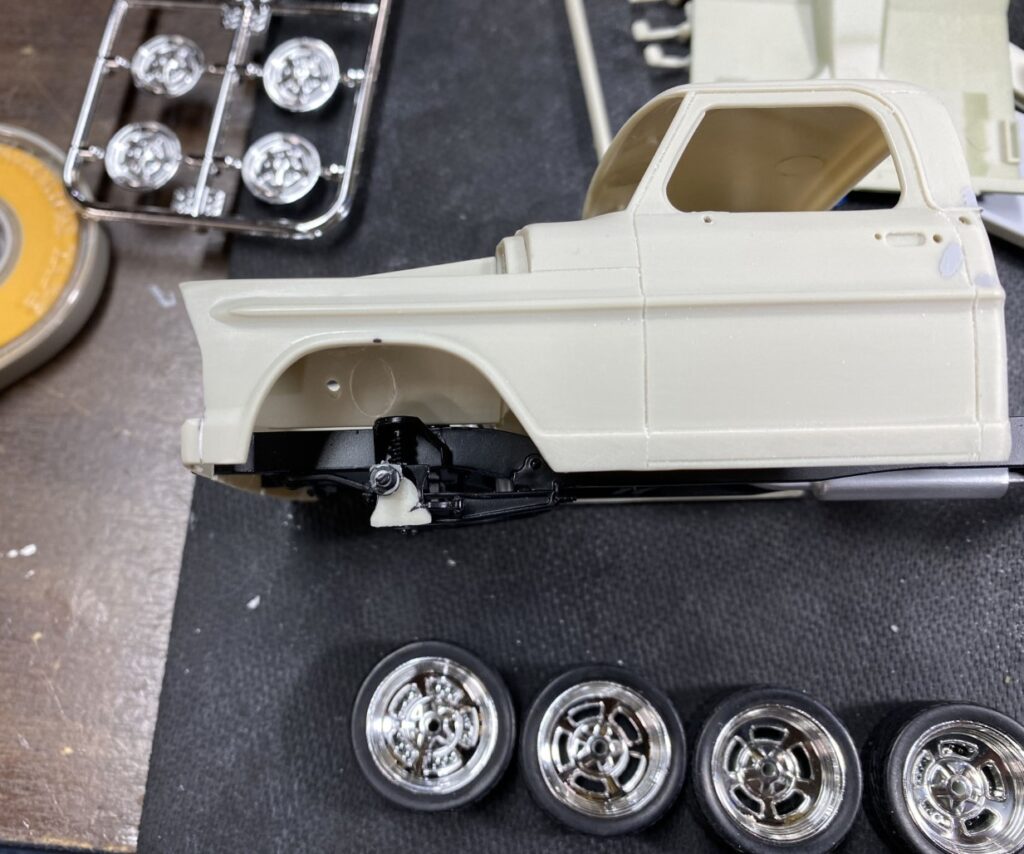
As good as a properly slammed truck looks, I didn’t want to go through the exercise of actually lowering it. I decided on a stock stance with steel wheels. More on that shortly.
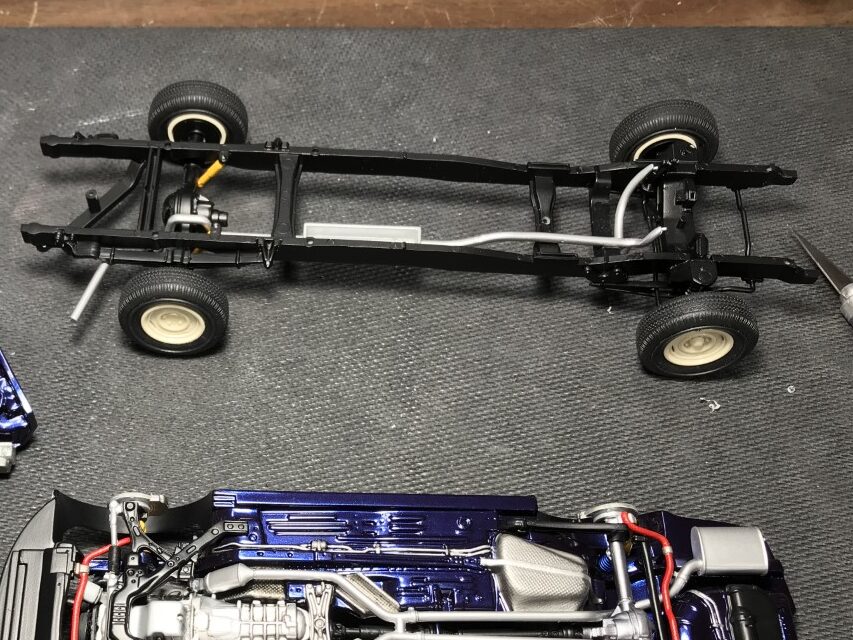
At some point during the build, I realized one of the wheel studs was offset and caused the wheel to sit back in the wheel well. Not good. The solution was to saw off the stud and relocate it. While I was at it, I cut off the other side and moved them up, lowering the front of the truck. Also, I ditched the stock wheels for a set of Pegasus wheels.
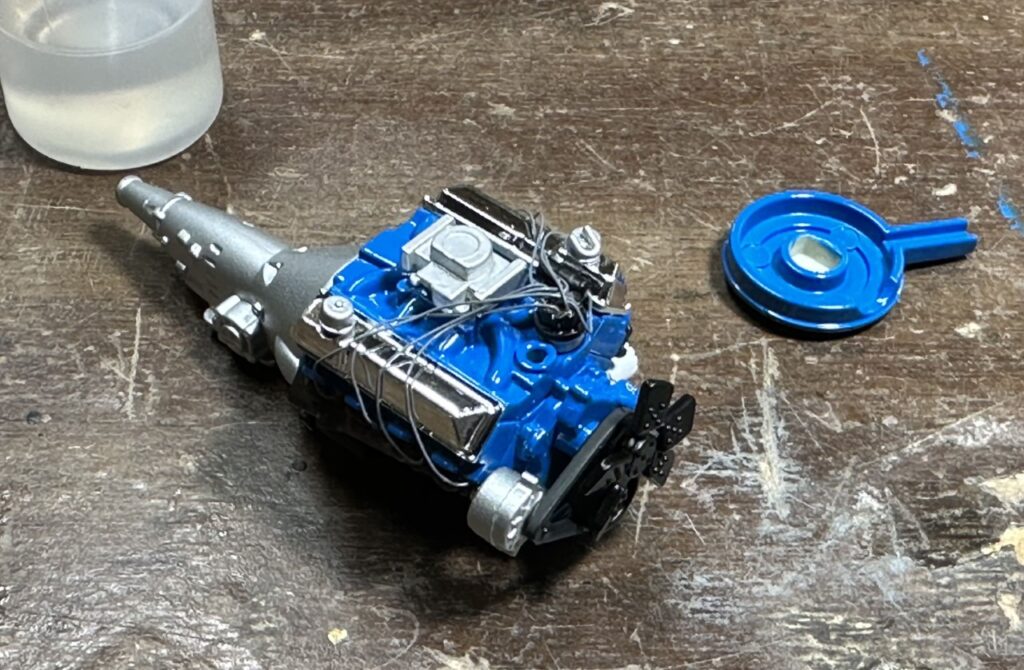
The engine was built stock with ford blue paint.
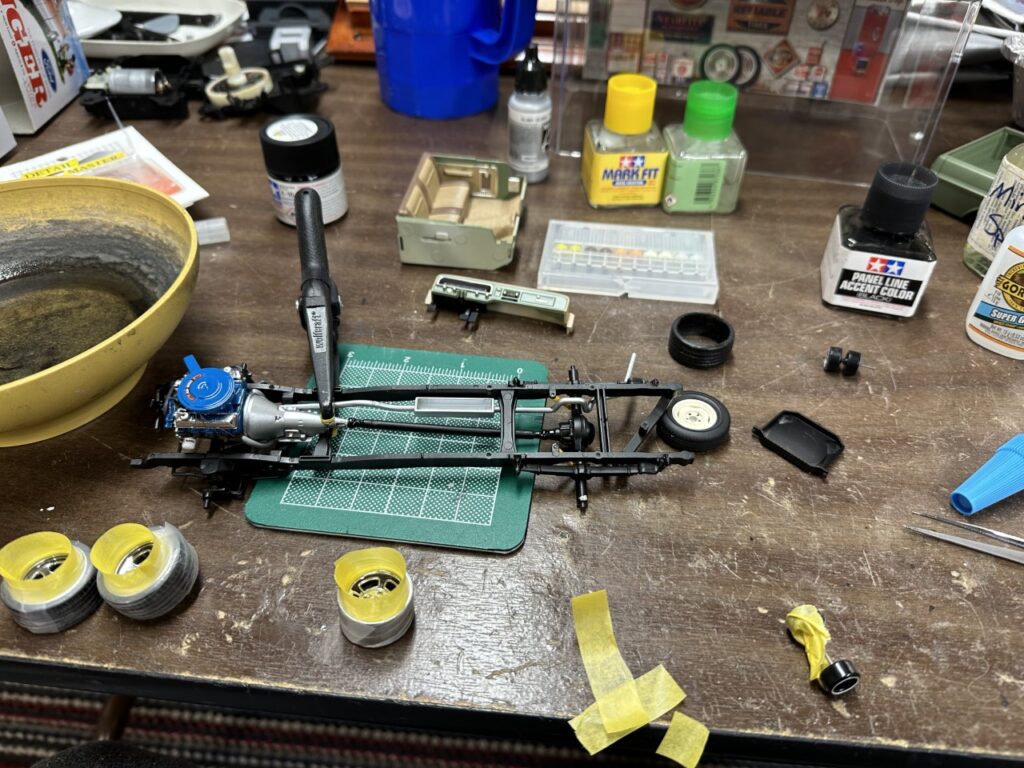
Assembling the frame was a strait forward process. No issues.
Interior
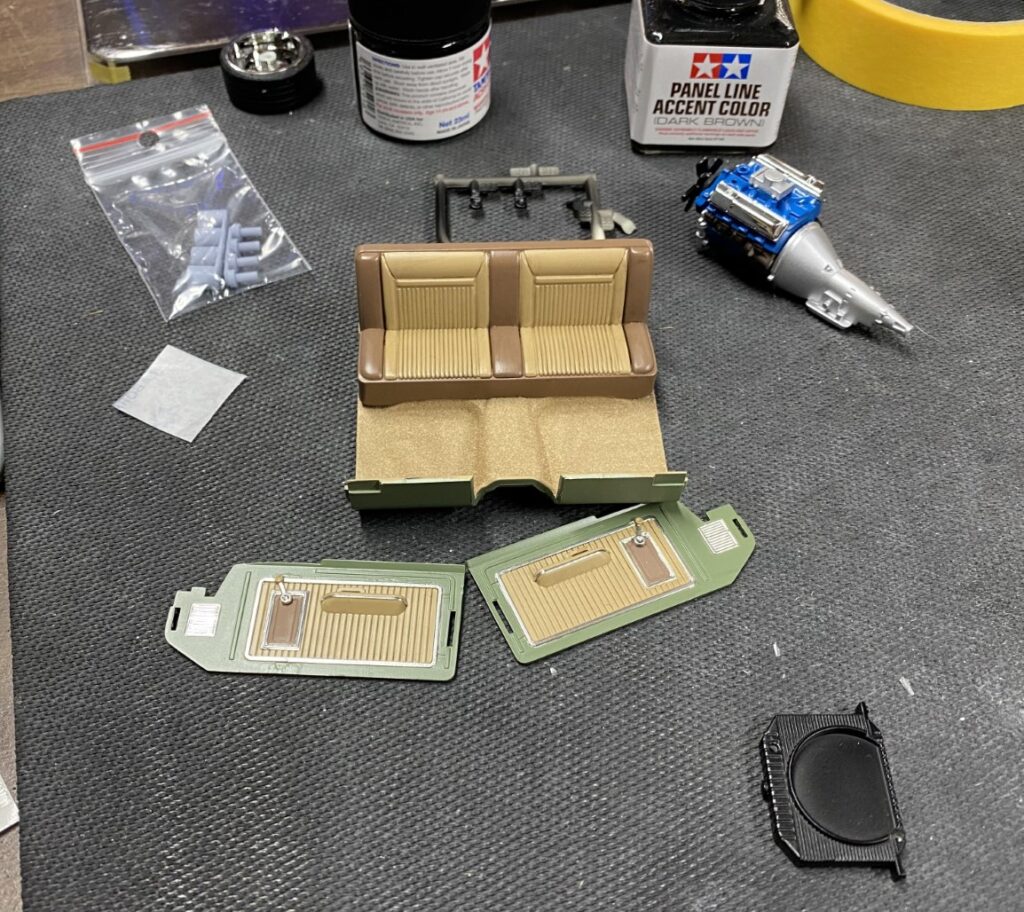
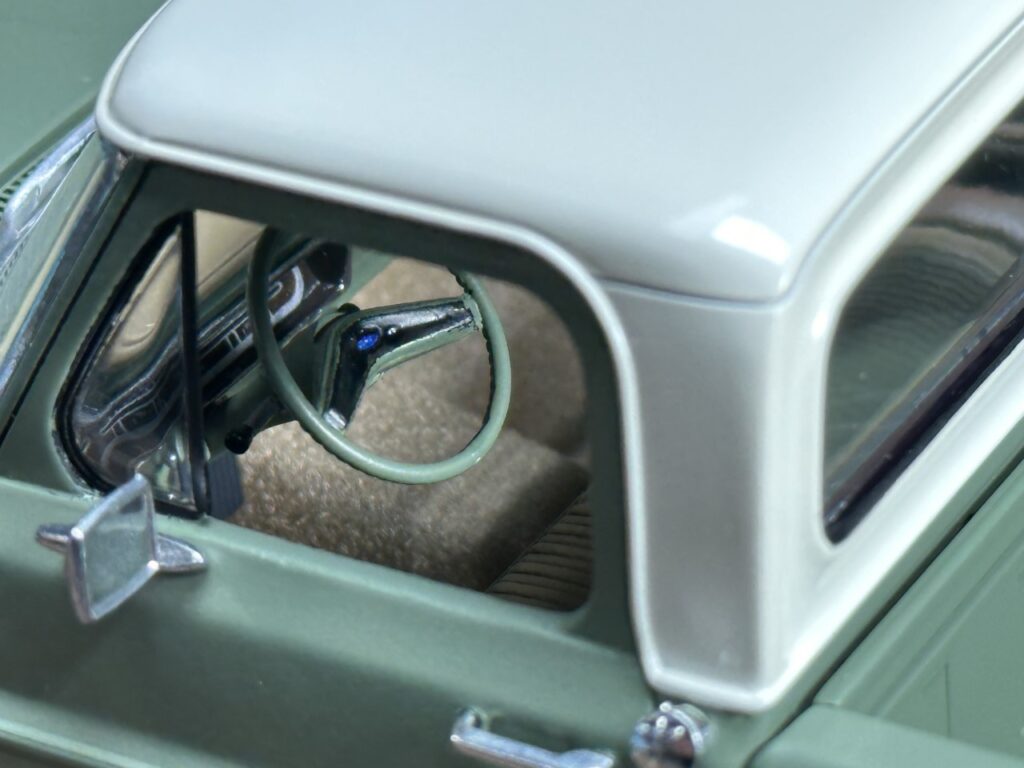
Hey look! More body colored pieces! For the rest of the interior, I found a tan/beige color pallet that I really liked. I flocked the floor to match.
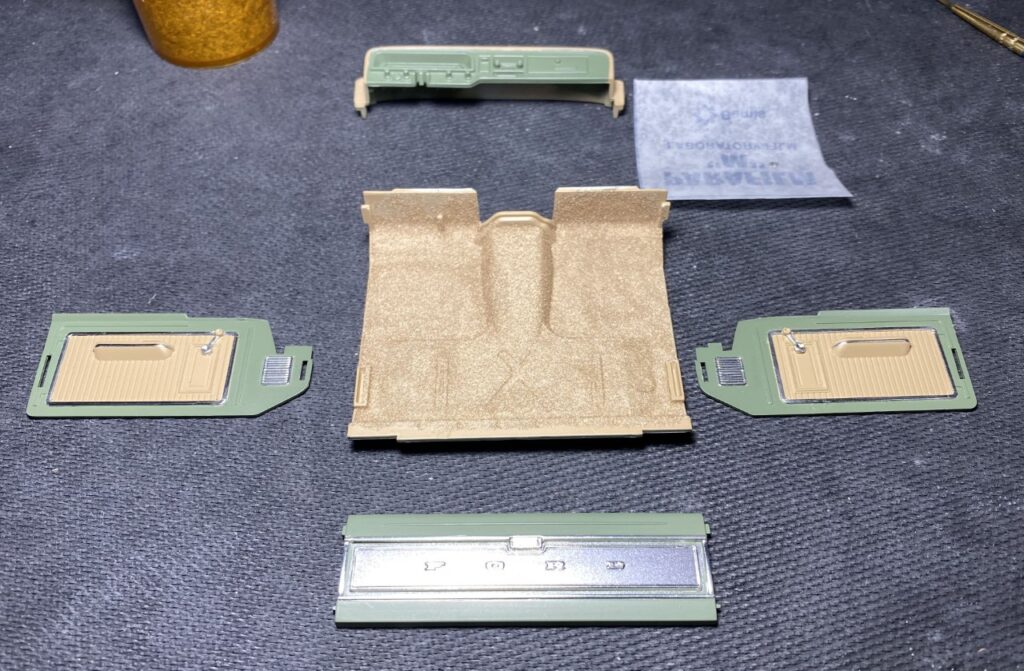
Once everything was painted, foiled and flocked, it was time to finish the interior assembly.
Wheels
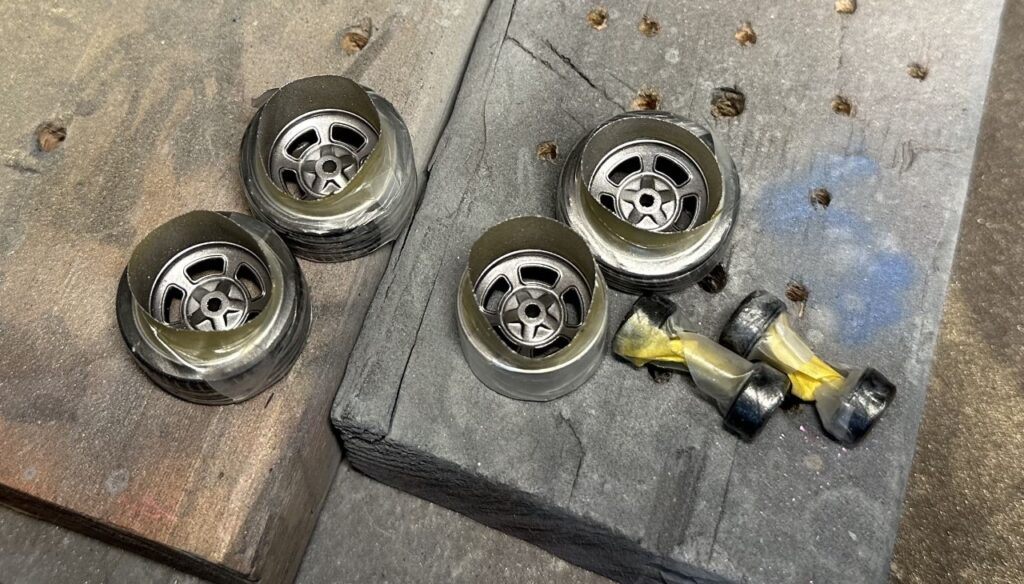
Even though I really liked the look of the stock steel wheels, the temptation of upgrading to aftermarket wheels was too much! I opted for a set of Pegasus wheels that I’ve had in my stash for years. The only problem I had as the tires were really tall. Also in my stash was a set of wheels and tires I bought from Ukraine that has a slimmer tire. It was a perfect fit for my project.
To give the wheels more depth, I painted the wheel face light gunmetal.
Assembly
This build did drag out much longer than I had hoped. Many false starts and then getting hung up on the level of work it takes to paint a truck properly are to blame. Alas, it was time to pull it all together.
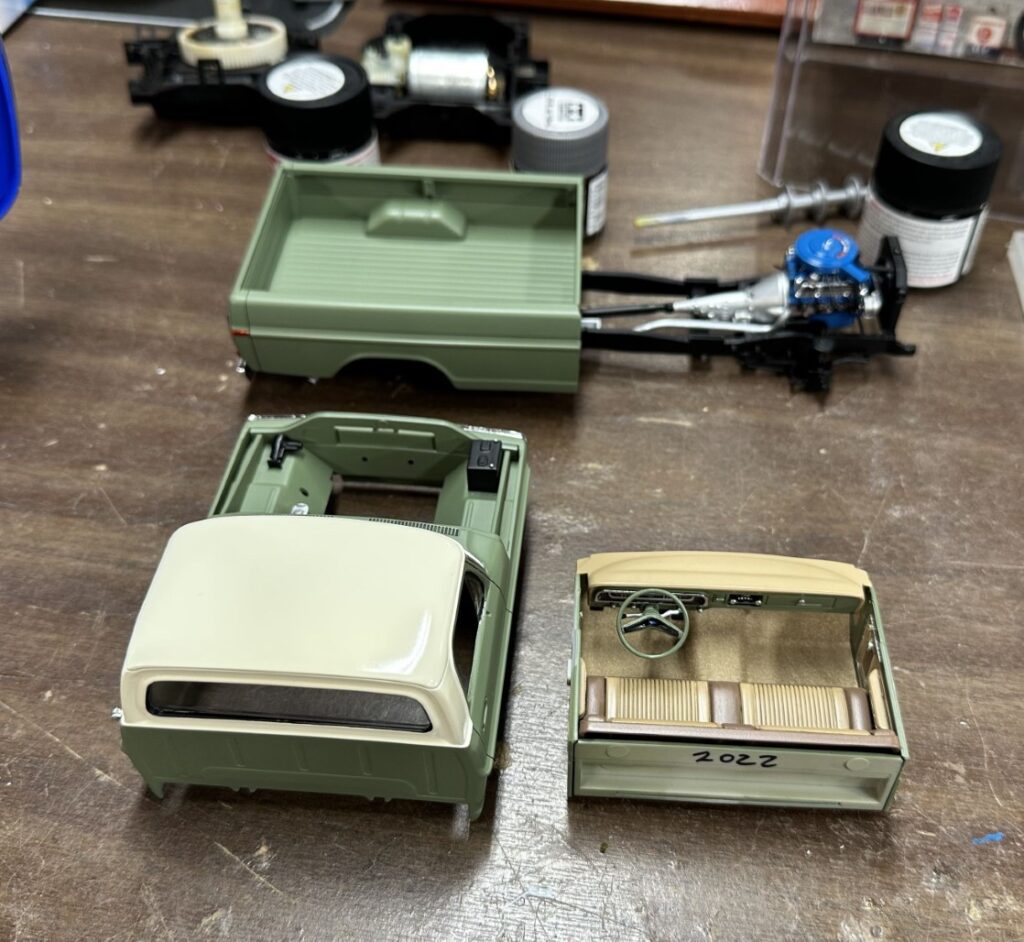
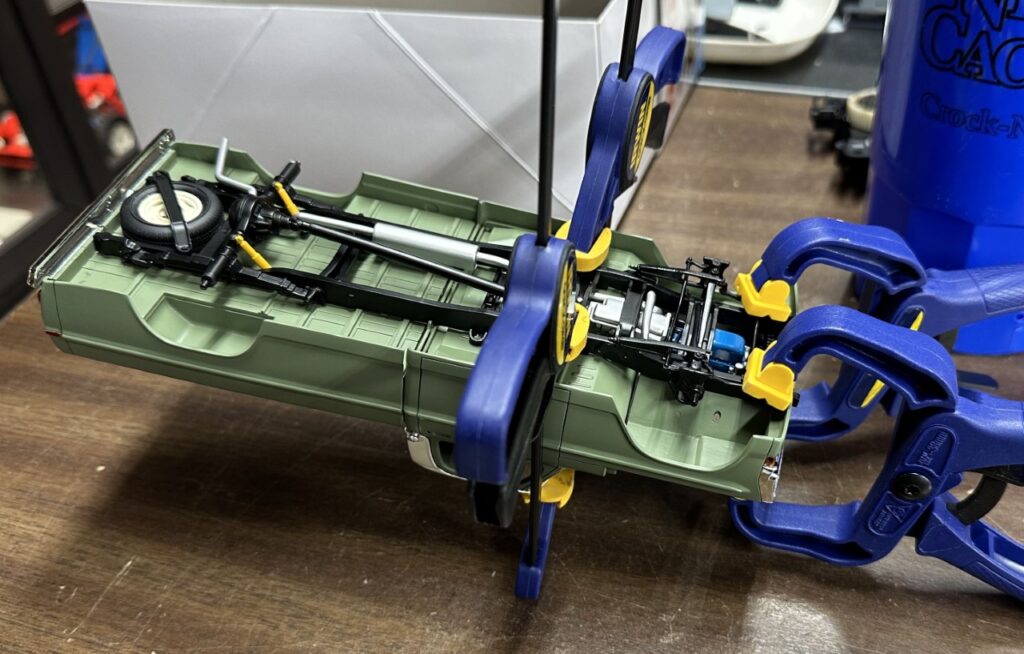
Getting the cab and bed glued solidly to the frame was crucial to ensure proper alignment of the lines of the truck.
There were only a few more pieces to attach after gluing the wheels in place.
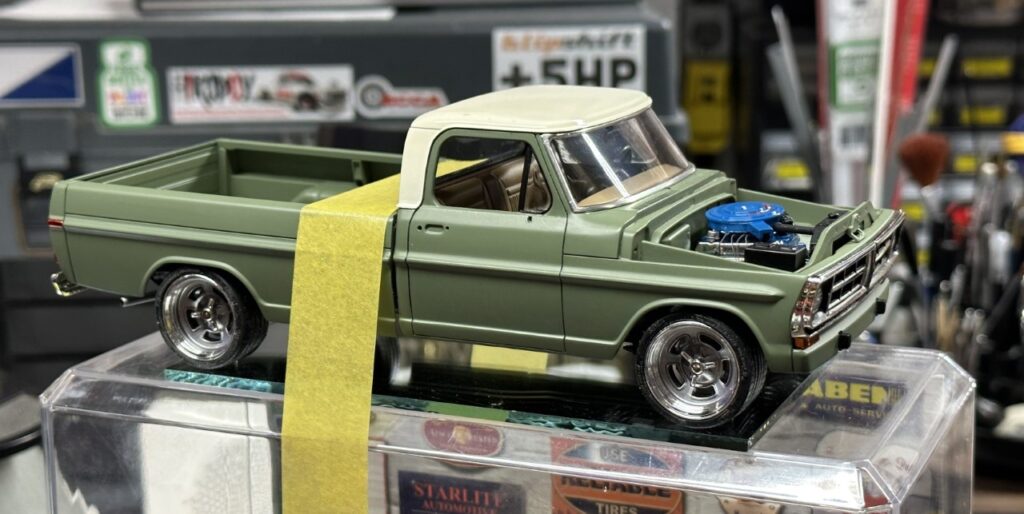
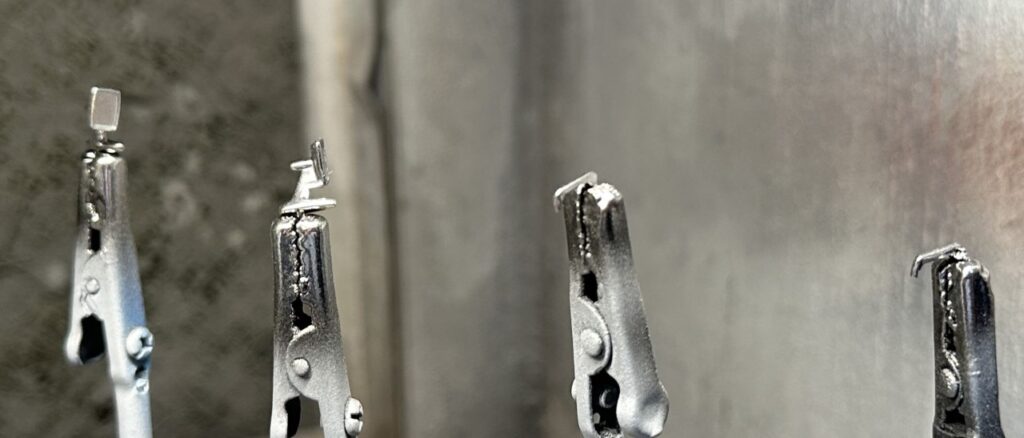
As much as I had hoped to avoid it, the rear view mirrors and door handles needed to be dechromed and cleaned up. Once that was done, gloss black enamel and Spaz Stix chrome brought back the shine.
Done!
As mentioned above, the hood didn’t want to sit still. Using magnets in the hood and core support, I was able to lock the hood in place.
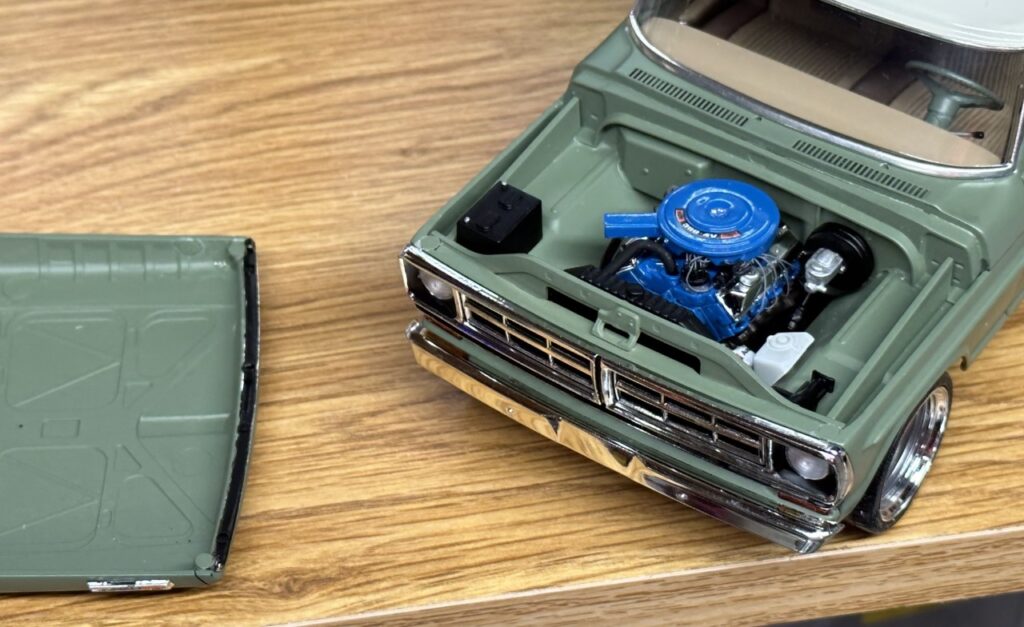
Originally, I had not intended on using the badges for the hood. I even filled the holes. In the end, I thought it would finish off the look and I was right.
The interior colors complement the main color well.
Earlier in the build, in-between several stalls, I had printed reference pictures to remind me of my visions for this build.
I’m really happy with the end results. The satin paint and upgraded wheels give it a great restomod look. Overall, the kit did go together well with the only real issue being the offset in the front wheel stud.
