
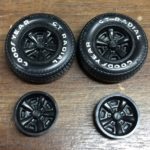
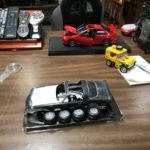
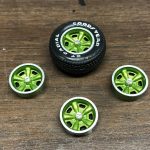
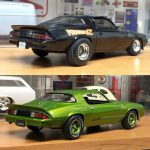
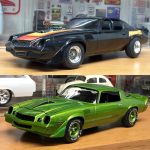
I originally built this kit some time in the early 90’s. There was a little paint work done with paint markers but otherwise, it was plain. I remember having to repair broken wheels and other miscellaneous issues over the years. I had been eyeballing this kit for a rework for a number of years and decided to pull the trigger. I had the original wheels which I had used on my ’53 Chevy which was getting a rework at the same time.
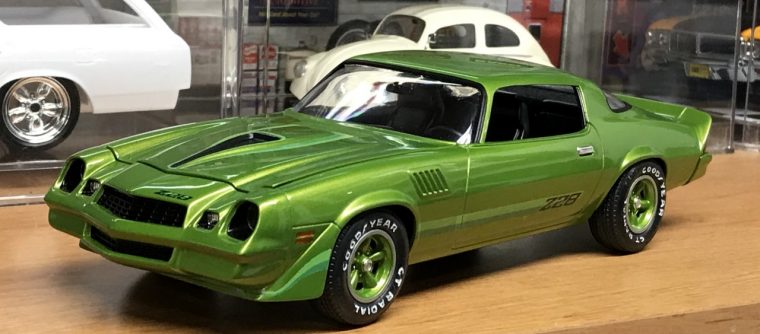
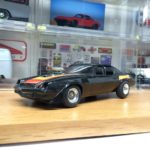
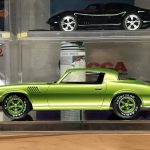
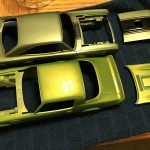
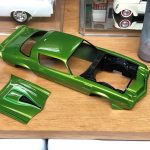
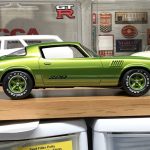
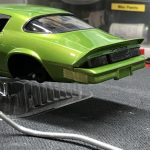
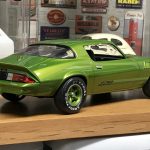
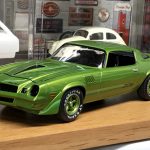
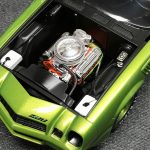
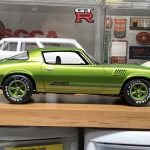
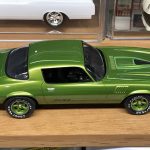
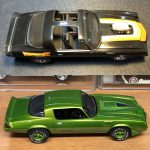
I really wanted to dial back the big engine look and managed to find a stock hood on eBay. I also decided to go with a light metallic green paint scheme. One other change, since the late 70’s were not kind to muscle cars, would be the use of the 1965 427 big block that was also being pulled from my ’53 Chevy.
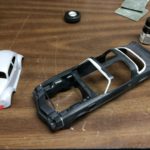
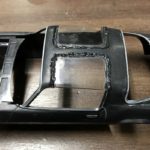
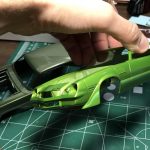
Back when I originally built this kit, I never noticed how bad the mold lines really were. They passed through the window trim! Prepping the body was definitely a challenge!
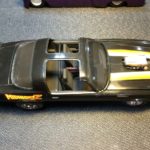
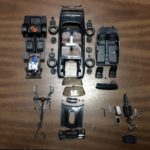
I decided to buy a full kit in order to have replacement axles and glass. The axles were damaged and I didn’t want to to have to rebuild them. I also wanted clear glass, rather than the smoked glass that originally came with the kit. Along with the clear glass, I wanted the T-top glass. I found a built version of this kit where the builder had used the T-top glass to make a solid roof. I wanted to do the same!
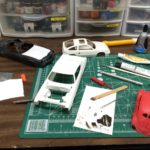
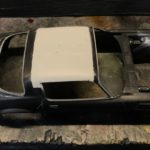
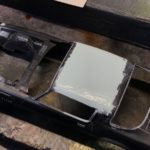
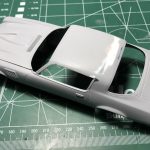
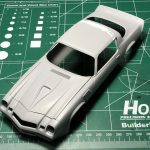
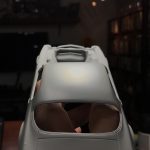
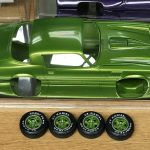
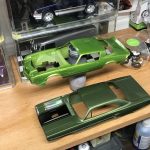
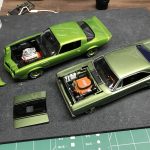
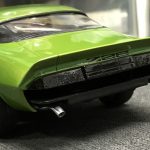
Once I received the new donor kit, I quickly glued the t-tops in place and started the process of filling and sanding to make the t-top disappear. Considering the fact that the roof is one continuous bubble shape, I was really impressed by how well the roof looks. When I applied the body filler, I pulled a note card over the wet filler to try and start the shaping process. I managed to accomplish the work after one application of filler!
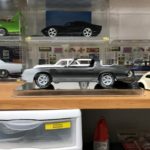
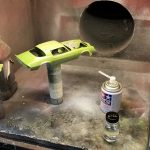
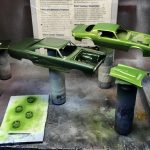
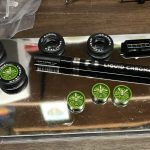
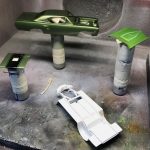
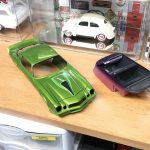
With the body work complete, I covered the entire body in primer, made minor corrections to the roof as well as the rest of the body and then sprayed the final layer of primer. I used Testors lime green pearl thinned with lacquer thinner. I sprayed two light dust coats, about 15 minutes apart, then sprayed two wet coats about 3 hours apart. The finish was very smooth and the color consistent!
I applied Keith Marks decals in complimentary colors and cleared the body with decanted Testors lacquer clear-coat.
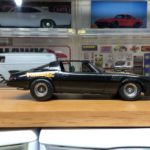
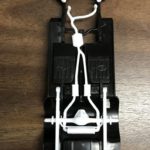
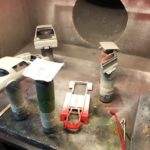
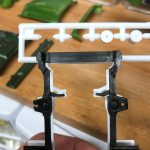
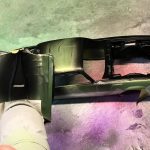
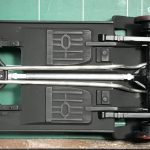
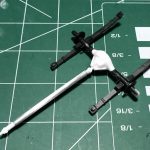
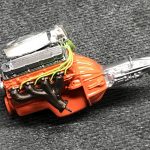
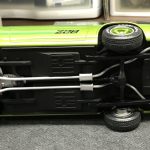
Once the body was sanded and polished, I worked on completing the rest of the kit. I sprayed the window trim, engine bay and head light pockets. Since I was adding a pre-emissions big block engine, the original emissions single exhaust had to be replaced! I used plumbers solder to create a new exhaust. I used aluminum tubing to finish the tips. I had to cut and reposition the engine mounts as well as extend the driveshaft which I accomplished with an aluminum tube. Once all of the parts were built, I painted them and glued them in place.
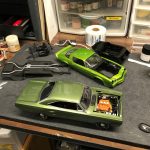
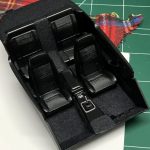
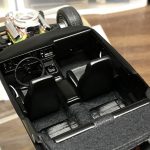
The interior was completed after smoothing out seams and lines. I added flocking to simulate carpet and used my Molotow chrome pen to pick out dashboard details.
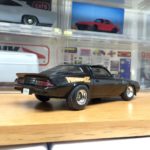
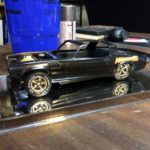
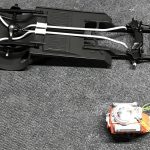
Once the interior was complete, I pulled everything together and glued the body to the chassis. I finished painting the tail lights and glued them in place along with the bumper.
I’m really glad I reworked this kit. Realistically, it would have been easier for me to use the new kit I used for parts to start from scratch. There were several repairs that had to be made to the original kit on top of the fact that the body was twisted. However, if I had done that, it wouldn’t be a reworked project! In the end, I successfully created a solid roof and swapped in a big block Chevy in an otherwise OEM looking build.
Originally Completed: August, 1993
Rework Completed: October, 2017


1 thought on “1979 Z28 Camaro – Revell”
Comments are closed.