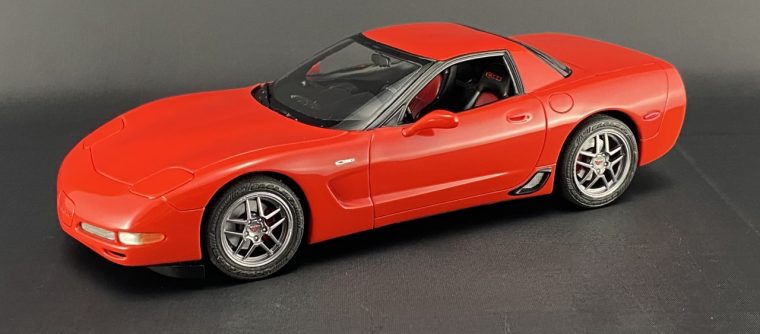
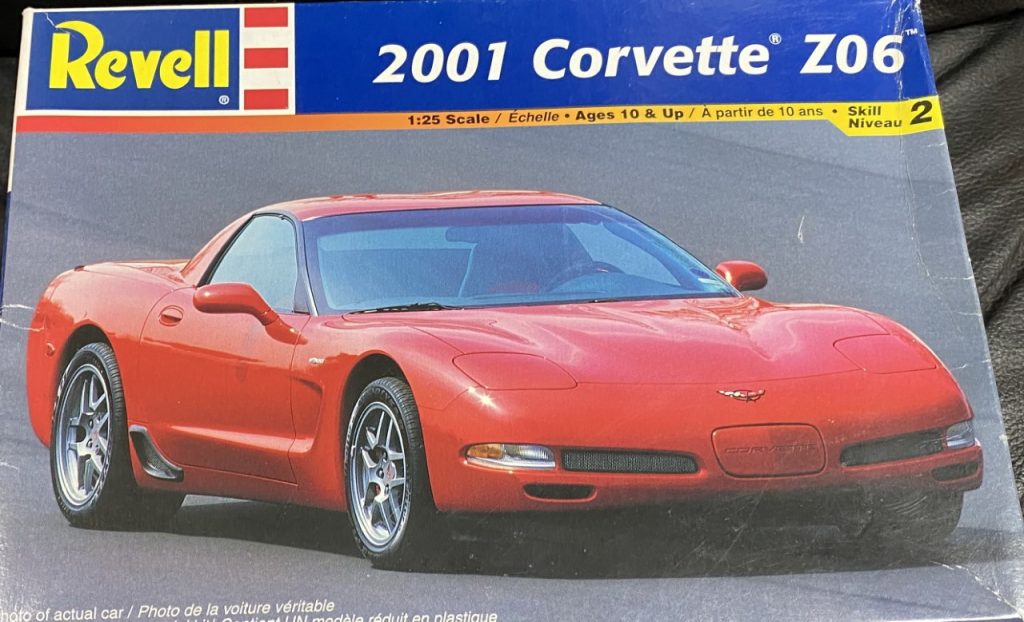
Another one?
Yes, I just finished an identical kit last year. The 2004 Championship Edition Z06. It was a challenging build that I really didn’t want to revisit. Alas, I had one more that I had already started and decided I needed to hammer it out while the first one was fresh in my mind. The work necessary to make it look good that is! I had hoped this would be my first build of the year but ran into paint issues.
The Build
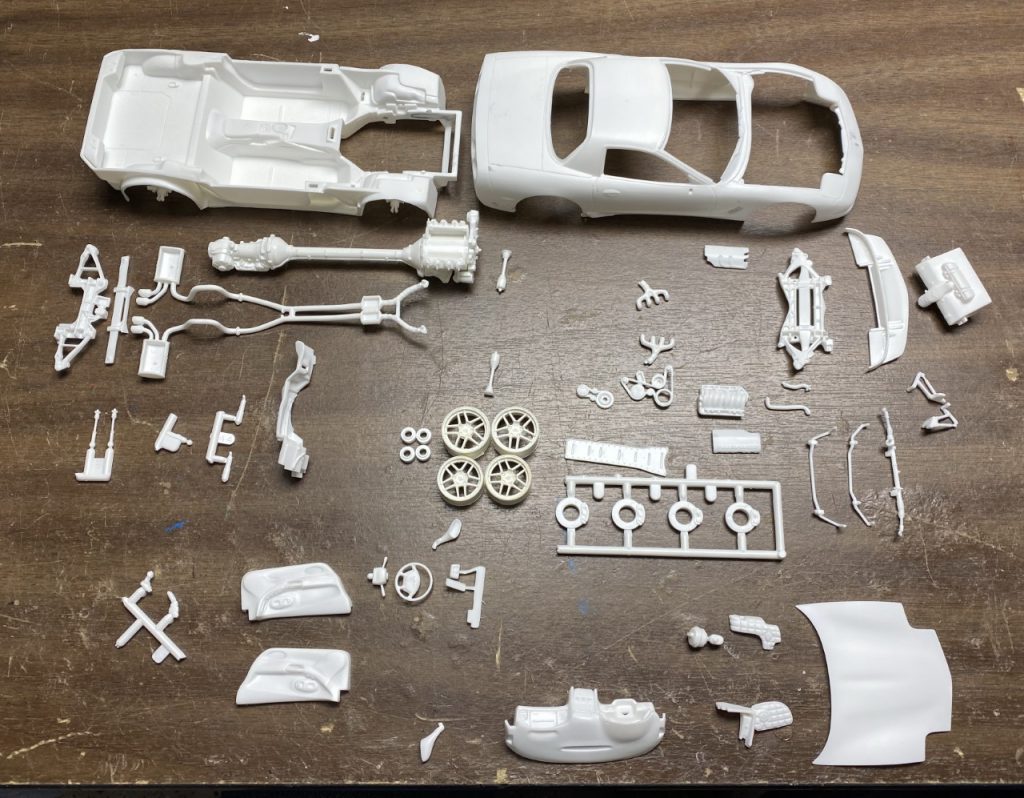
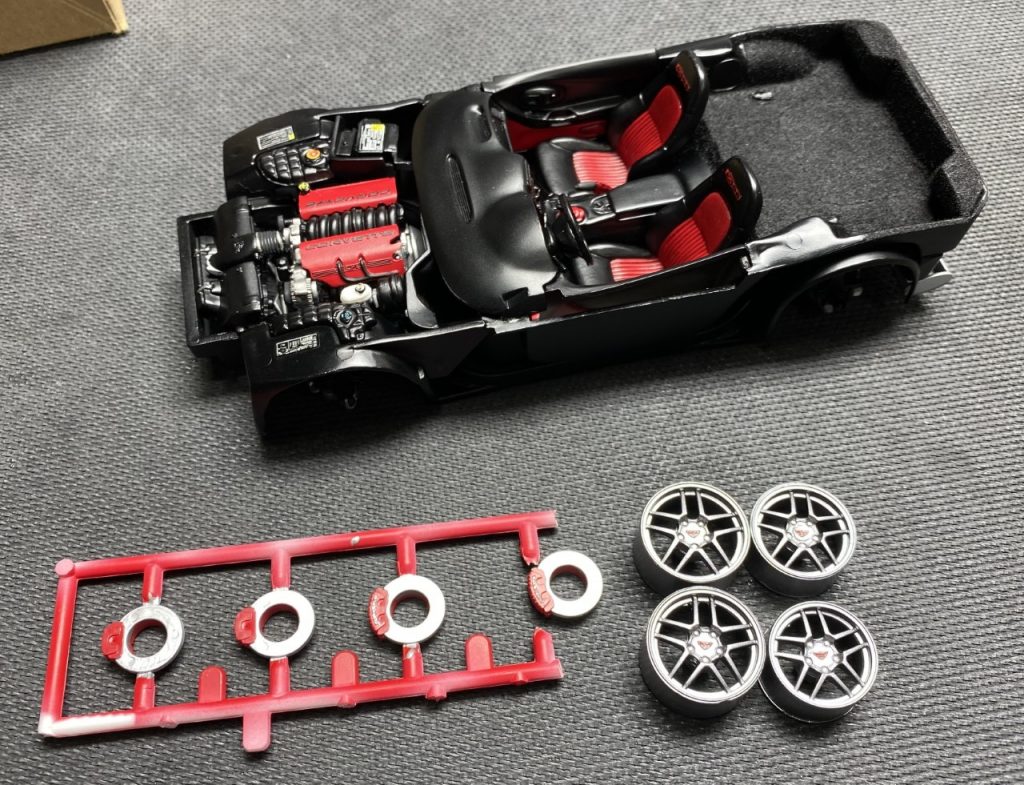
The kit has many sub-assemblies that can be glued prior to point. As I mentioned in the last build write-up, The chassis and interior tub really need to be glued together in order to properly align the rear wheel tubs and various other parts. After finishing that, along with the engine/transmission parts, I was ready to start painting. For the build, I used Tamiya Pure Red and Gravity Colors 2-part clear-coat.
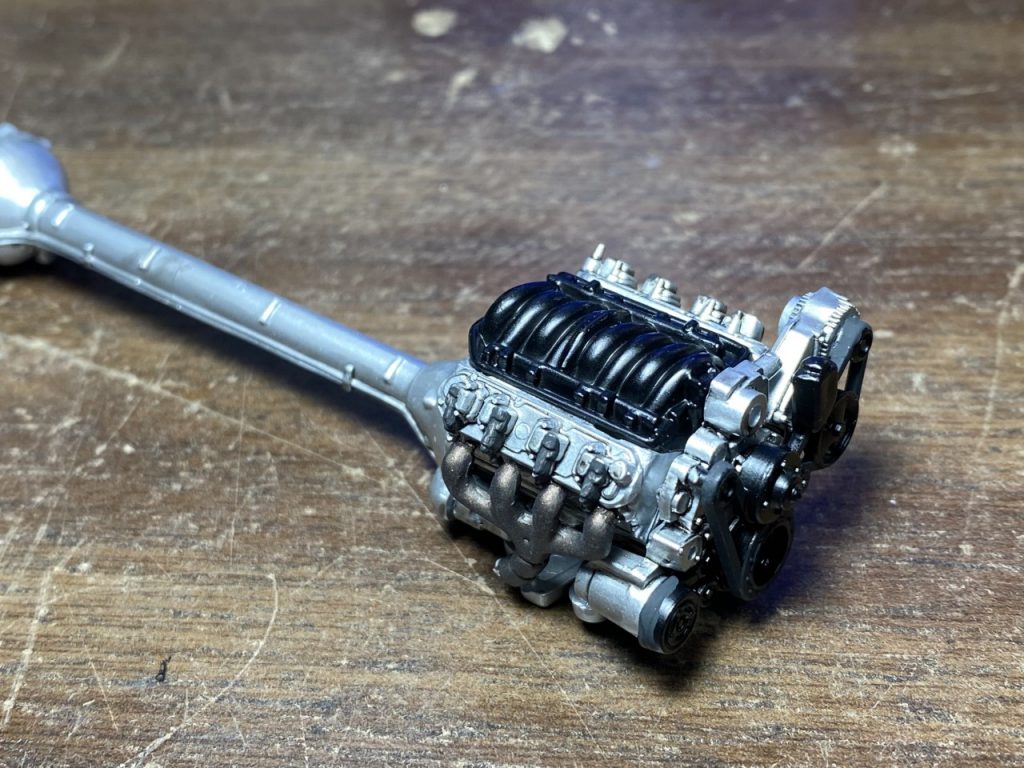
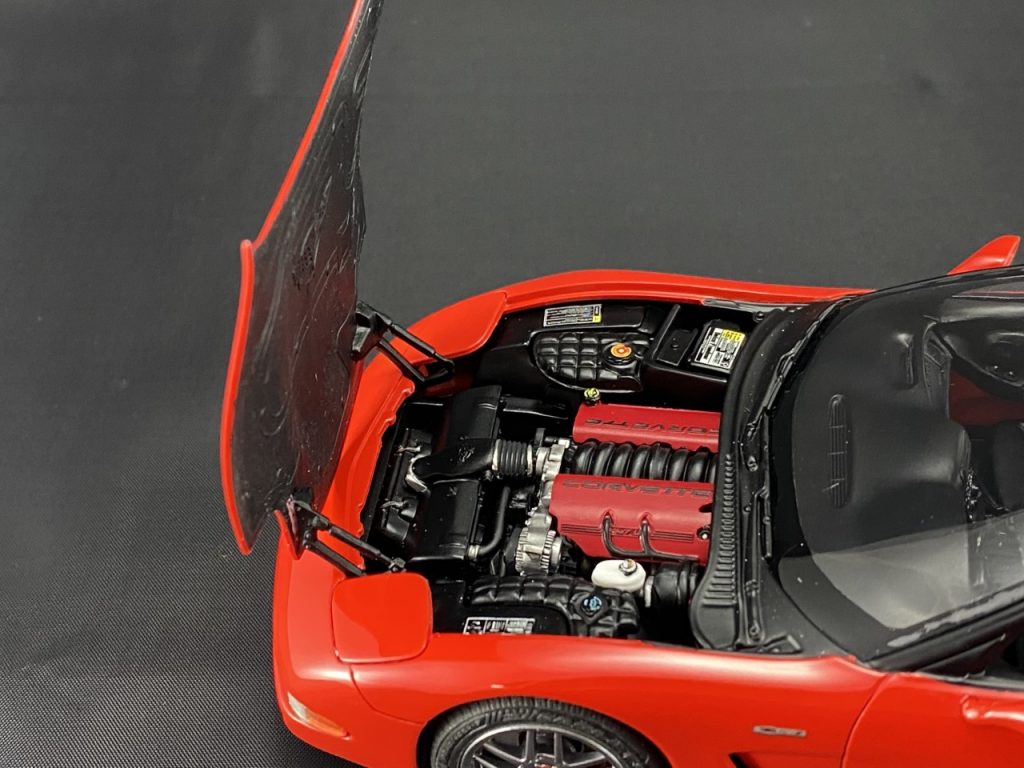
The engine and transmission were painted, then weathered with Tamiya panel line accent paint. Once complete, I attached the rest of the engine pieces and added more detail with a brush.
The chassis and interior tub were painted as one piece. If you are considering this build, I highly recommend assembling these major components ahead of time. It is comprised of several small parts which all need paint. Once the paint dried, I added flocking material.
Just as I did in the last build, I painted the seats, lower dash and door cards red then masked and sprayed them satin black. After waiting for paint to dry, I added smaller details with a brush and finished assembly.
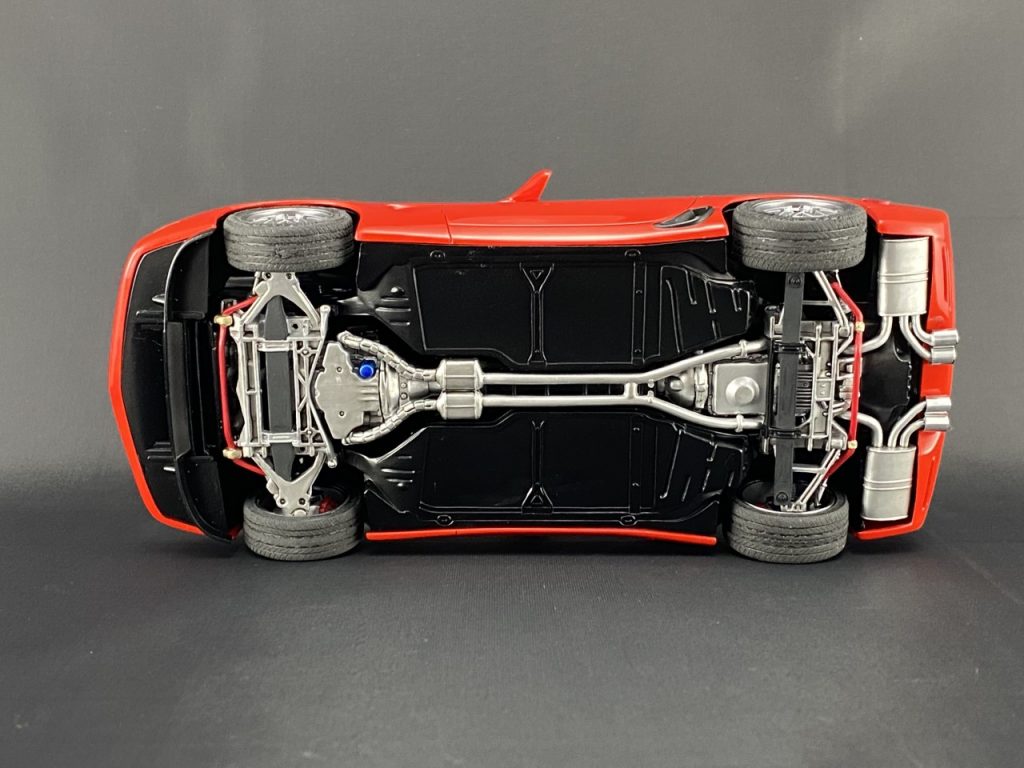
Shortly after, I glued the chassis, engine, exhaust and suspension together.

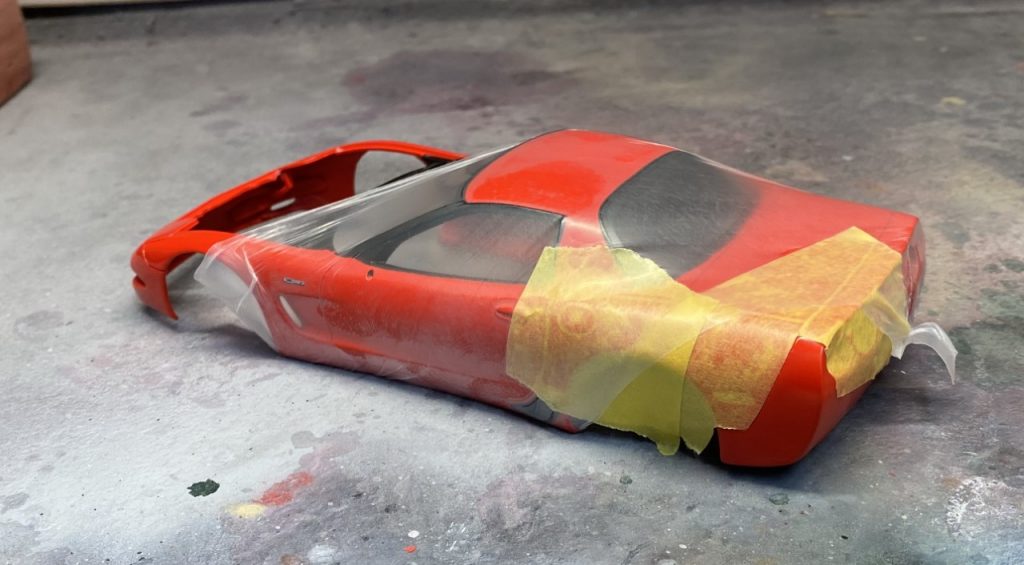
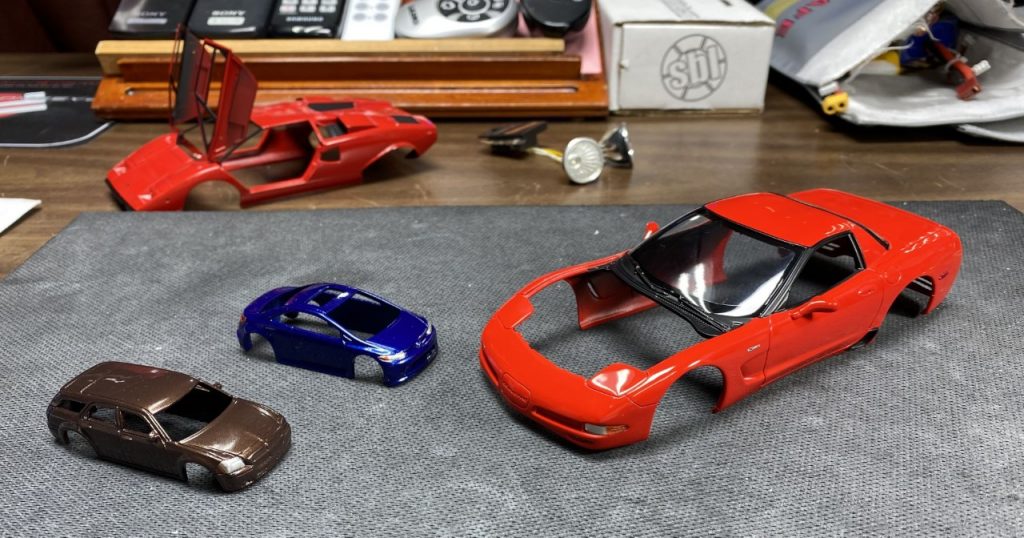
The prep work on the body was straight forward. I started by removing panel lines and scribing everything. Once complete, I worked all of the wavy panels into a smooth finish. Primer was applied, sanded and the paint.
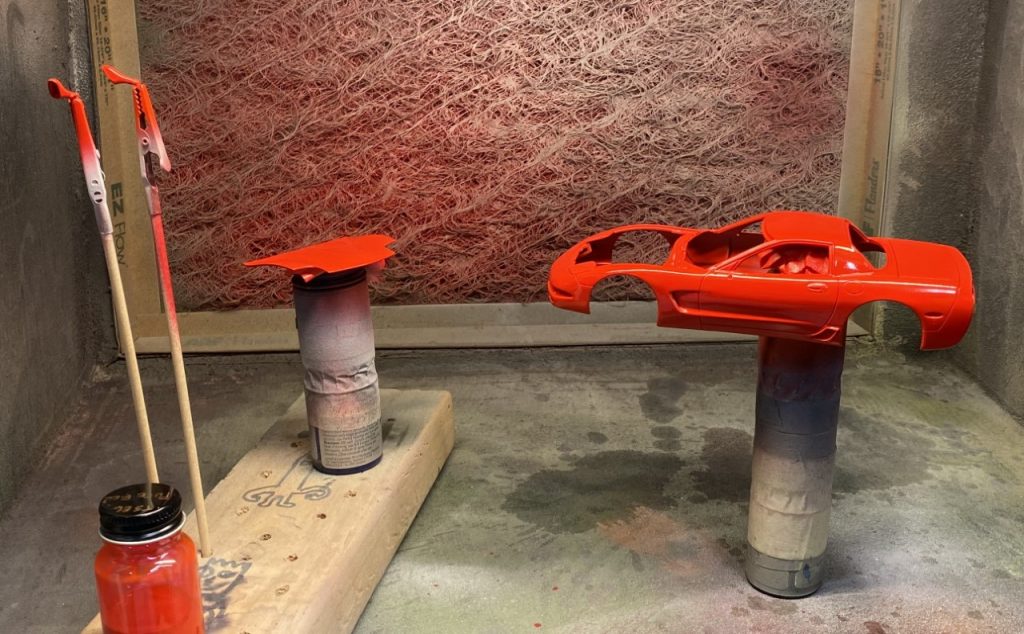
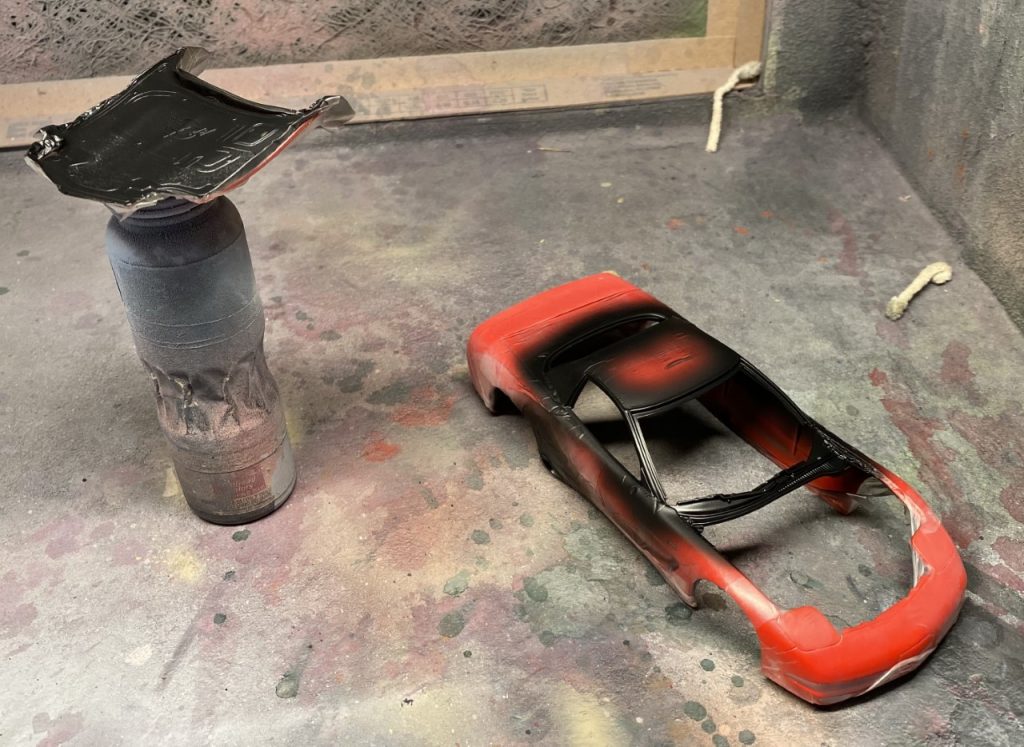
My plans for a quick build were thwarted by a couple of paint issues. At first, I had to respray part of the rear cover. It was a quick and easy correction. Then, I ran into issues with the hood. I stripped it and painted it again. THEN I realized I grabbed the wrong red. I painted it bright red rather than pure red. Stripped again and sprayed with color and clear. Trash in the paint almost led to a 4th strip and paint but I decided to push forward.
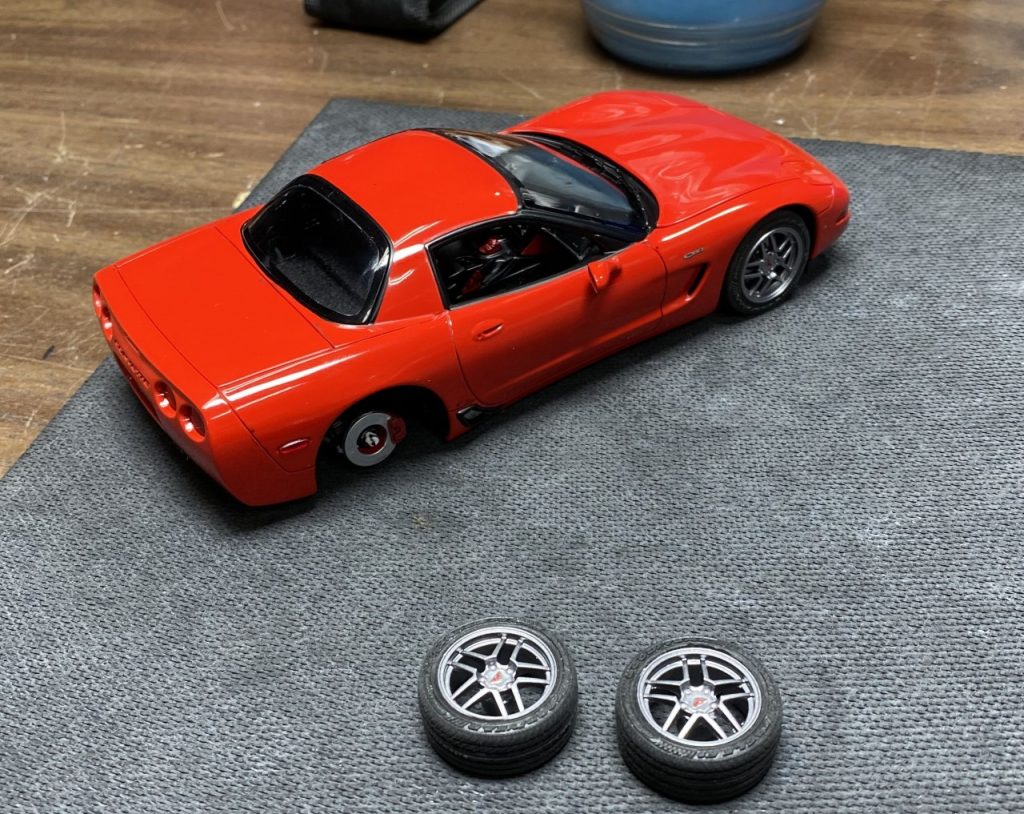
Not wanting chrome wheels, I stripped them and sprayed the light gunmetal. I then added the decals. Quickly, I realized that using setting solution and a hair dryer made these decals conform perfectly to the molded logos. These were skipped on the last build because I didn’t think they would conform properly. Shortly after finishing these wheels, I pulled the last build and added the wheel decals.
Once I had a hood, final assembly went quickly. Just as with the last build, I had to cut off the tabs that are supposed to lock the wheels in place. The front air dam fit better than it did in the last build, but still not perfect. I wasn’t bad enough to required the same hacking I needed to make the last one fit.
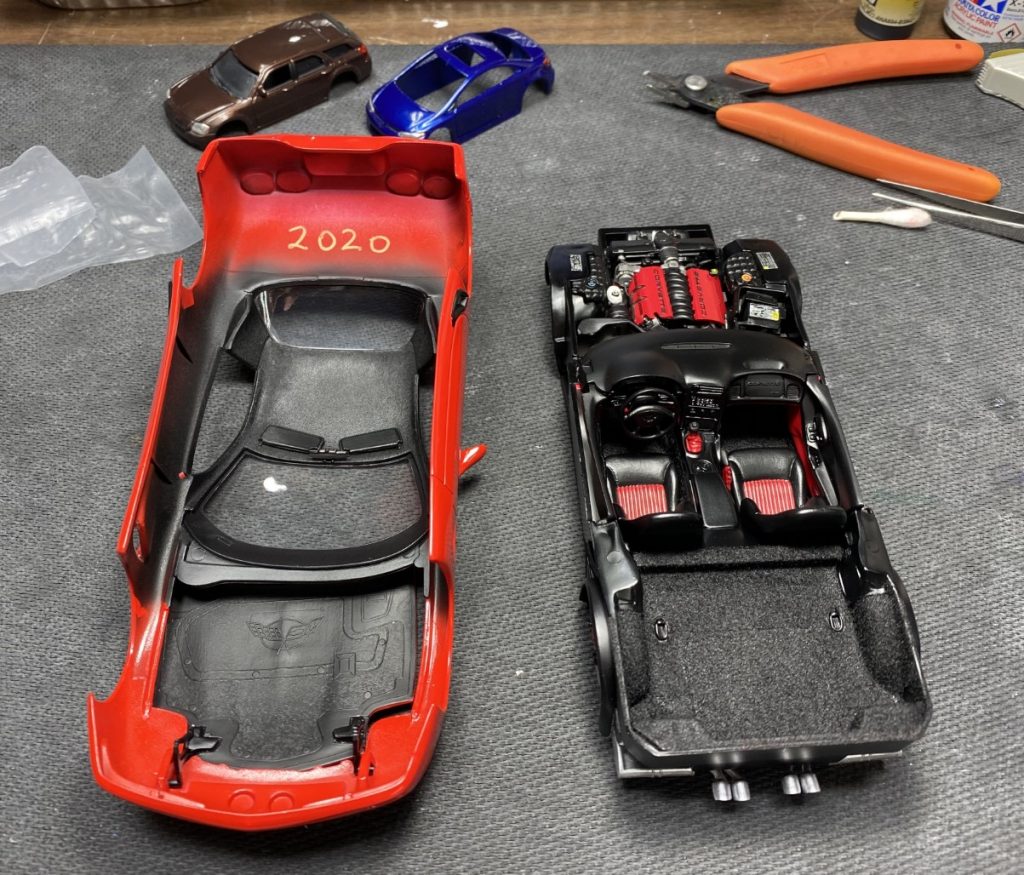
Once the body was joined to chassis, there wasn’t much left beyond adding lights and attaching the wheels.
Originally, I wasn’t going to add aluminum tubing for the exhaust tips. Unfortunately, I butchered the tips while trying to drill them. In the end, I used aluminum tubing to finish the exhaust.
Completed!
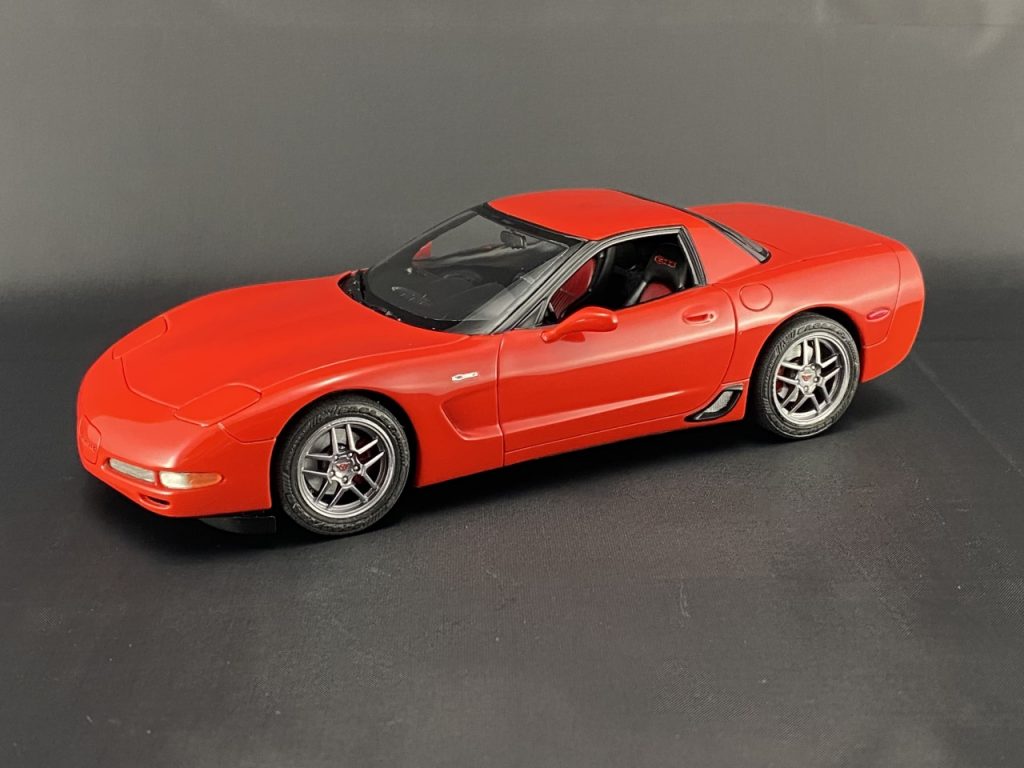
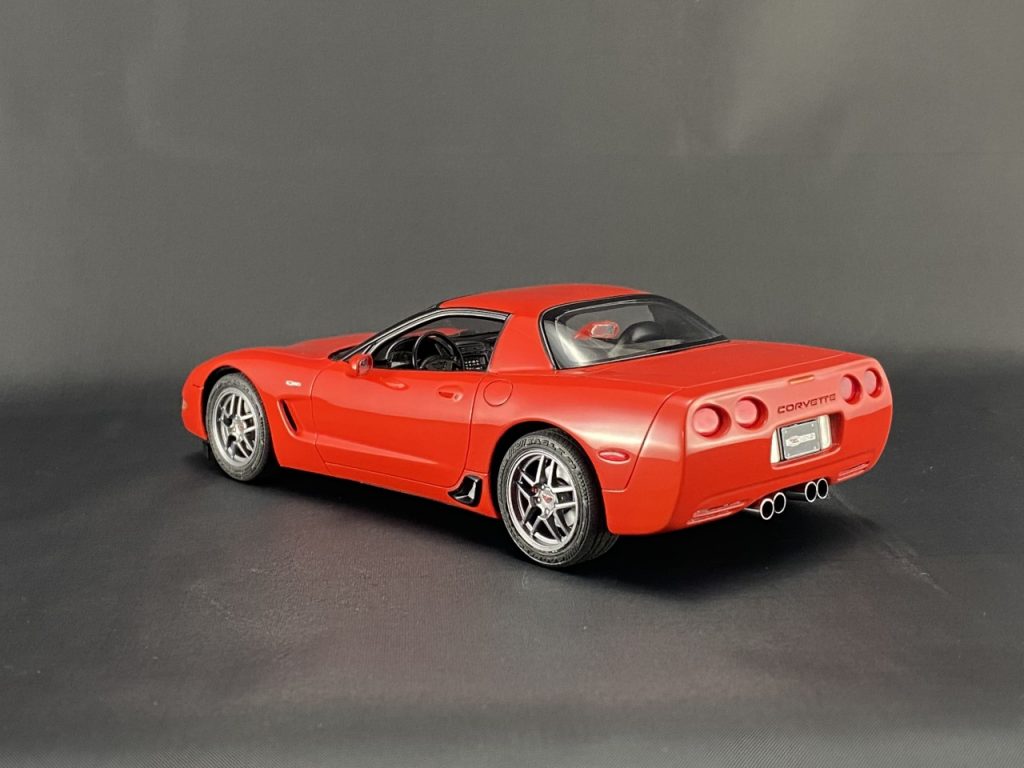
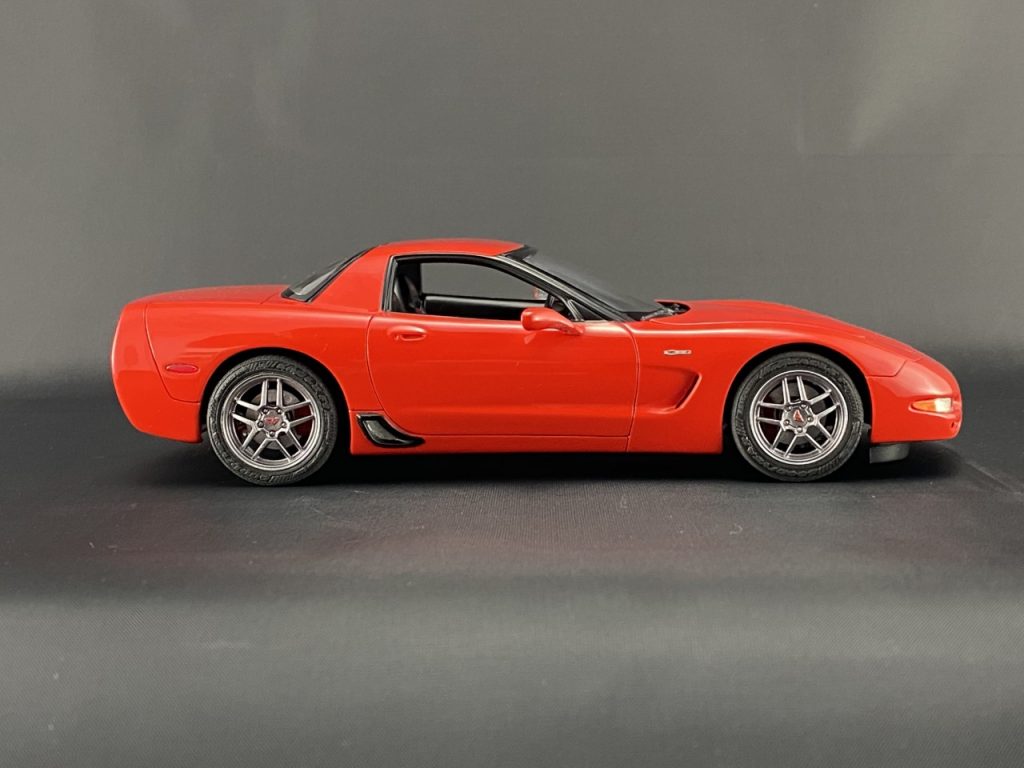
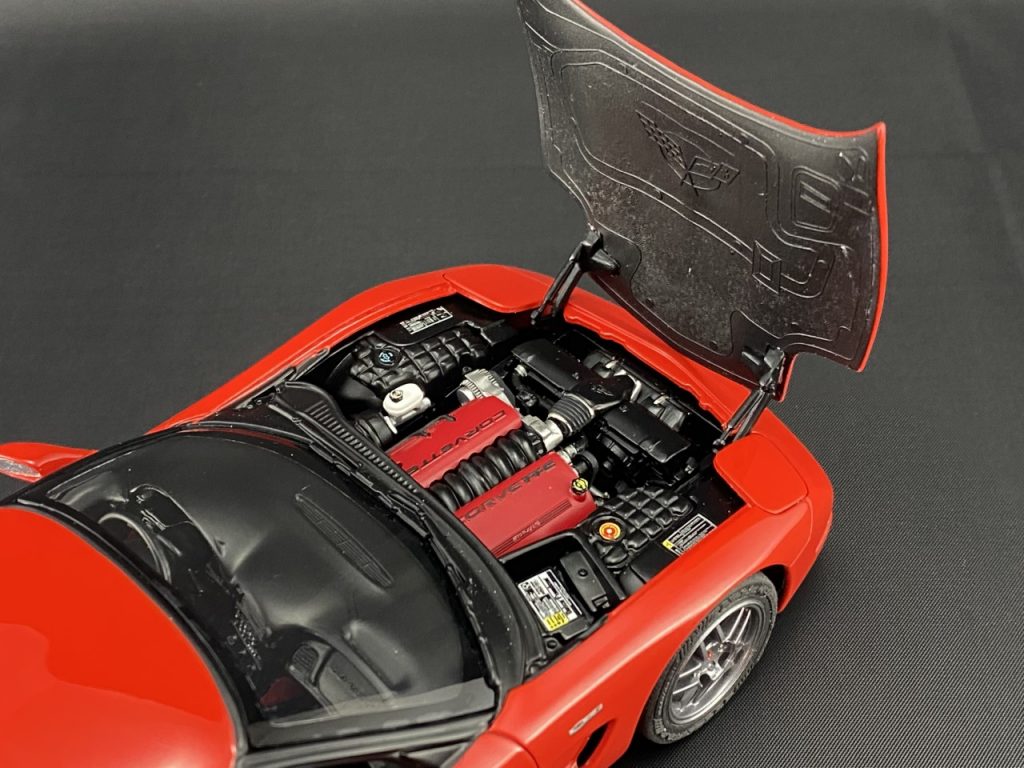
Final Thoughts
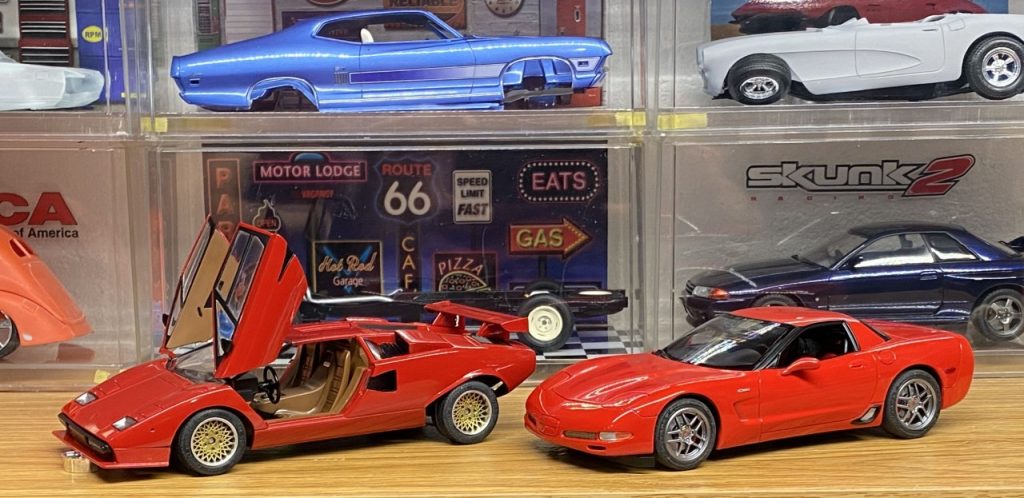
If you are interested in the challenges of this build, you’ll need to check out the last build where I outlined everything that needs attention. That said, using what I learned from that build made this one go together significantly smoother. Had I not botched the hood paint, this would have been the first build finished this year. Alas, it’s only the second! I’m really pleased with the build and know it will look great parked next to its sibling!
Completed: June 2020

1 thought on “2001 Corvette Z06 – Revell”
Comments are closed.