The Gamble
This kit was part of an eBay listing that was more or less a gamble. At $20 shipped, I picked up 4 kits in various states of build and there was no guarantee they were complete. Two of the four kits were garbage, one was completely un-built and then there is this Mustang. I wanted the lot of models just for this kit. It was mostly built and poorly painted. The hood was modified to include a vent that looked good but for whatever reason, the builder bowed it so it would sit higher. Beyond that, the kit was complete

Deconstructing
Having been painted rather poorly, I needed to start by blowing the kit apart and stripping the paint. After soaking in floor degreaser for a day, I was able to scrub off virtually all of the paint. What was left was easily sanded away.

Build Plans
The build would need a new hood which I found on eBay. It is a cowl induction hood that would need work but it would suffice. Another casualty from the original build attempt was the front seats. Gunk from the original paint was caked into the engravings and could not be removed. I decided to use a pair of resin Recaro seats from Hobby Design. During the build, I managed to ruin the original steering wheel. The replacement came from a newer generation Mustang GT along with its set of wheels since the original wheels look small.
Body Prep
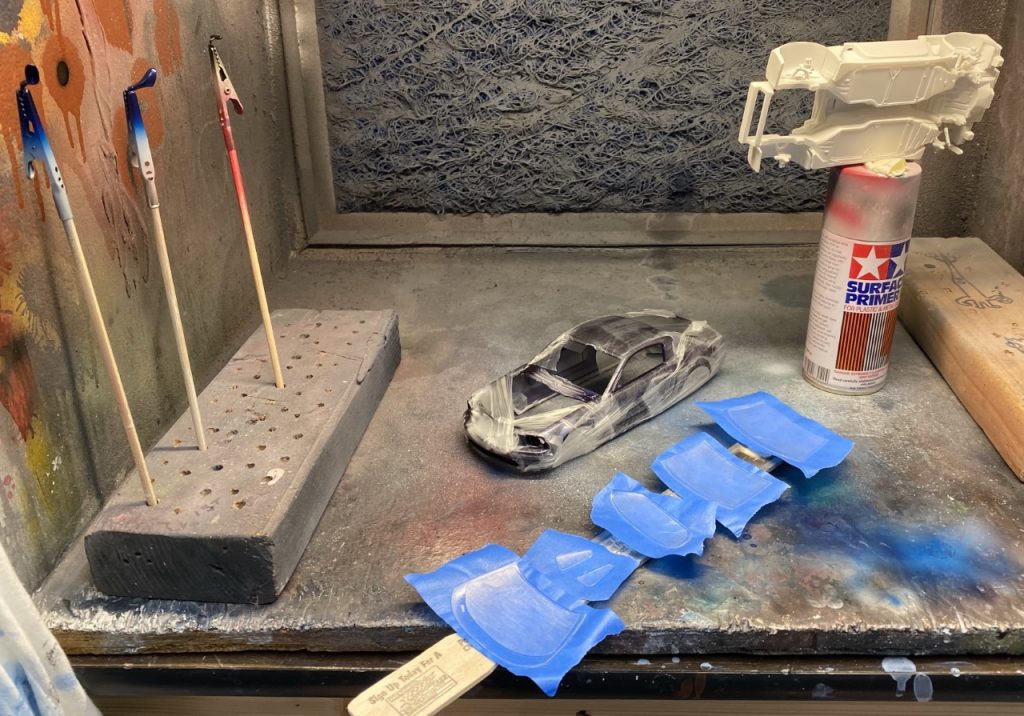
The body didn’t need much prep beyond enlarging panel lines and cleaning up other minor blemishes. I eventually settled on Jaguar Loire Blue Metallic from Gravity Colors for the color. After finishing the work on the hood to properly fill in the cowl, I sprayed color and clear. This color is rather thin and required several coats to ensure proper coverage. As a result, I used the entire bottle.

As I was sanding and polishing the clear, I sanded through on the rear bumper. I tried to repair it and almost ruined the model. I had to set it aside and wait. Since I had to order another bottle of paint, it gave me time to gather my thoughts and approach the repair with caution. Armed with a fresh bottle, I sprayed the repair with color and clear. Shortly after, while continuing sanding and polishing, I sanded through both rear quarters. I prepped the surfaces, masked then carefully made repairs. Hoping for better results, I sanded and polished with more care and was able to finish the body and move on to trim.


Interior
To create contrast in the interior, I found a color scheme that used black with red accents. As I mentioned up top, I bought replacement seats from Hobby Design. They are Recaro SR11 seats. I also replaced the steering wheel with a newer version (out of necessity since I ruined the original). Zero Paints Ferrari Bordeaux Red paint was sprayed on the seats and accents. The rest was masked and sprayed satin black. Taking advantage of the detail available, I painted dash with various silvers and chrome paint to replicate the 1:1. I wrapped up the interior with black flocking.


Engine and Chassis
The chassis has a generous amount of detail. I chose to paint shocks/struts yellow (for koni) and springs are blue. Sway bars were painted red. Beyond that, I highlighted heat shields, the gas tank and molded-in brake and fuel lines. The engine was painted, assembled and washed with Tamiya black for more depth. The rest of the engine bay was detailed as appropriate. Overall, I’m very pleased with the results.


Finishing The Build
Once the major components were complete, it was time to put it all together. I painted the trim on the glass and attached them. The grill and light details were finished and installed. Lastly, I attached the wheels. I had two problems to resolve. The newer GT wheels were not a direct replacement and required grinding to fit. The second issue is lowering the ride height. After removing the brakes, I attached them to the wheels and carefully glued each wheel in place. Due to the width of the rear wheels, their offset is a little further out than appropriate. I may address this in the future.
Final Thoughts
Overall, I am very pleased with this build. I was able to salvage an unfinished and unloved build and turn it into what you see here. With a few small purchases, I turned a good kit into a great build.
Completed: November 2019


