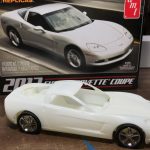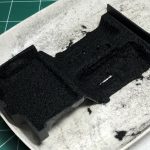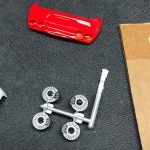
I picked up this kit from Hobbylinc for less than $7. Why not? I wanted a C6 Vette for my collection. It is a basic curbside kit. Everything is molded into the chassis which is unfortunate but overall, it is not a bad kit. I’m surprised there are engravings for the rear side markers, but not the front. Decals were provided for both. As I was building this kit, I found that the kit decals are some of the worst. Unless I did something wrong, there is no white backing for most of the pieces. Because of this, I didn’t bother with the side marker decals.
The body had several sink marks that took a bit of putty to correct. The rear valence/tail piece, was by far the worst requiring the most repair. Once the body work was complete, I primed it in white primer and sprayed decanted Tamiya Bright Red through my airbrush.
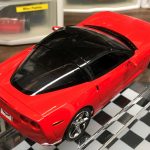
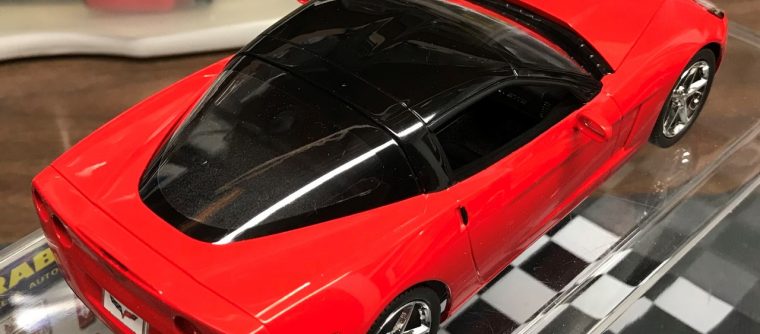
The a-pillars are typically black on this vette with black weather stripping on the doors. Unfortunately, the weather stripping was molded too wide. I felt that it would be distracting when painted black. To work around that problem, I chose to paint the whole roof black after finding a few examples online.
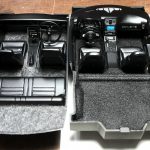
The interior was simple and went together well. I flocked the interior to give it a more realistic look especially considering the large and flat cargo area. I had to carefully shave the side panels and dashboard in order to ensure they fit into the body correctly. If not, it will not line up with the door sills and create bigger wheel gaps. No one wants that!
One annoying, evidently AMT thing, is that they use a mounting pin on lights where the lenses need to be clear. I cut the pins, sanded them flat and then polished them until they were clear. The fog lights and tail lights suffered this problem. Once completed, and holes filled, the end result turned out great.
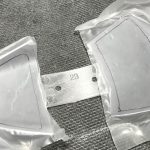
The one piece glass fit well but had no masking or markings for the black surrounds. I used parafilm to mask the glass and used a pen to do my best at marking where the surround should be based on online references. I think it turned out well.
Something I missed until it was too late are the headlight covers. They have a large tab that hides under the bumper cover. Fundamentally, this isn’t an issue. The issue is the slot for the tab is much larger than it needs to be and you can see right through it when the covers are in place. I should have cut the tabs and filled the hole in the body before paint. As a correction, I painted small pieces of styrene and glued them under the hole. It’s not perfect but looks considerably better.
After finishing details like the brake rotors and tail pipes, I wrapped up assembly very quickly. This was a very quick and satisfying build!
Completed: March, 2018


