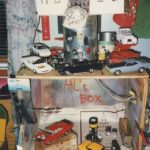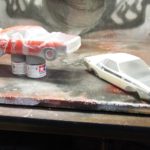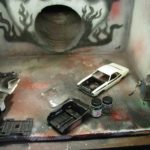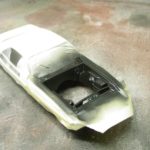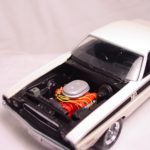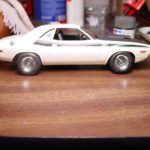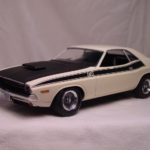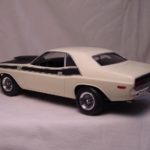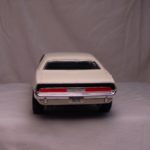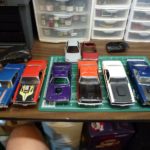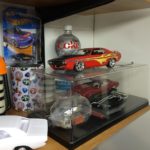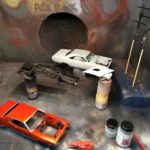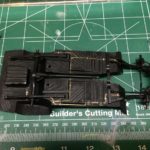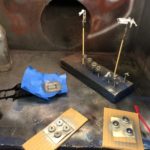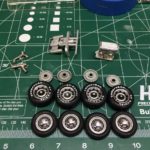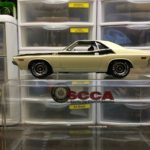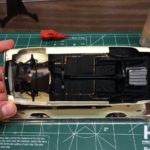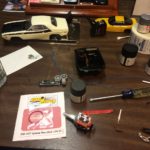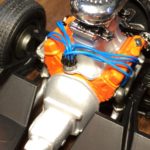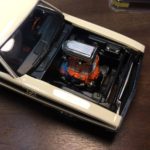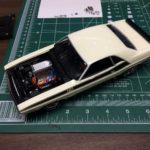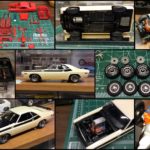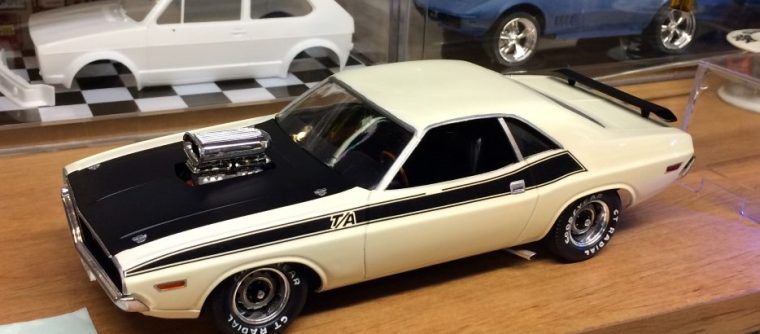
Originally, this model was a combination of two kits. I added a front suspension and rear axle from a 1970 GTX as well as the 440 from the same kit. I’ve tinkered with this kit over the years…primarily to get the stance right. When I built it, I painted the interior a khaki color and left the engine bay white. The testors clear coat that I used yellowed the white paint. The effect was really bad under the hood.
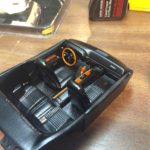
The original set of wheels used on this kit were the “torque” wheels from the 1970 GTX kit. I decided to pilfer them for my ’70 Mustang. While I was preparing a new set of wheels for the Challenger, I decided to paint the interior black along with the engine bay. Also, before my days of using body filler to shave just about anything, I would leave side indicators unpainted. With my improved skills and quite a bit of parafilm, I masked everything and airbrushed the side markers.
Overall, the kit looks much better with the black interior and the final details painted. Down the road, I may try to find another set of wheels and lower the model…
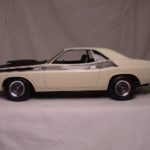
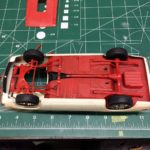
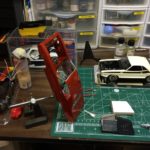
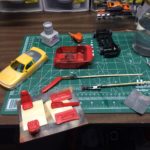
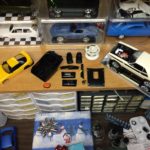
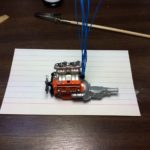
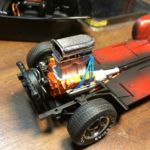
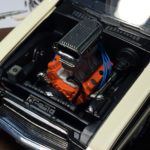
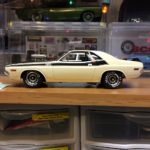
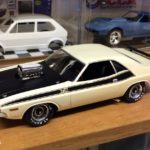
…Down the road came in 2014. I have to admit that in recent years, this kit had lost its luster. It was my first experience with Testors clear over white. It drastically yellowed the paint. The ’70 GTX parts didn’t fit. I used the wider suspension to help fill the wheel wells. Looking at it now, it is too wide and the modifications I made over 10 years ago to make it all fit were ridiculous. I thought about once again changing the wheels to change the look. However, I decided to pull a virtually un-painted ’70 challenger and swapped the chassis. I also added tires with white lettering and detail painted rally wheels. The impact of the change was profound. I thought about scrapping this kit altogether and building the unpainted model, but the novice mistakes I made on the older kit were irreversible. I chose to strip all of the paint off of the older kit’s contribution, the chassis, suspension, and engine. I will also use the 340 engine with tunnel ram intake.
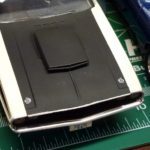
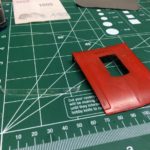
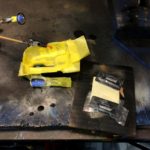
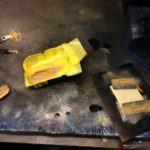
The donor parts had been painted with a paint marker long before I had started using an airbrush. I had spray painted the hood and used the decal from the kit. The paint was thick enough that the hood pins were starting the disappear. I had to strip the paint, rather than sand it, to keep the details.
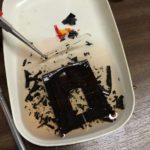
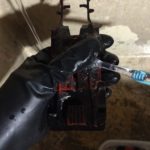
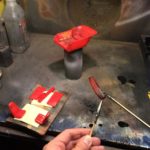
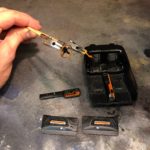
ELO has long since been discontinued. I learned that brake fluid or Castrol Super Clean degreaser would work to strip paint. I had brake fluid laying around so I decided to try it. It took a few days for it to work and even then, I still had to scrape the decal. Also, the brake fluid didn’t budge the flat paint on the underside of the hood. My next try was to pick up some Castrol Super Clean ($7 for a gallon at Walmart). The results were astounding! Gloss, decals, flat, chrome plating…no problem. After letting the parts soak for a day, a toothbrush and running water wiped everything away with virtually no impact to the original plastic. With the parts stripped and ready for paint, I could move forward with this project.
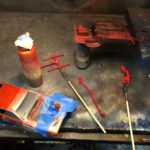
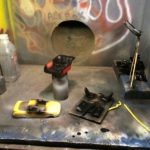
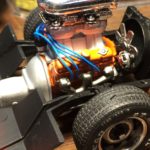
I knew I wouldn’t be able to match the discolored white paint and in reality, I wanted this project to go quickly. With that in mind, I painted the chassis and suspension parts satin black and highlighted brake and fuel lines with sharpie markers. I finished the chassis by painting the gas tank. I finished painting the wheels and worked on smoothing out the seams on the engine.
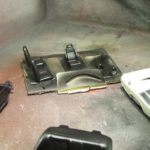
When I came back to the project a few months later, I decided that I wanted a fresh interior as well. Using the recently stripped interior from the donor kit, I sprayed it satin black, used bare metal foil for the trim on the door panels and painted the wood grain. I have to say that the technique doesn’t start out looking that great. If you stick with it from start to finish, the wood grain turns out really well.
After that, I finished the engine and used computer hard drive cable for the spark plug wires. I had the wire and thought I would give it a shot. It’s a little thicker than scale but I think it turned out well.
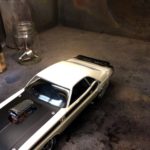
The final detail was adding the wing from the donor kit. I would have loved using a T/A wing but I didn’t have one. This would do. Using a trick I read in Scale Auto, I drilled and pinned the wing which allowed me to easily attach it cleanly to the deck lid.
This kit is never going to look great however the rework has brought back my enthusiasm for it. In the future, I may chose to strip the body and make it right. Technically, the body was the only thing I didn’t rework! For now, I’m really happy with the results.
Originally Completed: 1997
Rework Completed: December 2014

