Rework Plans
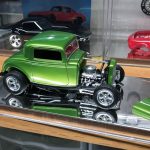
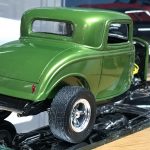
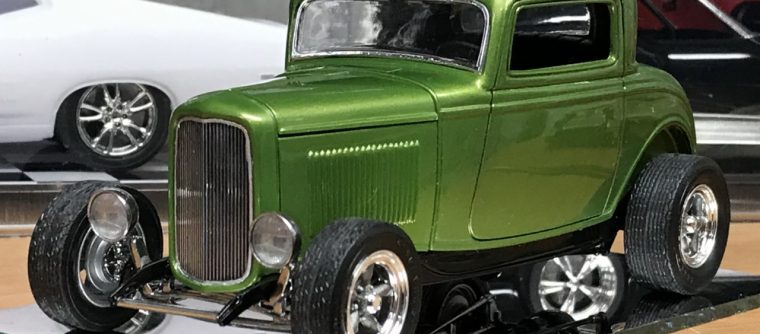
I simply can’t stop finding ways to rework old kits. On the surface, this kit turned out very well. Check out the work on the original build page. Other than the way I handled the trunk, I was very happy with the body work and paint quality. I hand painted the wheels and I still think they look great. Once you get past the wheels and paint work, the chassis, suspension and engine leave a lot to be desired.
Scope Creep
Let me take a step back. This whole thing started with the simple idea of replacing the small headlights to the larger lights included with the kit. I had prepped them and chromed them with Alclad and set them aside. At the time, I didn’t want another project on my bench. As time went on, and the gears turned in my head, I realized that I wanted to address the way the chassis was painted. Long ago, I bought another bottle of the paint and saved it for this purpose.
Along the way, I realized there was no way the color would match without repainting the entire project and I didn’t want to waste the original work. I ended up using that paint on my 79 Camaro project and found that the paint color did not match. Glad I didn’t make that mistake on this Ford. I decided that gloss black would do the trick.
Digging into the build
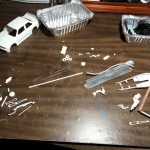
Once I blew apart the Ford, I remembered how poor the chrome parts looked. During the original build, I didn’t have the skill set and patience to try alclad (even though I had it). I touched it up the issues with silver paint. Now that I have no problem using chrome paints, I knew what I had to do.
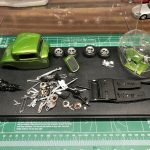
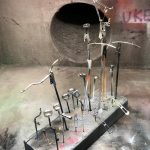
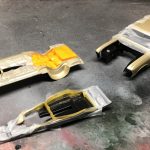
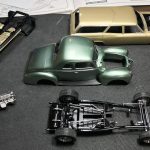
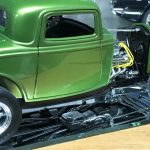
The chassis and every last part that wasn’t the body and interior was stripped of chrome and paint. I spent an obscene amount of time removing mold lines from each of the numerous parts of the chassis and suspension. I used filler to work out the sink marks in the chassis and cleaned up the ejector pin marks and anything else that didn’t belong.
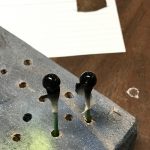
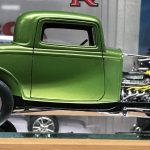
Once everything was ready and attached to clips, toothpicks, sticks of styrene or a bottle, I chromed everything but the chassis and rear axle. The engine and transmission were painted gunmetal and aluminum.
Pulling it all together
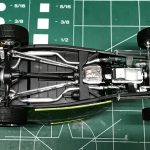
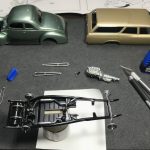
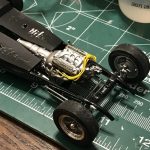
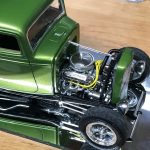
A bad move on the chassis resulted in stripping the paint and starting over. One I fixed all of the sink marks and other blemishes, I resprayed the chassis. After letting the enamel cure for a week or so, I started the final assembly. The chassis and suspension went together quickly. I assembled the engine and wired it and glued it in place. There were a few stragglers that needed paint and chrome. Once those were painted, I was able to finish the model. I also added the side panels of the hood that I painted but never attached during the original build.
Final thoughts
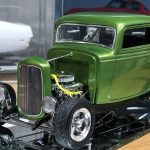
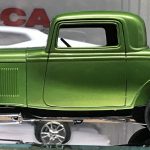
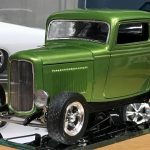
Looking at the individual parts, I can see how much better everything looks. Looking at the comparison pictures, the differences are so subtle that it’s hard to see unless you know what you’re looking for. However, I’m still thoroughly satisfied with the results. The bigger headlights look amazing and the wired engine really stands out. All an in, it was totally worth the effort.

