Project Introduction
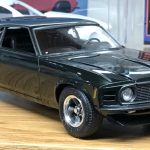
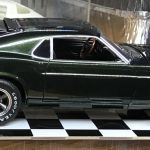
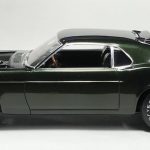
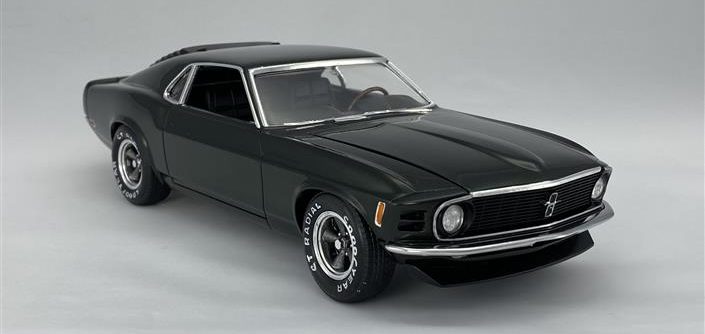
It’s interesting how tastes change over time. When I built this in the early 2000’s, I settled on the gunmetal trim theme that extended to the wheels. I thought it looked sinister and was pleased with the results. Over time, I started adding the chrome back to to this Mustang. I swapped the wheel and added silver to a few details. As time wore on and my comfort with using Alclad/Spazstix chrom paint and Bare Metal Foil improved, I knew I needed to make this Mustang shine!
Prep Work
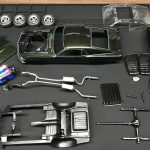
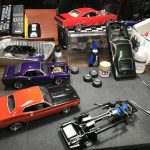
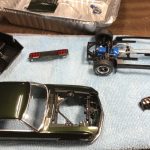
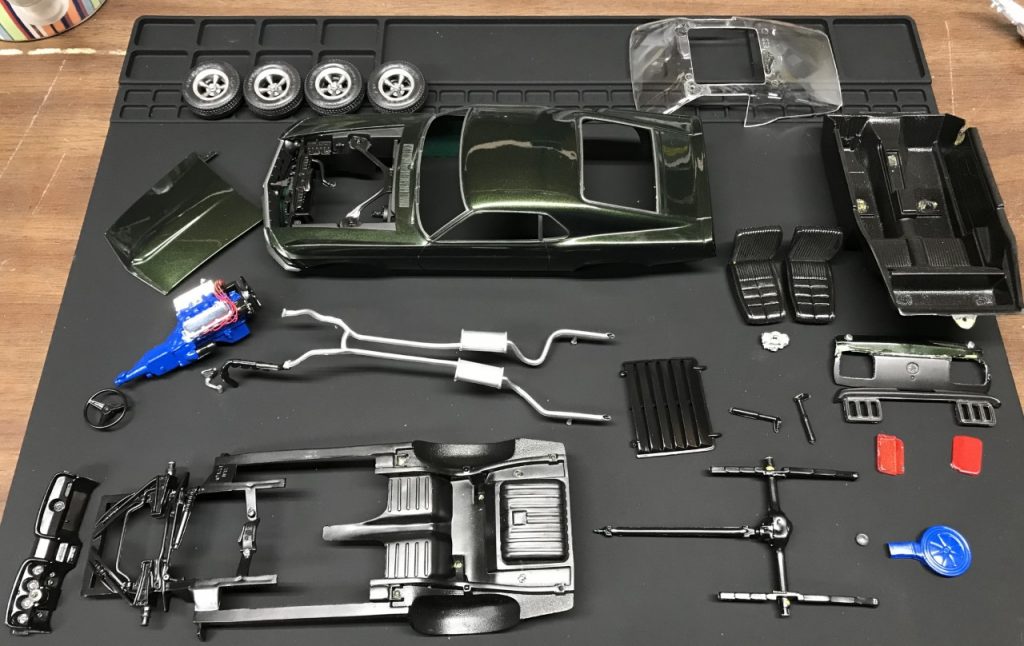
While looking over this build and forming a plan, I decided that everything must go but the main color of the body. The interior, engine, chassis and suspension were stripped, sink marks filled and mold lines removed.
CHROME!
Bringing chrome back to this build was the primary reason for the rework. Once the model was pulled apart and parts that needed to be stripped were separated from those that didn’t, I adding bare metal foil for trim.
Paint and Detail
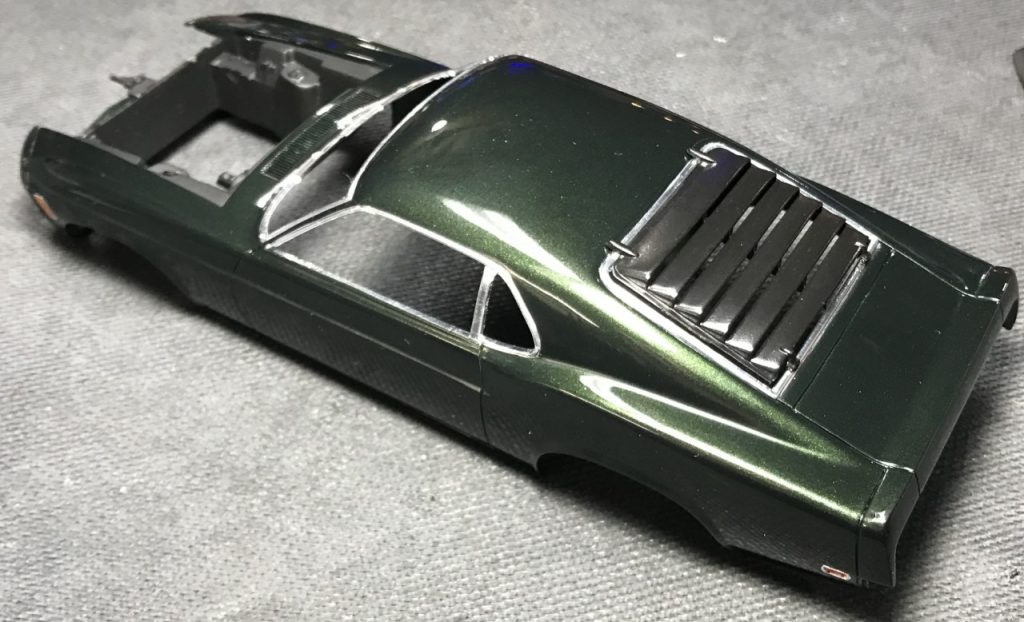
Since I didn’t have the original color handy, I decided to stick with satin black for the chassis and suspension.
The interior was also painted satin black along with Testors leather to simulate wood color on the dashboard trim, center console and steering wheel. Chrome details were finished with Molotow. I wrapped up the interior with flocking for carpeting.
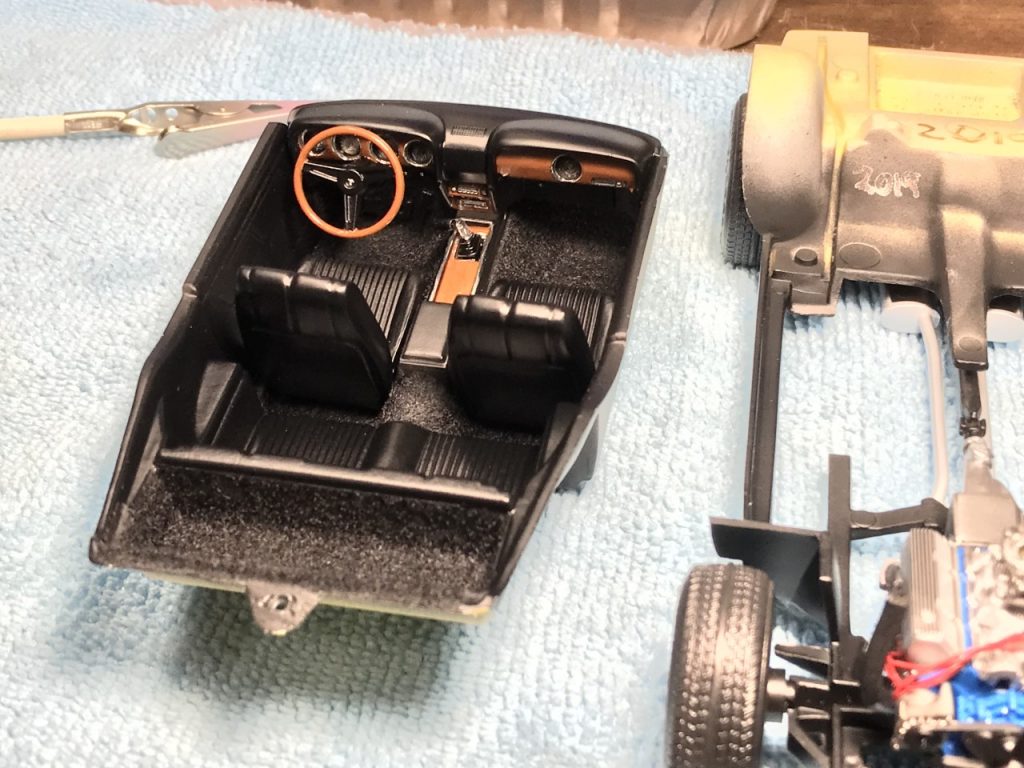
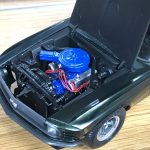
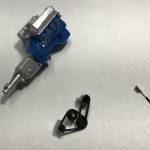
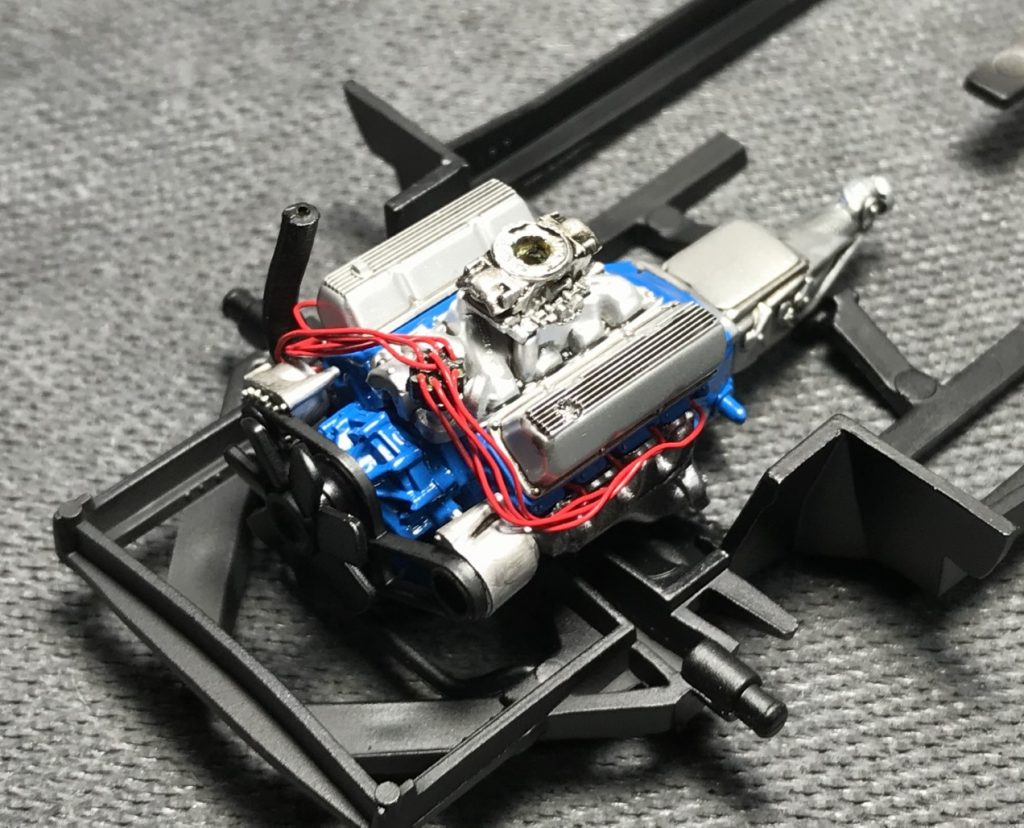
I quickly turned around the engine by cleaning up the seam, primer and Testors Ford Engine blue. The intake manifold, carb and valve covers were sprayed with Tamiya gloss aluminum. I reattached the original wiring and gave the engine a wash of Tamiya panel line accent.
The bumpers, air cleaner and rear emblem were primed, sprayed with Tamiya enamel gloss black and Alclad Chrome paint. Since the tail light bezels were part of the rear bumper, I masked the holes with silly putty prior to spraying the black paint. After that, I masked the bezel then sprayed alclad. Although not perfect, the part looks like a good representation of the 1:1.
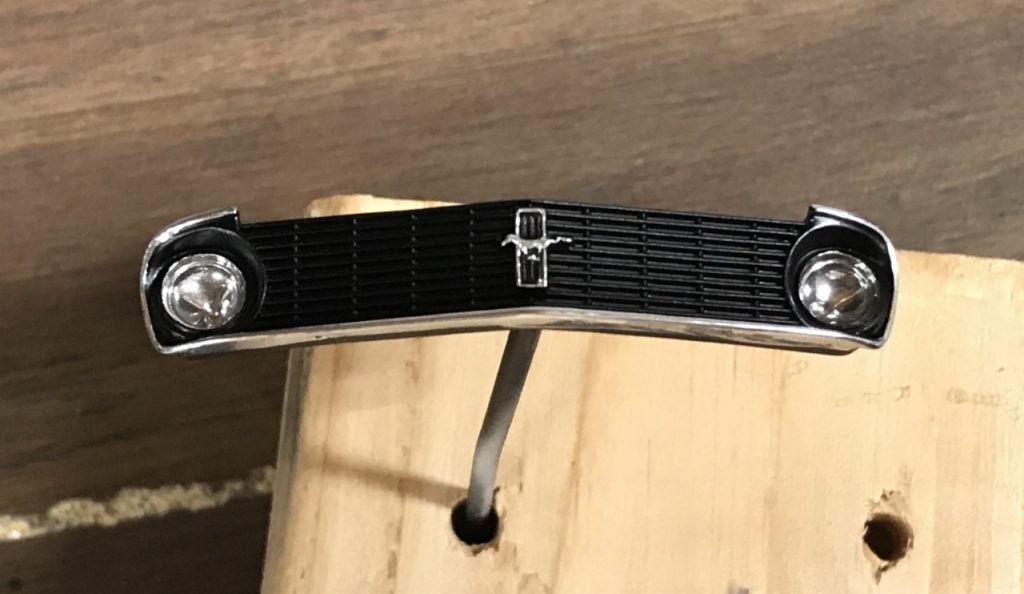
Originally, I was going to Alcald the trim around the grill and realized that it was small enough a space that using bare metal foil made more sense. The more I looked at the part, the more inclined I was to use my Molotow chrome pen. In one quick swoop, I finished the grill. I also used the chrome pen on the emblem.
One last detail I couldn’t ignore was the lettering on the tires. I used Testors acrylic white paint to add one more important detail.

Final Assembly
Reassembling the Mustang was straight forward. I did run into one unexpected challenge. While gluing the body to the chassis, I found that the engine now sat too high. I fudged a few parts and made it fit. The next problem involved the ride height. The front was significantly lower, not a problem on its own, while the rear sat higher. I was able to lower rear by carefully separating the leaf springs from the axle with a razor saw then using small pieces of sheet styrene to create spacers. Once I added enough “shims” to the axle, I glued everything in place.
Final Thoughts
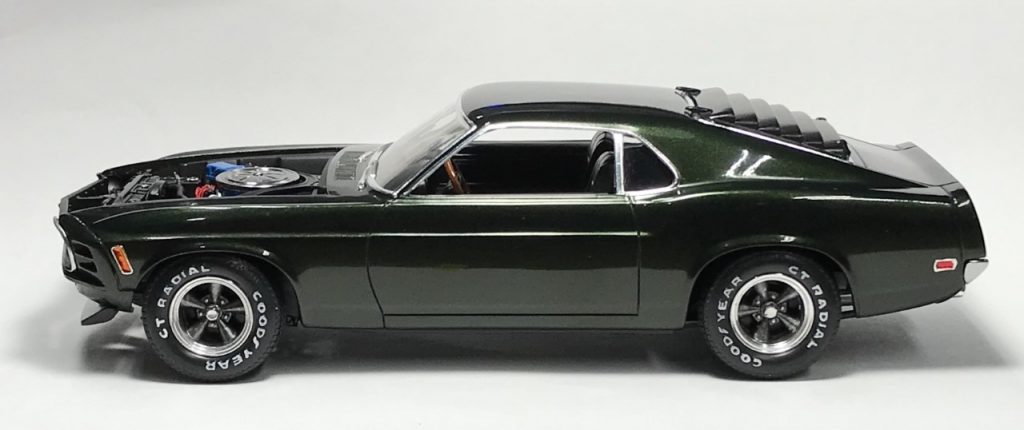
There hasn’t been a rework project that I wasn’t completed thrilled by the improvements and this one is no exception! As I mentioned up top, the only part of the build that is original is the green paint, every other part received attention. The details under the hood and interior greatly add to the look of the build. Although these reworks take time away from new builds, they help bring a consistency to build quality in my display case and I love it.
Originally built: October 2002
Rework Complete: May 2019

