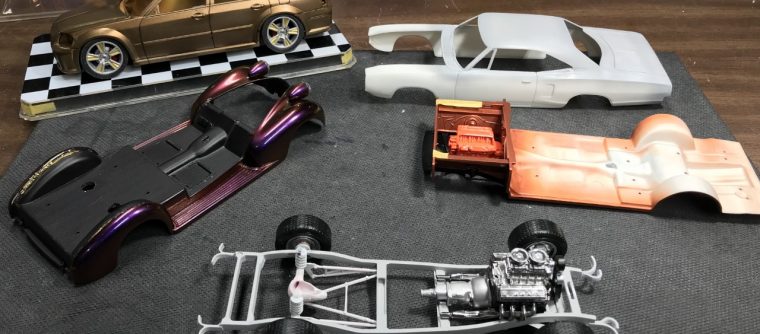
Dodge Magnum
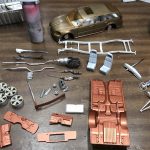
I decided to start building my ’06 Magnum kit. Earlier in the year, I pulled it out and figured out which wheels I would use. I had also started prepping parts by removing mold lines. Now it was time to primer all of the parts!
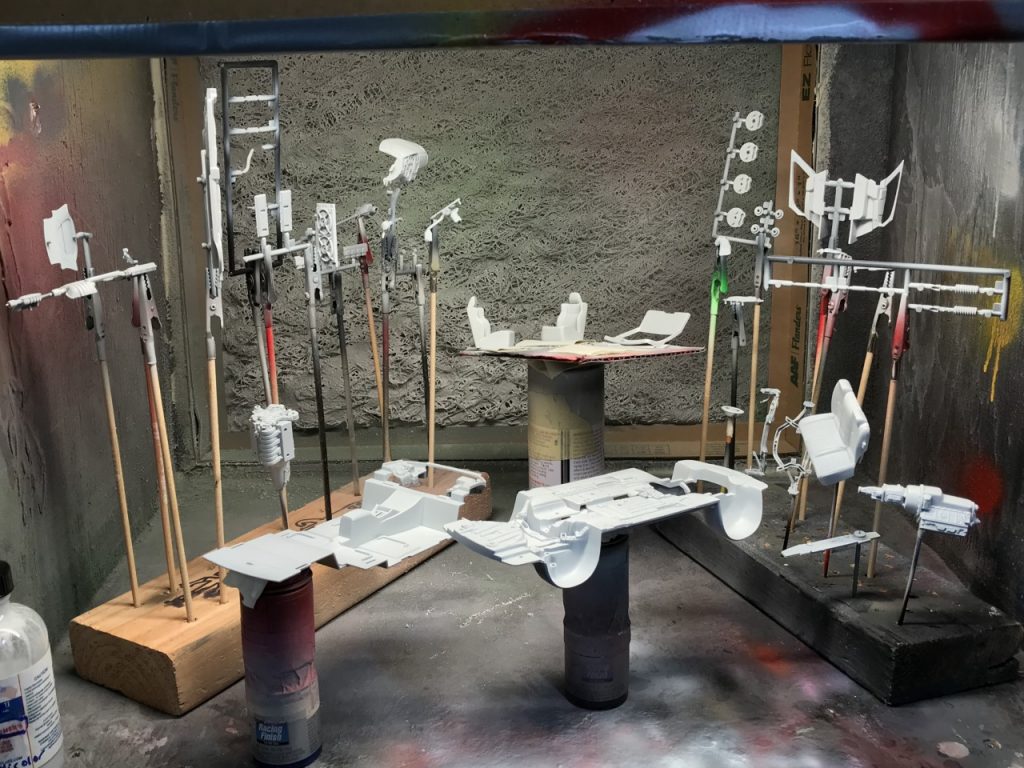
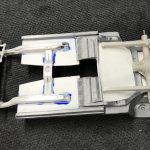
After the primer dried, I sprayed all of the suspension and engine parts satin black and silver as required. I masked the chassis and sprayed all of the heat shields. The engine was built and suspension attached.

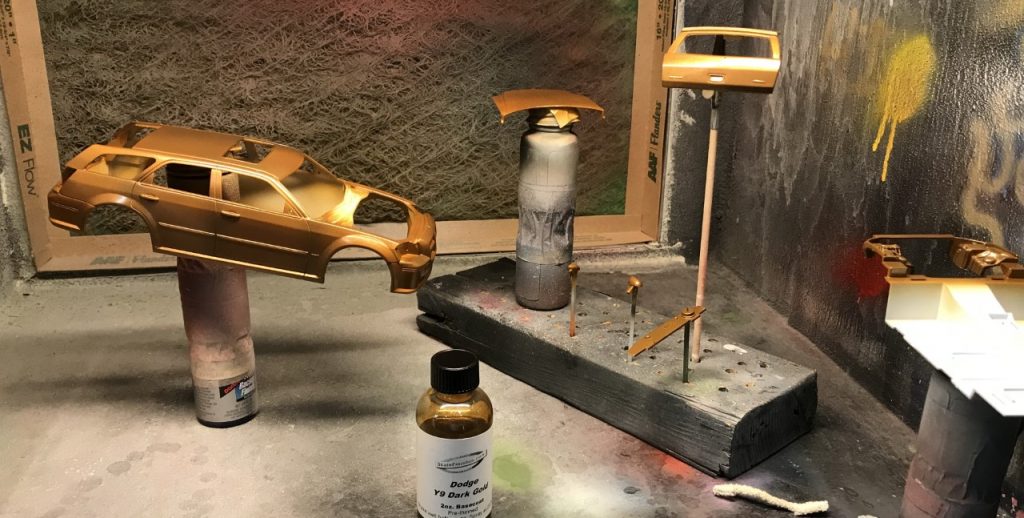
I touched up a few details on the body and started spraying color. I sprayed using Scale Finishes Dodge, Y9 Dark gold paint. This is my second project using Scale Finishes paint and I have to say it is frustrating to use. It builds very slowly and is difficult to get in all the panel lines. I ended up running out and was not able to ensure even color and metallics. I had to order another bottle to finish the project. While I wait, I moved on to other projects.
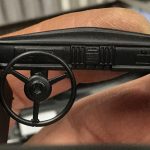
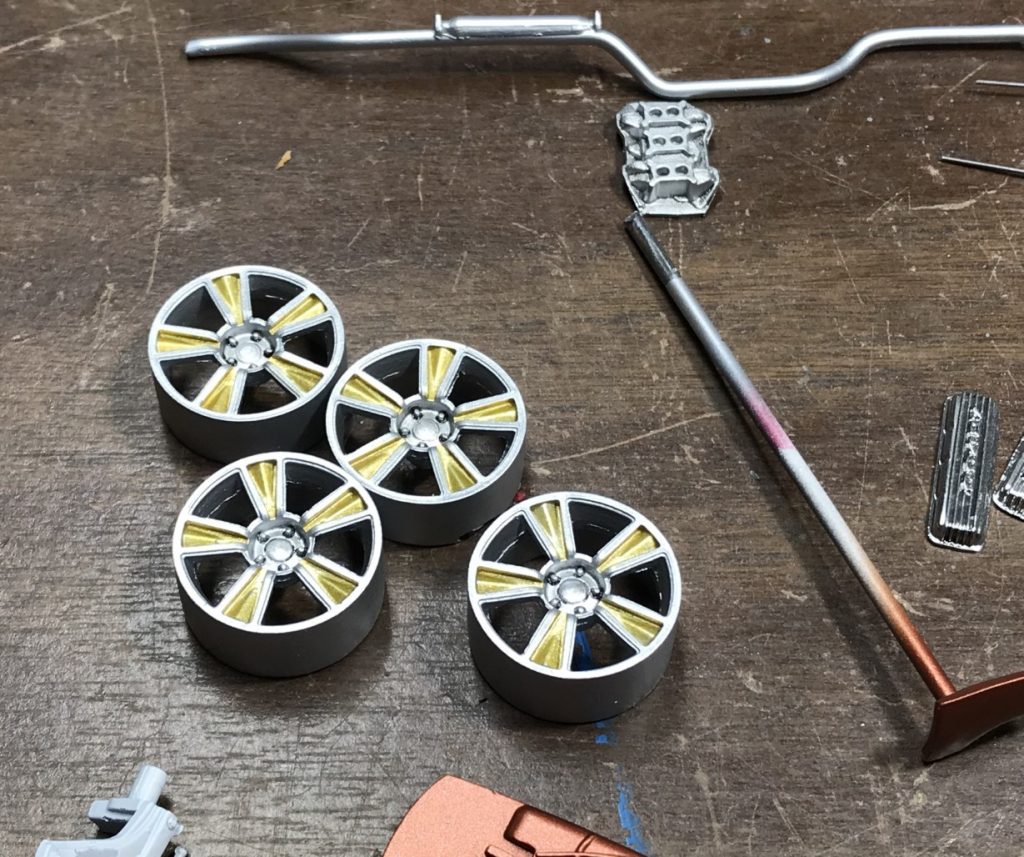
I did sneak in interior painting as well as detail painted the wheels.
39 Chevy Rework
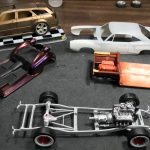
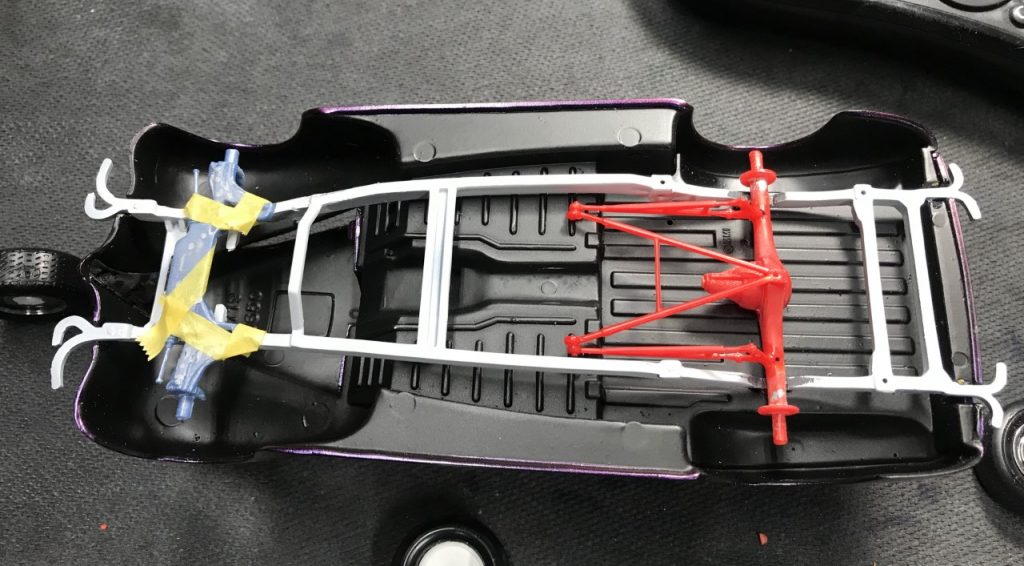
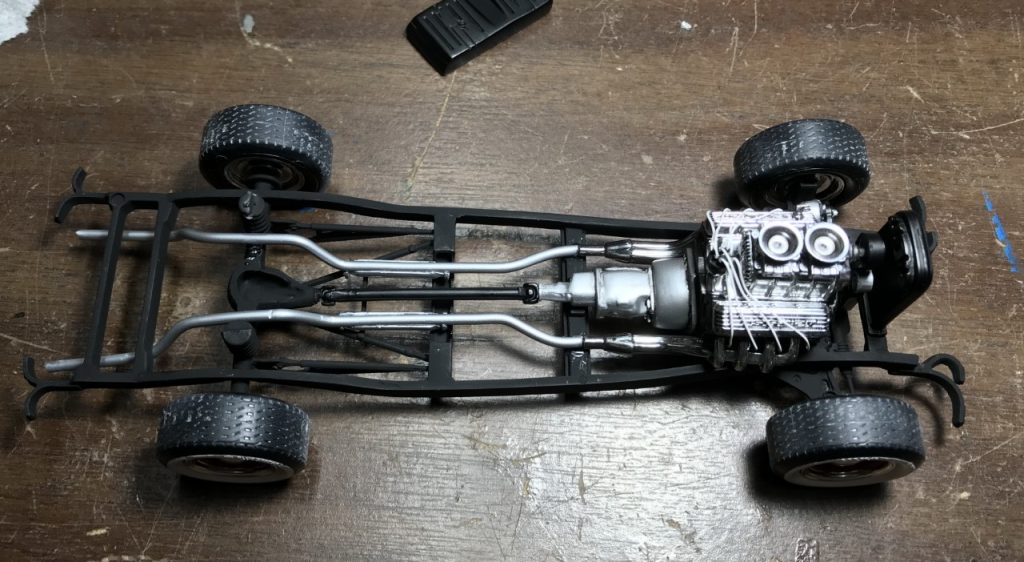
Since I had to wait for another bottle of paint for the Magnum, I decided to tear into my 39 Chevy rework project. The project would require a fair amount of fabrication to adapt new suspension. While digging through my parts stash, I found a front suspension piece from a ’94 Firebird which fit perfectly. I taped the front suspension in place, marked it and drilled the chassis to use the Firebird’s locating pins. I also decided to use a Dodge rear axle and a multilink setup. The chassis will need significant filling and sanding before it is ready for paint.
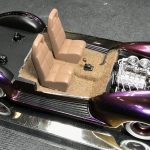
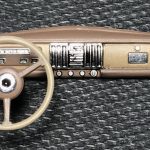
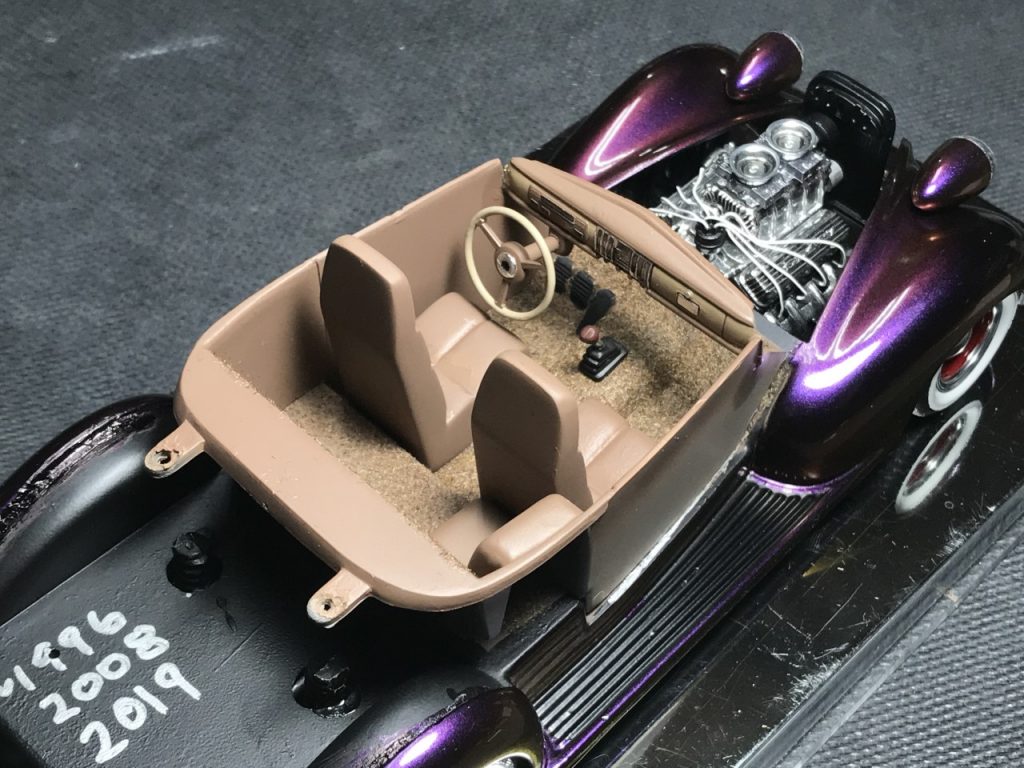
Originally, I had no intention of reworking the interior, which really needed it, because it would require separating the body sections. I was concerned that I would damage the paint. Alas, I dropped the body and managed to separate the sections. The paint was damaged but not bad enough to require a complete repaint. Now I could add as much to the interior as possible.
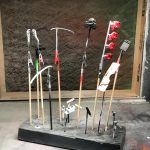
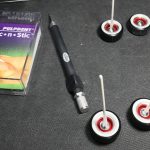
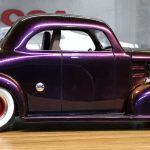
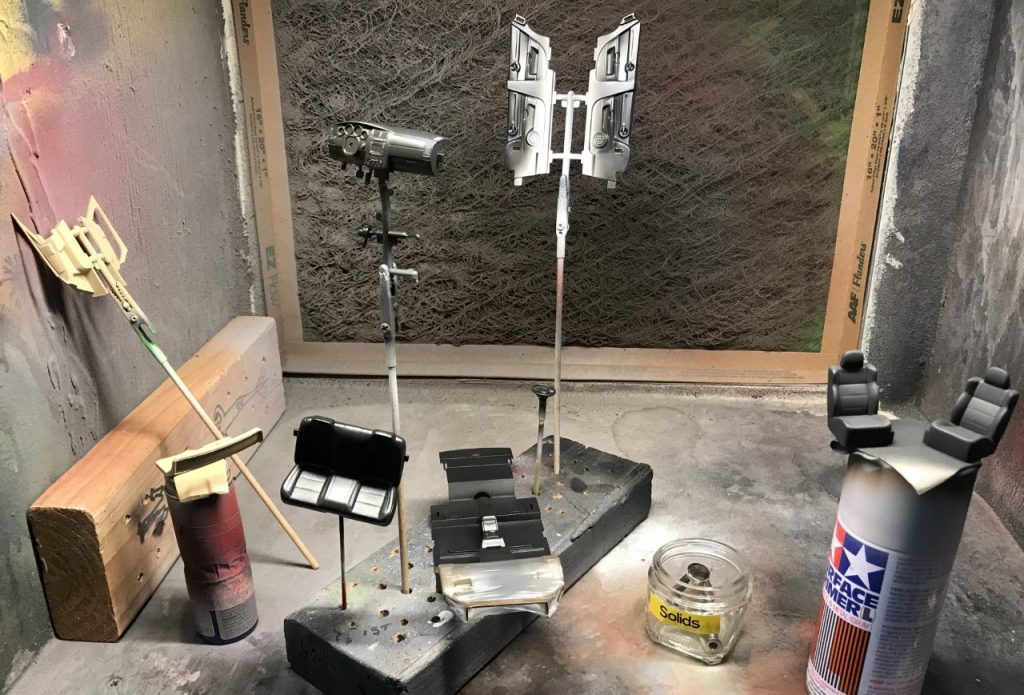
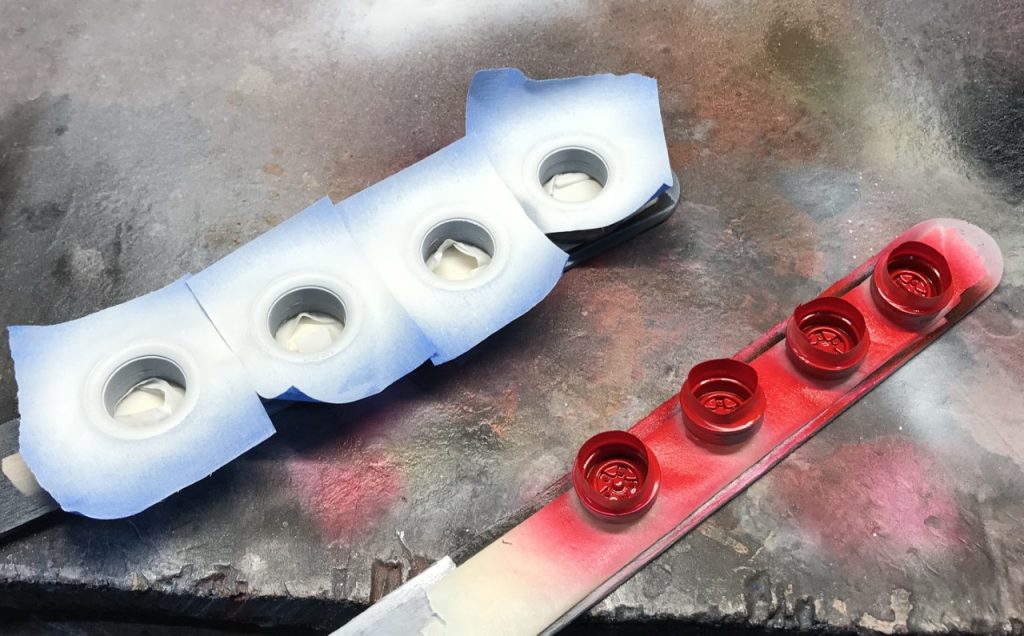
On to the catalyst for this rework! The wheels! I didn’t want to go with plain chrome wheels like I did on my ’53 Chevy build so I decided to paint the inner part of the wheels red. After testing the color scheme, I realized the tires needed white walls. Using a lexan body cutting tool, I made perfect circle masks and sprayed the tires. I topped off the wheels with machined hub caps from Parts by Parks.
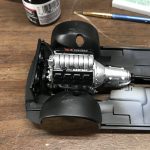
Along with everything else, the engine was stripped, painted and chromed with Spaztix as required. I added a Detail Masters distributor and wiring. The chassis details were completed along with a new cross-member to attach the rear suspension. The exhaust was built using solder and the original mufflers. I wrapped up the chassis build by using a ’94 Firebird driveshaft.
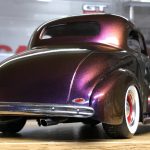
Now that the chassis, wheels and tires were complete, it was time to bring everything together. I glued the interior in place, then the body sections and finally glued all of that to the chassis. I wrapped up the build by added Detail Masters tail lights, Spaztix chromed bumpers and aluminum tubing for exhaust tips.
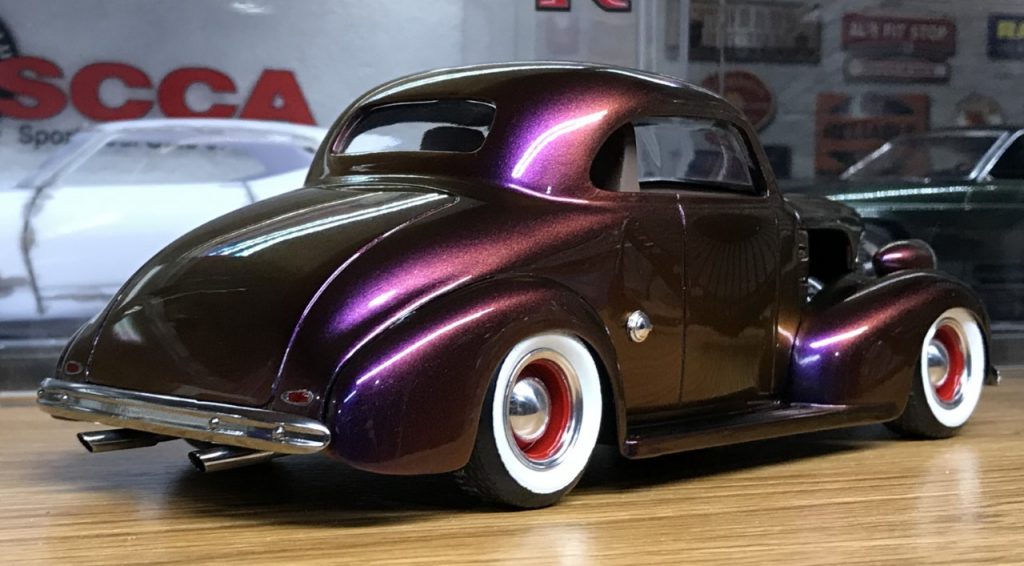
I’m really happy with the finished rework.
Other Builds
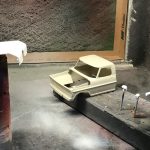
I’m never content to work on one project at a time. I stripped paint from the Camaro parts for the Hemi Charger build. New to me, I tried paint from Automotive Touch Up and sprayed parts for my ’70 SuperBee build. The new paint encouraged me to start building the Moebius 71 Ranger. Find Pictures below.