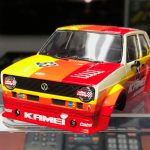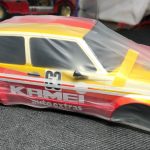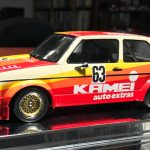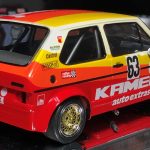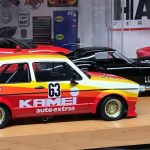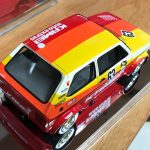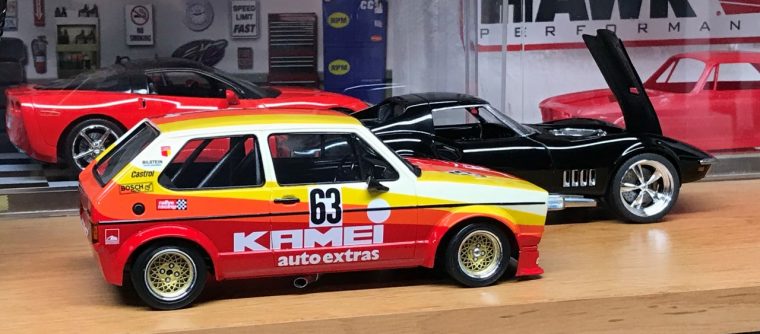
Bravery. That’s what it took to build this kit. It didn’t come right away but eventually, I pulled it together and hammered out the complex livery. I wanted to build a first gen Golf, the MKI, and picking up a race car version seemed like a good idea at the time. Initially, I had intended to build it into a “street” car version to avoid the painstaking masking and decal work necessary to finish a box stock build.
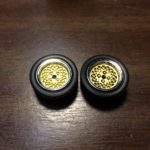
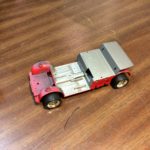
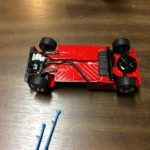
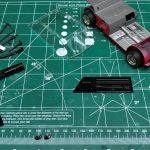
I started building this kit in early 2015. I corrected significant mold lines, primed it and set it aside. The instructions indicated that the chassis and nearly all of the interior were to be painted satin black. I wanted to add detail to those areas and started by painting the chassis racing white on the bottom part of the body. I made the mistake of using gray primer and it was obvious through the paint. I stripped the paint and started over with white primer. Soon, I finished most of the chassis detail work and painted the main part of the interior. The body was sprayed with Tamiya racing white paint. Then, the project stalled for over two years! Why? It was time to start painting the other three colors and I didn’t think I could do it. I spent the next couple of years eyeballing the kit and would quickly put it away. I spent a great deal of time trying to figure out how I was going to mask and spray the colors.
While the Golf sat and waited, I helped my son finish a project that he wanted in several colors. I realized it was my chance to practice masking for a multi-color paint job. It worked out well and I felt like a had a little more confidence…except I didn’t. On the Golf, the fan of colors passed over fender flairs, windows, body trim, etc. How could I possibly expect to paint it and not have it bleed?
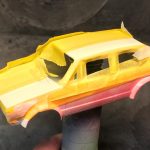
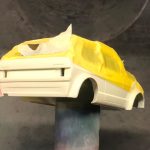
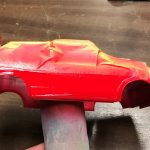
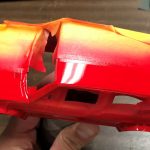
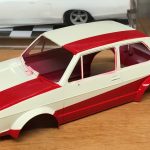
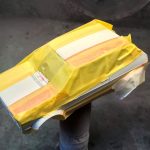
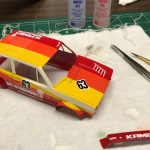
Early spring 2018, I decided it was time for no other reason than I needed to be brave and do it regardless of the outcome. I would start from the bottom and work my way up. For the paint along the roof and hood, I took several measurements, marked the body and masked. For the sides, I used the box art and did my best to run the tape in the right direction. Speaking of tape, I used Tamiya’s new thin vinyl masking tape. The tape made it easier to work around the challenges on the body. As added insurance, I started each color by spraying clear coat along the tape’s edge. The idea was that any paint bleed would be clear and seal the gaps.
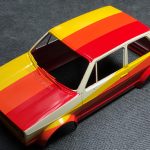
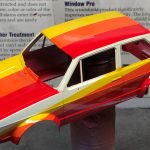
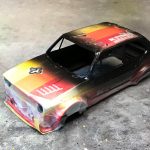
After spraying the red, and seeing how well it worked, I found the confidence and motivation to finish this project! I used the same idea with each color, spray the clear, then follow with color. If I had to do it again, I would start with the yellow and work to the red. The yellow paint was more transparent and I had to spray a thin coat of primer to make the color even. Once I finished spraying the yellow, I wet sanded the whole body to remove the ridges left by the masking and sealed it with a coat of clear. I was stunned by the amount of tape I used through this process!
The next brave step was applying the decals. I’ve always had bad luck with Tamiya decals. Once I dug into the work, I was able to quickly finish applying the decals. Although not perfect, I was still pleasantly surprised by the results. After a day or two, I sealed the decals with a couple of coats of clear.
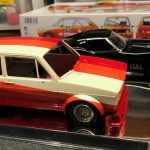
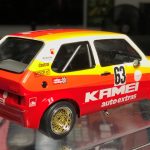
After the clear cured for a few days, I sanded and polished the body, painted all of the trim, painted and attached the tail lights, finished the exhaust with a polished aluminum tip and wrapped up any leftover detail work. It was done and it turned out great.
Shortly after finishing the Golf, I made a decision to start shading panel lines. It was something I realized I needed to add to my projects but I didn’t want hard black lines that I’ve seen on other builds. I learned that the color used for panel line accenting has to compliment the color of the body. I settled on medium gray for the Golf and I couldn’t be happier. It is subtle and it makes a big difference.
In the end, I couldn’t be happier. I conquered my deepest fears and now I have a great looking model. Even greater is the confidence I have for future builds.
Completed: April 2018

