
The Build
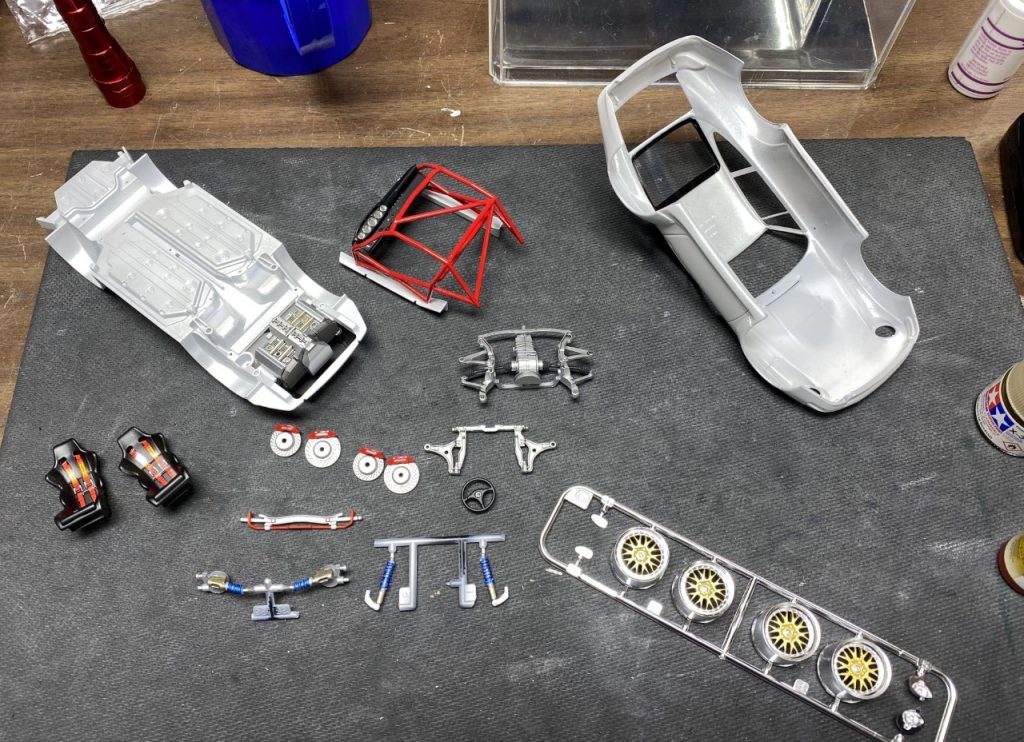
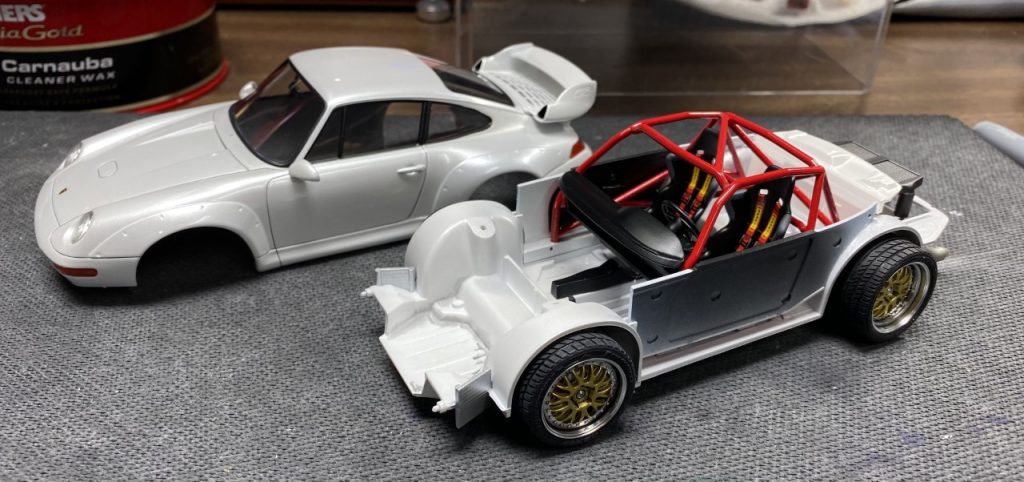
You can never go wrong building a 911. I picked up this kit at a swap meet for a song and it was almost completely unbuilt. Definitely a bargain! Being a Tamiya kit, I knew it would to together will with minimal issues.

Interior
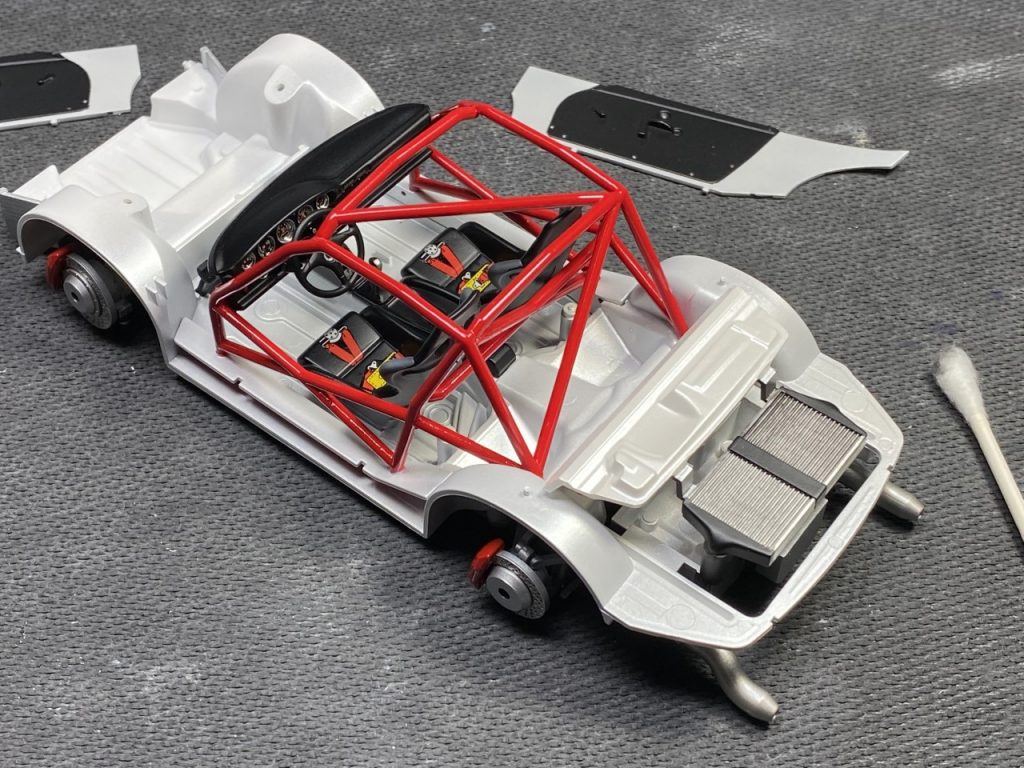
The interior is sparse given that this kit is a road going version of a race car. Inside, there is a dashboard, center console, door panels and a roll cage. Oh, and a pair of seats. No carpet or other trim. Definitely a car for the serious driver!
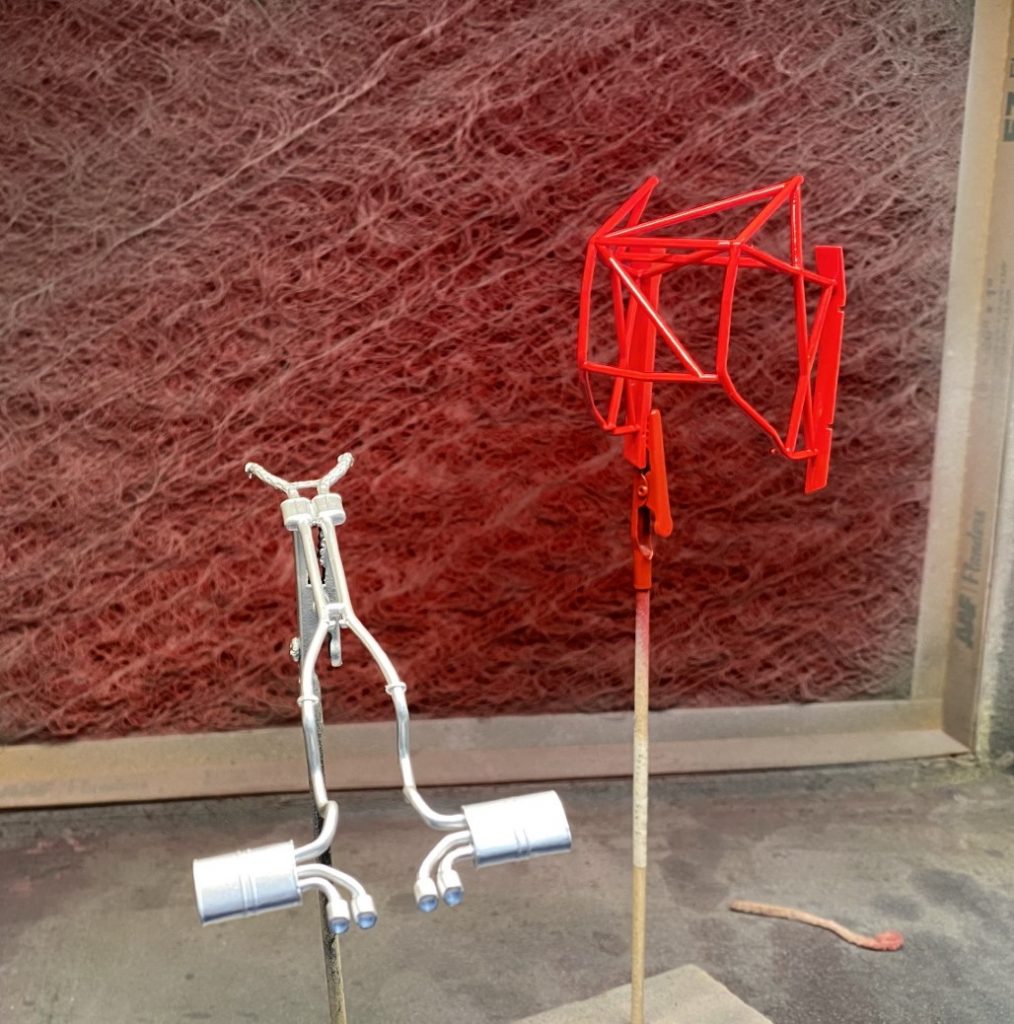
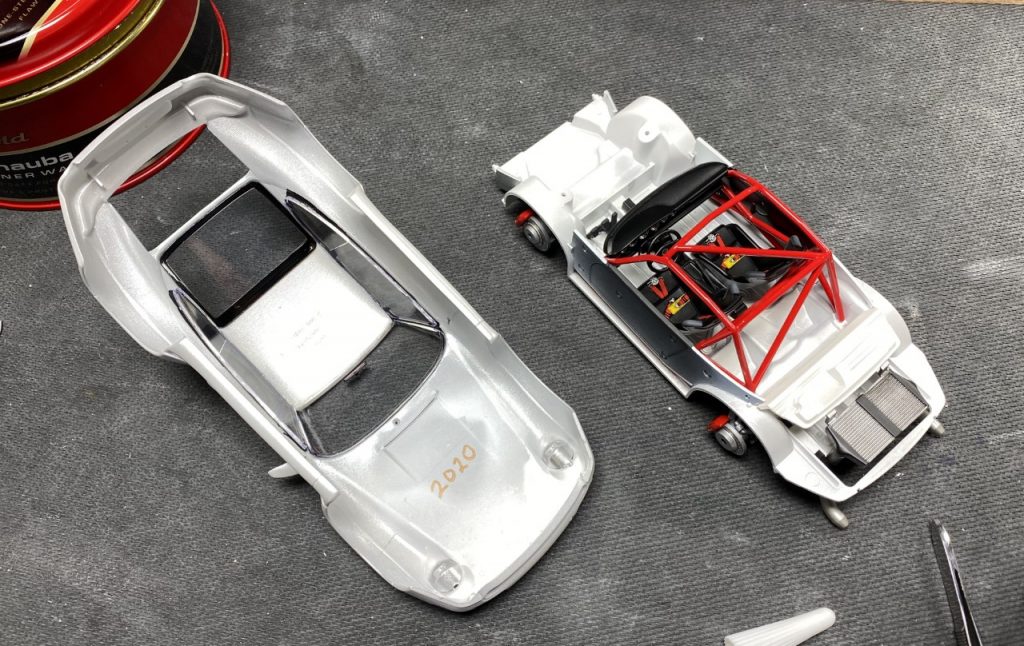
Once I decided the car would be white, I wanted to paint the roll cage red to add contrast to the build. Later I realized that in reality, it would be very challenging to paint he cage a different color than the car if it were welded to the frame. That’s all right. It’s a model and doesn’t adhere to the same rules as 1:1. That being said, I fully assembled the cage and cleaned all the mold lines. Preassembly drastically improved the ease of finishing.
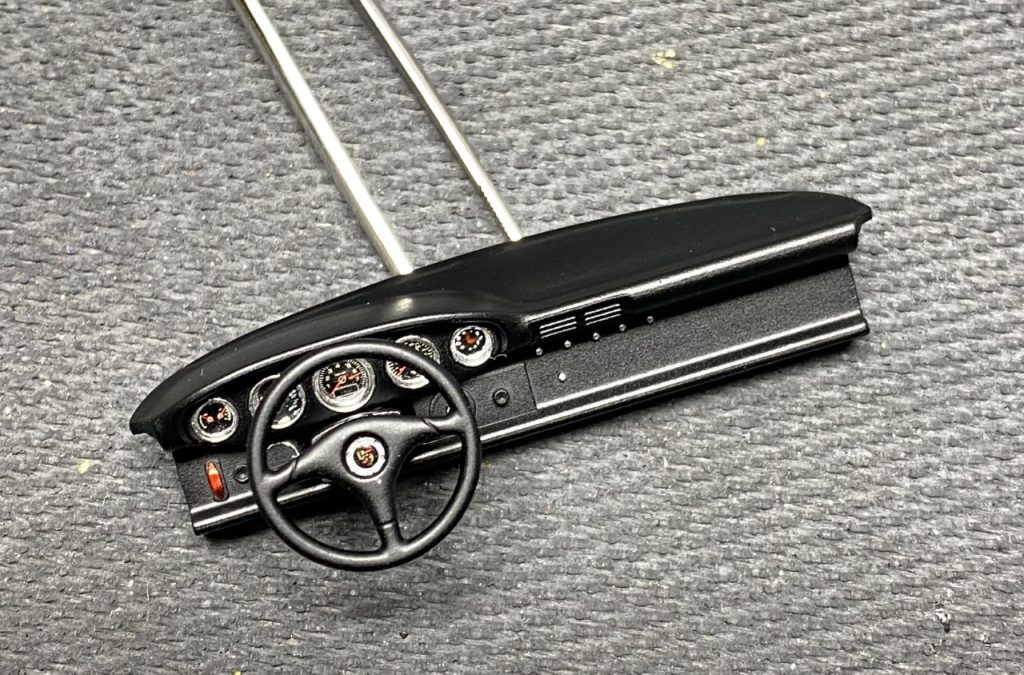
One of the few areas where detail can be added is the dashboard. The dash and parts were sprayed Tamiya semi gloss black. I used Molotow chrome to highlight the gauge rings. Later I added the gauge decals and picked out buttons and knobs with silver. Admittedly, I ruined one decal and managed to hand paint a convincing replacement.
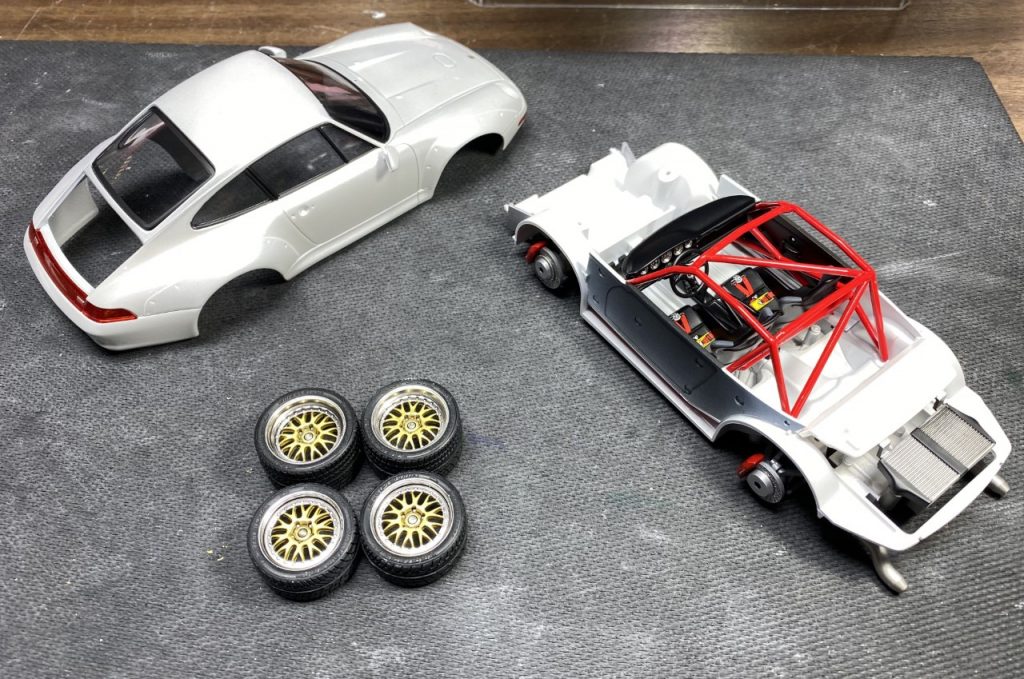
Once the cage dried, I masked it and sprayed the lower portion body color. Also painted body color, the inside and outside of the chassis. The seats were sprayed semi gloss black and then covered with the included seatbelt decals.
Before wrapping up the interior, I painted the door panels and the intercooler. Once finished, the interior was complete.
Chassis
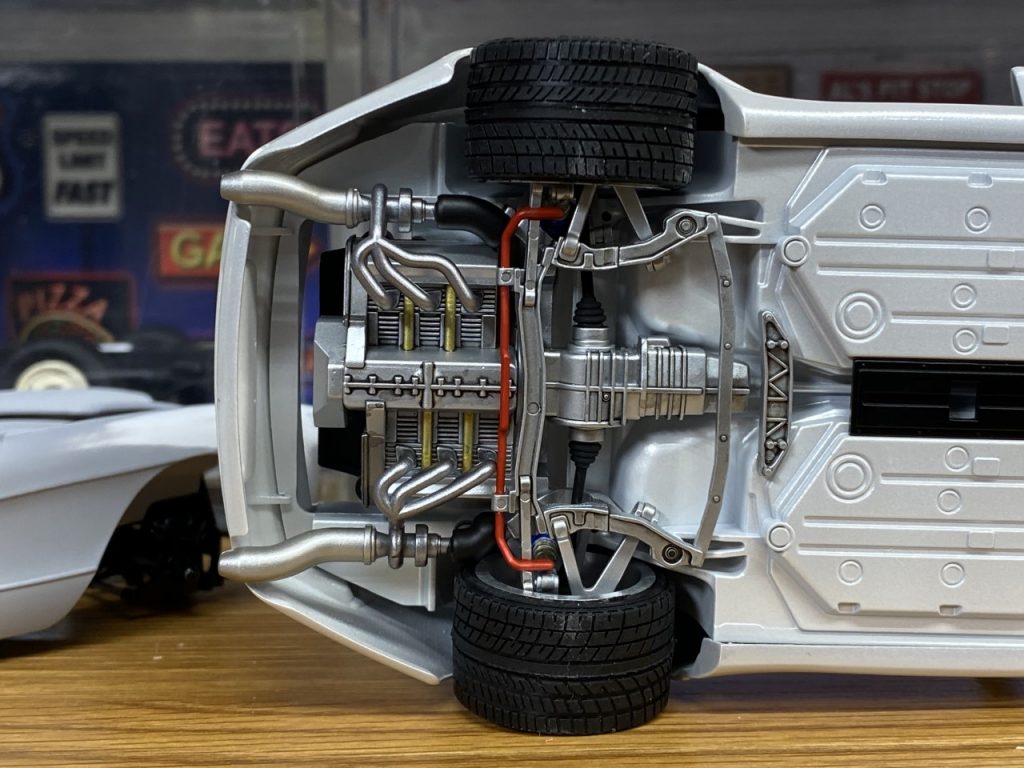
Although the engine was molded into the chassis, it was easy to mask and paint. I followed the callouts in the manual and then followed up with a wash to add depth and detail to the engine.
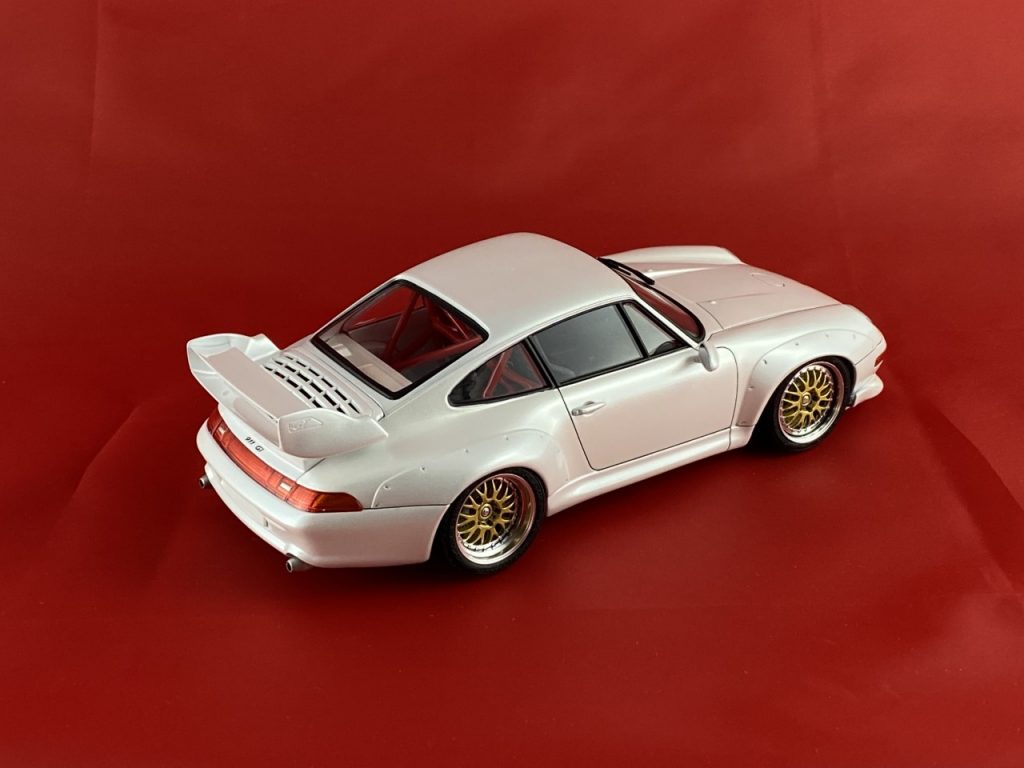
One minor mistake I made with the taillight was not adding black details to the edges. The omission is not obvious to the untrained eye!
The wheels were hand painted Tamiya gold.
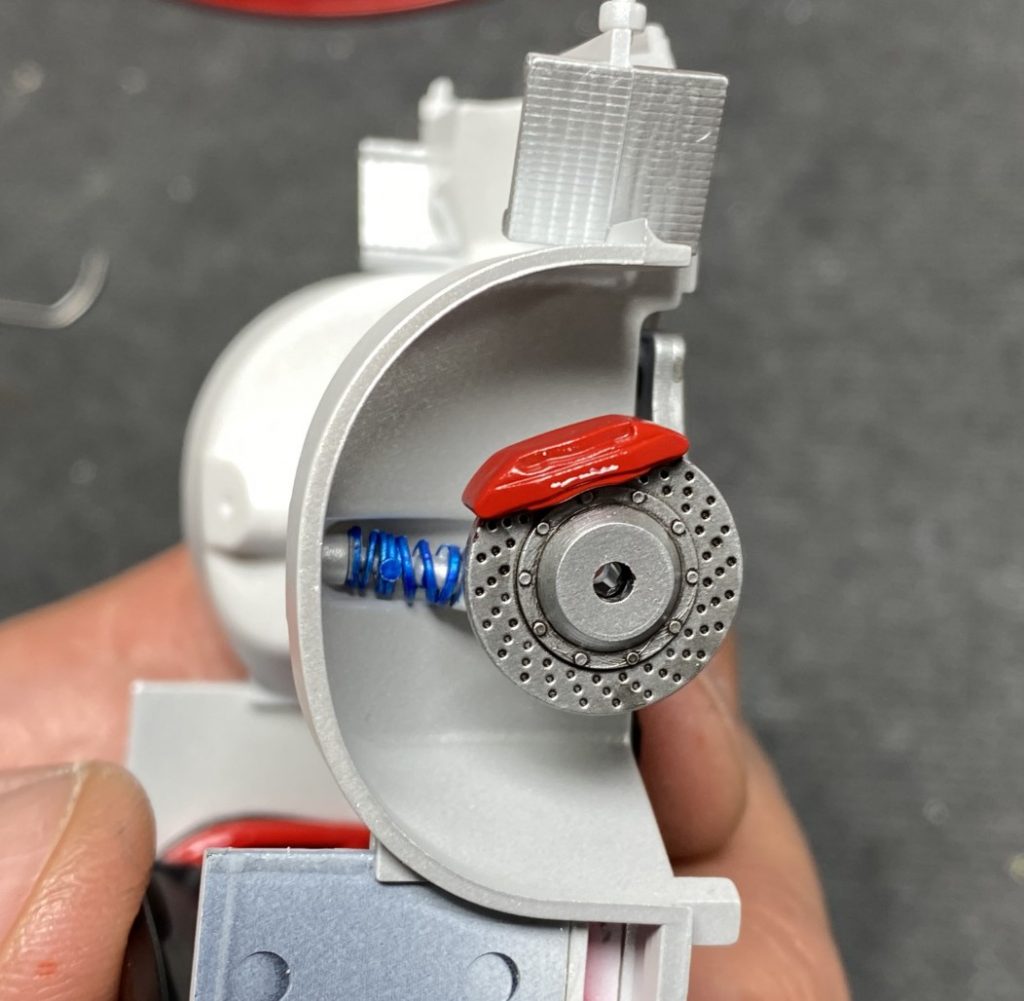
I managed to get the first three caliper logos attached with no issues. The final decal did not cooperate and turned into many tiny pieces. I decided to try and hand paint the logo and was pleasently surprised by the results. Not perfect but definitely passable.
As I mentioned, the engine details very nicely. Once the exhaust and suspension are installed, there is no telling it was molded into the chassis!
Body
The engine cover was the most challenging part of cleaning up the body. Whoever started this build had tried to putty the seam between the two halves and made a mess. I had to scrape away the first attempt and corrected the issue. Prior to paint, I also added the rocker panels. They are supposed to be painted black and attached during final assembly. Rather than follow directions, I glued them in place then eliminated the seam. I think it is a much cleaner look.
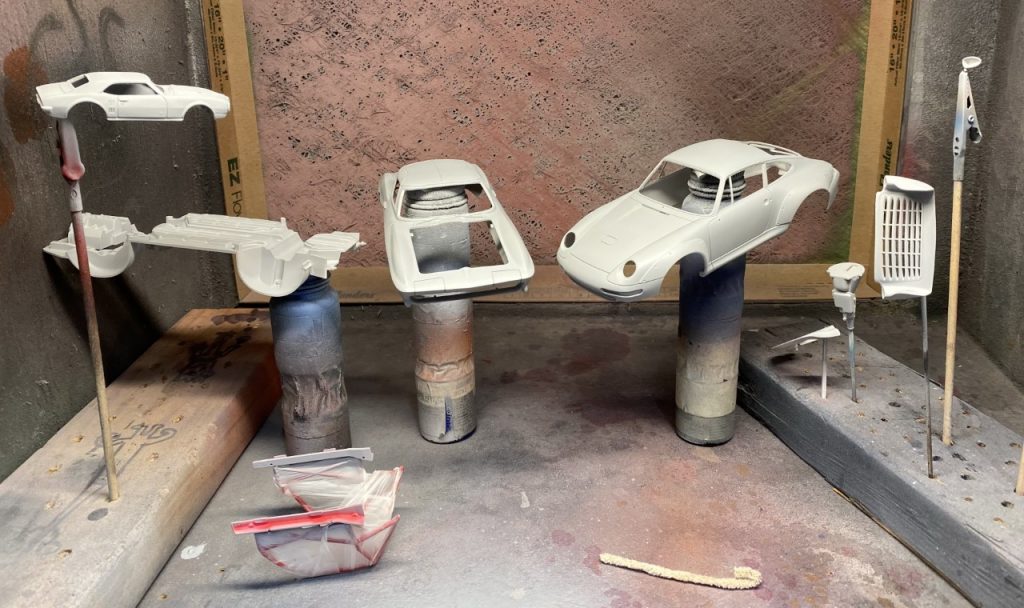
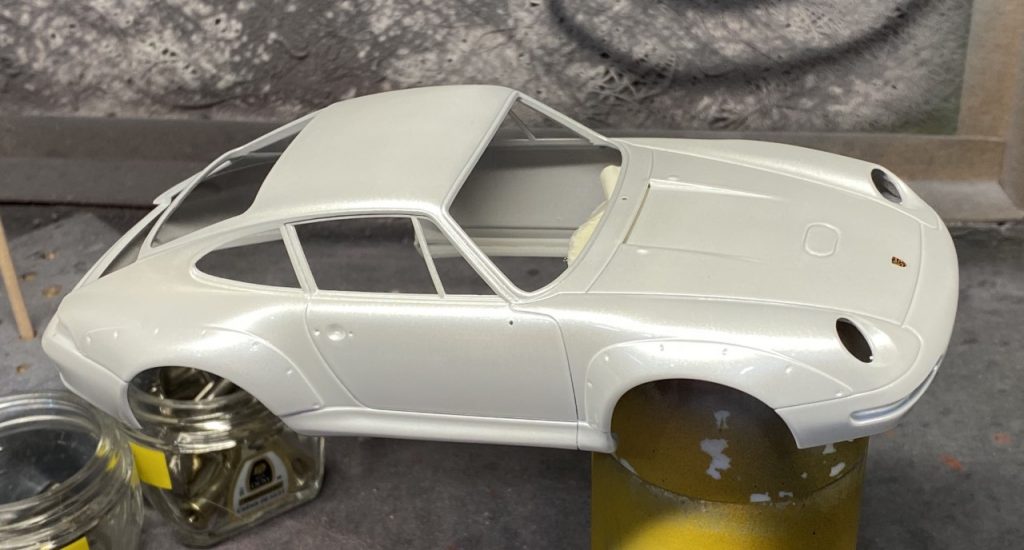
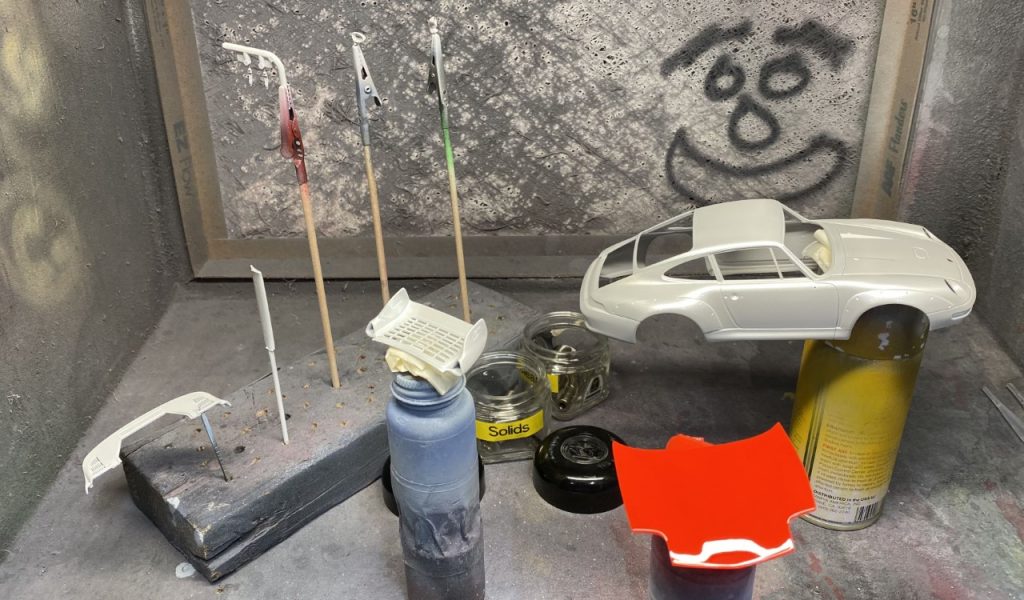
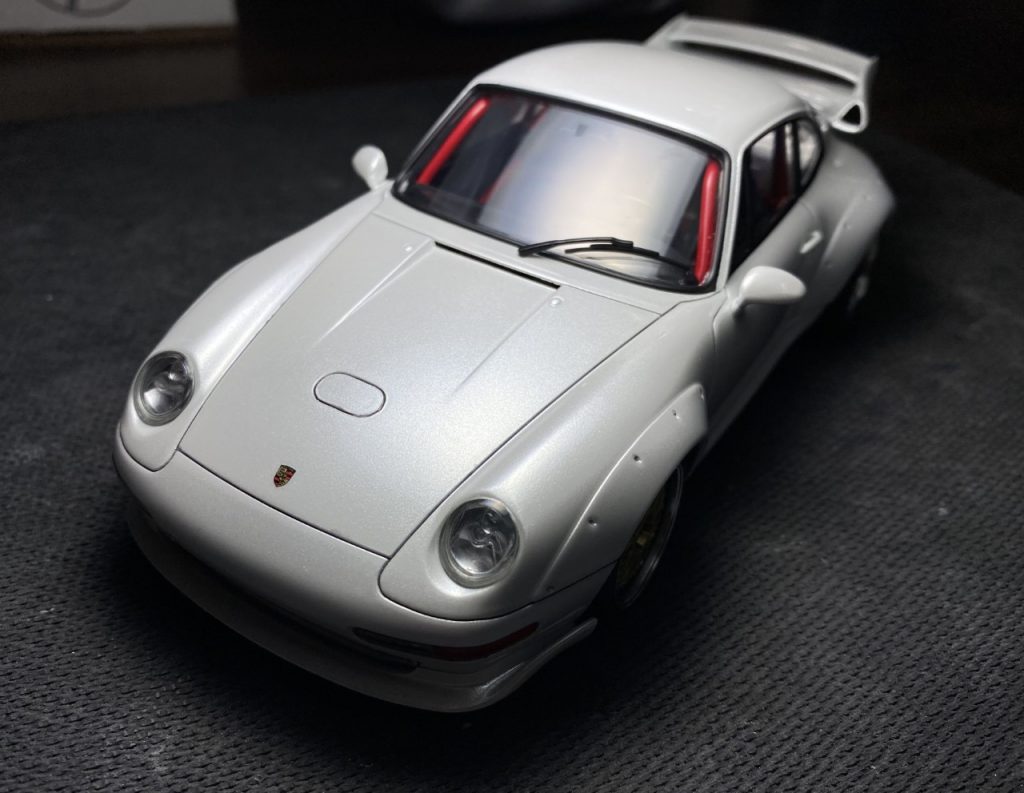
Beyond that, after repairing any damaged caused by a wandering scribing tool, the body was ready for paint. Initially, I had primed the body with light gray Tamiya primer. After a quick test, I realized the Gravity Colors, Lamborghini Bianco Canopus needed white primer to look like pearl white. I quickly covered all of the body parts in white primer.
After attaching the emblems, that didn’t disintegrate, I sprayed the body with 2 part clear coat. This was possibly one of the smoothest clear coats I’ve ever sprayed! I only sanded and polished the top surfaces to get rid of some dust. Otherwise, the rest of the body polished very well.
Wrapping up the detail work on the body, I masked and sprayed the window trim. Then glued the windows in place.

Final Assembly
At this point, there really isn’t that much to do. The body and chassis are complete. All I need to do is marry them together for the last time and add the front air splitter. One thing I realized was that the engine cover could be glued in place. In reality, the only thing under there is the intercooler and you can see it through the vent. It was a pleasing discovering given the fact that it would stay in place.
Other details added were the headlights, door handles, rear view mirrors and license plate mount. The original decal for the plate disintegrated.
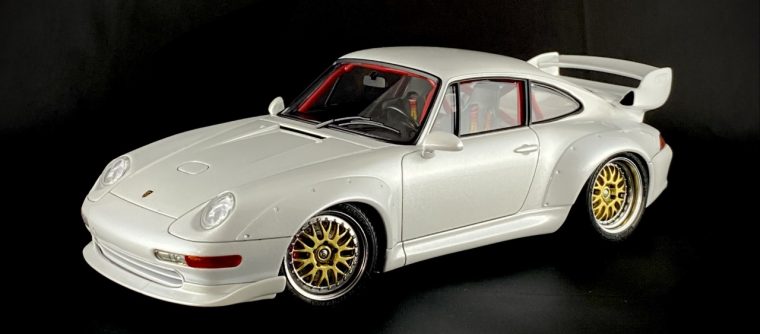
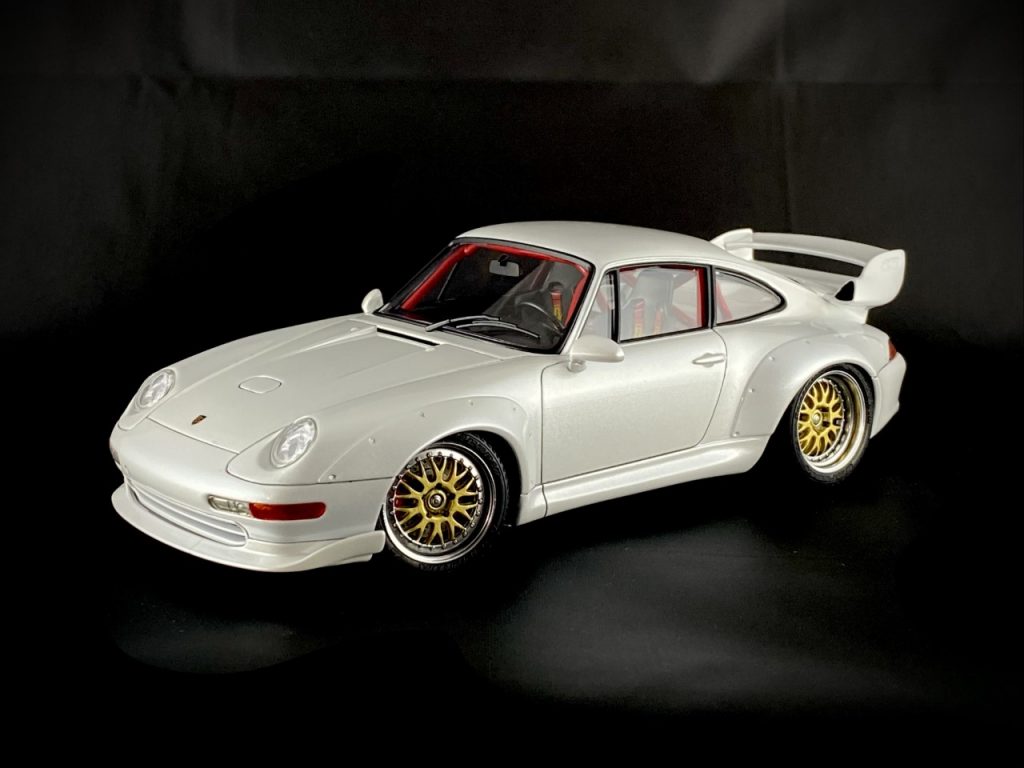
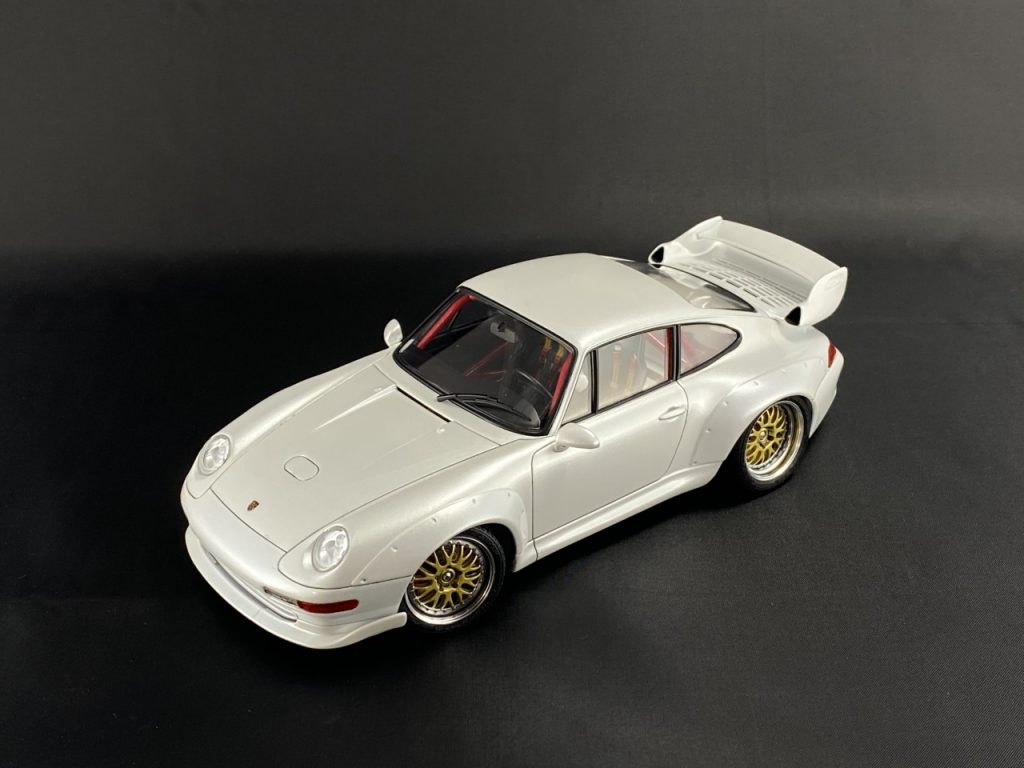
Complete!
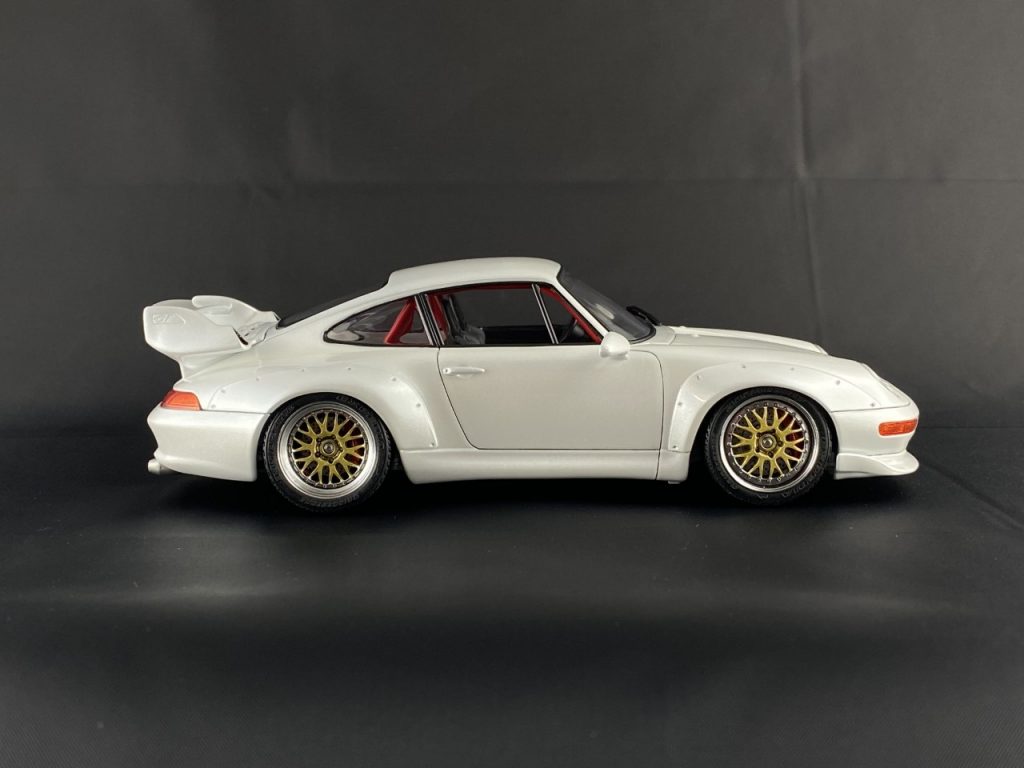
That’s a wrap! I am very happy with this build. The fit and detail of the parts were impeccable. The stance of the suspension is flawless. I couldn’t be happier with my color selection and the decision to paint the roll cage red.

Final Thoughts
This is easily one of my favorite builds. It was easy to build, and looked amazing with minimal effort. I recommend this kit to anyone looking for a clean Porsche 911 build.
Completed: July 2020