Slowdown
Having wrapped up several builds in July, I found myself with no projects near completion and waning motivation to moving again. As I contemplated my direction, I decided it was time to dig into my last clinger project as well as the Riviera build. Both require quite a bit of “fabrication” which is why I was dragging my feet. Progress was made.
Charger
I started this project about six years ago. I’ll make progress and get stuck. My last big speed bump followed the need to strip the paint and start over. I made the mistake of spraying color before I finished all of the fabrication. Or, I decided to do more fabrication after it was painted. I can’t remember.
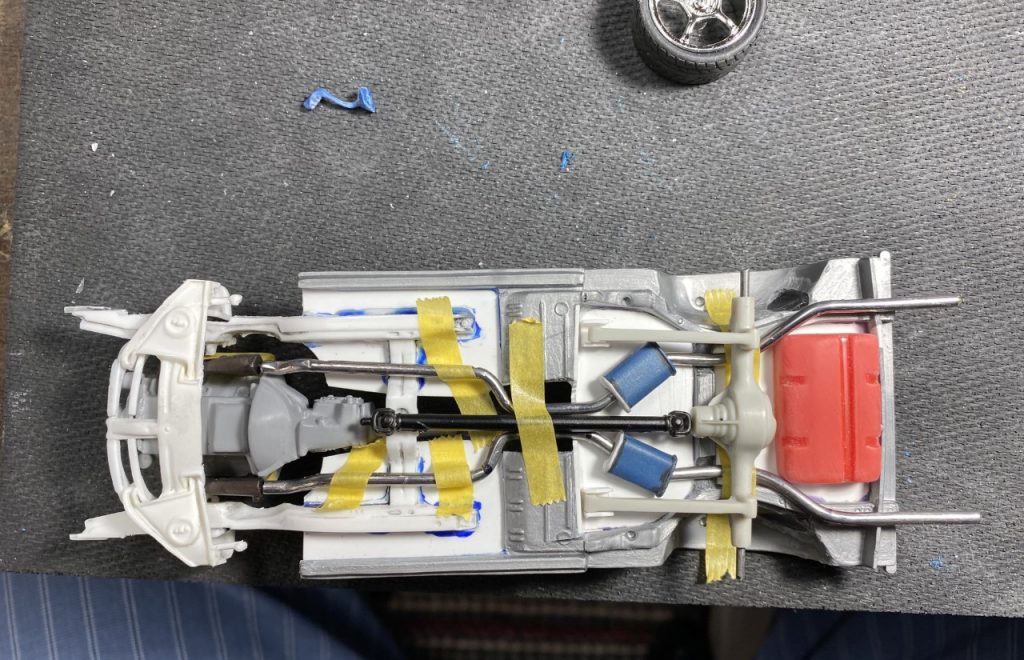
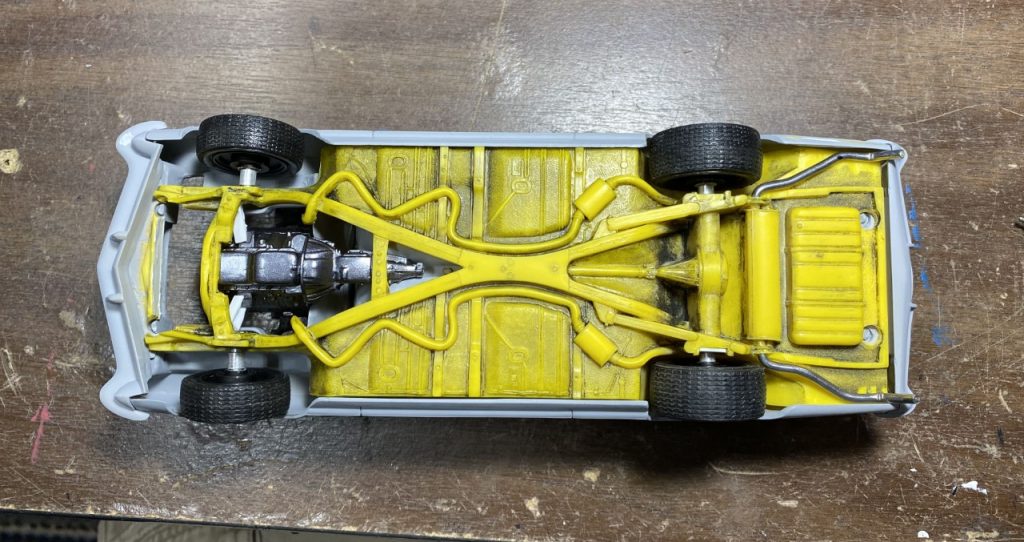
The substantial fabrication work which grated the 69 Camaro front subframe to the chassis was completed last year. I needed to fabriacte engine mounts and an exhaust. Modifications to the engine and oil pan, albeit not realistic, was completed to clear the crossmember. After completing the engine mounts, I was able to mock up the exhaust and placement of mufflers, rear axle and gas tank.
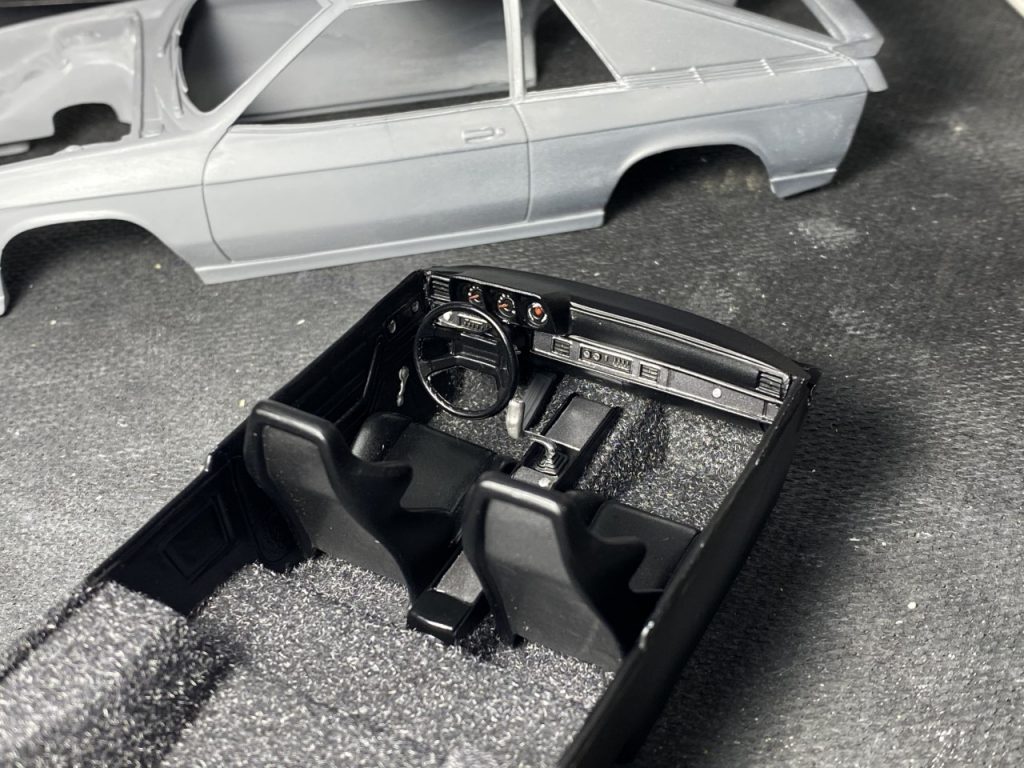
With the fabrication of the chassis pieces complete, I moved on to finishing the interior and painted the engine.
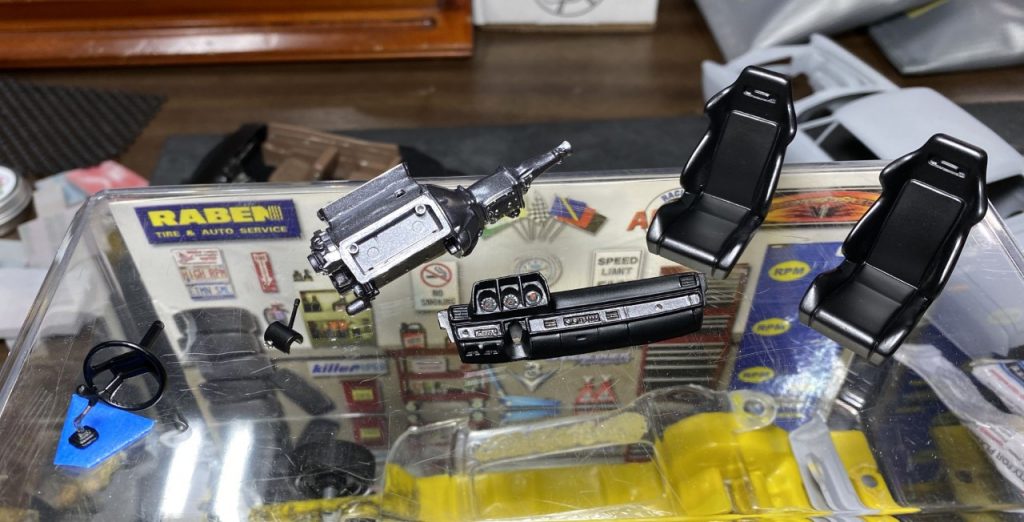
I painted all of the interior pieces, added flocking for carpet and detailed the dash and gauges. Once complete, the interior was assembled.
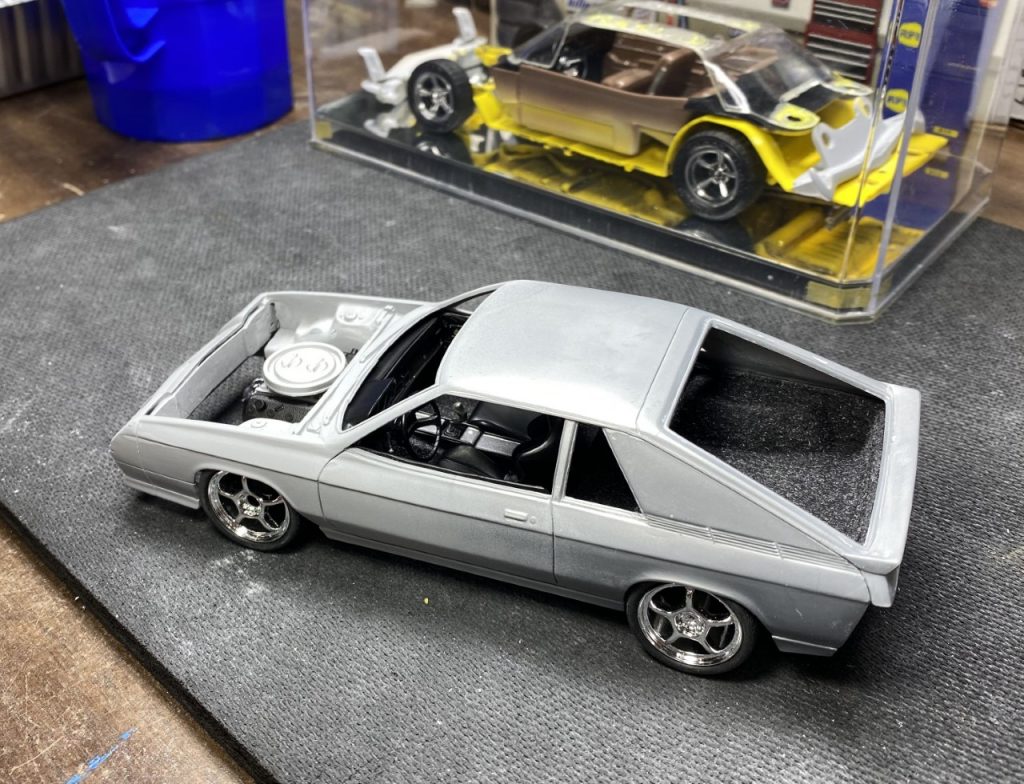
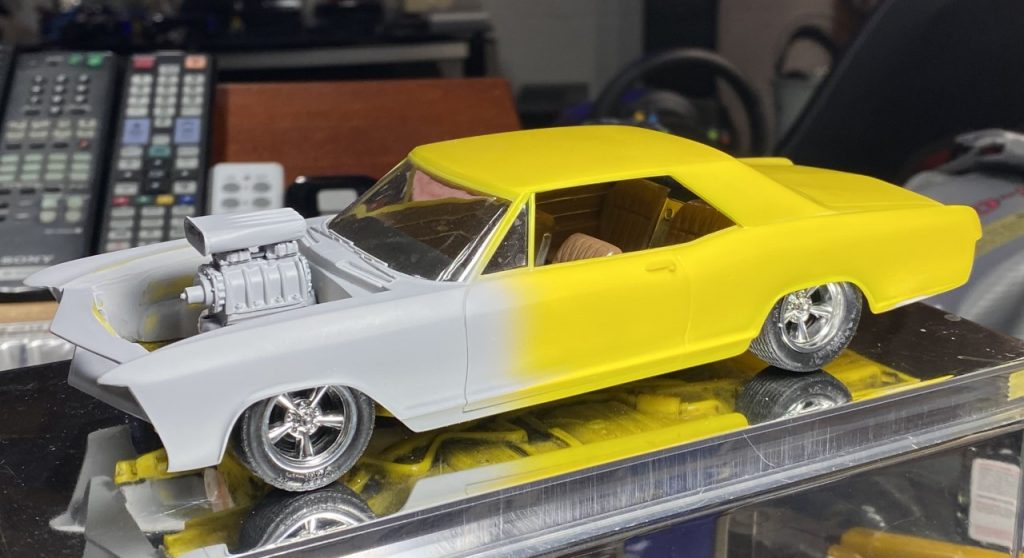
Riviera
The Riviera is definitely not a long term project. However, I wasn’t really motivated by the fabrication work necessary on the chassis and engine bay. That being said, I continued the process of shaving the engine bay, created engine mounts, added front and rear “axles” and made tail pipes for the exhaust.
Odds and Ends
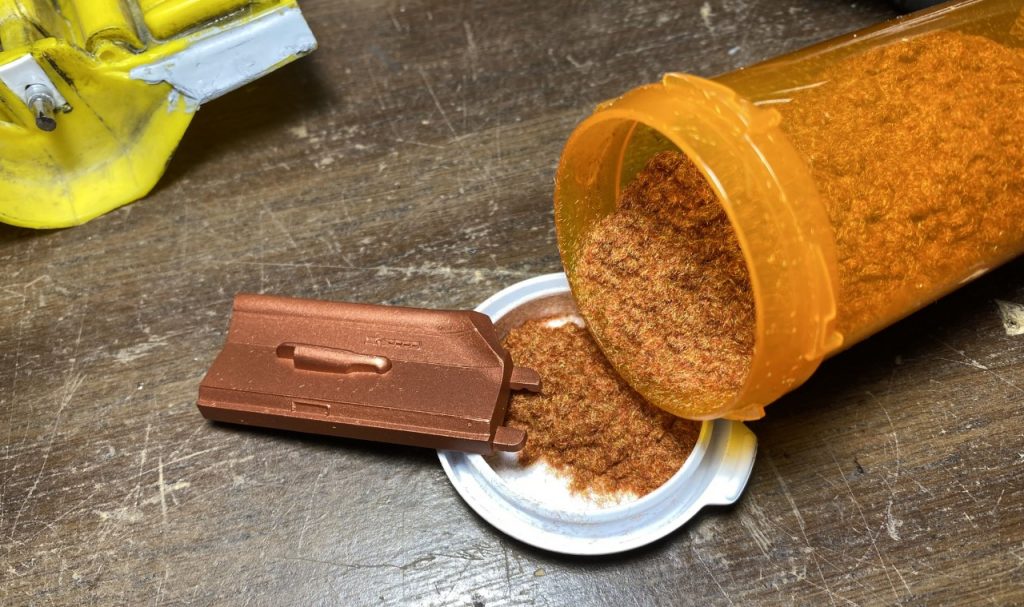
My Chrysler Turbine car project needed copper colored flocking for the interior. I thought about using embossing powder and painting it but I’m not a big fan. That would have been an easier route. While going through Flockit.com’s website, I noticed that offered custom blends per order. With that in mind, I searched for how to mix a copper color. The suggestions were to use some combination of orange, red and yellow…I think. Regardless, I ordered yellow, red and orange flocking and started mixing them. The result is the copper colored flocking I was after! Now I need to start working on the Turbine car again.