
Starting off slowly
Coming off the heels of an excellent build year, I thought I would take a more conservative approach for this year. I started by finishing up my display case lighting project and photo shoot of all my builds. (Also, the conservative thing went out the window fairly quickly)
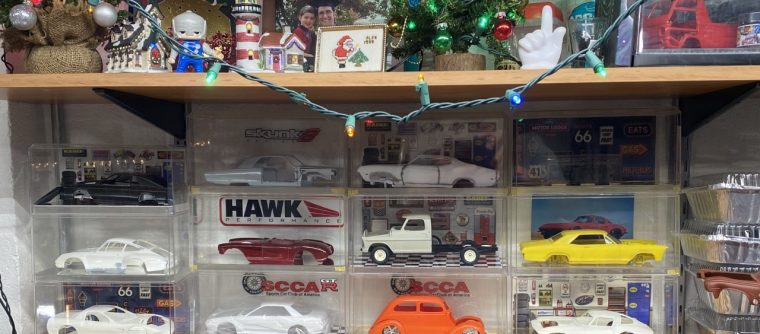
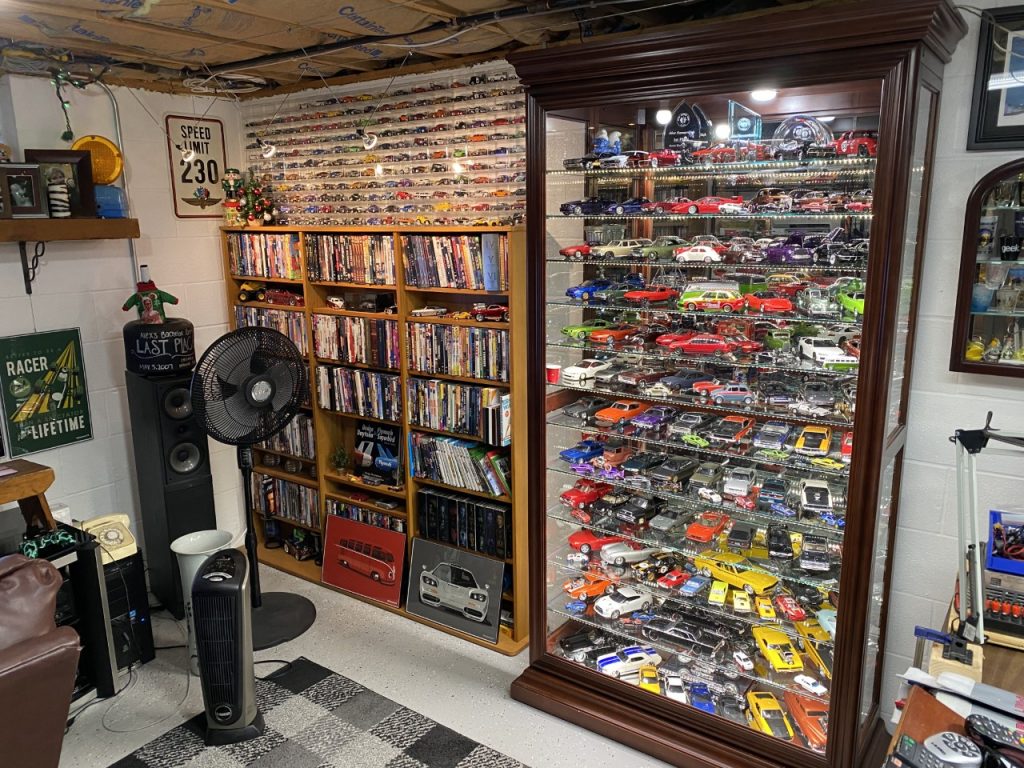
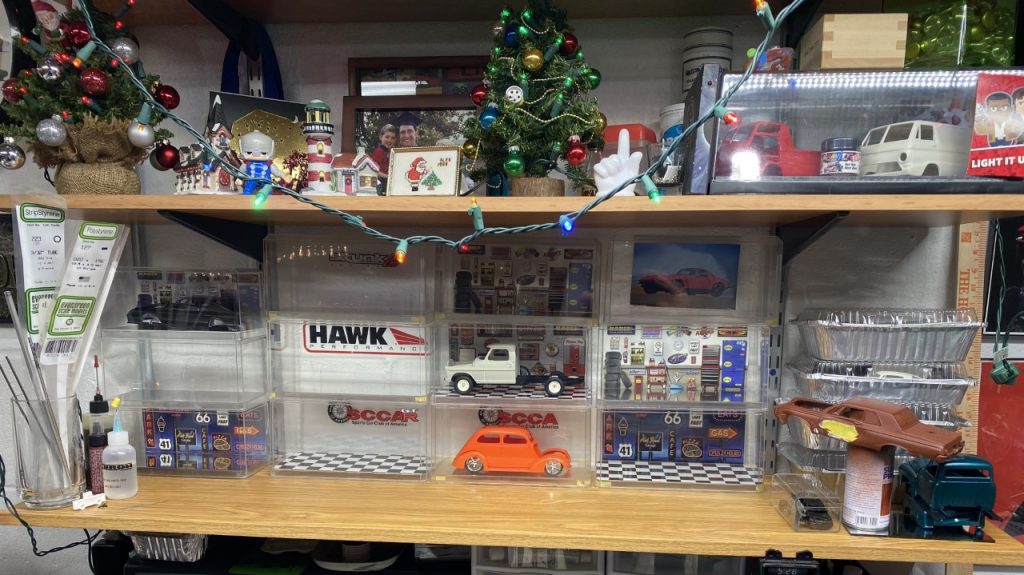
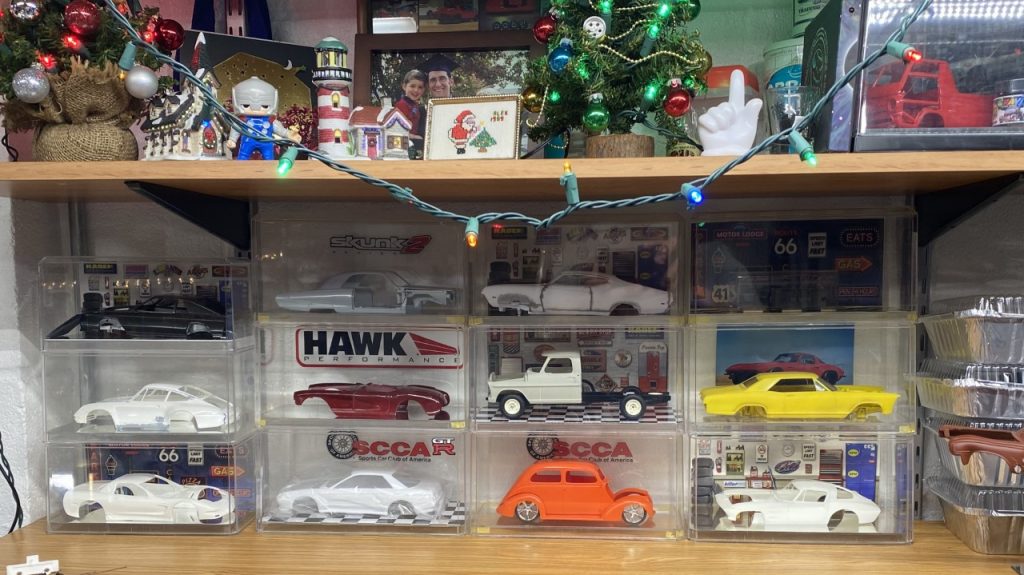
Wax, polish, the shoot. This was a very laborious project that ended with a set of excellent photos of all my work.
I did learn that I don’t need to wax everything when I pull it from the case. Every project that was waxed about 3 years ago showed no improvement with a fresh coat. It probably helps that they are not exposed to sunlight. Based on this, I will be more likely to clean the case in the future. I have always been apprehensive due to the time it takes to wax every build!
What to build?
By the end of the year, I had nearly finished all of my active projects. Picking new projects was easy since I often go through my stash and plan new builds.
The new builds
- MPC ’82 Charger “Hemi” – Carryover
- Moebius 71 Ford Ranger – Carryover
- Jo-Han Chrysler Turbine Car
- Tamiya 911 GT2 Road version – Rescue
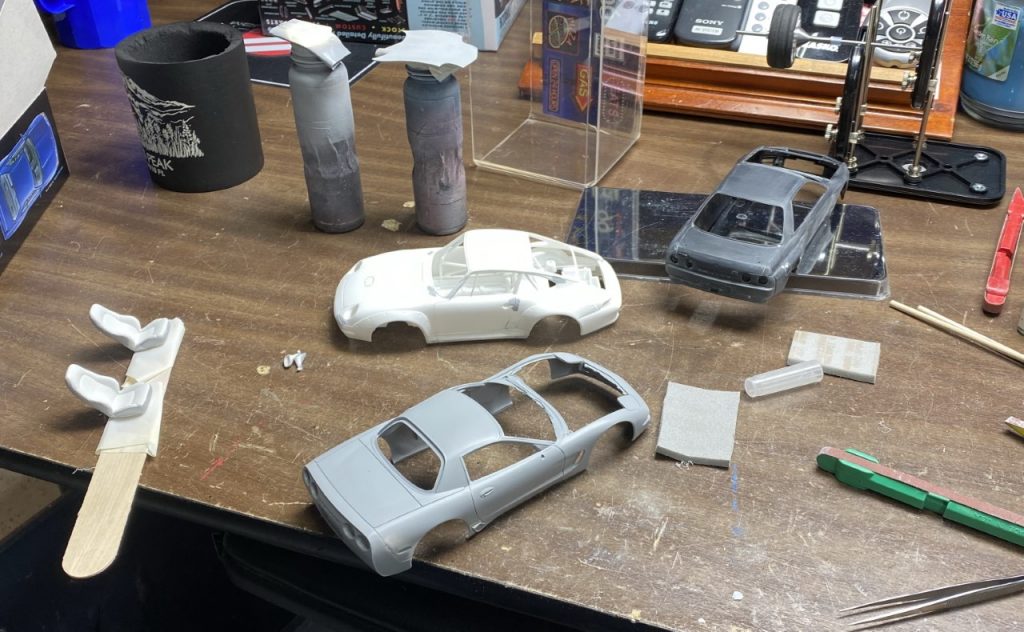
- Tamiya R32 Skyline
- Monogram ’57 Corvette – Resuce
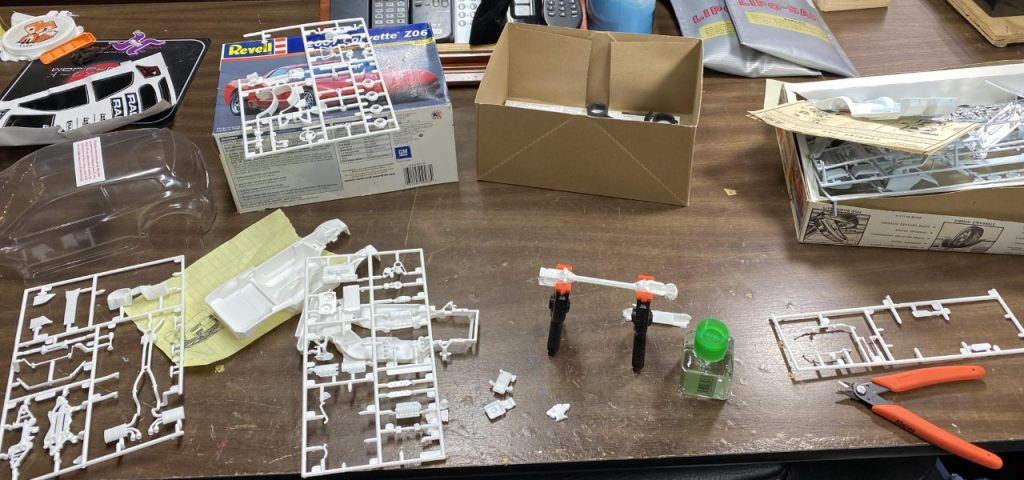
- Revell 2001 Z06 Corvette (yes, another one)
- Monogram 37 Ford – Rescue
- AMT ’63 Corvette
- Revell ’70 Ford Torino
- Unknown ’65 Buick Riviera – Rescue
- 1/64 Dodge Magnum restoration
As hard as I pushed myself at the end of last year and the momentum I had, I was finding it hard to hone in on any one project. I tended to tinker with several at the same time all while continuing to move forward. Progress is progress.
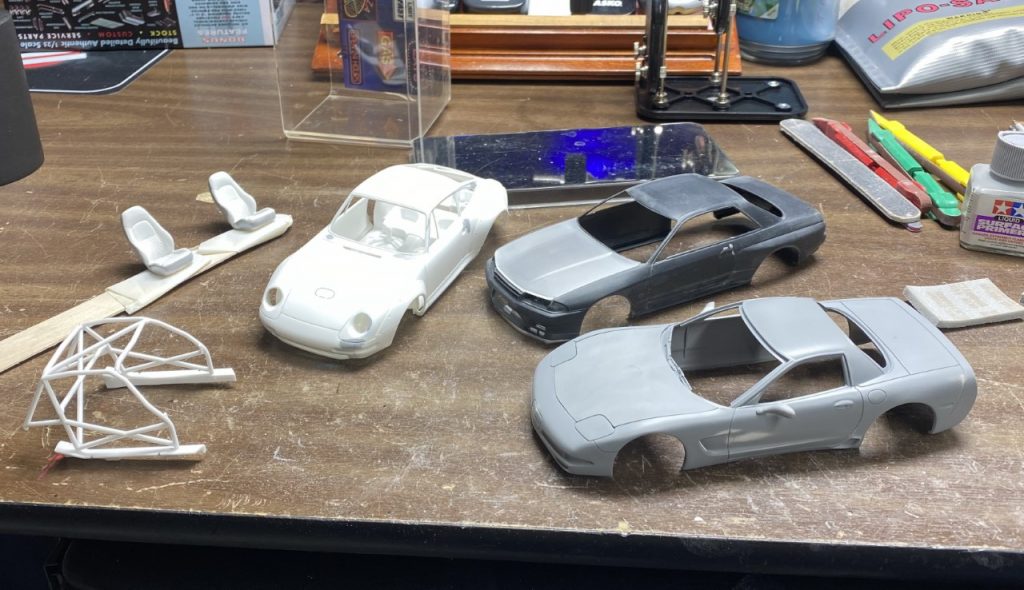
2001 C5 Z06 Corvette
I wrapped up 2019 with the 2004 Corvette and given all of the difficulties I had with the build, I swore I would never build the second one in my stash. Well…I didn’t think the kit was worth selling and I knew all of the hang-ups…may as well build it while it was fresh in my mind!
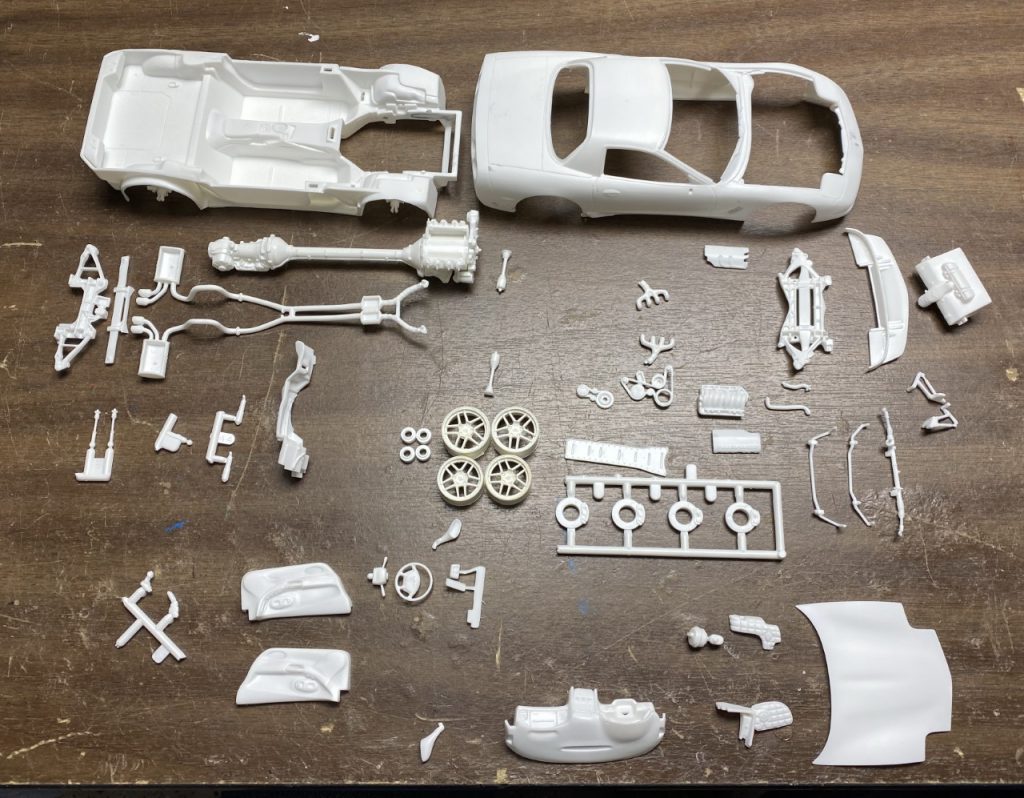
I will have to say, this kit has been a more pleasant build knowing all of the tricks to make it fit together properly.
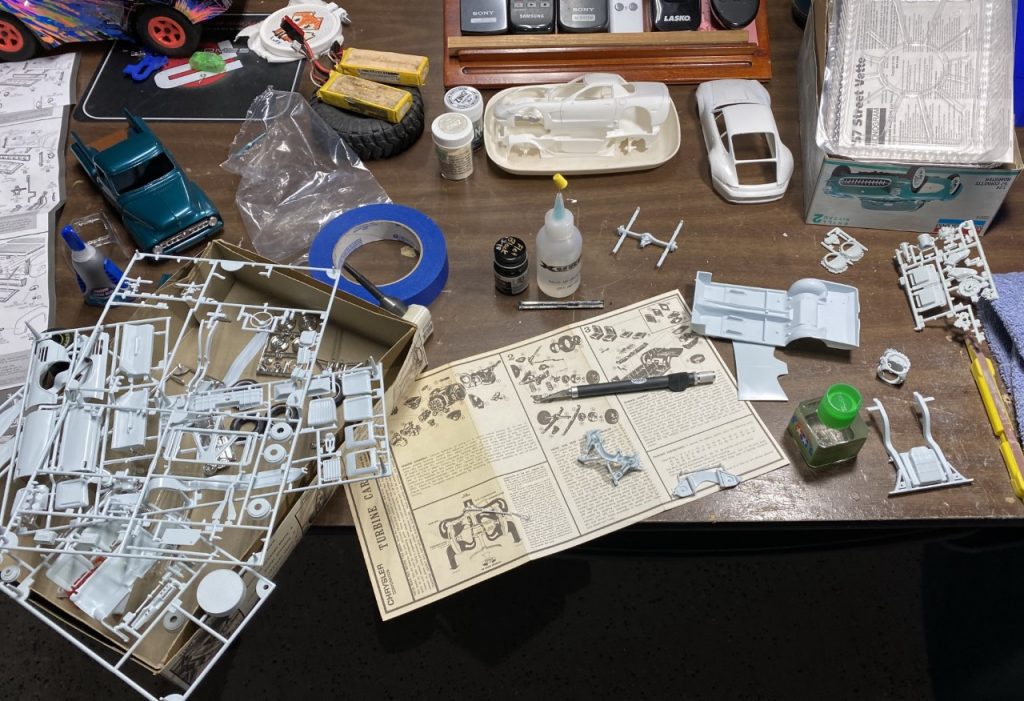
Turbine Car
Having read a great deal about Jo-Han kits in various publications, I decided that I needed to buy at least one. I decided to buy a Turbine Car kit and managed to find one on eBay for a decent price. What a kit! Also, warnings of bad flashing were not an exaggeration! I’m blown away by the parts count and detail of this kit. I definitely look forward to the work!
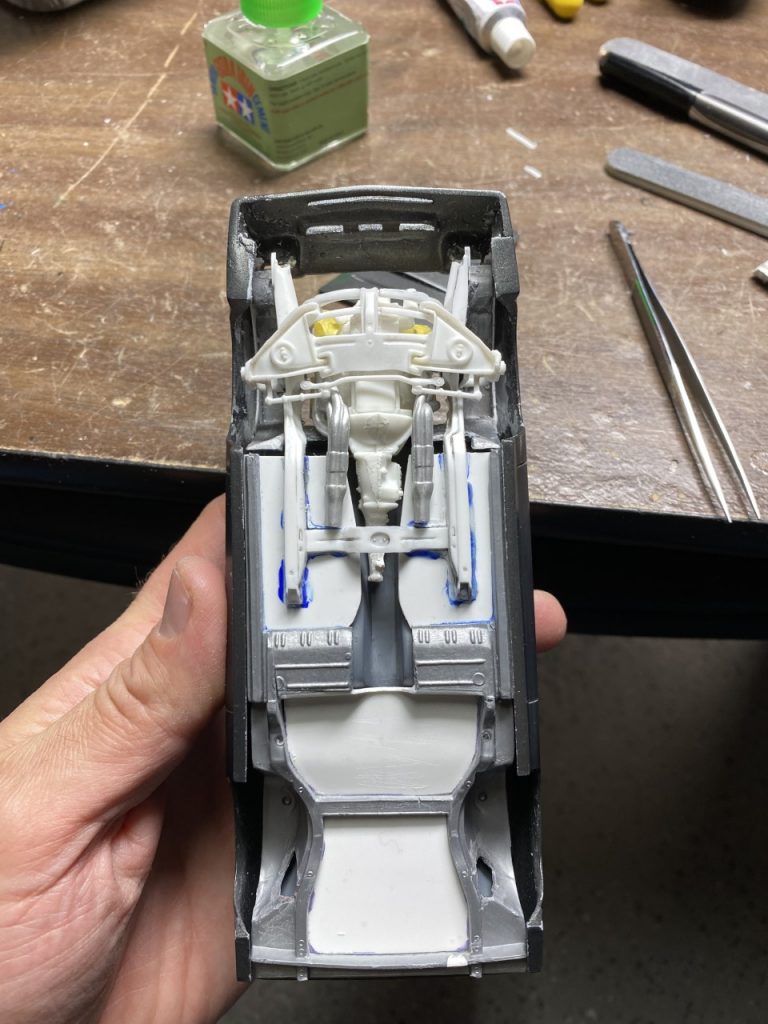
Porsche 911
This kit was a find at a local model swap meet. The previous owner had done very little to the kit making it nearly brand new. I pulled it out and started prepping and pre-assembling the pieces. One part that was nearly finished was the roll cage. I’m glad I decided to assemble it prior to paint. It would have been challenging to assemble it without damaging paint.
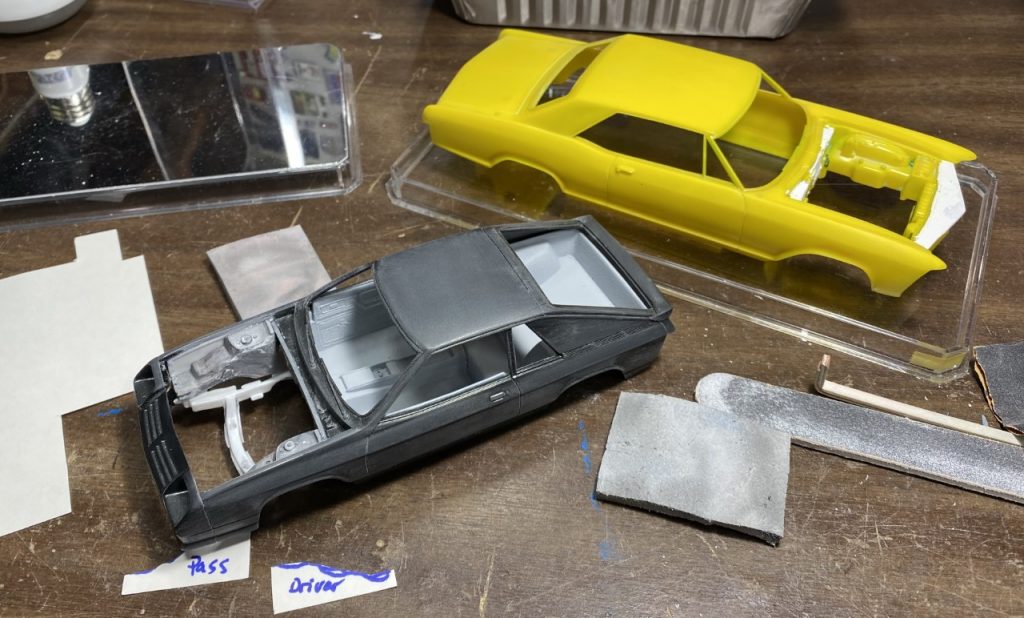
“Hemi” Charger
This is my last “clinger” build. I started it years ago and the work comes in seldom spurts. One recent regret was the fact that I painted the body. It was no where near ready for paint. I also didn’t want to strip it to damage the body work I had completed on the front.
One decision I made last year was to attach the engine compartment to the body. I had already separated it from the chassis plate but needed to make sure the new Camaro sub-frame would fit properly. After adding sheet styrene and doing plenty of grinding, I had everything where I wanted it.
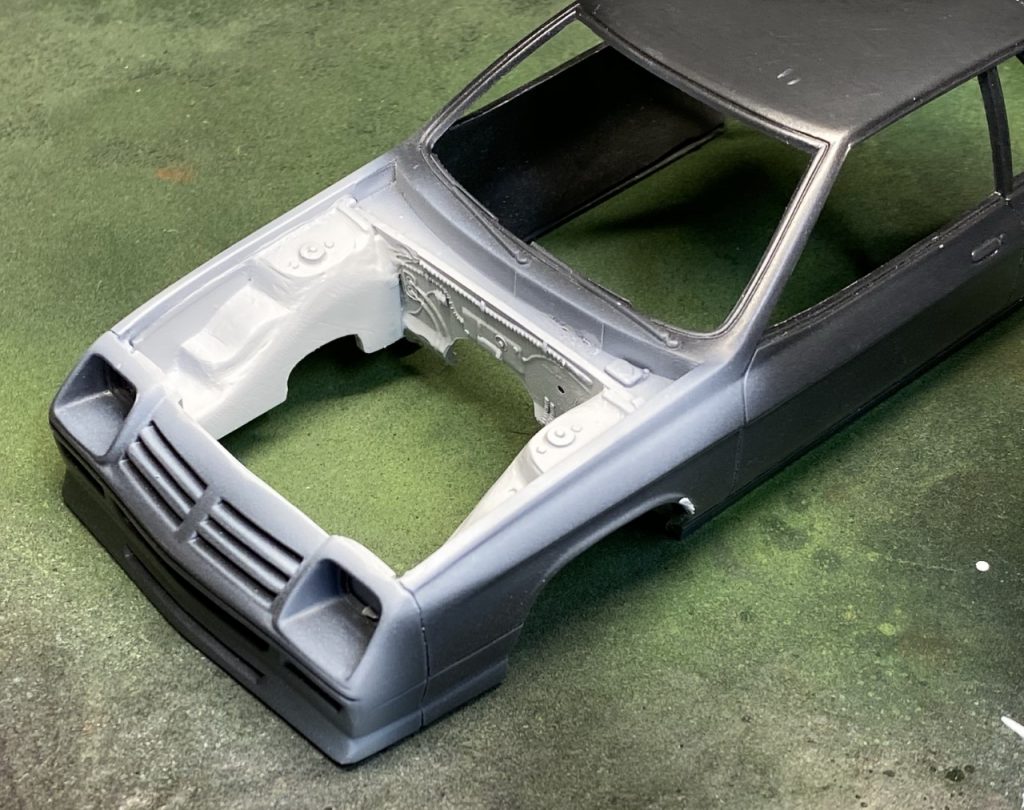
I was able to adjust the sub-frame to allow for using race headers with the Hemi.
It was time to start prepping for paint. The prep work included repairing damage to the existing paint. Alas, I realized I was heading for a mess and decided it was time to strip the paint. <sigh> The project stalls again.
Nissan R32 Skyline
I have two of these kits. One is a Nismo version which is what I had intended to build. However, I decided to build the standard version. To date I’ve separated all of the parts, finished pre-assembly and prepped for paint.
Buick Riviera
As I’ve mentioned before, this was a rescue from a local swap meet. My plan was to restore it and add a new engine and wheels. A quick build. Yeah right! The more I look over it, the more I want to add. This month, I added sheet styrene to fill holes and gaps in the engine compartment.
57 Corvette
Another eBay rescue build. To date, I stripped all of the original paint and started prepping all of the parts for pre-paint assembly.
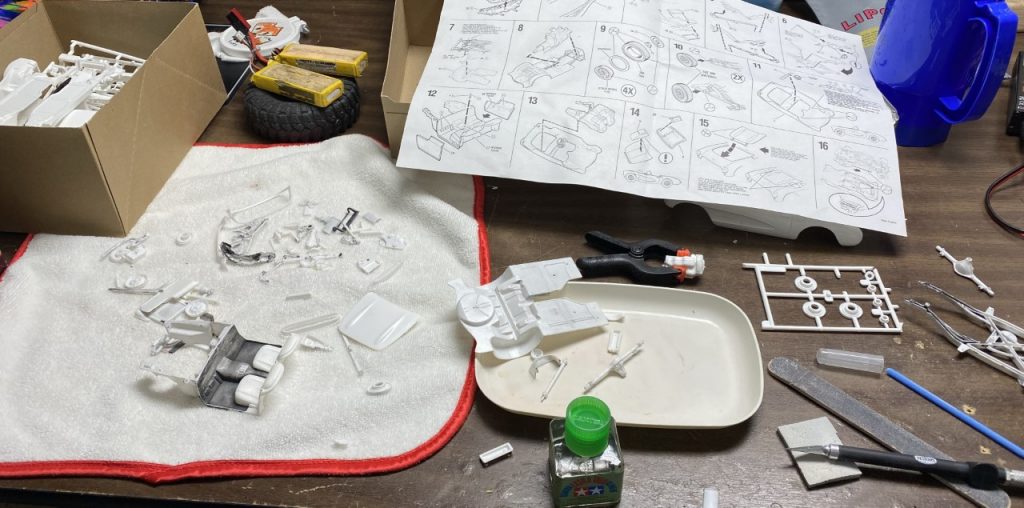
For the most part, I’m making progress but not committing to time in the booth. Not sure why I’ve been reluctant but I am spending time getting projects ready for paint.
Wait, there’s more!
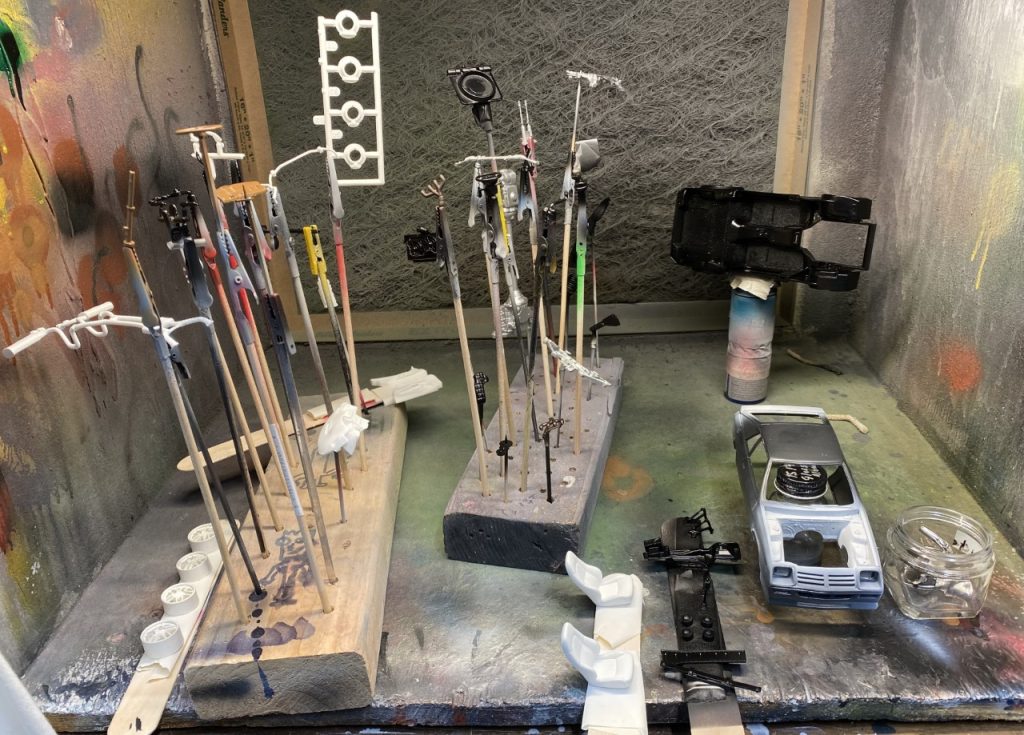
Vette parts attached to sticks and painted. 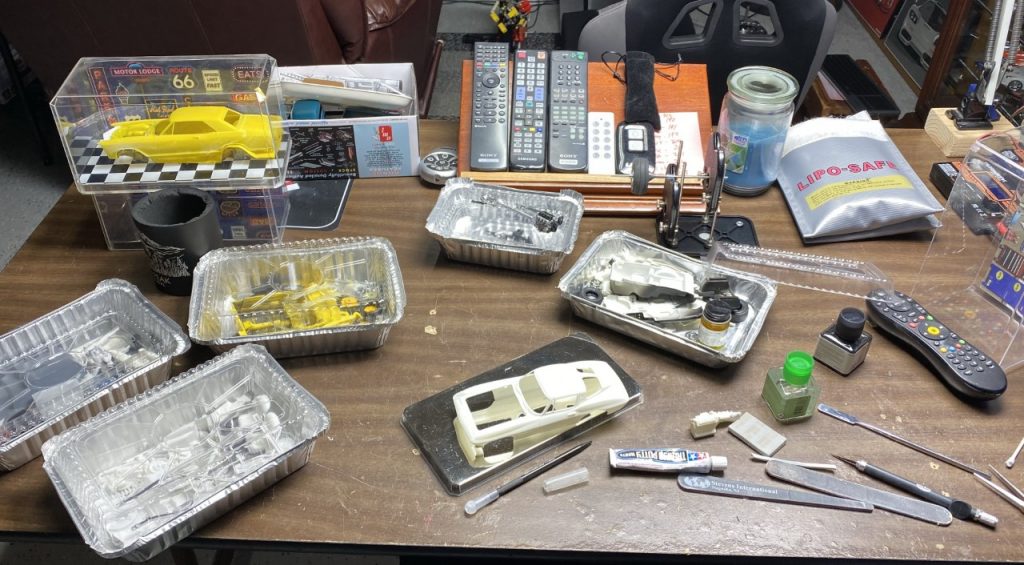
Little bit of everything. 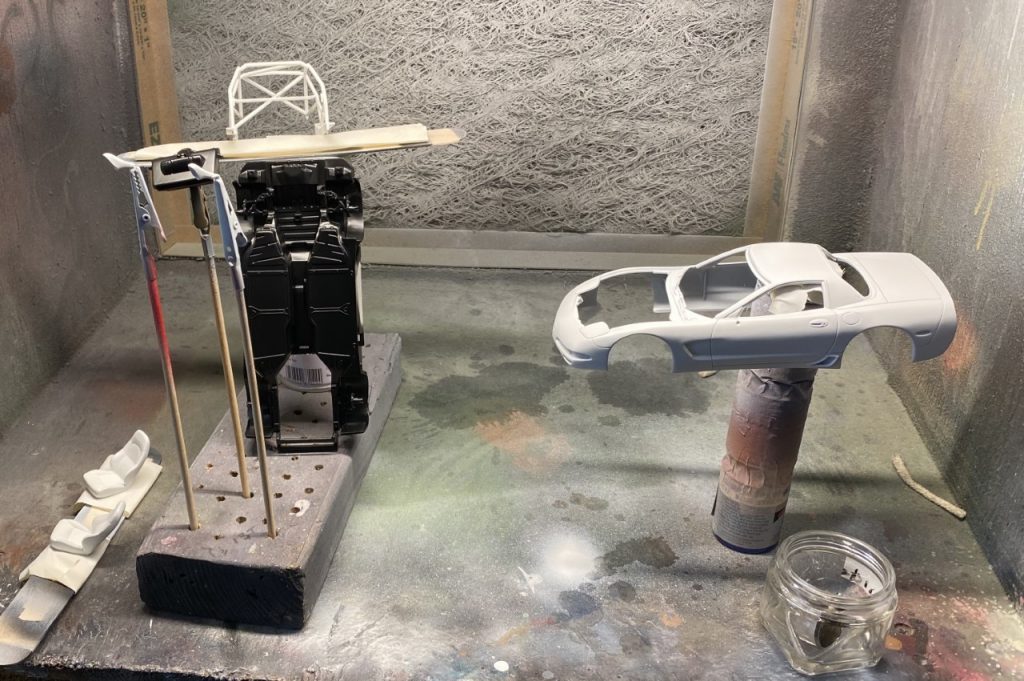
Primed and ready for paint.