Now that the building ball is rolling, I really started to make progress on all of my builds including the distraction builds I started! The most significant accomplishment through the month was finishing my last clinger project. The ’82 Dodge Charger Hemi build.
Charger
It only took me 6 years. On and off through those years, I would often get stuck on a detail and set it aside. There are people who do nothing but big fabrication builds and I applaud them for their efforts! For me, as much as I’d like to do big work like that, being able to finish a project in a timely manner is what I would prefer.
That being said, the Charger was finally ready for paint and with that, the finish line was near!
Originally, I had envisioned the Charger in gunmetal. Late last year, I painted the body with enamel gunmetal. My mistake was painting it before it was really ready for color. There was much more work to be done and in doing so, I damaged the paint in several places. It needed to be stripped and the body work had to be reworked from bare plastic. While I was finishing the body work, I decided to change colors and went with Gravity Colors Dodge High Octane Red. I can’t begin to tell you how glad I am for that decision!
After a few coats of color, I sprayed it with 2 part automotive clear.

Next, I sanded the clear with Micromesh paper and followed that by polishing it with 3M perfect clear and my Dremel tool

Now that the body was finished, it was time to pull everything together. The chassis fell together. Fortunately, my hard work in building all of the components paid off.

For wheels, I prepared a set of Pegasus wheels and Clearly Scale brake rotors.

Attaching the rear wheels was easy. The wheels were glued to the axle pins. Up front, I did not have pins for the wheels. The Camaro subframe and suspension were wide for this build forcing me to shave most of the wheel back and suspension to make it fit. No worries, I just need to glue them in place. I set the ride height with a sanding sponge, taped the model in place and positioned the wheels.

Now that the wheels were attached, I had a few minor details to finish before wrapping up the build. I glued the chassis in place and made radiator hoses out of solder. Lastly, I made exhaust tips with aluminum tubing. After 6 years, I was finally finsihed!


Grand Prix
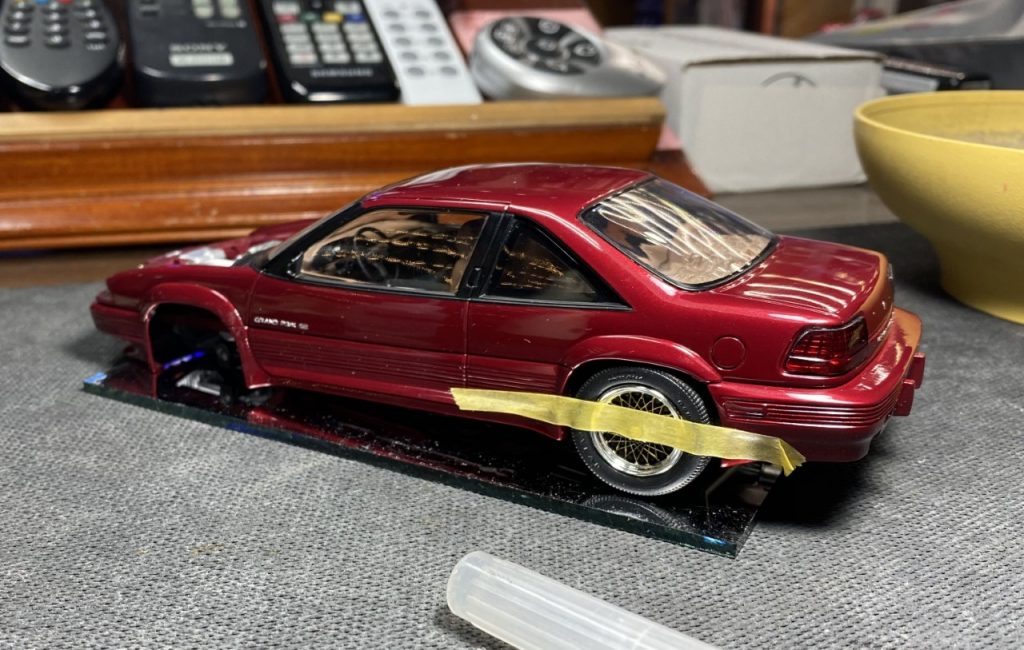
The Grand Prix build plugged along well through the month. Up to the point where I was ready to join the main components together, I was excited about this build. Everything had been going together very smoothly. However, I didn’t realize the side glass would need to fit into the window openings. Because of the paint, the openings were smaller and therefore the glass didn’t fit right. My fault for not making room. The closer I got to finishing it, the less excited I was about it. So it goes.
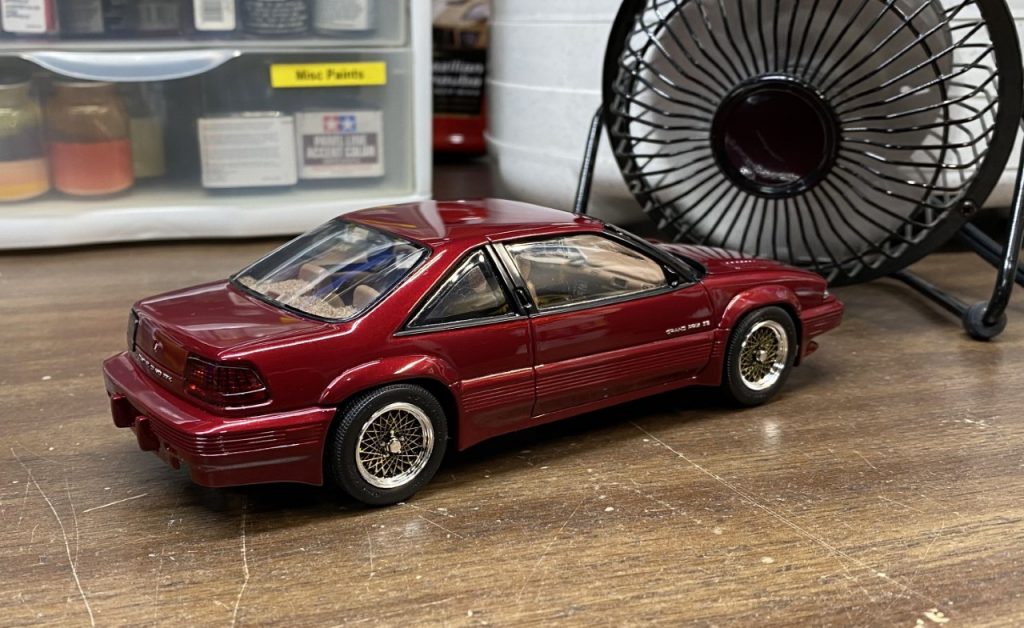
Other than my enthusiasm waning, I still did my best to bring out the details. The chassis was assembled and detailed.

The interior went together really well and provided plenty of opportunity for detailing. I used Tamiya acrylic for color and flocked the carpet. Also note, the aftermarket steering wheel. My kit was missing the original.

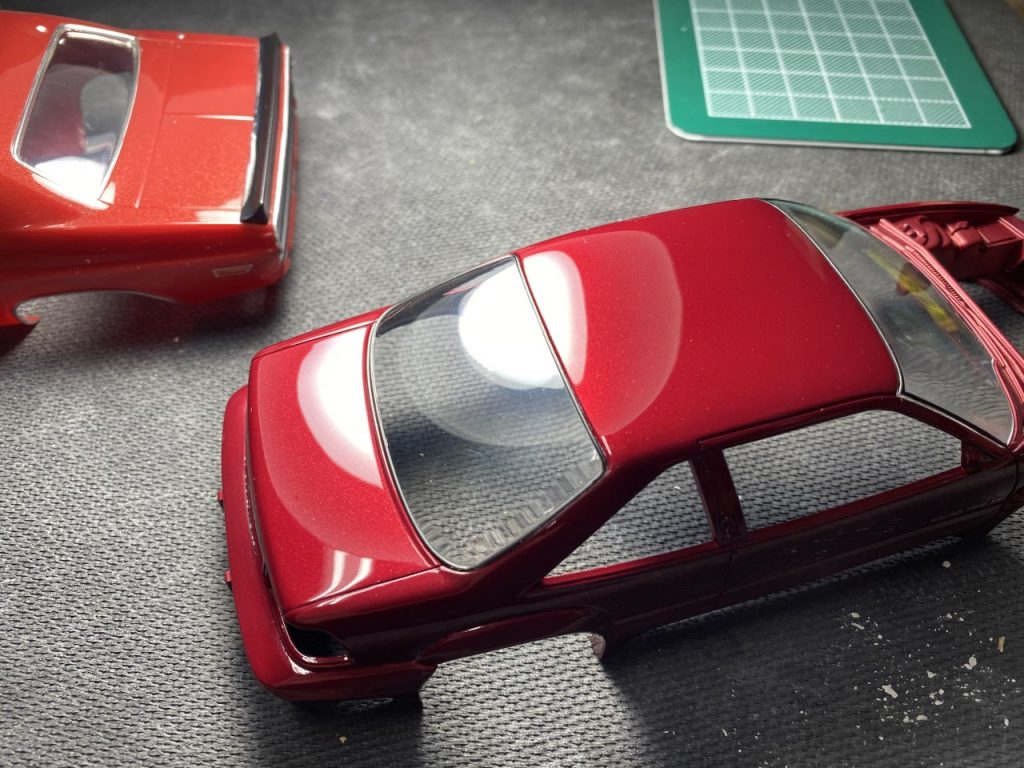
The body was sanded and polished. When I test fit the glass, I realized they needed black sprayed on the inside. I did my best to eyeball the masking and sprayed them. Also, the body was sanded and polished.

Once the glass was painted and glued in place, I attached the main components together. This is when I realized the fitment issues caused by not being able to get side glass to fit properly. I managed to force the body together and glue it in place. In doing so, I created a gap in the windshield. This problem was “fixed” by filling the gap with clear glue. Once dry, I masked and resprayed the trim.
Somewhat satisfied with those fixes, I attached the wheels. Very quickly, I learned that the axles did not locate the wheels properly. They were too far in one direction and nothing looked right. I cut off the pins and used epoxy to glue the wheels in place.

As much as I grumbled about having to cut the pins, the end result were properly positioned wheels and a really nice stance. I’ll wrap up the build next month.

Riviera
The Riviera was sprayed in color about the same time as the Charger. In fact, when it was time for clear, they were sprayed during the same session. Seeing the Riviera in color really motivated me to finish the build!

All of the prep work on the “chromed” pieces was completed and I was able to get them sprayed with gloss black enamel and Spaz Stix chrome.

Moving forward, I assembled the engine and started foiling the body.

Challenger
I’ve mentioned before, this was a nostalgia build and keeping the body in its molded color was important. Skipping the bodywork and paint really shortens build time! Through the month, I added foil and decals to the body. I also finished detailing the interior, engine and chassis. Before the end of the month, I had everything finished except for the wheels. While preparing the wheels for Spaz Stix chrome, I botched the primer and couldn’t recover. I’d have to pull extra wheels from my stash to finish the build.


