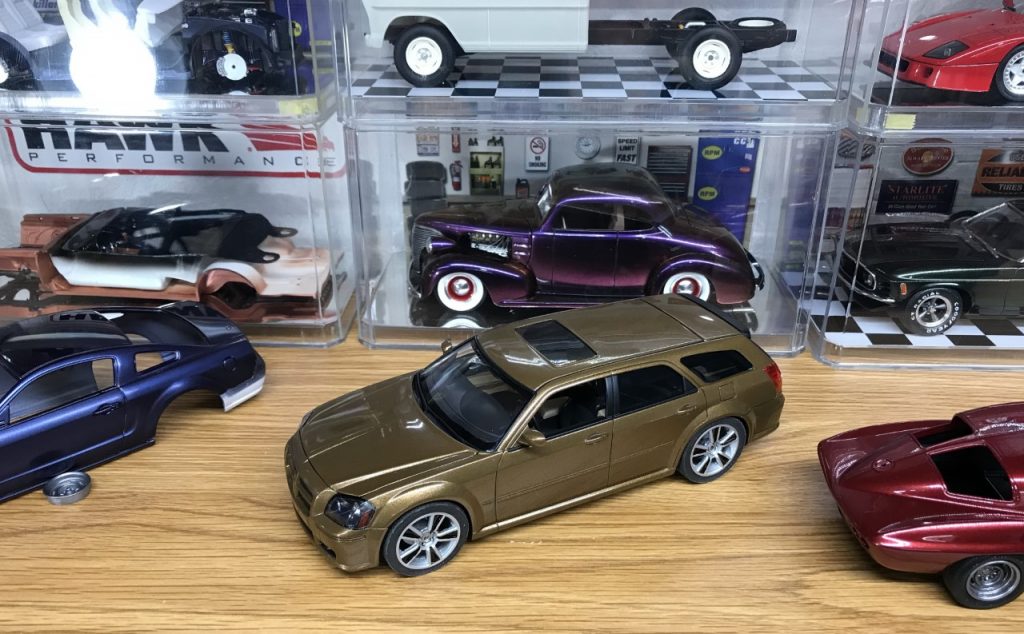
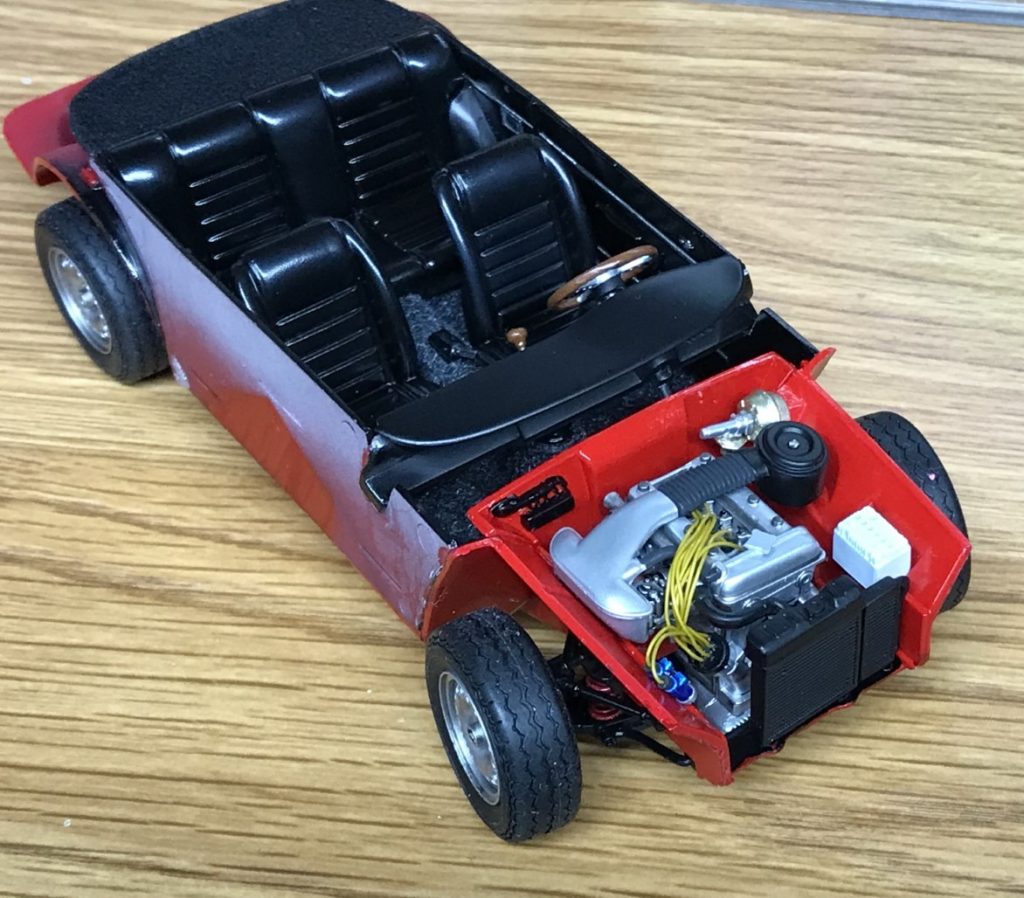
Plugging along through September, I made excellent progress on the Mustang, Superbee, ’63 Snap Vette, and Alfa Romeo. I finished the Magnum build. My son and I attended a “local” model/toy show and found some treasures for future builds. I also bought parts for a future Honda Civic build. I was very busy!
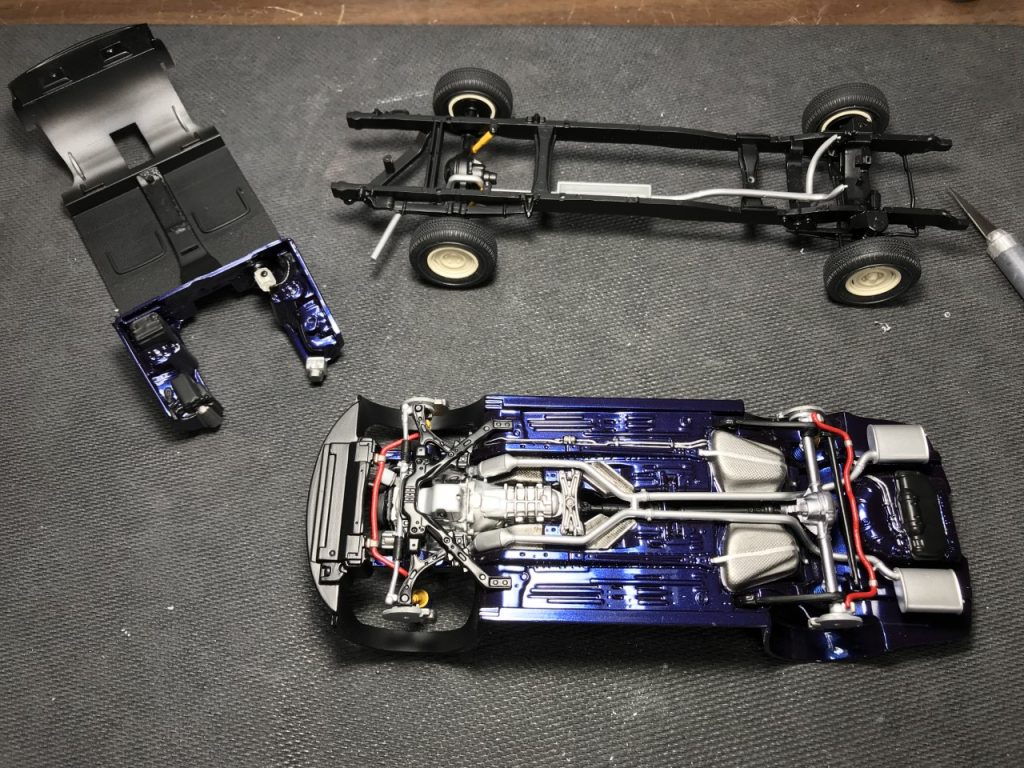
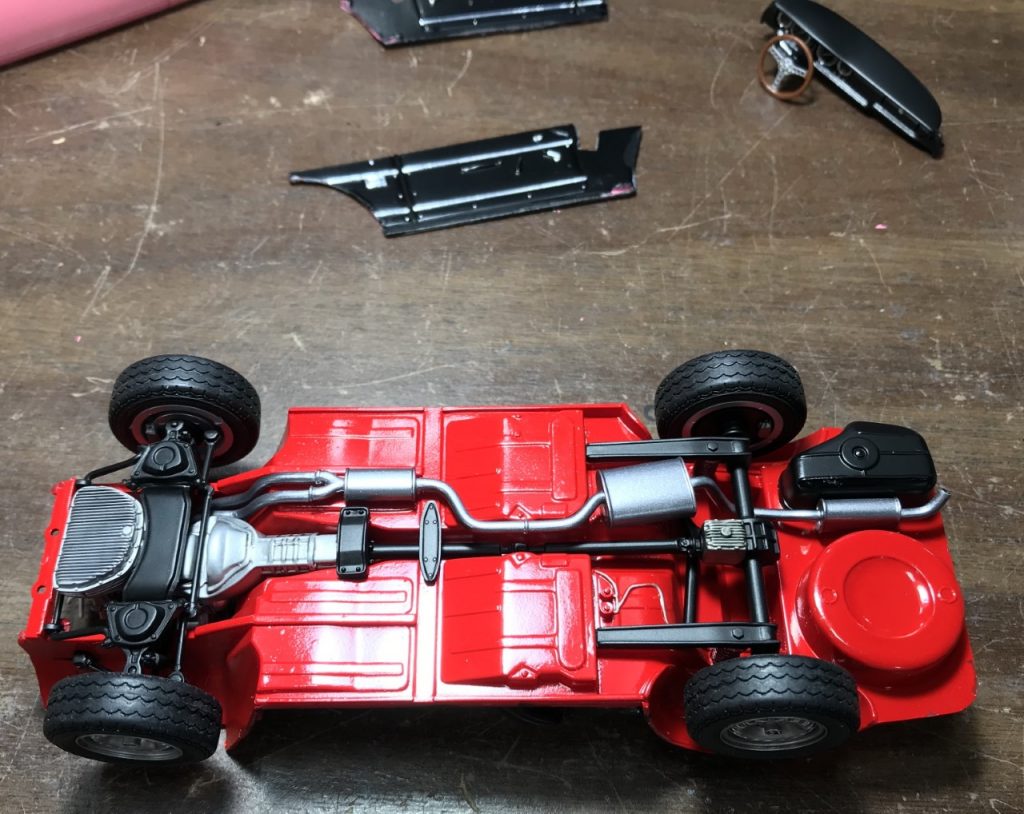
Mustang and Ford Truck
Work continued on the Mustang Chassis and the Ford truck frame.
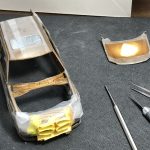
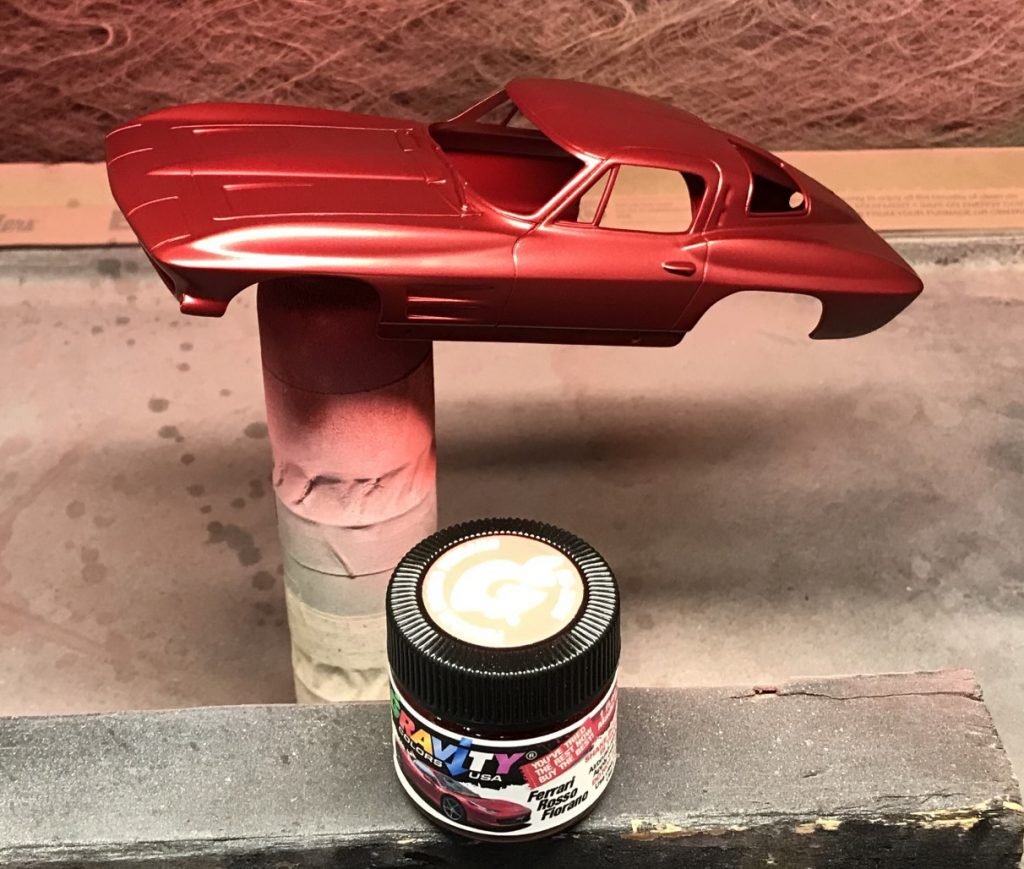
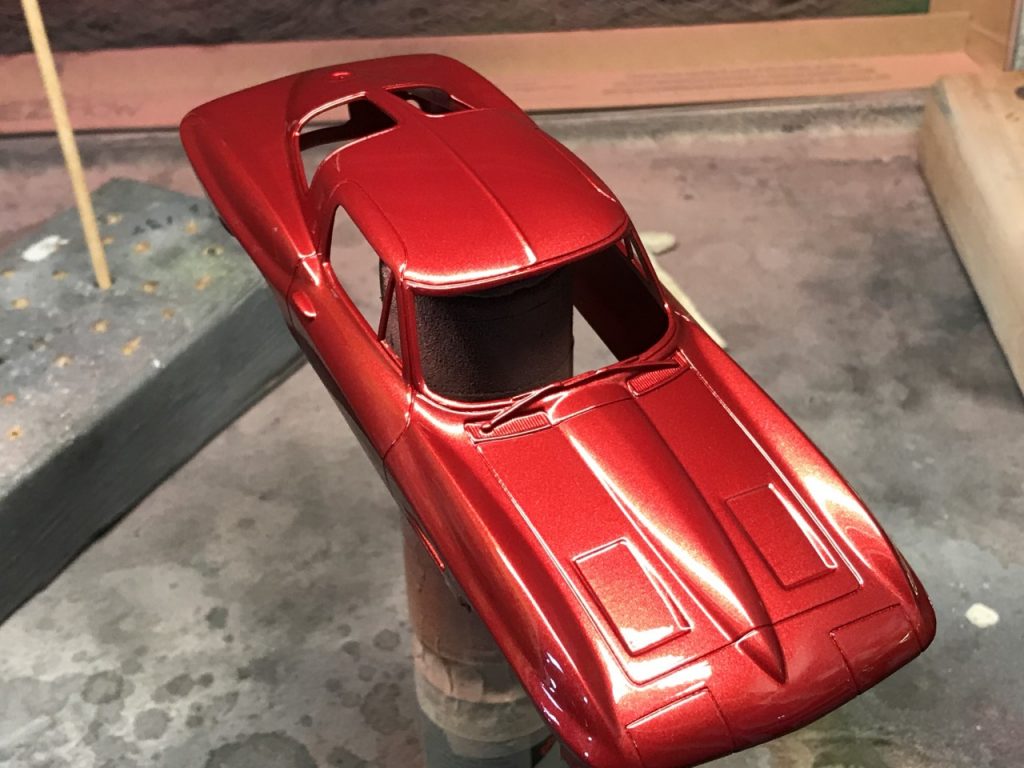
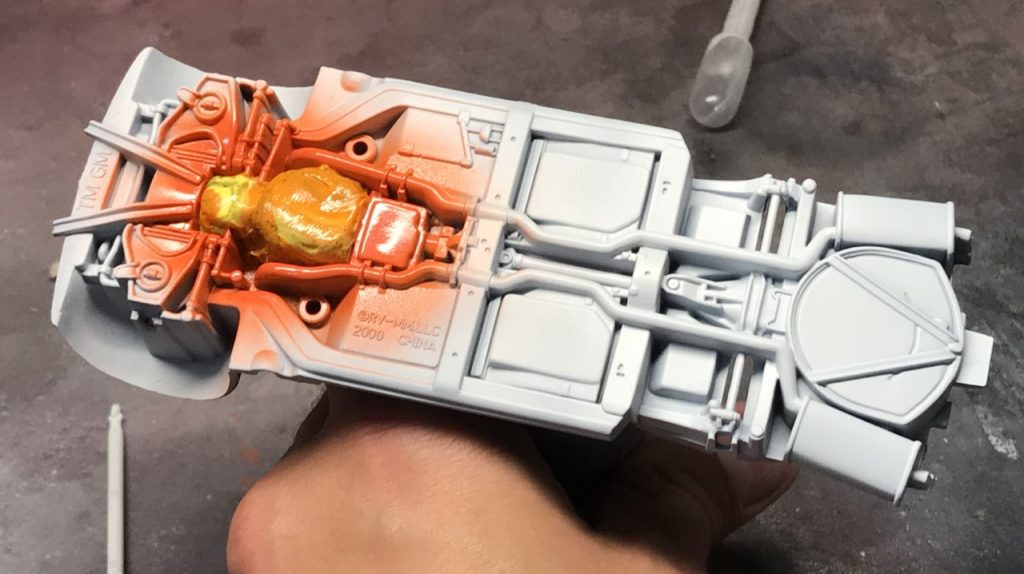
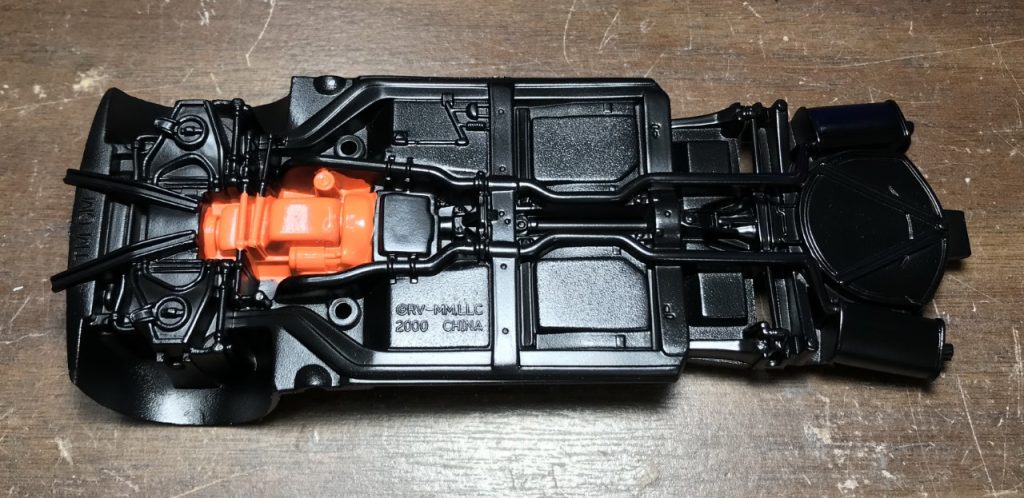
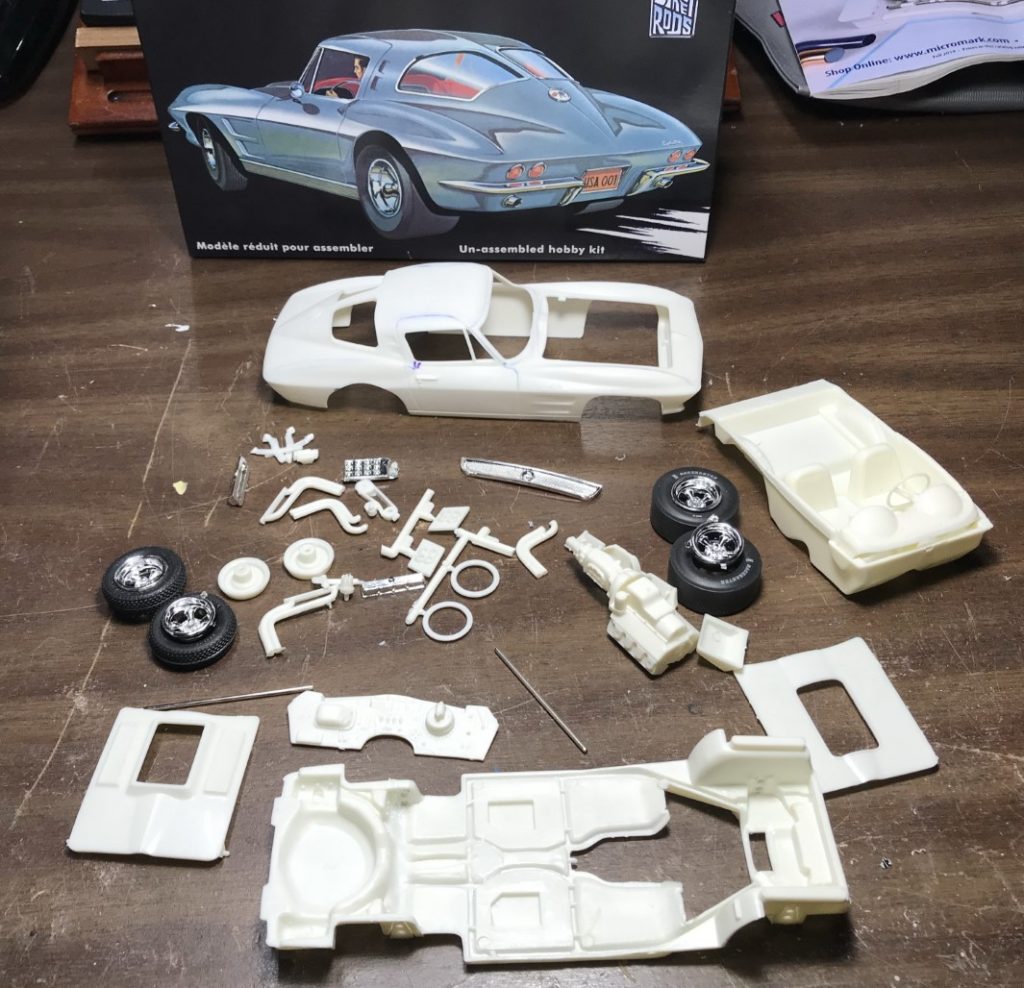
63 Corvette
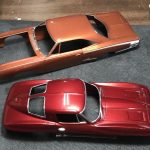
Body work on the Corvette was complete. After spraying touch-up primer, I sprayed color. A few days later, I sprayed clear. One detail I struggled to resolve was how to finish the hood “vents”. Being a Snap-Tite kit, the decals were stickers. One of my local model club members brought up a suggestion from a Scaleauto build that resulted in a nearly perfect execution. Use a marker to color a piece of paper black, attach the stickers, spray dullcote, cut and attach. More on this next month. Later in the month, I finished sanding and polishing the clear and completed the bare metal foil trim.
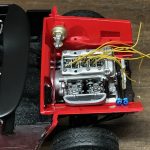
Since the Vette is a snap kit, all of the detail is molded into the chassis. I’m grateful that there is a significant amount of detail that can be painted. Plenty of careful masking and hand painting was involved.
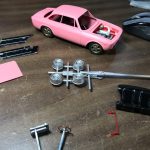
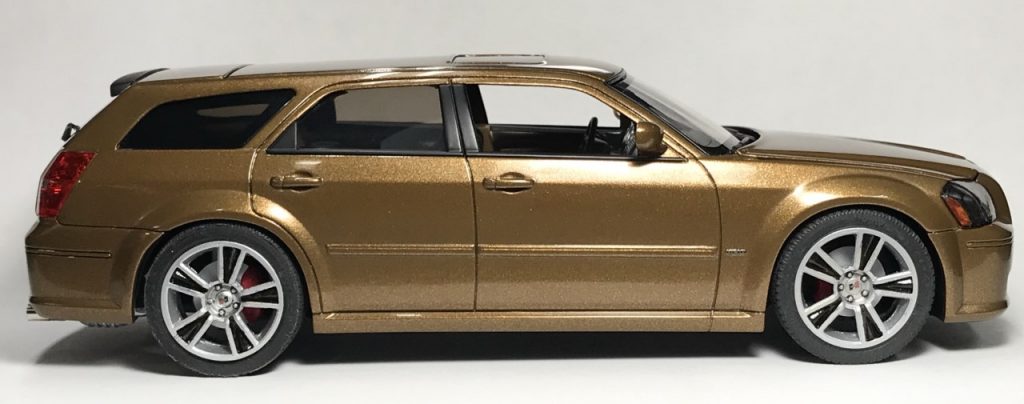
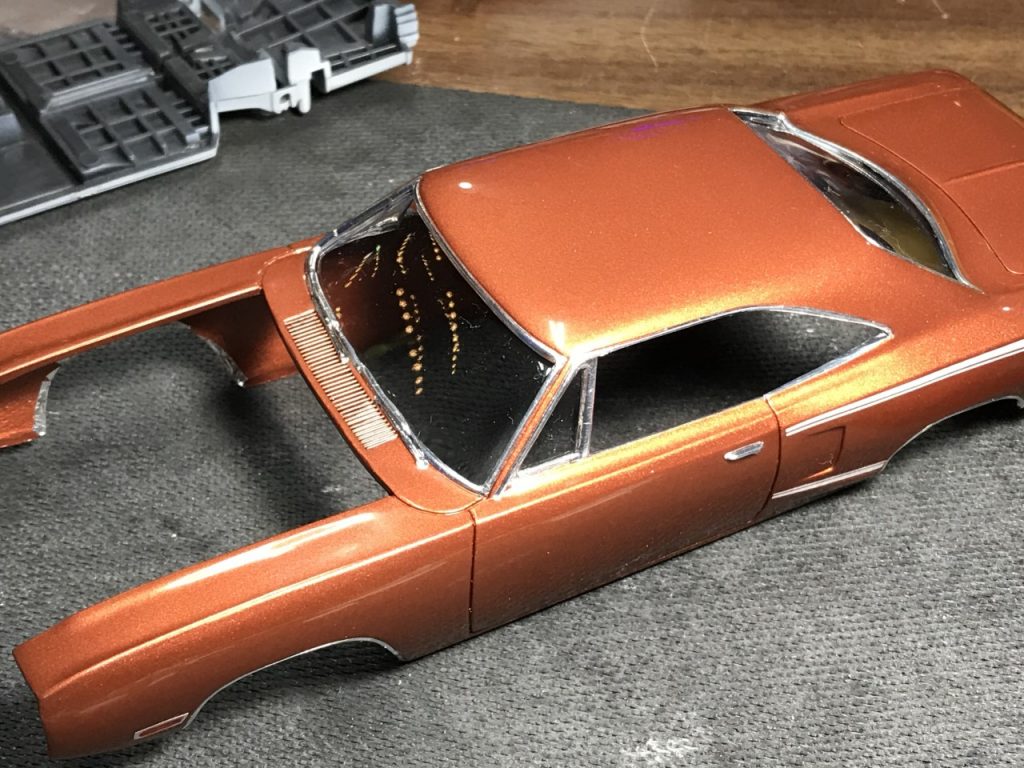
Magnum
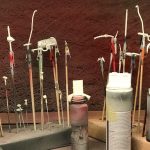
The Magnum build is now compete! I finished sanding and polishing the paint and followed that with plenty of careful masking and trim painting.
Once the trim was painted, I was able to start final assembly. I painted the trim on the windows and attached them. I detail painted the lighting and attached them. The last major step to this build was attaching the wheels. I was able to utilize the kits mounting pins and axles which greatly simplified the process. I did lower the rear slightly by moving the brake rotors and drilling to relocate the metal axle. After that, I decided that the spokes needed to be darker than the gold I used. I fixed that with Tamiya bronze.
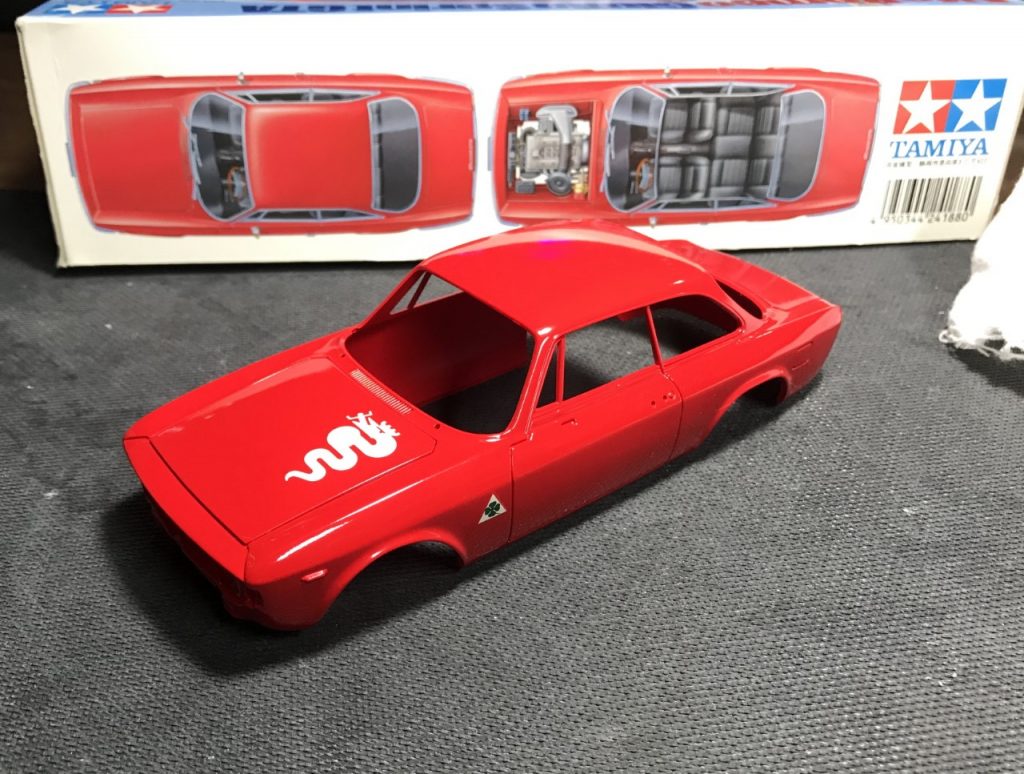
Alfa Romeo Giulia
Great progress was made on the Alfa Giulia build. I sprayed the body with color and clear. In between color and clear, I attached all of the decals and metal transfers.
I also made progress with the chassis. I prepped all of the parts, attached them to sticks and sprayed everything in various colors. Shortly after, I finished the chassis detail and engine.
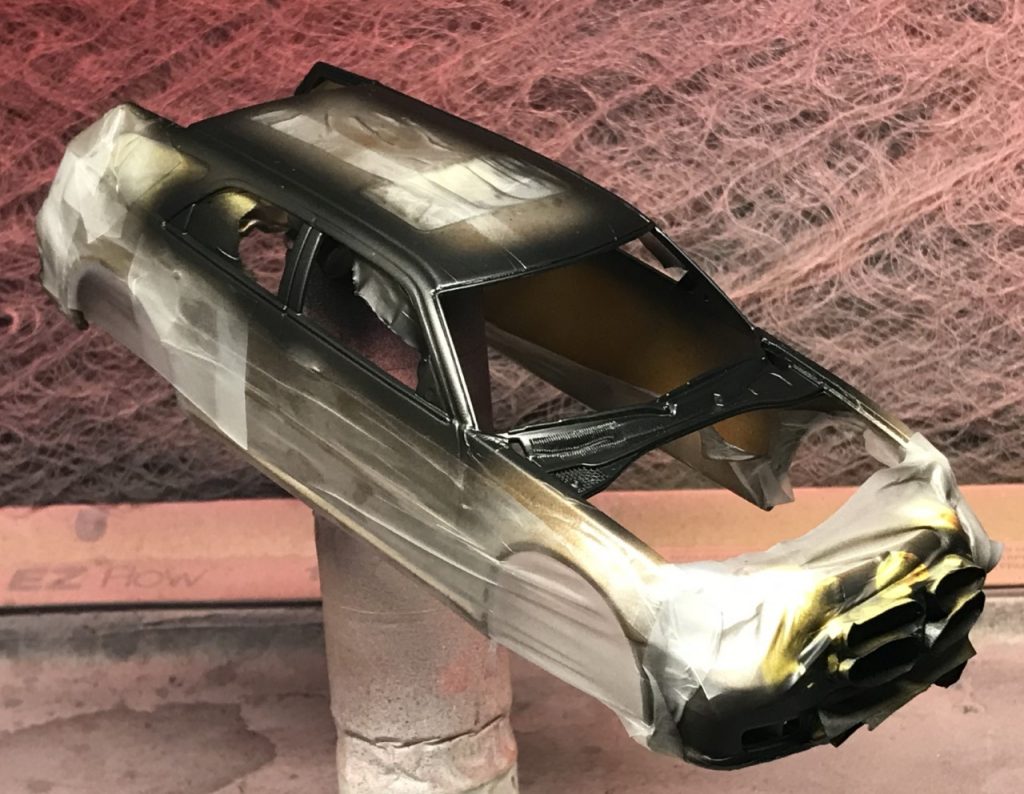
Superbee
The Superbee was sanded, polished and foiled. I also added the glass.
Then there is this thing:
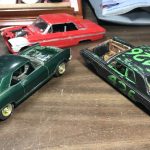
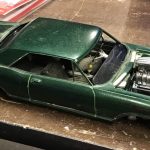
In my quest for a 63 Vette, I bought one from AMT. It isn’t very good. I tried combining it with parts from a Monogram kit but I couldn’t get past issues with the body. I decided to build it and list it for sale. I started prep work and set it aside to focus on current builds.
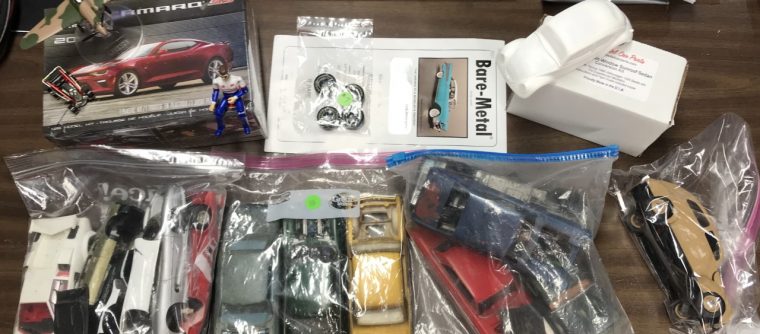
Goodies
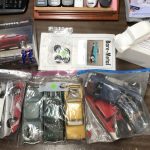
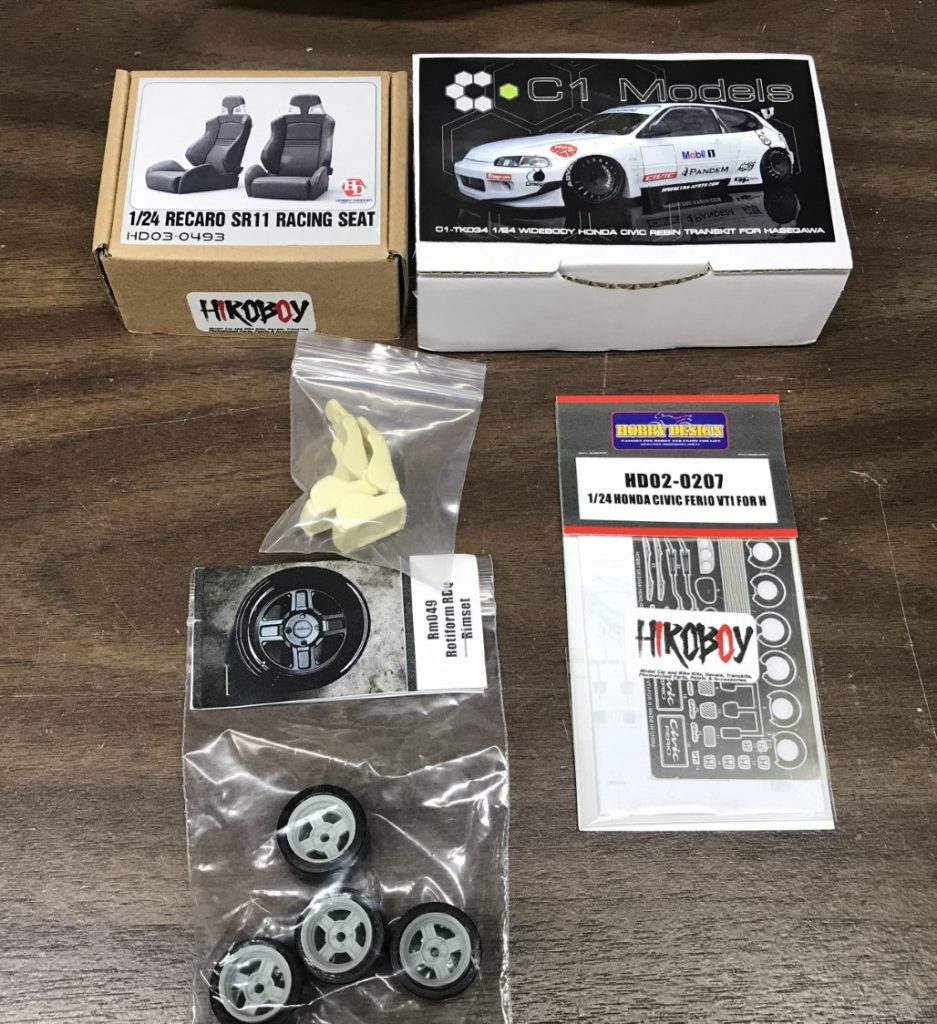
Beyond all of the recent work completed, I bought kits and parts for future builds.
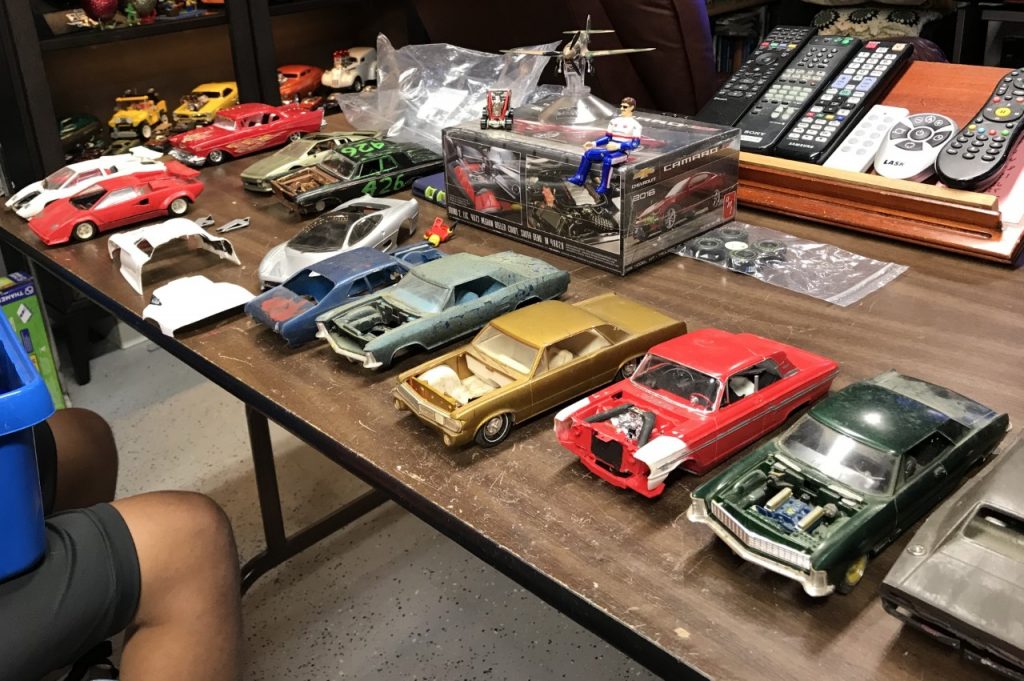
My son and I picked up quite a few junk kits at a recent model/toy show. You know those bags of junk models that sit under the tables and sell for $5 each? We bought several for kit bashing and general mahem. Out of a dozen kits, I did find one salvageable kit. A ’65 Riviera that was complete enough for a fun build.
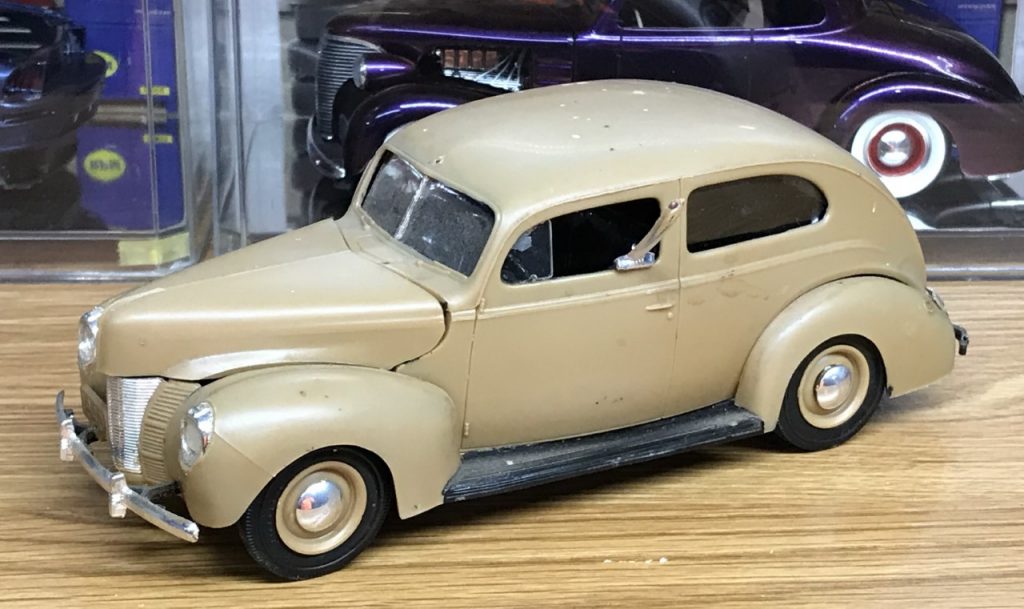
Along with the junk kits, I picked up a ’16 Camaro for very cheap and a junk 40 Ford Sedan.
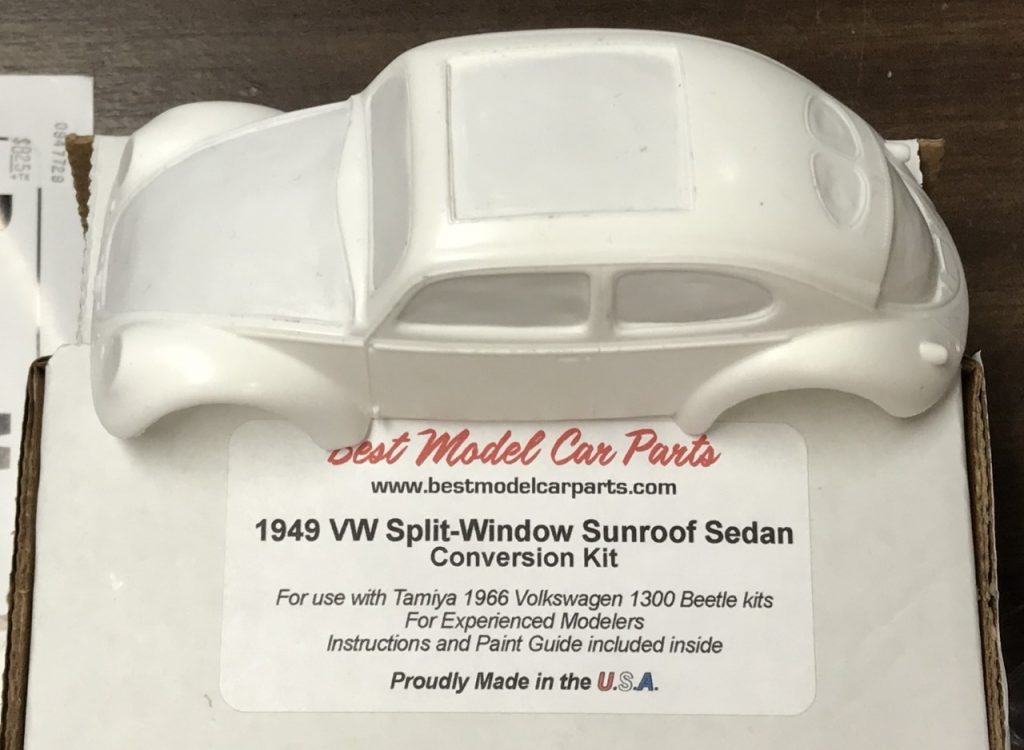
One other noteworthy purchase is this VW bug split window trans kit from Best Model Car Parts. I had seen this kit online and wasn’t aware they are regularly sold. Although I paid a premium for it but I look forward to building it. Interestingly, I later found that they are selling them on eBay along with an oval window version.
Other Builds
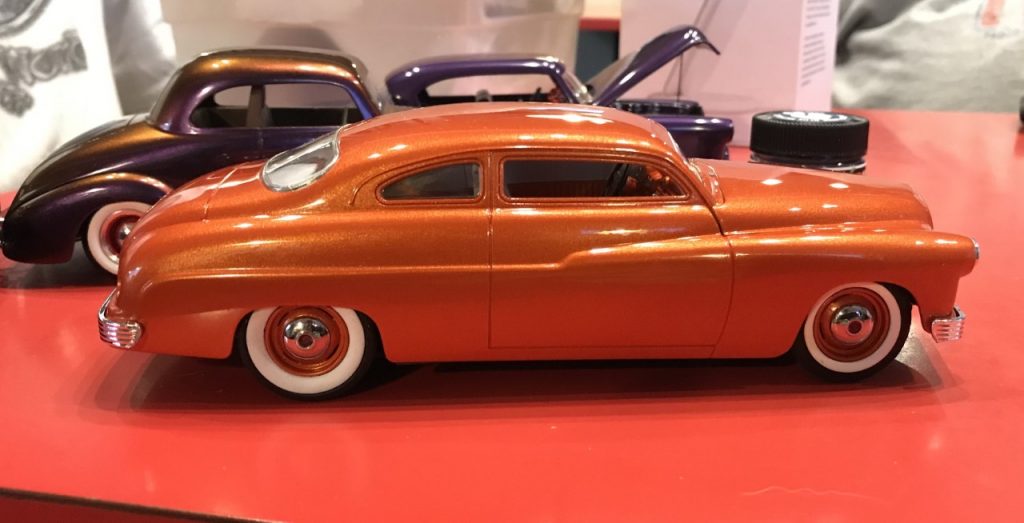
Here’s a build by my friend Derek. Love the wheels!