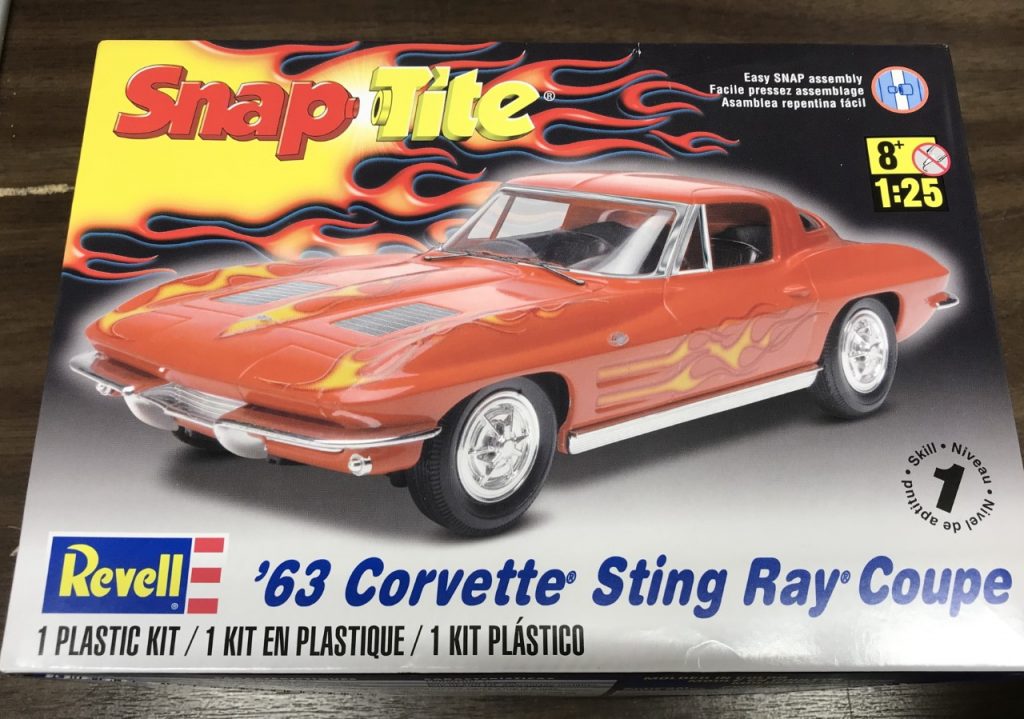
A Snap Tite?
After finishing the 65 Corvette rework a couple of years ago, I wanted to build a ’63 Split window. Regarding easily accessible kits of the ’63, there are AMT and Revell’s Snap Tite kits. My preference for engine detail led me towards AMT’s kit. Opening the box revealed a really poorly render ’63 Corvette. The interior has the seats molded in and the chassis has the exhaust poorly molded in. I tried combining the parts with a Revell 67 convertible but realized the interior tub was wrong for the hard time. This wasn’t going to work. The Revell Snap Tite it is!
The Build
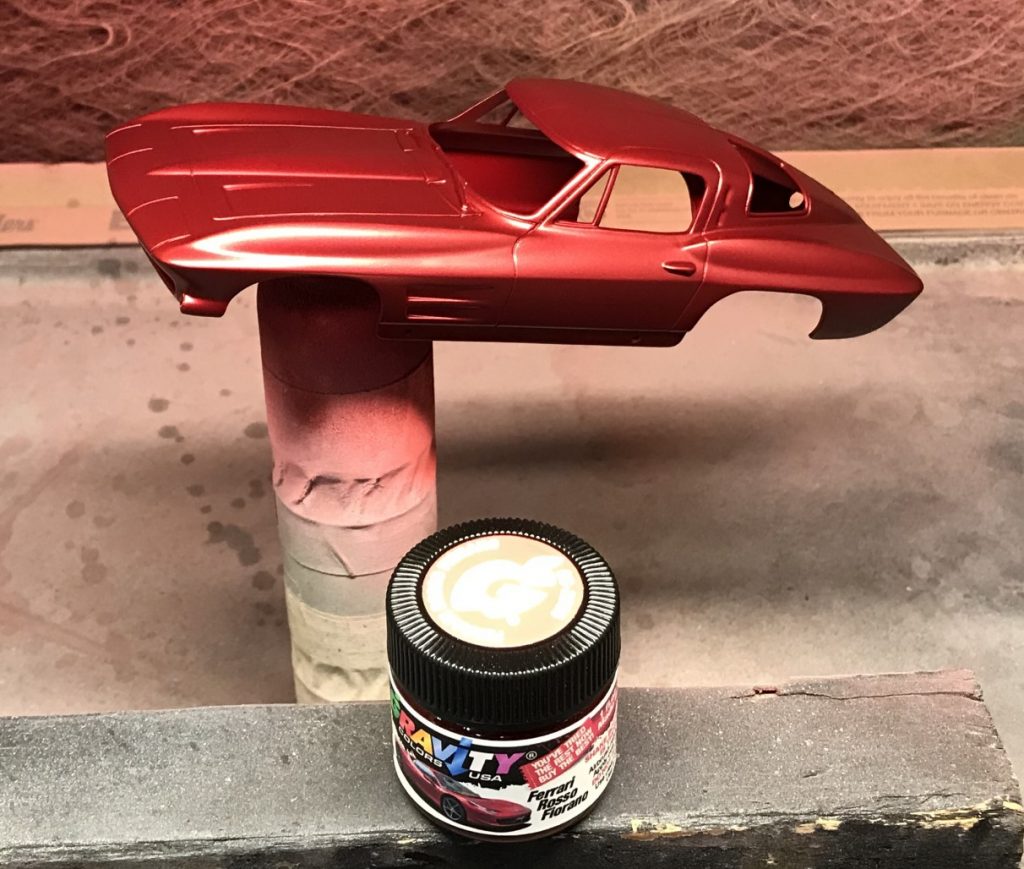
The ScaleModelingChannel on Youtube build a version of this kit that was absolutely stunning. Based on his success, I knew I could do the same. The Vette needed to be red and wear Chevy rally wheels with no trim. Ebay was the source for a resin set of wheels and Gravity Colors Ferrari Roso Fiorano for the color.
Body Prep and Finish
One remarkable element to the body, which I realize is a function of it being a snap kit, is that the plastic is really thick! A builder would be hard pressed to break any part of it! Beyond that, the details seem to represent the 1:1 far better than AMT’s version. While prepping the surface, I scribed the panel lines and added lines around the front window. Following The Scale Modeling Channel’s lead, I also removed the molded-in rear bumper “extension”. It smooths the back of the car and allows the bumper to fit closer to the body.
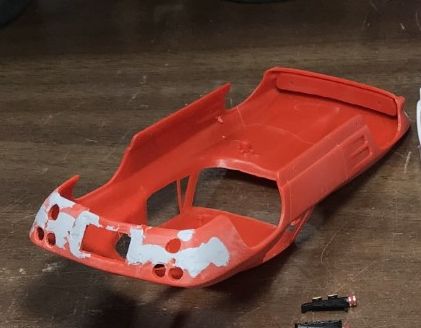
Lastly, I removed the badges to clean up the look. Once all of the putty work and smoothing was completed, I primed the body with Tamiya pink primer.
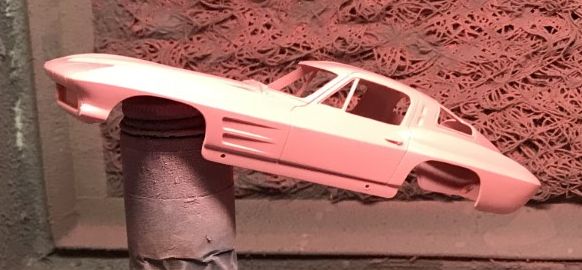
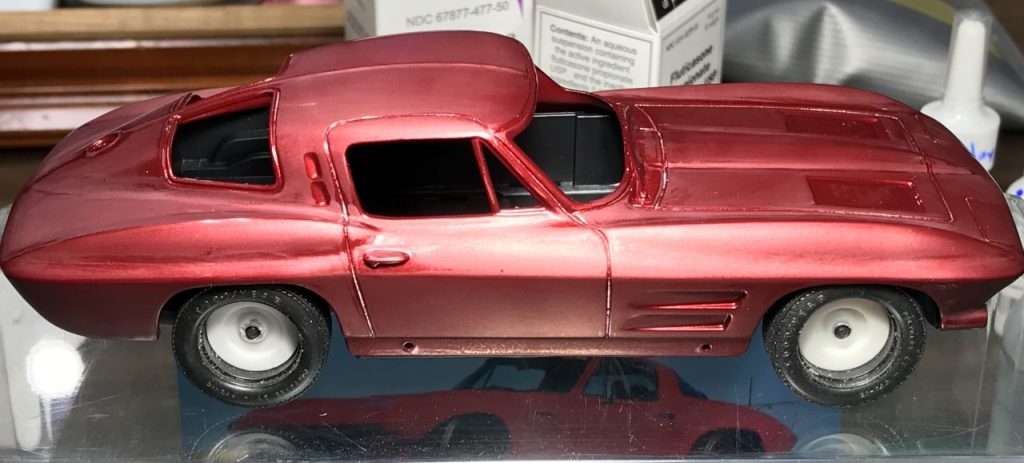
Once I was satisfied with the body work and finish, I sprayed the body with Gravity Colors Ferrari Roso Fiorano paint.
Detailing the hood “vents” was a significant concern during this build. The kit comes with stickers as decals and they looked cheap. Before I moved onto clear, I had to decide what finishing option to use. Model Car Garage’s photo etch set, when it was still available, was for the AMT 63 Vette. The shape of the grill is very different. After consulting with my local model club, I was reminded of a Scale Auto build of this kit and how the builder solved this issue. More on it shortly. For now, I was ready to spray clear.
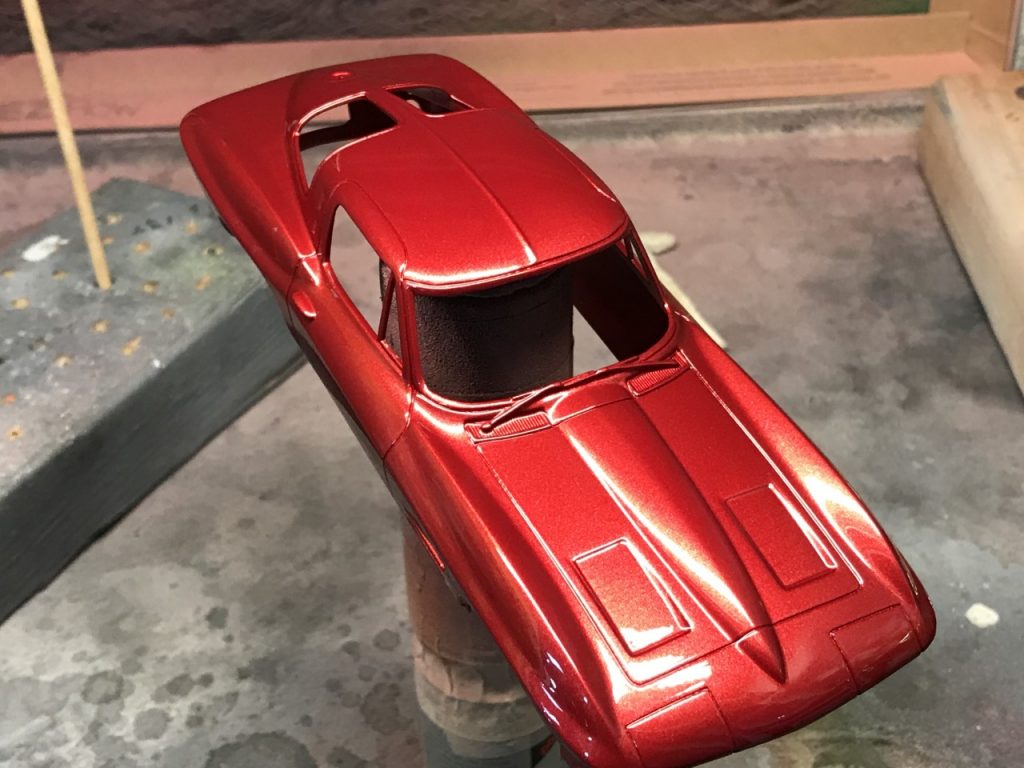
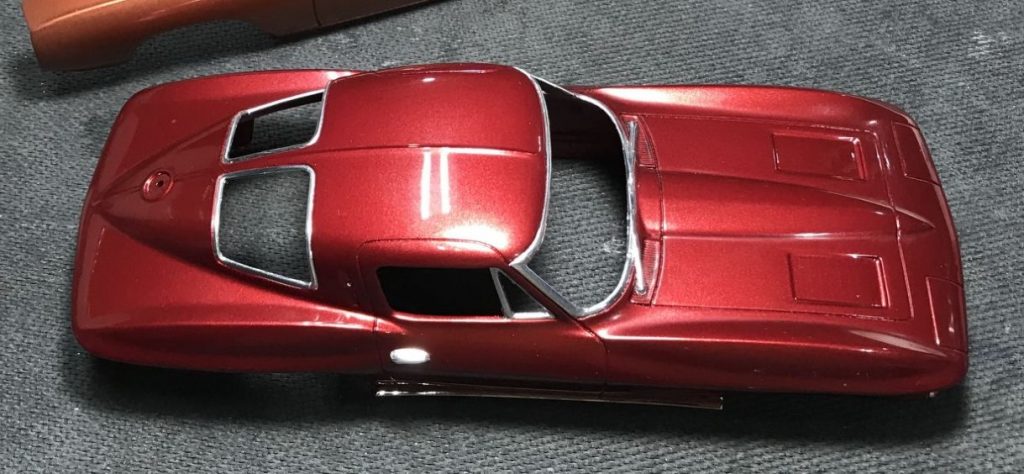
After curing, I sanded and polished the paint and added foil.
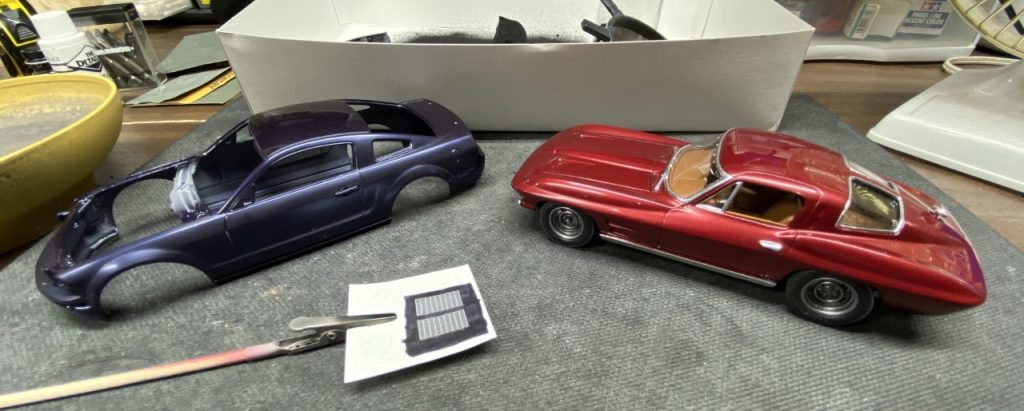
Interior
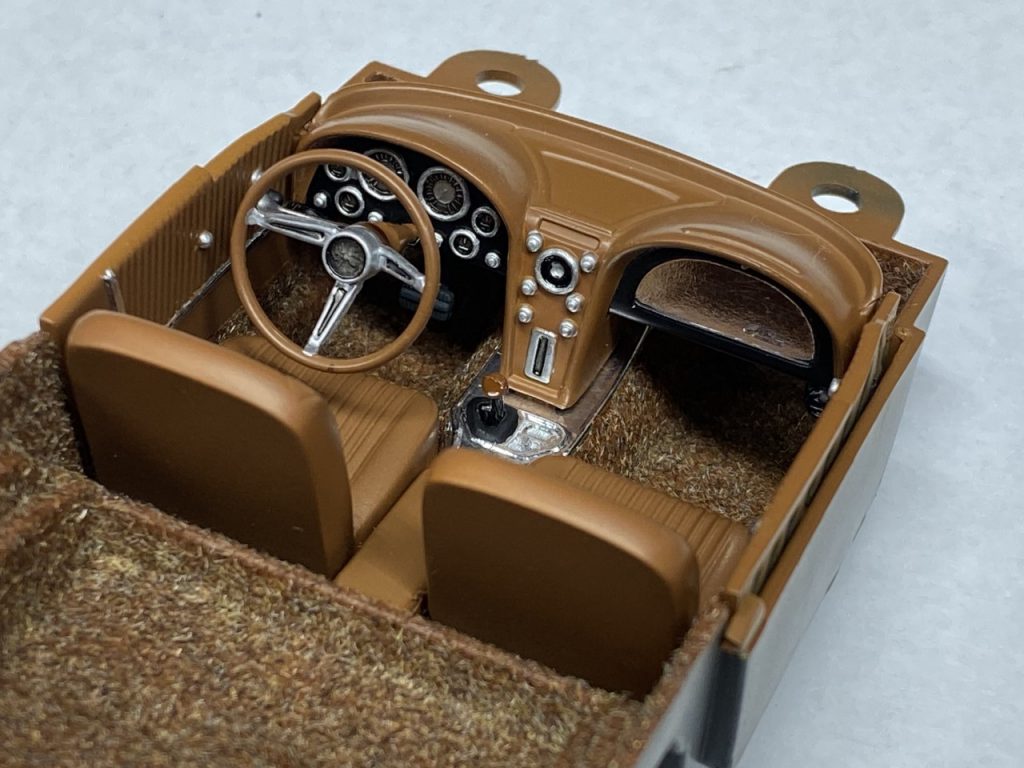
For a Snap-Tite kit, the interior is nicely detailed. I was able to take advantage of the detail with paints, foil, washes and flocking. The only additional work was filling the seam on the seats. I chose Zero Paints saddle tan interior paint for the color.
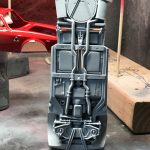
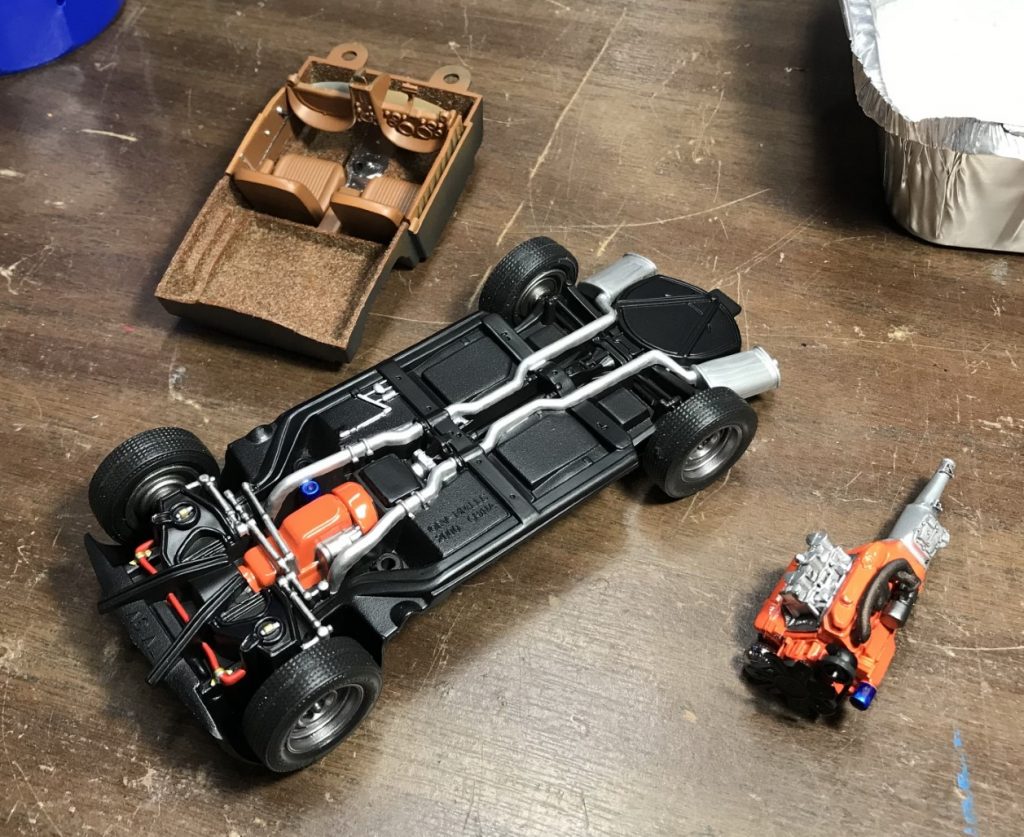
Chassis
The chassis has everything molded into it. As nasty as that may sound, the engravings are really crisp. After priming the chassis, I sprayed the engine orange. Once dry, I masked the engine with silly putty and sprayed the chassis satin black.

After spraying satin black, I hand painted the rest of the details. The detail work is well worth the effort.
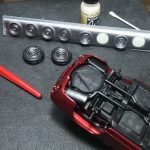
Wheels
The wheels needed to be adapted to the Vette. For tires, I used a set from a Revell 69 Camaro. I also used the wheel backs from the same kit. Adapting them to metal axles was accomplished by gluing aluminum tubing in the wheels.
The wheels were sprayed with decanted Tamiya light gunmetal, then I used Tamiya wash to give them more depth. Painting the lugs and wheel centers wrapped up the details.

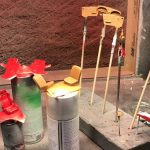
Final Details
The hood vents option I mentioned earlier involves using the kit’s stickers to make a more convincing piece. Starting with plain white paper, color a section large enough for the stickers with a black marker. Next, attach the stickers to the black marker on the paper and spray the stickers with satin or flat clear. Lastly, cut them out and attach them to the model with window glue to avoid any potential issues with CA glue.
The bumpers are what you would expect from a snap kit as they are much bulkier than they should be and the chrome finish is not great. I stripped them, removed the mold lines and sprayed them with Spazstix chrome.
Once complete, I finished assembling the kit by adding the glass, lights, side skirts, and bumpers. For the last steps, I enlarged the exhaust pipes, painted them inside black and attached a license plate.
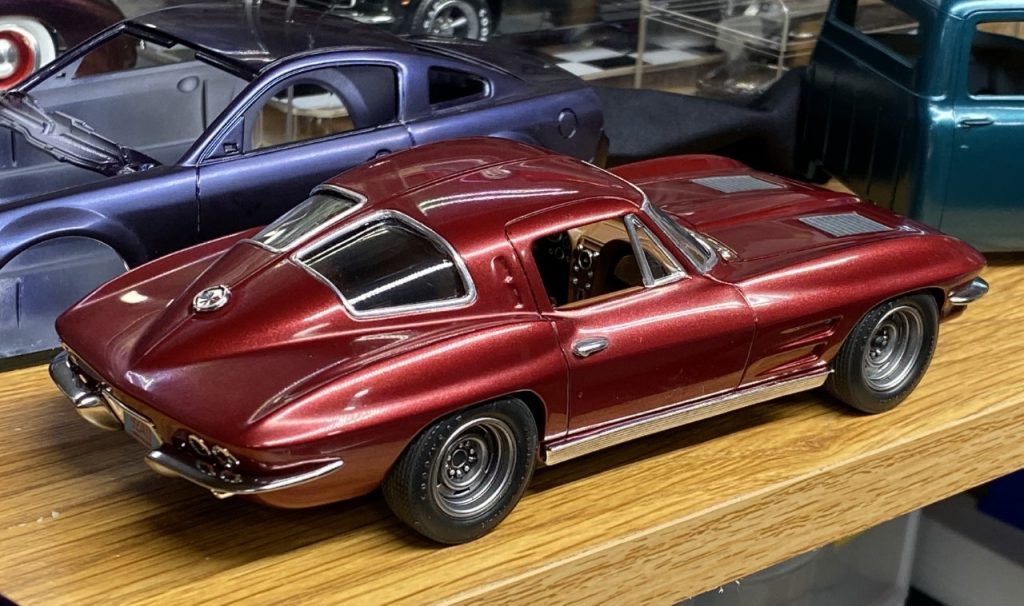
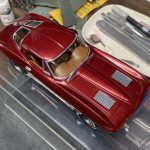
Final Thoughts
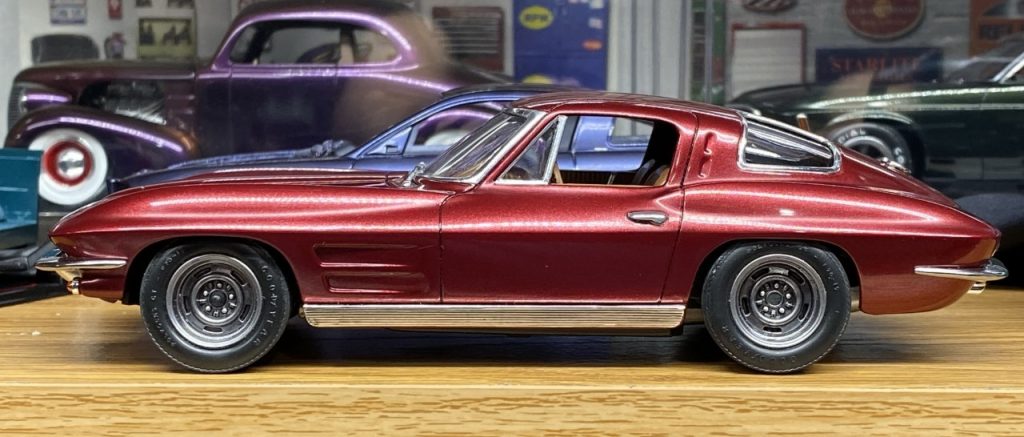
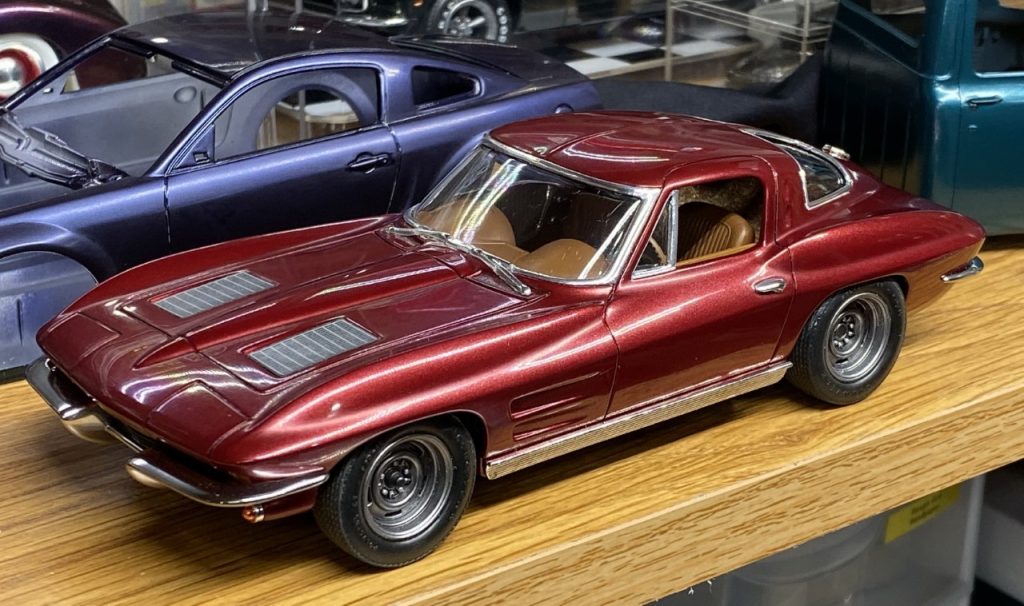
I love the finished build! The detail work added to this kit takes it far beyond its Snap Tite roots. Due to the simplicity of the kit and the caliber of the detail, anyone can quickly build a great looking model that suits their tastes. Now I have a 63 split window in my collection!
Completed: October 2019