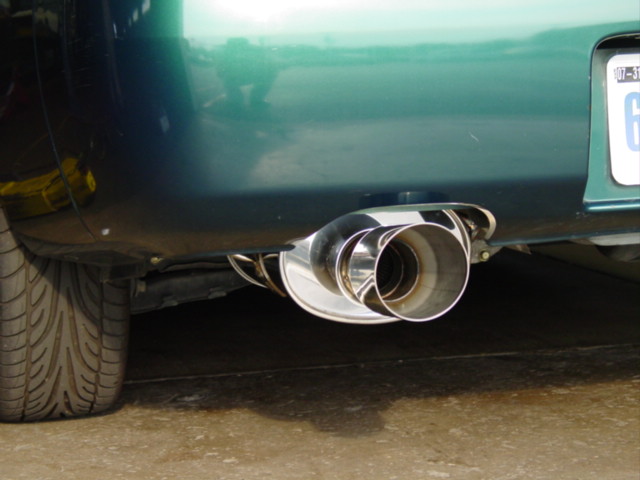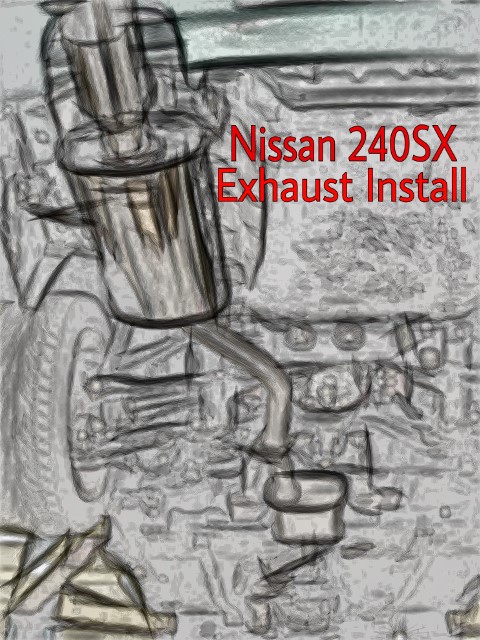

Installing an exhaust can be a fairly simple operation…or one that may need some torching or other barbaric means to remove. A rusty bolt will usually turn into a broken bolt very quickly. This article focuses on the installation of a Greddy MX exhaust on a ’98 Nissan 240SX. Most of the details covered in this article will apply to any vehicle.
Tools Necessary:
- Reliable socket set
- Metric wrenches
- Jack and jack stands or ramps
- Penetrating oil
- Hammer
- Propane gas torch (maybe)
Start by raising and supporting the entire vehicle.
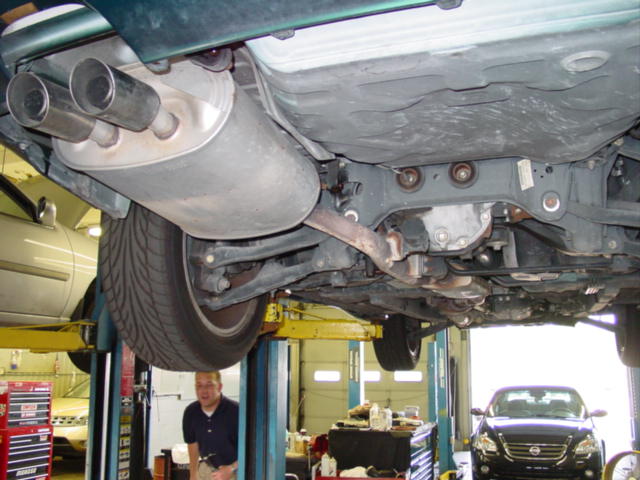
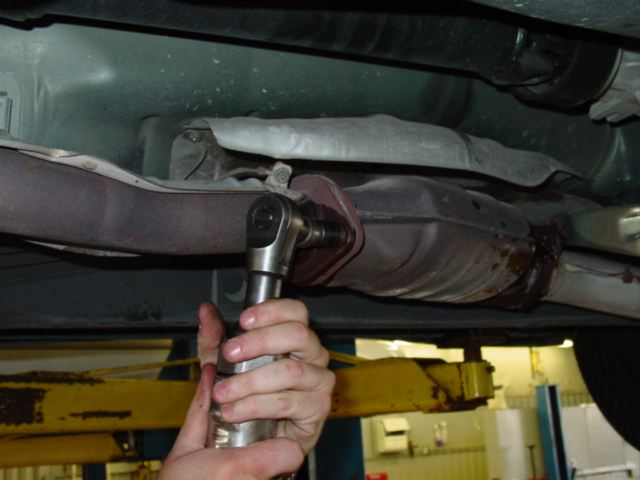
Swapping the exhaust is a very easy task when it comes down to the details. However, a rusty bolt can turn a quick project into an ordeal. You may need to soak the bolts with penetrating oil to help with the operation. If the bolts will not budge, you may need to use a torch or have a shop remove them for you.

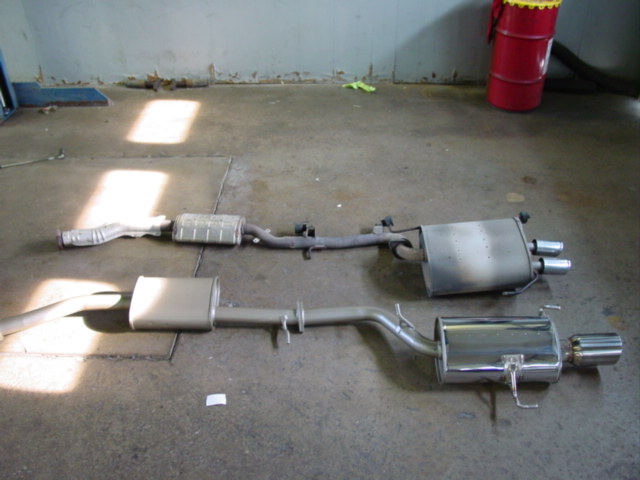
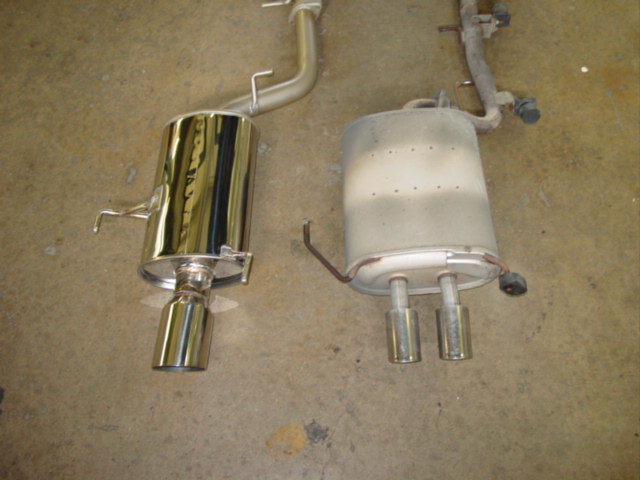
Transfer the rubber hangers to the new exhaust. Depending on the vehicle, you may be able to assemble the exhaust on the ground (as with the 240) or you may need to assemble it a piece at a time. Either way, do not tighten the bolts until everything is in place. This will allow for proper fitment of the exhaust.