A few years ago, I bought a 1995 Nissan truck to use at work. Given it’s task, I wasn’t too concerned about the general condition of the truck. One small detail did prove to be a problem. The speedometer didn’t work. Considering the fact that I was paid for mileage, it was important that this little detail worked as it was intended. After perusing the internet, I saw several people describing the same problem. I decided to take the time to document the repair. My speedometer and odometer would stop working intermittently. My first thought was that the speed sensor had failed. However, if I smacked the dash, the speedometer would start working. I found a used base model cluster on ebay for a fraction of the cost of an upgraded cluster (with tach) and scavenged the parts to repair my original speedometer. I wanted to retain the mileage as well as the trip meter function. In order to accomplish this, I swapped out the drive motors and circuit board.
In my case, the motor itself was the problem causing a short that disabled both the needle movement and the odometer operation.
Before ordering any parts, test the vehicle speed sensor. The factory service manual is a good source for diagnostic information. If the sensor is in good working order, try the donor cluster to verify that it’s working properly.
These instructions will work for nearly any Nissan that uses a similar speedometer. I know that the ’95-’98 240SX used a similar design.
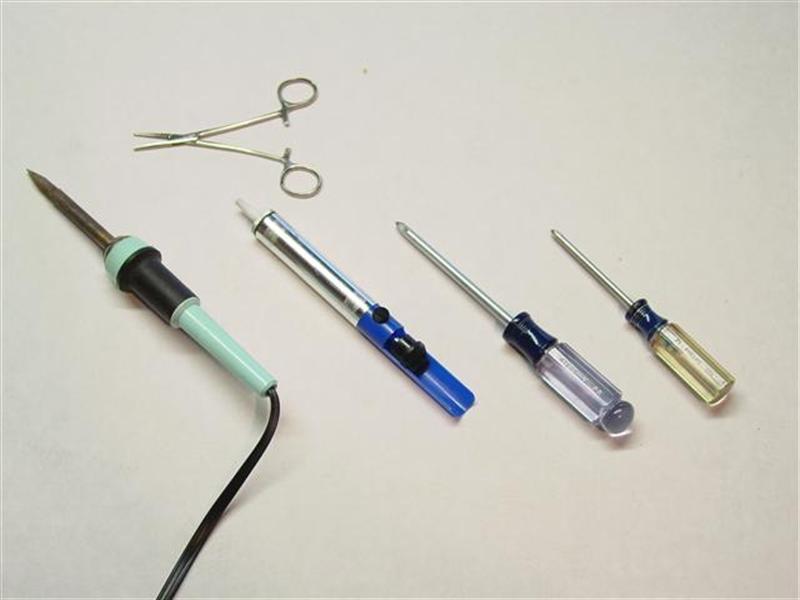
Tools Necessary:
- Soldering Iron
- Solder Sucker
- #1 & #2 Phillips screwdriver
- Small clamping pliers
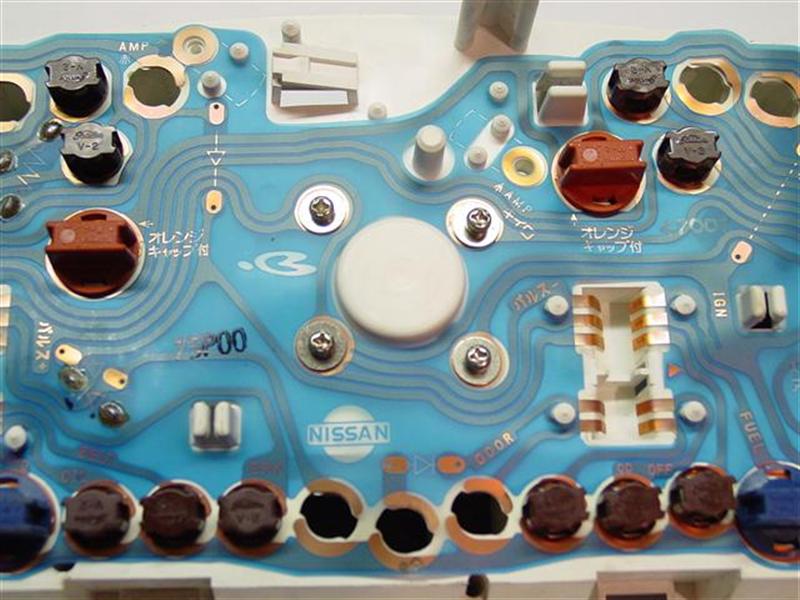
After removing the screws, the speedometer can be removed.
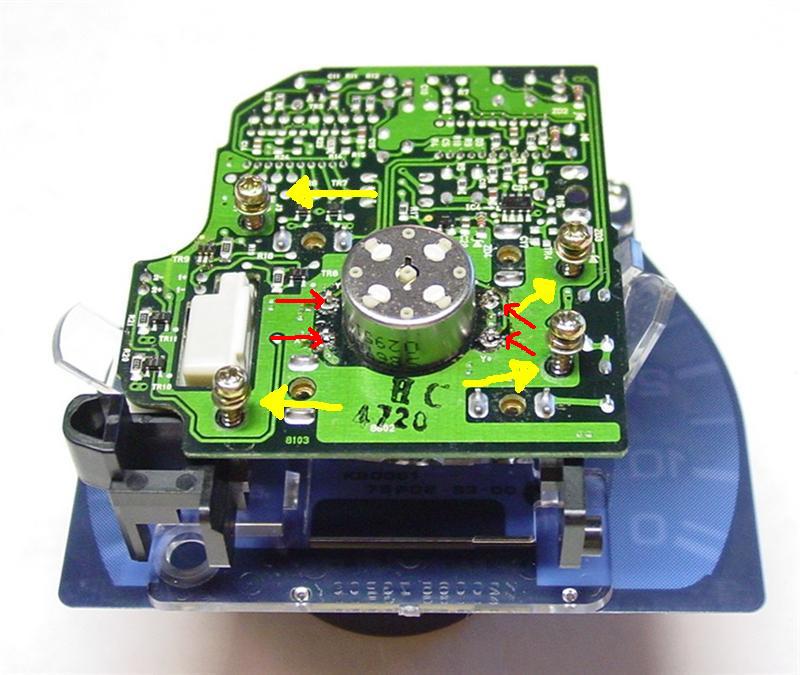
Once you’ve removed the solder and screws, you can remove the board. Be aware that the odometer’s motor is plugged into the board.
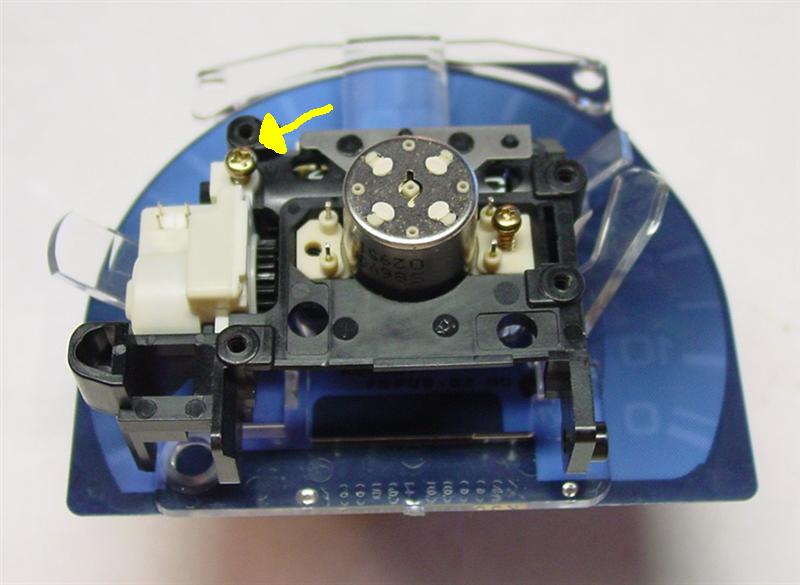
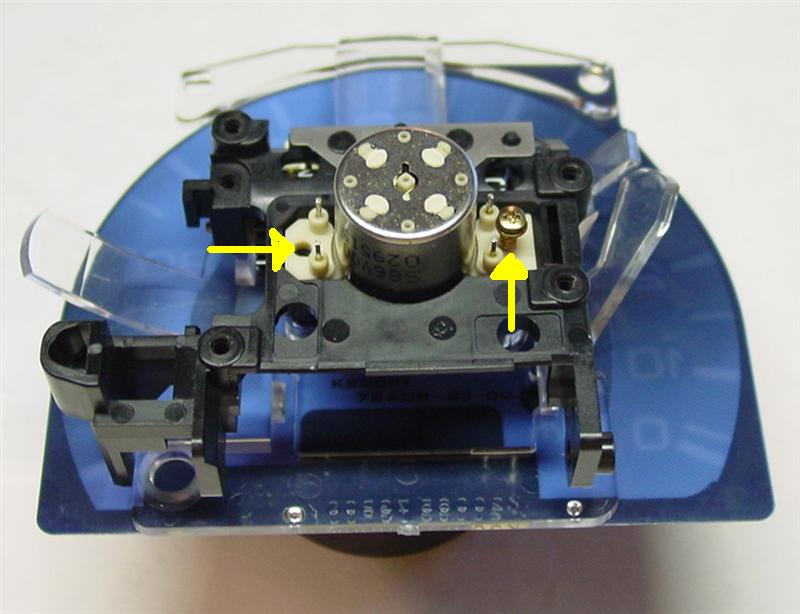
The next step is a difficult part of the project. If you try to pull the motor off without holding the shaft, you run the risk of pulling it through and ruining the small return spring. You can try and rely on the needle holding the shaft in place, however it is a substantial risk. Use a very small set of locking or clamping pliers to hold onto the shaft.
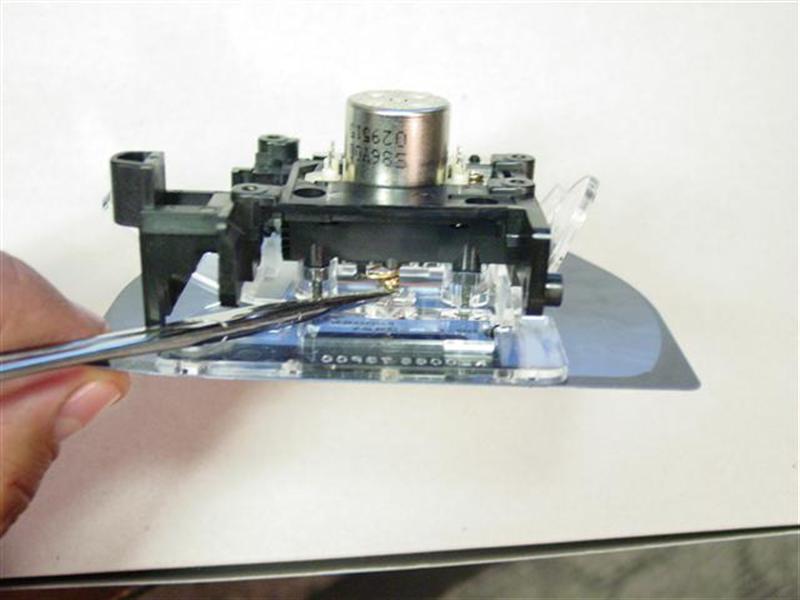
Once you have the shaft supported, slowly pry off the motor.
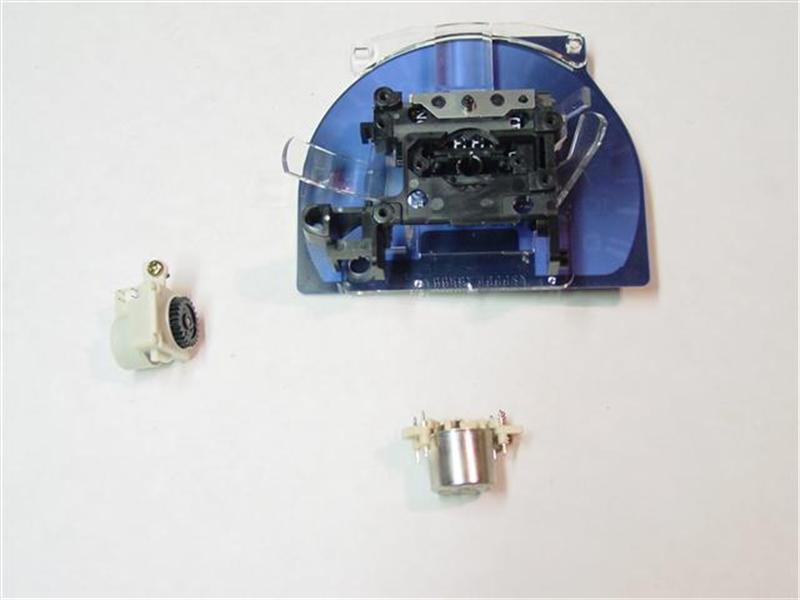
Now that everything is apart and the donor parts are ready to install, you can start assembling the speedometer. I would suggest using all of the new pieces from your donor cluster.
First, install the new odometer motor.
The next part of the process is complicated. Both the shaft and the motor need to be at their “home” position which is 0 mph. Returning the motor to its home position is the hardest part. You may need to solder the motor to the circuit board, screw it into the cluster, connect the cluster and power-on the ignition. This will bring it back to the home position. If you do not do this, you could end up with a needle that will rest at something other than 0 mph when the ignition is off. Like this:
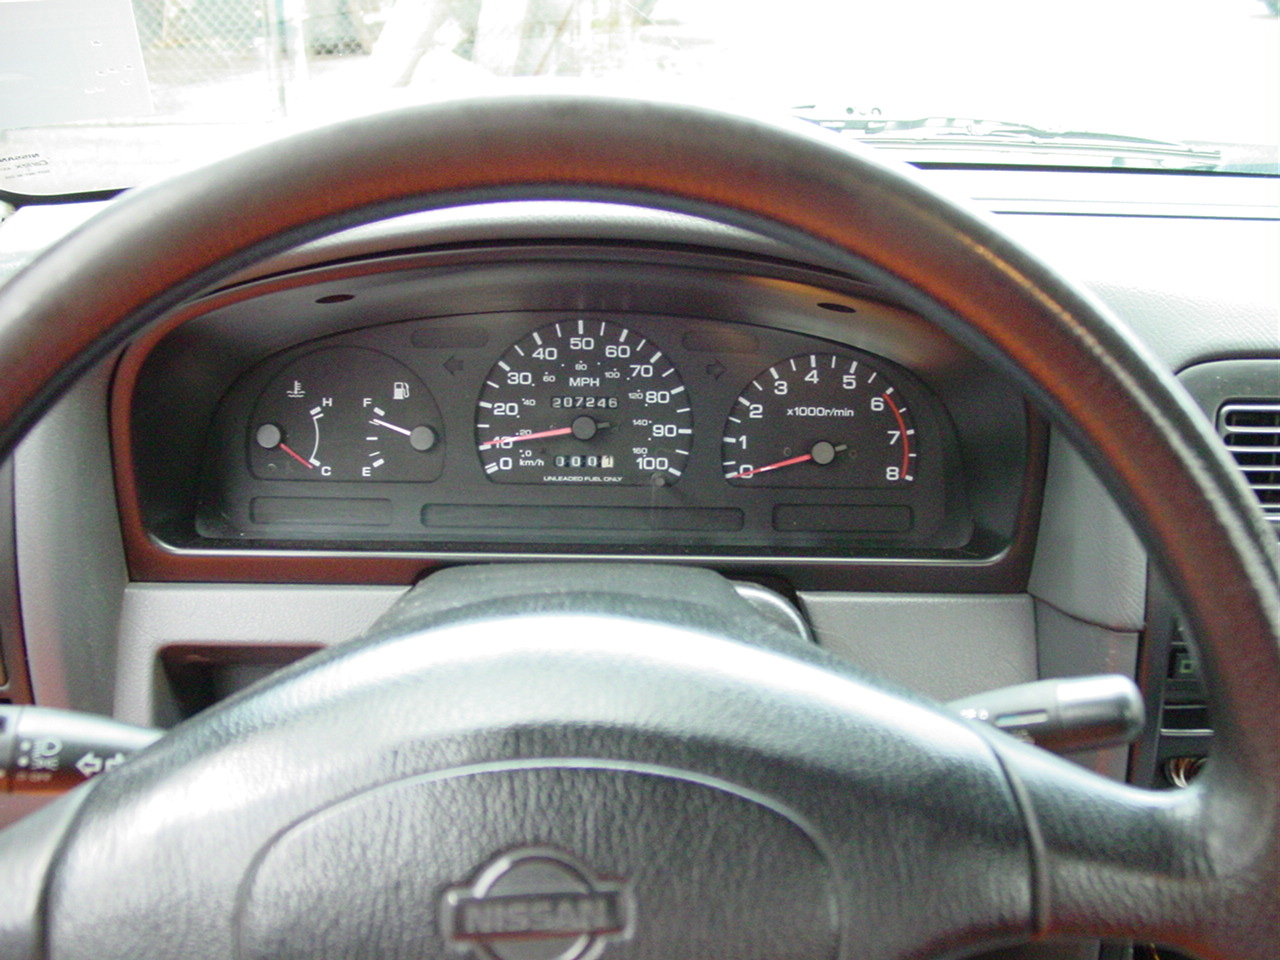
The whole process may take some trial and error but it can be accomplished.
Once you get that resolved, screw the motor in place, push on the circuit board and reinstall its screws and solder the motor pins.
Set the speedometer back into the cluster and secure it with four screws from behind.
Finally, reinstall the cluster.
Ultimately, the easiest thing to do would be to use the entire donor cluster or possibly the speedometer itself (if your donor cluster is a base model version and you want to retain your tach. If the mileage is close or you’re not worried about losing the trip meter, you could skip the hassle of soldering and properly clocking the motor to the shaft/needle.
Good Luck!
