This story starts out with a little garage mishap by a close friend of mine. As with most projects, one thing leads to another and a fully built engine emerges…or at least, in this case it does! This write-up discusses my thoughts, research, parts sourcing, and final production of my Civic’s hot rod engine.
The entire project started out when the distributor was installed incorrectly causing the camshaft to bind, the timing belt to slip and every intake valve to be bent. At the time, I felt it would be easier to remove the entire engine than it would be to remove the head on it’s own. With that in mind, why not rebuild the bottom end with fresh bearings, and piston rings? Then the process goes to “why not pick up some mild cams, a set of JDM ITR pistons and a Hondata?”
Good idea. I called up Tom Payn at Payn Technologies and started to talk about what I wanted to do and how I wanted to go about doing it. Very quickly, Tom talked me out of using OEM pieces. With the idea of useful power in mind, we set out to make my B18C1 a real autocross monster.
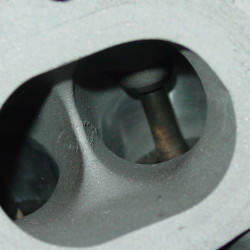
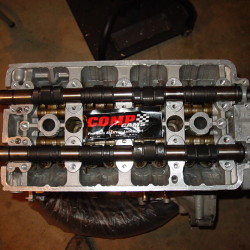
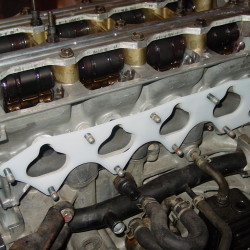
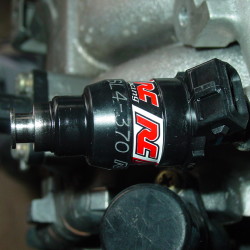
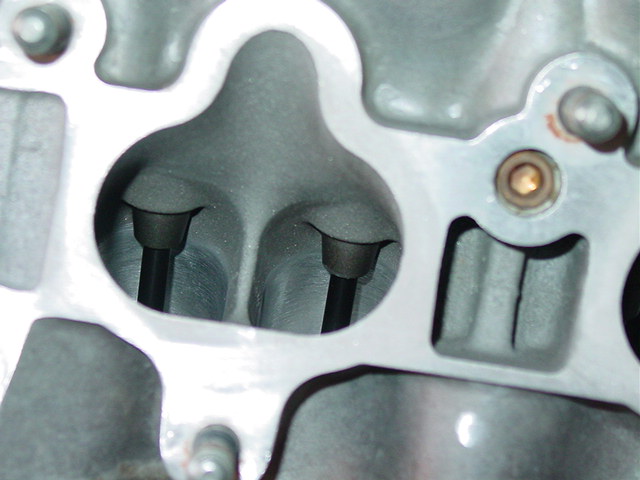
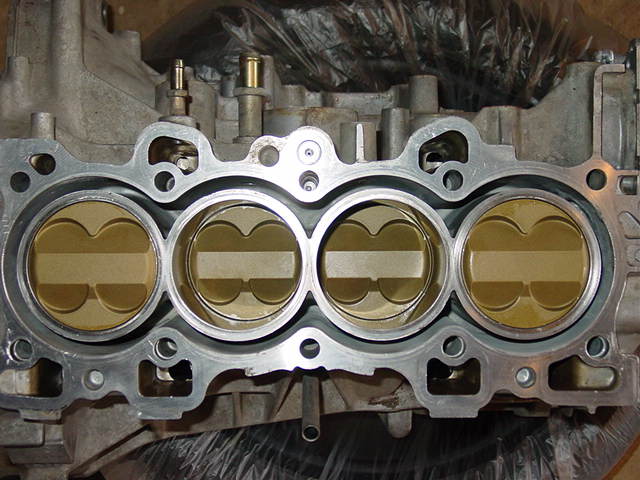
During the first call, we decided to go with a set of Wiesco forged pistons, Eagle forged H-beam rods, Comp Cams state two cams, RC Engineering’s 370cc injectors, Hondata S200 ECU, Hondata thermal intake manifold gasket. Rather than perform a simple valve job, Tom also sold me on having the bowl portion of the ports reworked. He preferred thoughtful bowl reshaping to a full port and polish. More power came from opening up the bowls!
Very quickly, I sent Payn the cylinder head. While waiting for a set of pistons, Tom talked me into a few more details. First, his attention to detail regarding bearing and other clearances sold me on the idea of sending him my block and rotating assembly in order to have his shop do the assembly on the short block. An engine that can spin up to 9000 rpms needs to built well! Along with that, we decided on balancing the crank, add a new oil pump and a Mugen oil pan. One of the final details include the ceramic coating on the pistons.
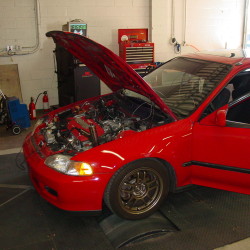
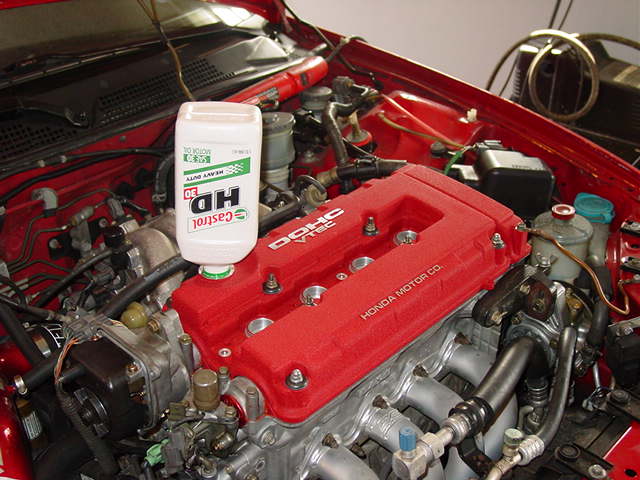
After several weeks, the assembled short block and reworked head arrived on a neatly packed pallet. Within a few days, I had the engine completely assembled and dropped back into the engine bay. It quickly and uneventfully fired up. Once I ran it casually for about a thousand miles, it was time to head up to Payn’s shop and have the ECU tuned. The base tune seemed considerably rich after 5000 rpms. Fortunately, the tune was adequate at lower rpms to allow for proper break-in. Once I drained the break-in oil and refilled with Mobil1, I headed out to Payn’s shop.
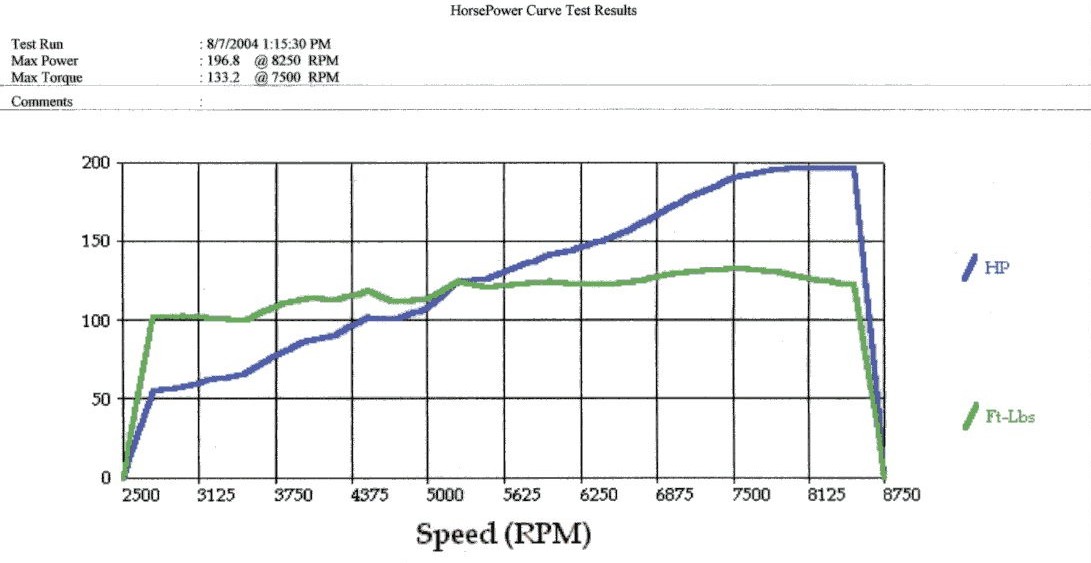
We discovered that my suspicions of a rich tune were confirmed. The base tune went wildly rich after 5000 rpms. The peak whp was 145, but at 4800 rpms. After ten or so runs, on a Mustang dyno, the engine peaked out at 197 whp at 8250 rpms and 133 ft-lbs of torque at 7500 rpms and the engine tops out at 9200 rpms.
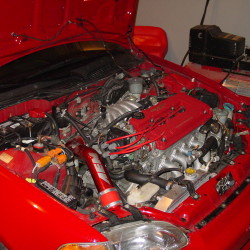
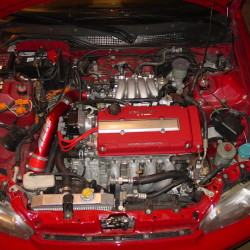
For its time, the engine was a beast. Under the hood, it looked stock. For daily driving, it felt like a normal B18C1. It made nice smooth torque that would pull without having to downshift. Working with Tom, we designed and built an engine that would function comfortably as a daily driver and handle track duty without breaking a sweat.
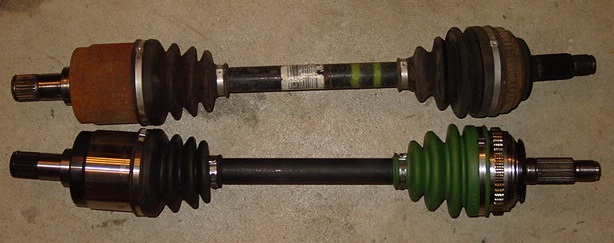
After finishing the engine installation, I realized that my half shafts needed to be replaced. I installed Drive Shaft Shop’s stage I axles. They are rated for horsepower up to 225 whp. This should be more than enough for my new power plant.
Check out a few of the project build pics below along with a few dyno pull videos. The next installment will cover the suspension work completed after the engine was built and tuned.
Read all about Project Civic Here