One of the easier modifications you can do is install a short shifter. It is easily one of the single most obvious upgrades in that you’ll be using the shifter whether you are at the track or driving to work. There are many aftermarket shifters available. I chose the B&M shifter because it offers one of the shortest throws. Most of the alternatives are very similar in design and throw reduction. Stick with a brand you trust and you won’t have any problems.
Tools Necessary
Reliable socket set
Metric wrenches
Jack and jack stands
Screw driver
Vice Grips
1/4″ or 8mm punch
This process works for any Honda or Acura that uses a rod shifter. While doing this project, you may want to consider installing upgraded bushings for the linkage since everything will be easily accessible.
Start by raising and secure the entire vehicle.
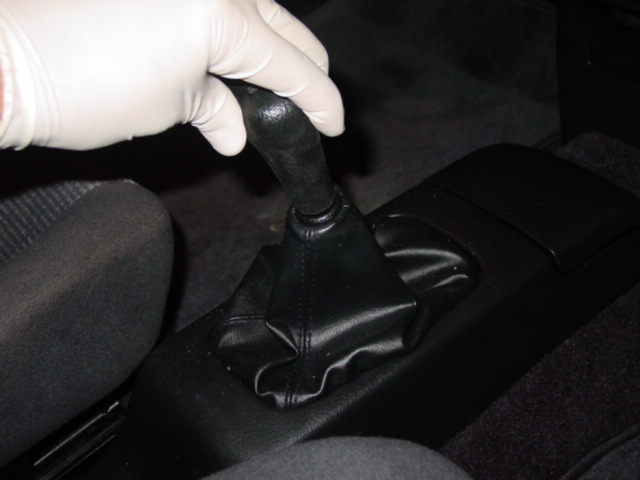
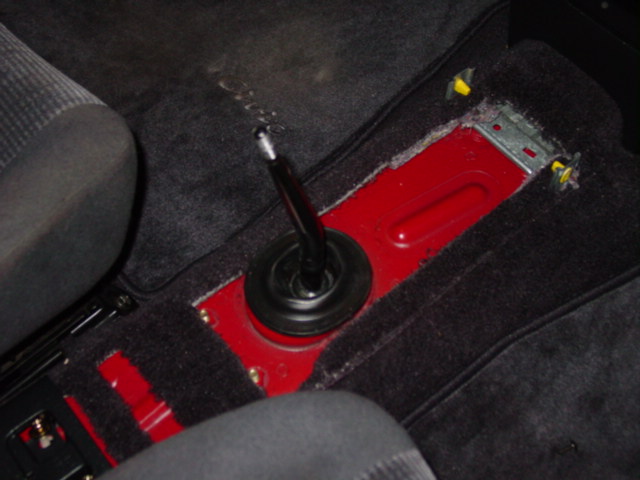
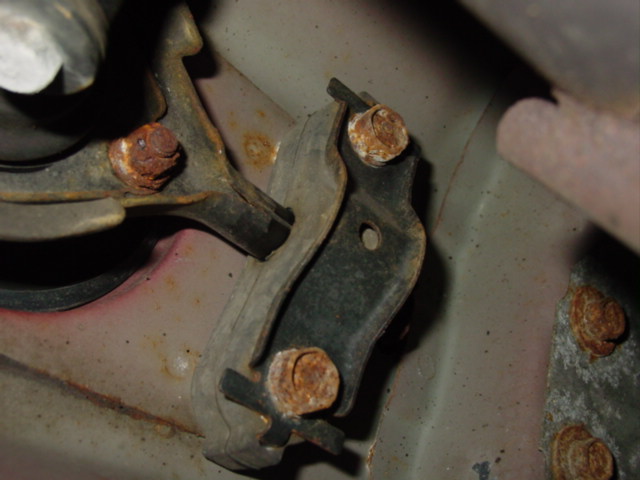
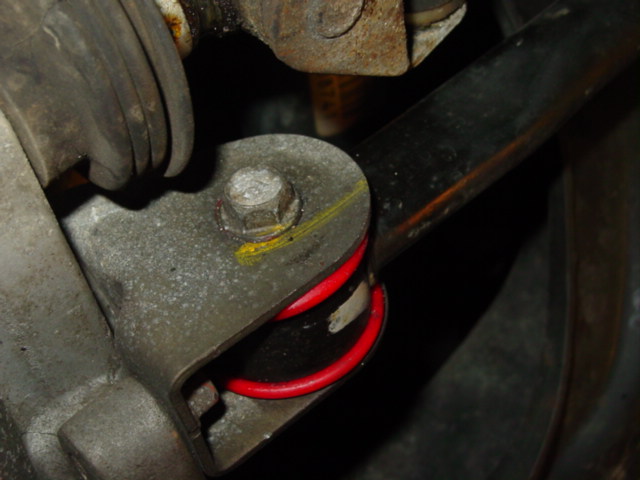
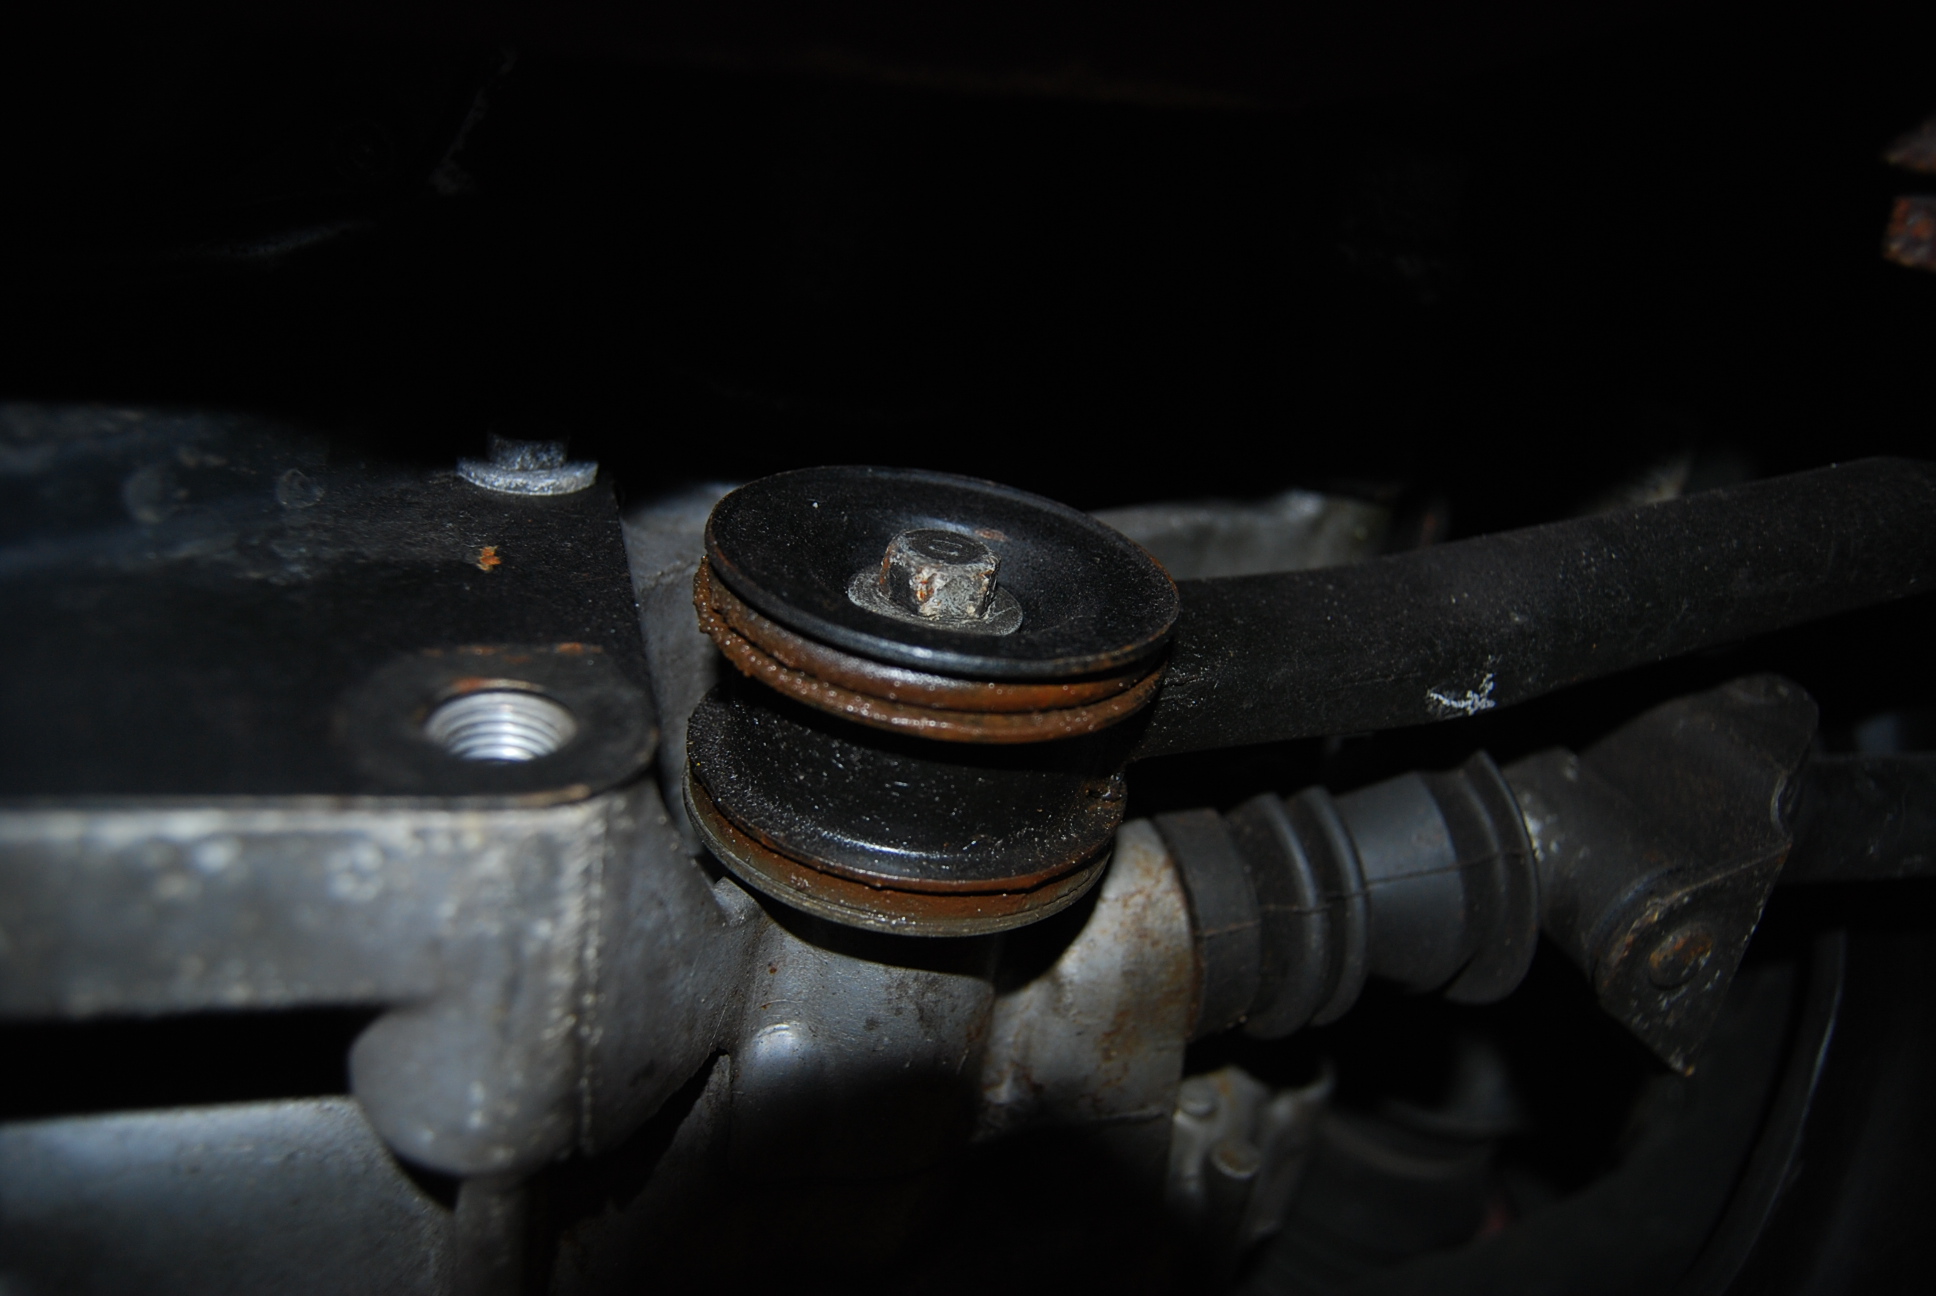
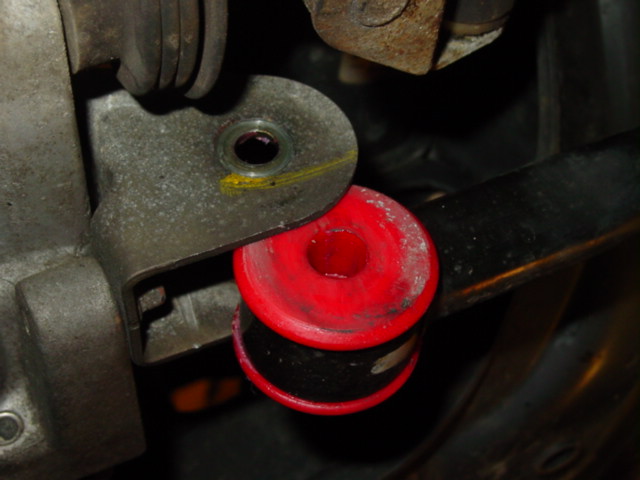
Remove the shift knob.Once the shift knob is off, you will need to remove the center console.The only difference between installing a short shifter in a ’88 civic, ’95 civic, ’98 Integra, or a ’00 civic is the way the center console is removed. Usually, it is very self explanatory. After the console is removed, each rod shifter equipped Honda is the same. All of these pictures are from my ’94 Civic Si.With the center console out of the way, pull back the weather seal.Under the car, you need to remove the rear shifter mount. Remove the two bolts with a 12mm socket.Up at the front, you need to remove the bolt that holds the front of the shifter rod with a 12mm box wrench. (Pictured: Civic D-Series linkage)The B-Series linkage is slightly different. The process to remove it is the same. Remove the bolt and the linkage will slide off.It’s easy to see why this is the best time to replace the linkage bushings. Energy Suspension bushings shown.
At this point, you need to determine if you want to completely remove the shift linkage from the car. It isn’t necessary, but it is easier if you pull it all out. If you do not want to remove all of the linkage, skip to removing the bolt that attaches the shifter to the shift rod.
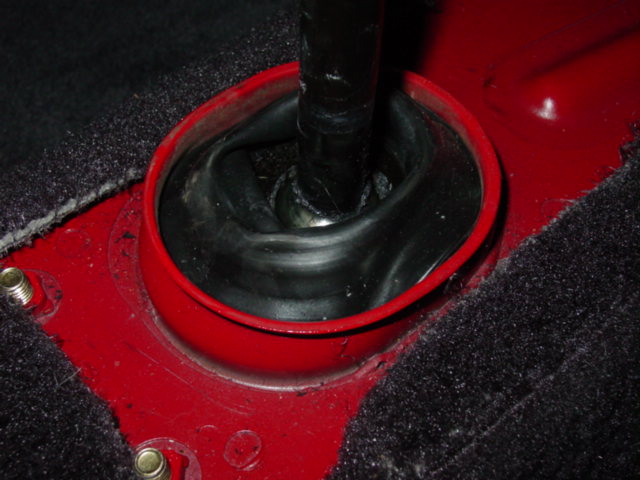
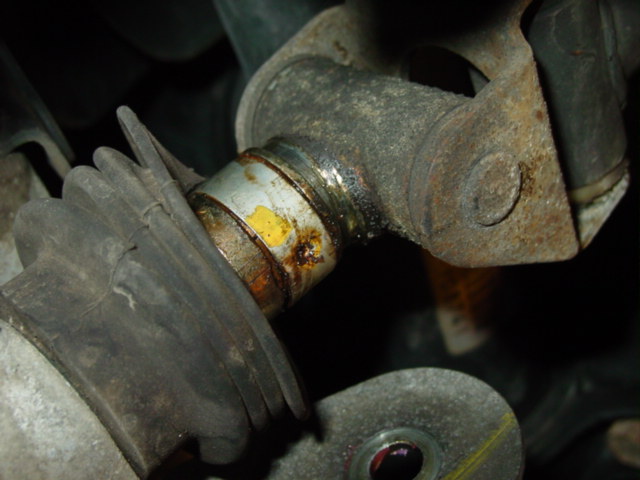
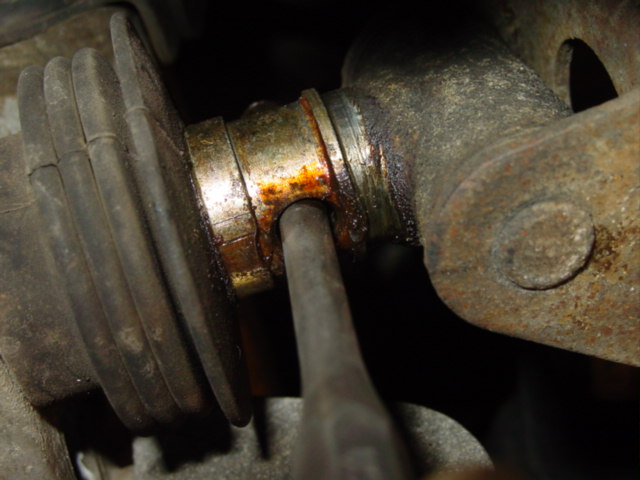
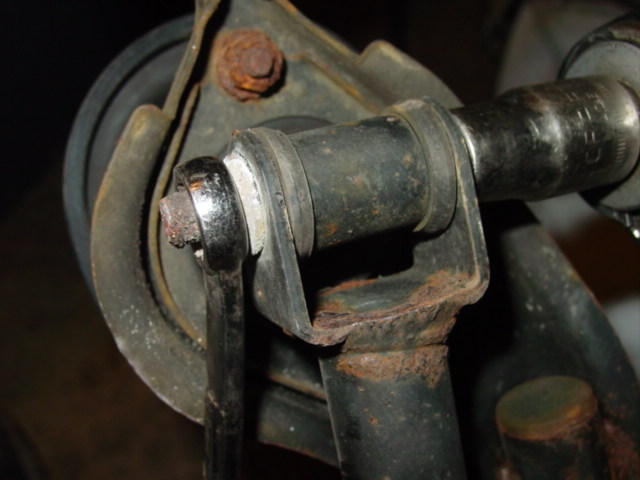
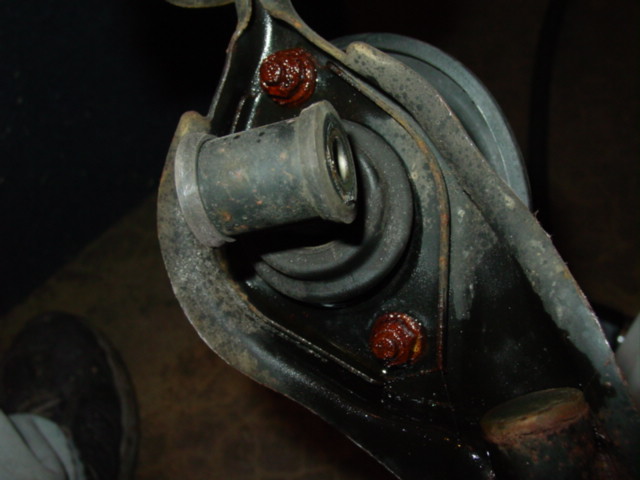
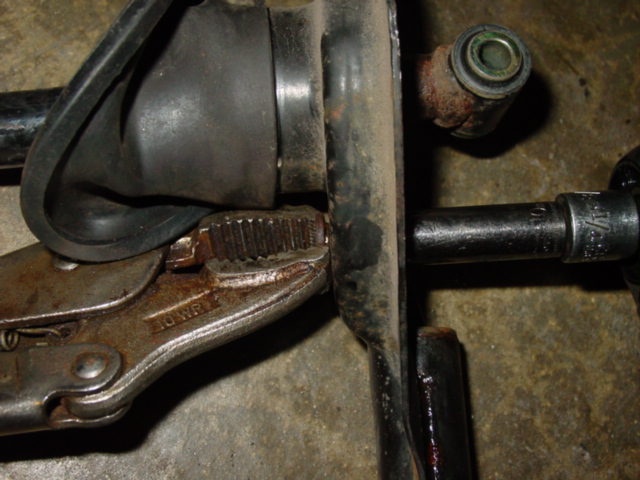
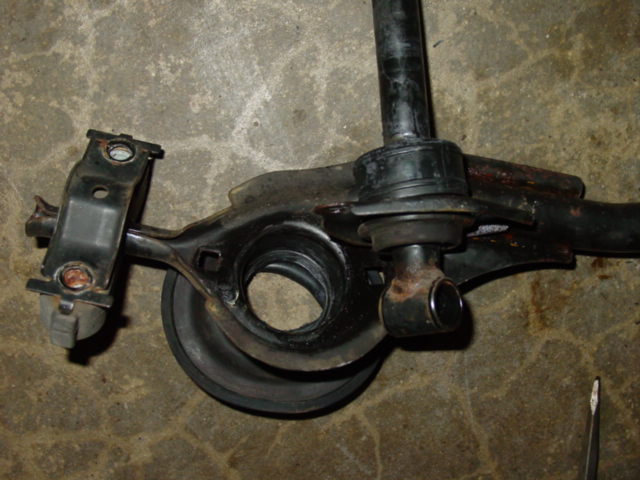
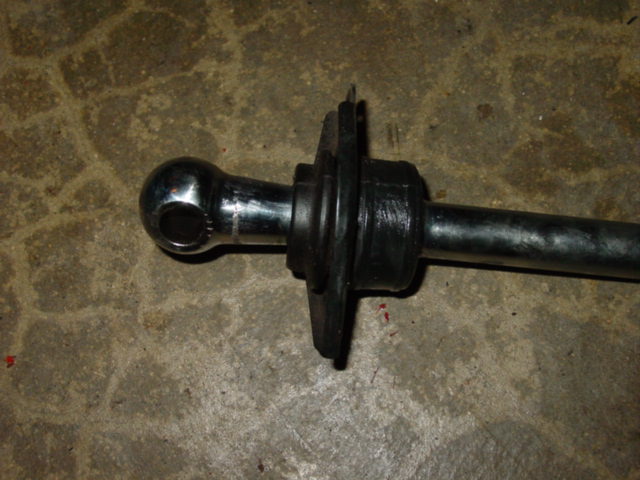
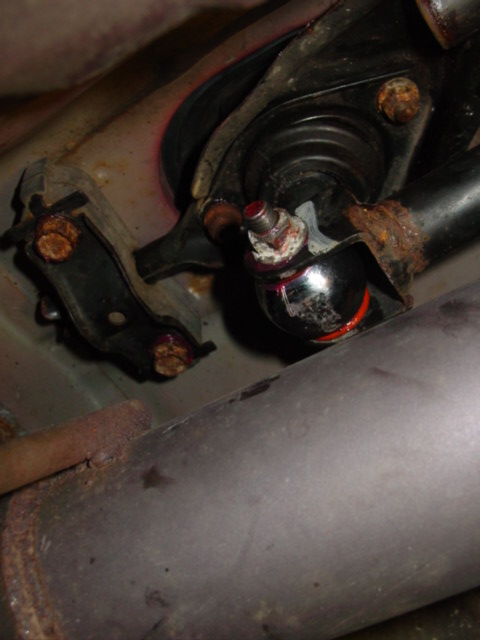
First, pull back the rubber boot and pull off the silver retaining clip.With the clip out of the way, use a 1/4″ punch (or an 8mm punch) to remove the pin that attaches the shift rod to the transmission. This is almost impossible without a punch. Make sure to have one on hand.Whether or not you removed the linkage from the car, you will need to remove the bolt on the bottom of the shifter with 12mm wrenches.With the bolt out, you will need to remove the shifter and the rod on which the shifter pivots.Remove the two bolts that keep the shifter in place.It will be necessary to use vice grips to hold the top of the bolts.Once the bolts have been removed, slide the shifter out.Pull off the pivot retainer then remove the rubber boot and enclosed pivot bushing (hiding inside the boot)Lube up the new shifter and slide on the shifter pivot hardware. This is a pain, so be patient.Reinstall the pivot retainer and bolts.Bolt the new shifter and hardware to the shift linkage.
At this point, you need to slip the linkage and shifter back into the car (if you didn’t remove all of it) or attach the other shift rod to the bottom of the shifter.
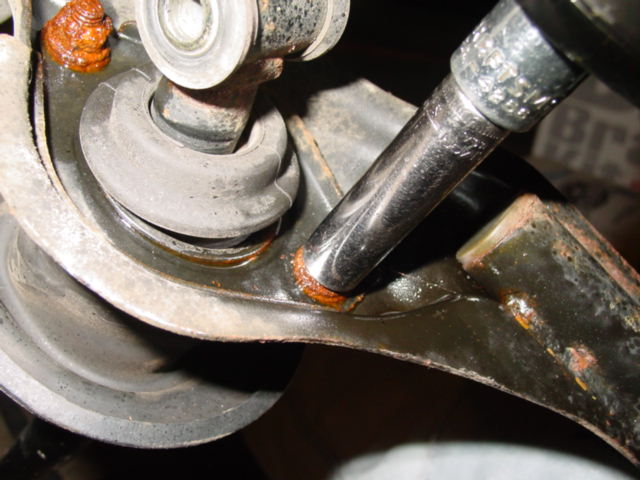
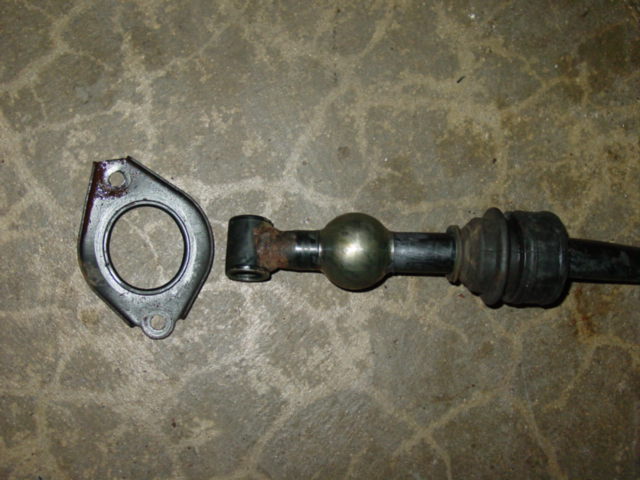
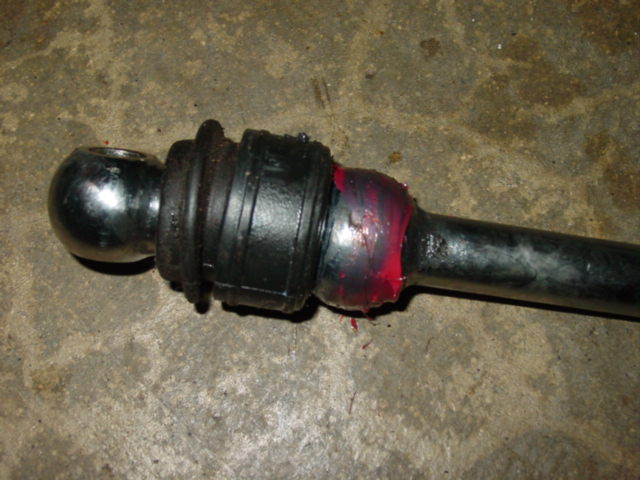
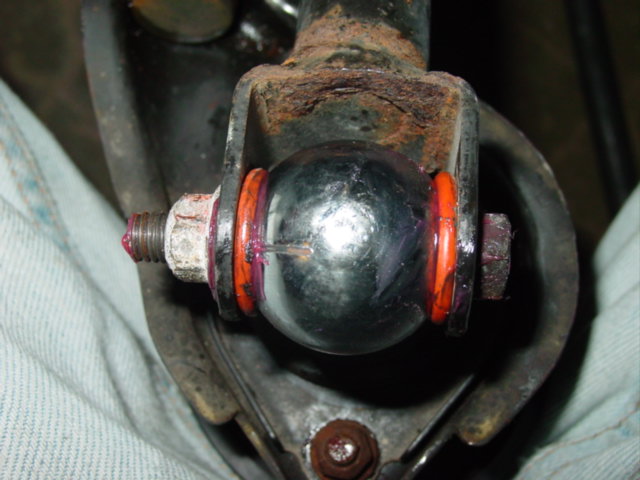
In the case of B&M shifters, you need to use the supplied o-rings to fill the space shown below. When installing the B&M shifter in a Civic, use two large O-rings.When installing the B&M Shifter into an Integra (Or B-Equipped Civic), Use all of the supplied o-rings as shown. You can lean the shifter slightly left or right depending on what order you install the o-rings.
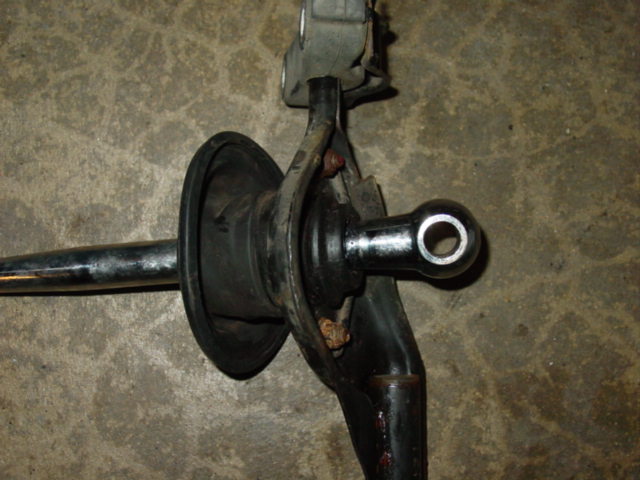
Slip the shift linkage back into the car (if you took it all out) and attach the linkage to the output on the transmission and attach the shift linkage with the bushing to the side of the transmission.
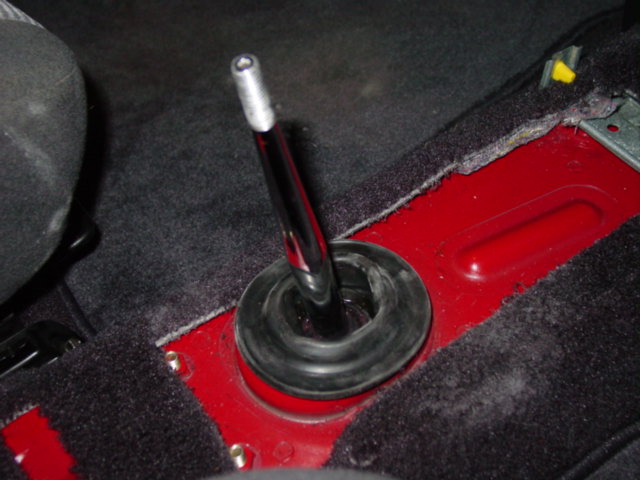
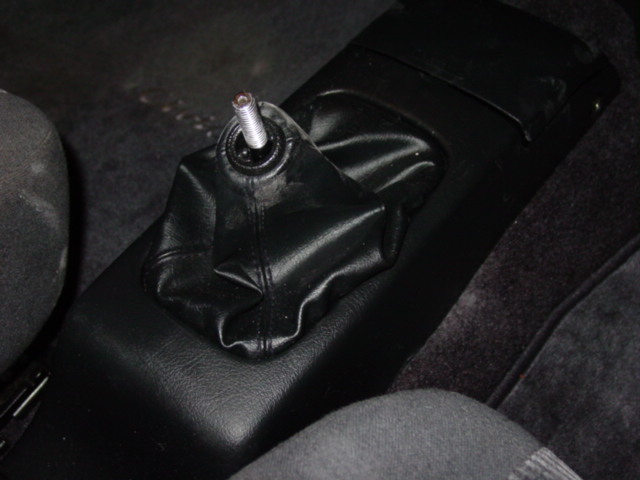
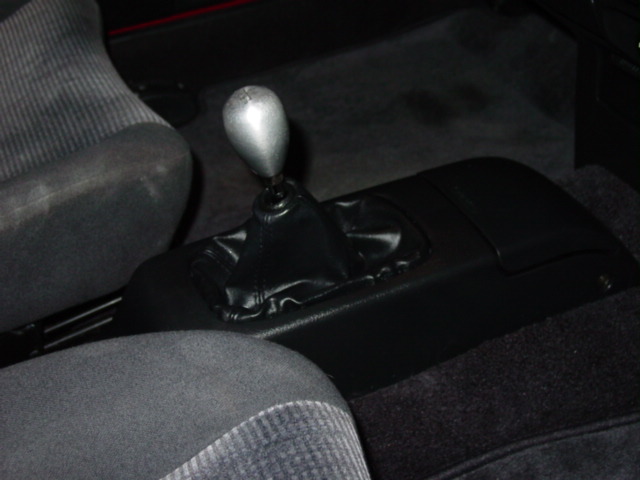
The bolt the rear bushing to the chassis.Inside the car, pull the weather seal over the hole in the chassis.Replace the center console.Install your shift knob of choice!
For the most part, installing a shifter is relatively straight forward. You may face rusty bolts which tend to plague salt belt cars. It may not be a bad idea to have fresh nuts and bolts for the shifter retaining plate or the hardware (Sleeve, o-rings, plastic inserts, and dust seals) for the lower pivot.
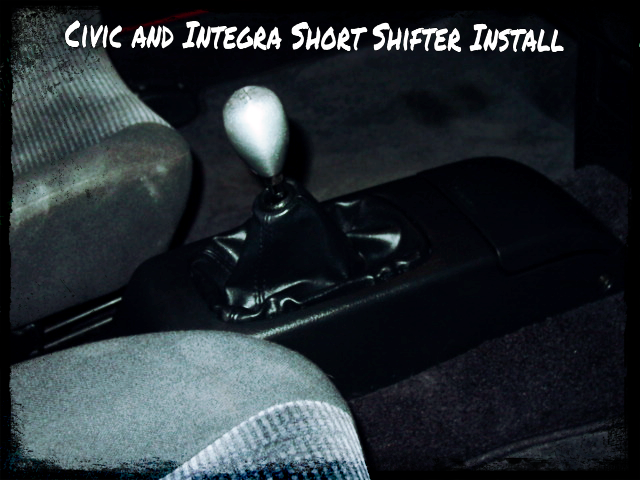 One of the easier modifications you can do is install a short shifter. It is easily one of the single most obvious upgrades in that you’ll be using the shifter whether you are at the track or driving to work. There are many aftermarket shifters available. I chose the B&M shifter because it offers one of the shortest throws. Most of the alternatives are very similar in design and throw reduction. Stick with a brand you trust and you won’t have any problems.