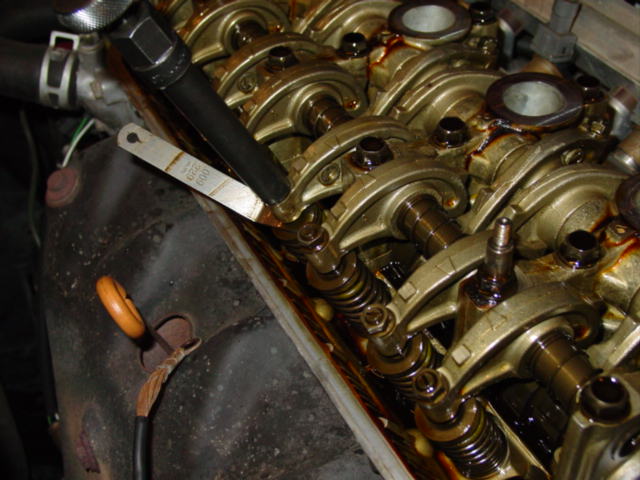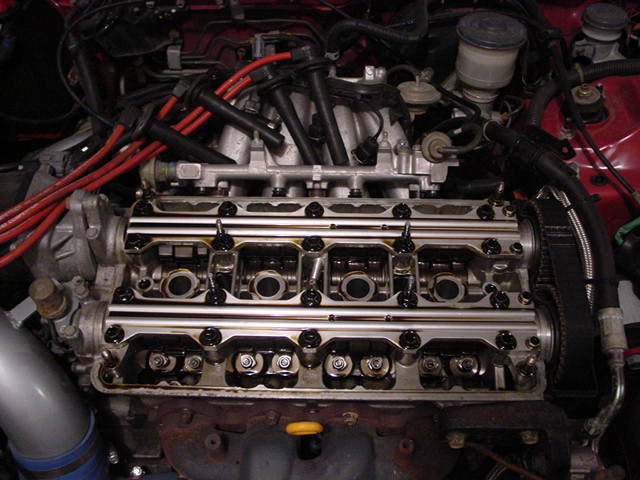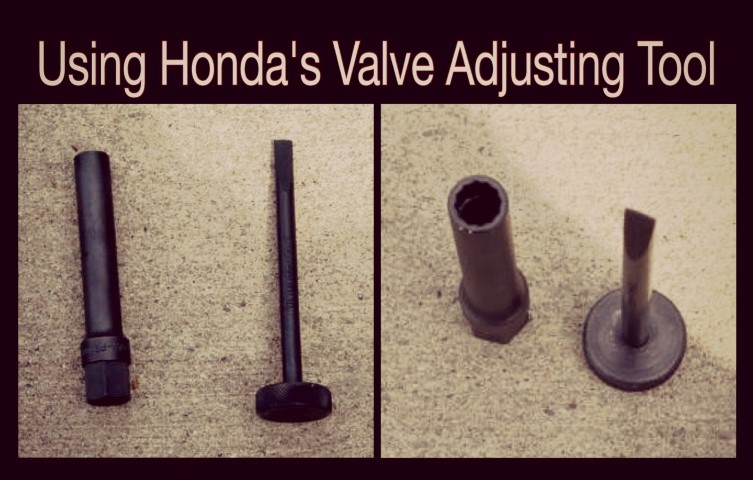
In my special tools section, I included a factory Honda tool that is used for adjusting valve lash. In this page, I’ll describe the use of the tool as well as go over the proper procedure for adjusting the valve lash.
Tools Necessary:
- socket set
- 17mm box wrench
- Honda’s Valve Adjusting tool (helpful on B-block VTEC’s)
- Feeler gauge (.006″ for the intake valve and .007″ for the exhaust valve on a B18C1)
Start by turning the front wheels to the left. This will give you adequate clearance to reach the main crank bolt. Remove the spark plug cover (B-block, H-block VTEC’s) Pull the spark plug wires and lay them aside. Remove the Breather tube from the valve cover. It’s the hose that attaches the intake tube. Remove all of the bolts on the valve cover and gently pry the cover. If you use a screwdriver, avoid scratching the surface of the head.
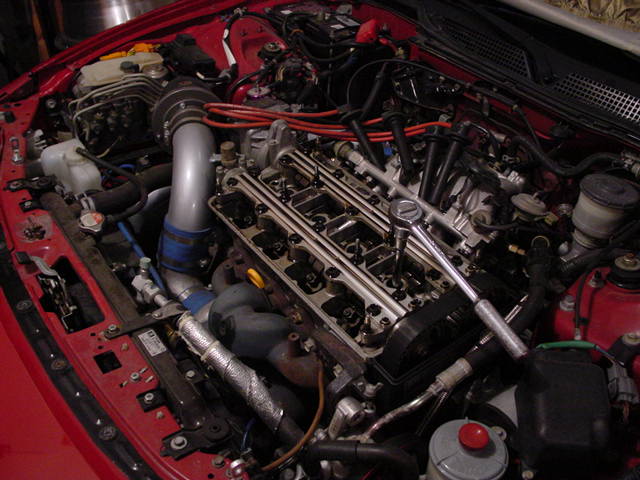
Once you have the plugs out, rotate the crank using a socket wrench and a 19mm socket. Start by setting the crank at Top Dead Center. It should be a white mark and or a notch on the crank pulley. You are ready to do cylinder 1’s valves (cylinder opposite the distributor, or the cylinder the socket is poking out of in the previous picture).
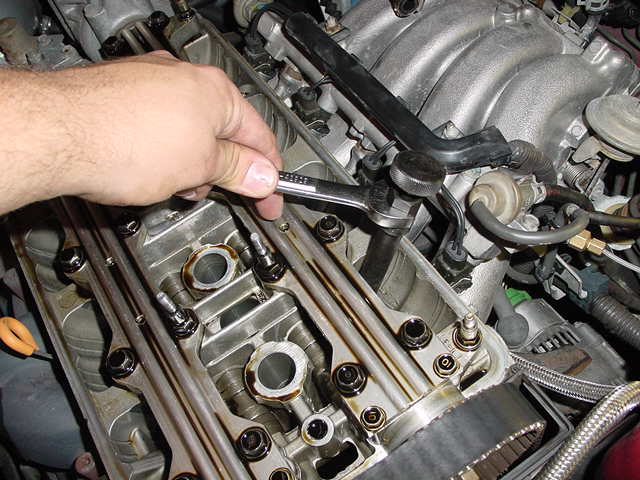
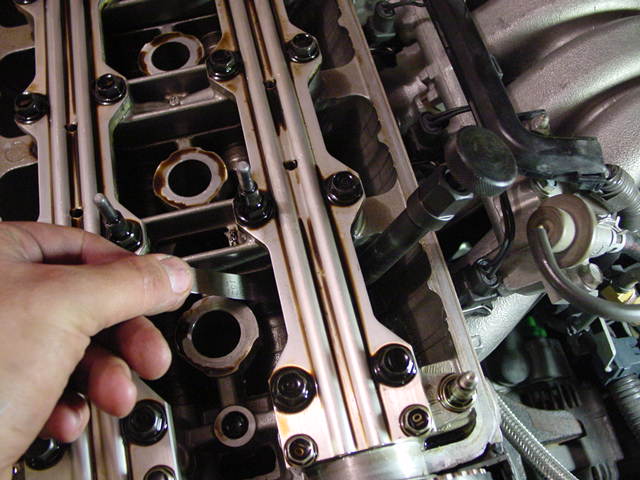
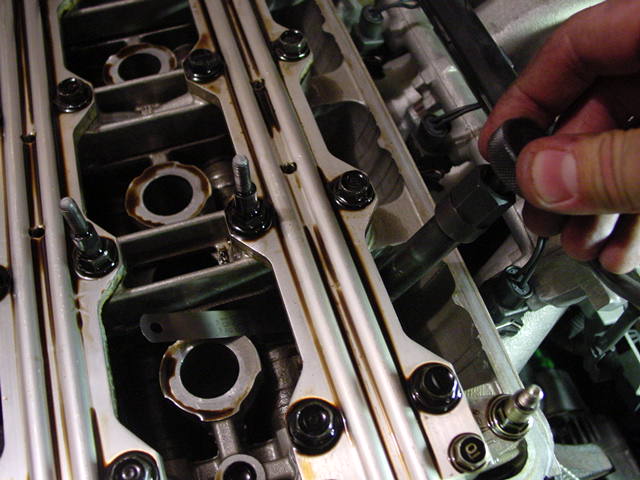
Once you get the lash set, tighten the valve lash bolt with the outer part of the tool while keeping the inner part of the tool from moving (it’s not as tricky as it may seem). Check the lash one more time and move on to the next valve.
After cylinder 1 is complete, rotate the crank counterclockwise until the cam has moved 1/4 of a turn. This will get you to cylinder 3, second from the distributor. Repeat the valve lash adjustment until you have complete all of the cylinders. Each 1/4 counterclockwise rotation of the crank will get you to the next cylinder. The order is 1, 3, 4, 2
When you have completed all of the cylinders replace the valve cover. Remember to put some high temp sealant on the corners of the valve cover gasket where they go around the cam caps. Replace the plug wires and plug wire cap.
Pretty easy huh?
For the sake of illustration, a shot of a non-VTEC d-series engine:
