
(Originally posted in 2004, slightly updated in 2015)
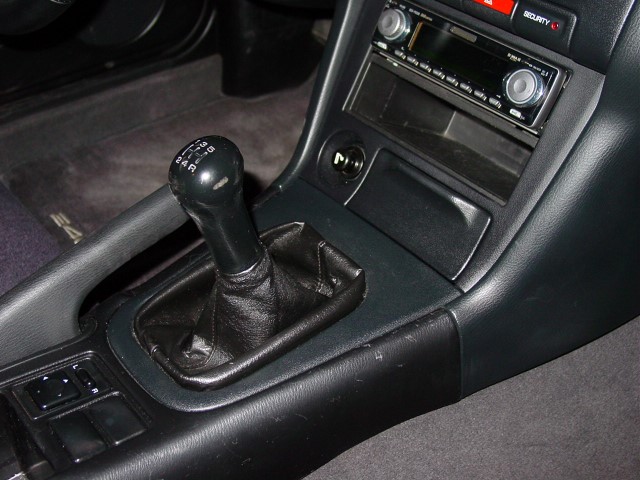
One of the biggest disappointments that I had with my 240SX was the extraordinarily sloppy shifter. There are quite a few companies out there that offer upgrade shifters for the 240SX. B&M’s shifter is probably one of the most aggressive shifter upgrades. In this article, I will outline the installation and explain the difference between B&M’s shifter and other manufacturers.
B&M’s shifter will work on either the stock KA’s transmission, the SR’s transmission, as well as a few other Nissan applications.
Tools Necessary:
- socket set
- box wrenches
- jack and stands
- Possibly a hole saw or large drill
You will need to raise and secure the front of the vehicle. This is necessary to reach the front two bolts on the shifter plate. I’ll get to that shortly.


The weather seal needs to be removed. There are 4 bolts that hold it in place. Also, cut the zip-tie on the top part of the boot.
The front two bolts offer the greatest challenge during this installation. I was able to remove the bolts from under the car using a box wrench. An alternative to working from under the car is to use the method described by “russian” from Zilvia.net:
One thing can be done, you can drill holes in drive shaft tunnel. A hole cutter or a large drill will work well. Once you are done with the shifter, lay 2 layers of Dynomat over it. I got it for like 10 bucks at a stereo shop just ask them for some pieces, they may have some for free. Spraying some paint over the bare metal will help avoid rust down the road.
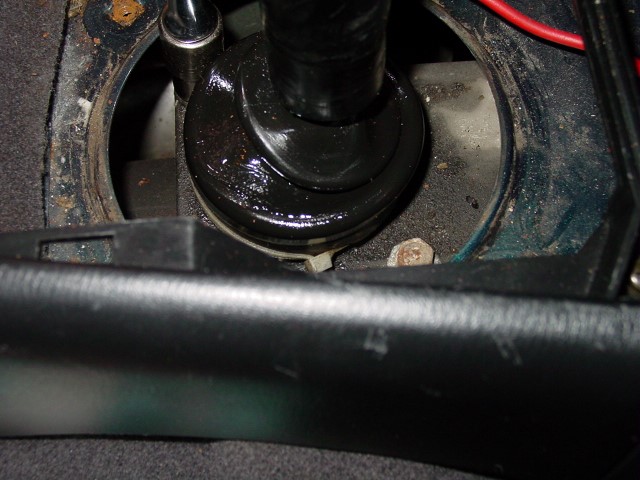
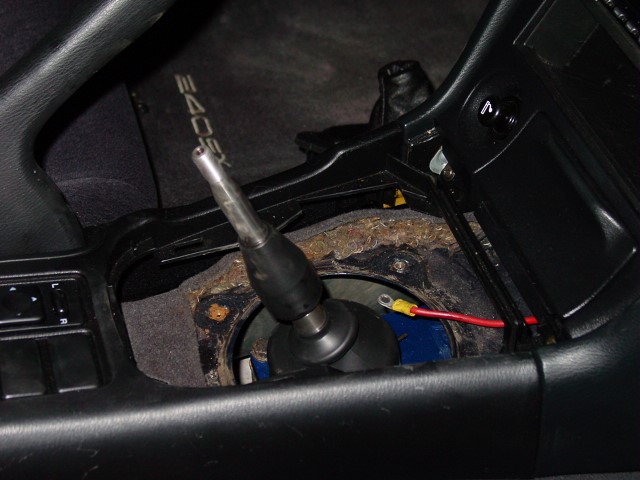
Whichever way you chose, with the 6 bolts removed, the shifter and cover can be removed.
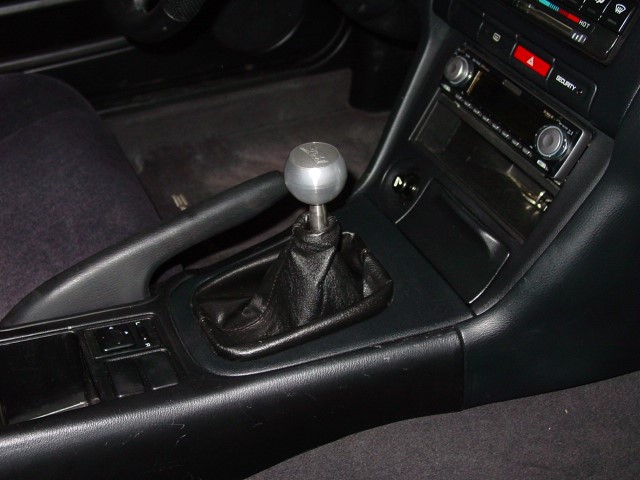
With the shifter out, you can easily see the difference between the two shifters. B&M produces a much shorter shift than the rest because of the redesigned top plate. The plate moves the fulcrum point significantly higher allowing a shorter throw. To top it off, they also shortened the overall length of the shifter. Finally, to increase shift feel, the shifter is a solid piece rather than two pieces separated by rubber.


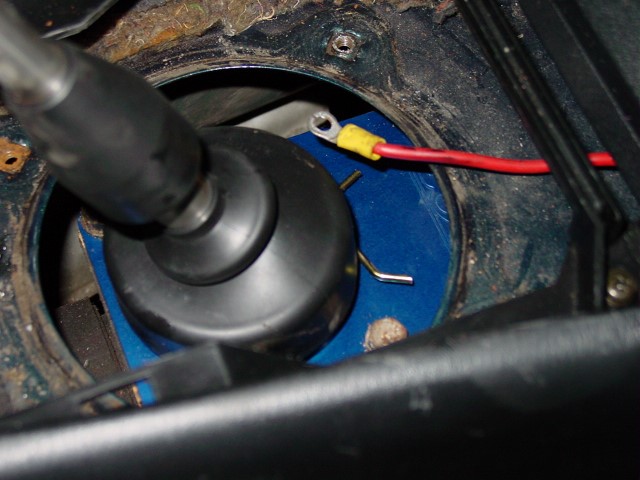
Once you’ve finished marveling at the engineering masterpiece, it’s time to slip the new shifter into the transmission.
Reinstall the weather seal and use a zip tie to clamp down the top portion of the seal.
Driving impression:
The B&M shifter is a spectacular improvement! As soon as you start rowing through the gears you will notice the throw is substantially shorter. Shift feel is very firm with obvious engagement. There is absolutely no play from side to side. The shifter is definitely different than anything I’ve used and did take some time to get used to, but I can definitely see improvements in racing situations.
The only negative drawback is a vibration after 5000 rpms. Since they removed the rubber section that normally joins two parts of the shifter together, there is nothing to quench the vibrations in the transmission. The performance gain is definitely worth the minor inconvenience.
As a final thought, you may want to take a suggestion by “uiuc240” of Zilvia.net:
While you have the stock shifter out, you might as well replace the gear oil. Simply use the end of a 1/2″ breaker bar to loosen the drain bolt from the tranny and let the fluid spill out. After it stops dripping, put the bolt back and fill the tranny from the top (5-1/8 pints, or roughly 2.5 quarts).