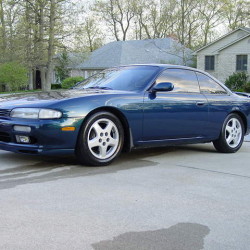
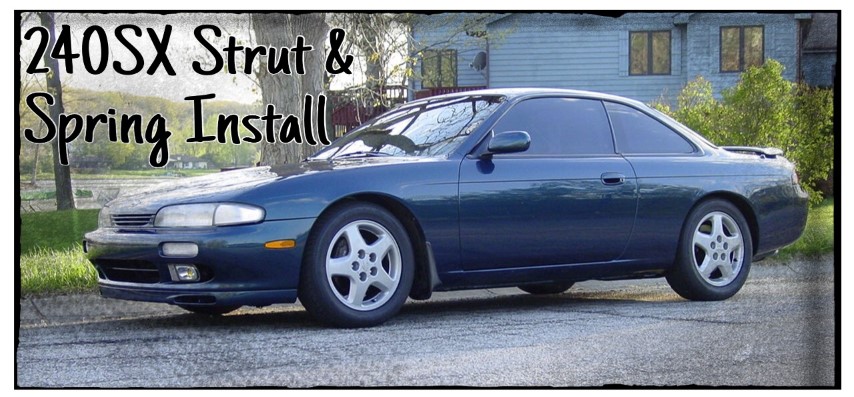
If you are tired of the giant wheel well gap, or are looking for sure footed handling offered by a more aggressive suspension, this write-up will walk you through the process of swapping new springs and struts into your 240SX.
I installed Eibach Sportline Springs and KYB GR2 struts. This write-up will work for virtually any spring and strut combination. Installing a full coil-over kit will simplify the process by eliminating the need to compress and remove the original springs.
Tools Necessary:
Jack and Jack Stands
Metric wrenches and sockets
Impact gun (not necessary but definitely helpful)
Spring compressor
Front Springs and Struts:
Once you have raised and secured the vehicle, the fun can begin!
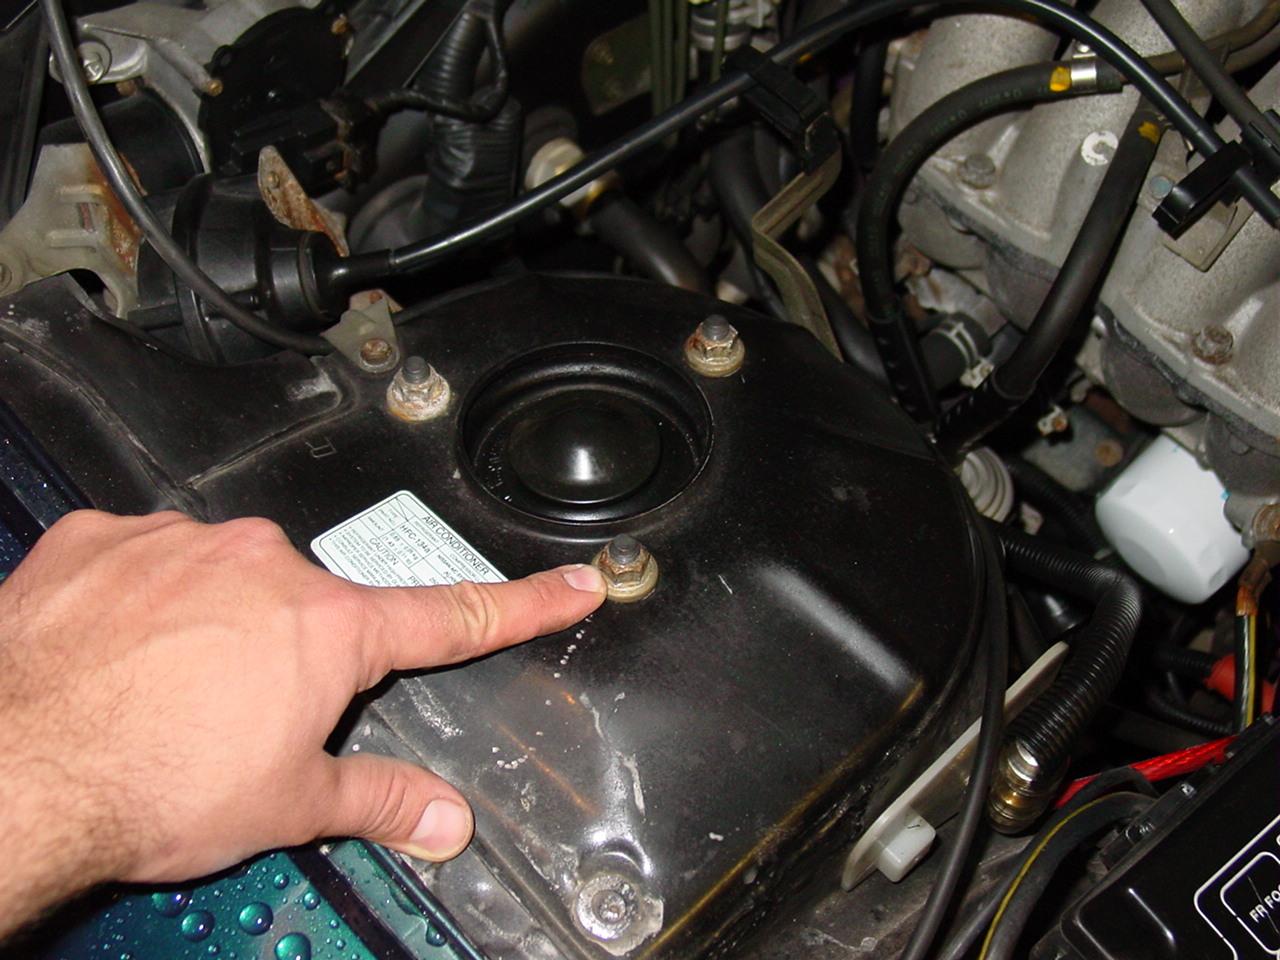
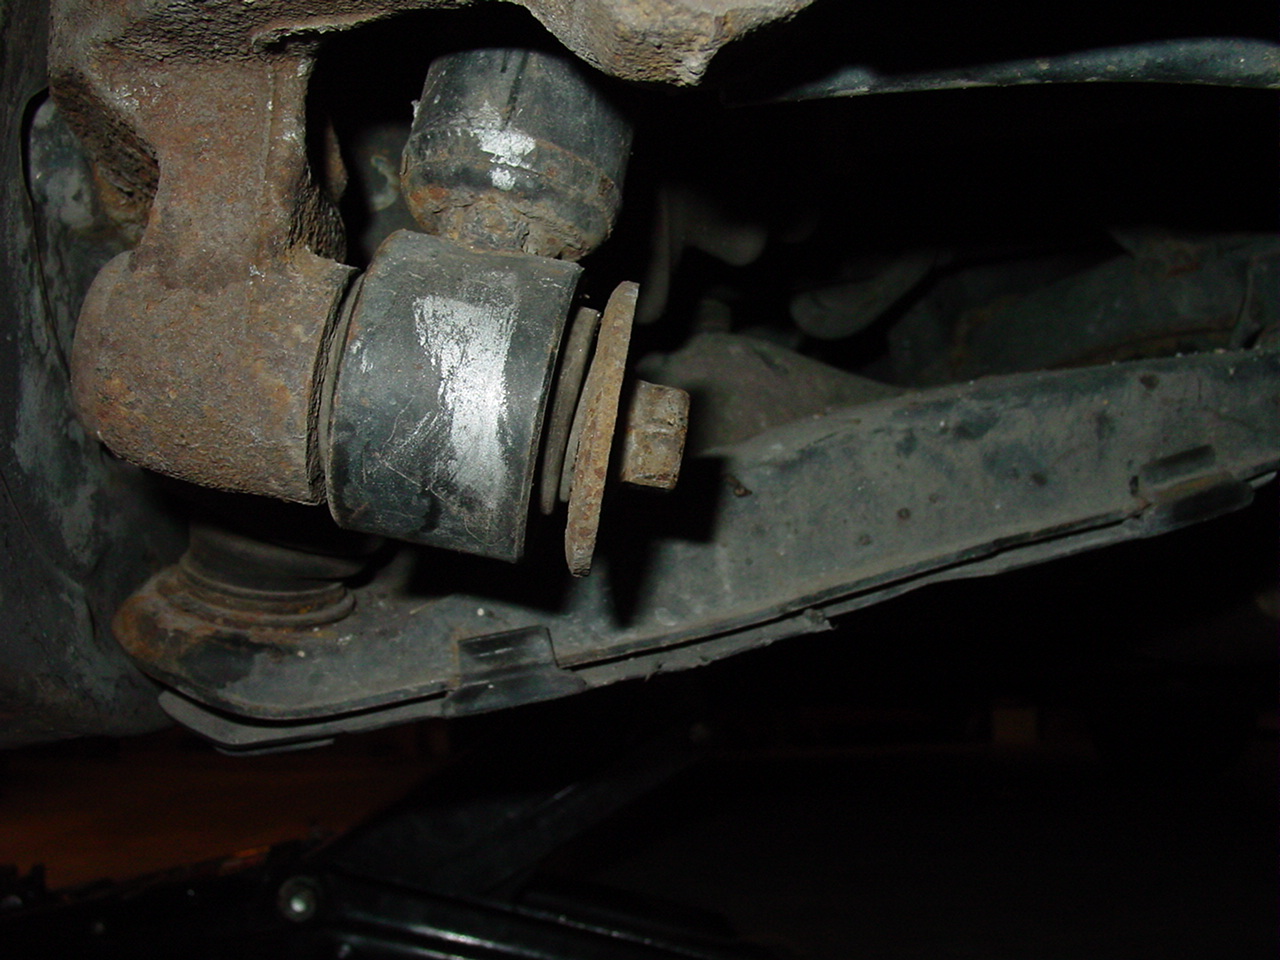
Remove the three nuts on top of the strut tower.Depending on what kind of brake lines you have installed, you will need to detach them from the strut before you remove it from the vehicle.Remove the two large bolts that attach the strut to the upright. These bolts might be frozen and may need a torch or a press to remove them.Once you have the strut out of the vehicle, you will need to compress the spring and remove the nut on top of the strut shaft.This nut. If you have impact tools, you shouldn’t have any trouble removing it. If it spins, and you are replacing the struts, you can grab the shaft with locking pliers or channel locks to keep it from spinning. If you are reusing the struts, you will need to get creative.
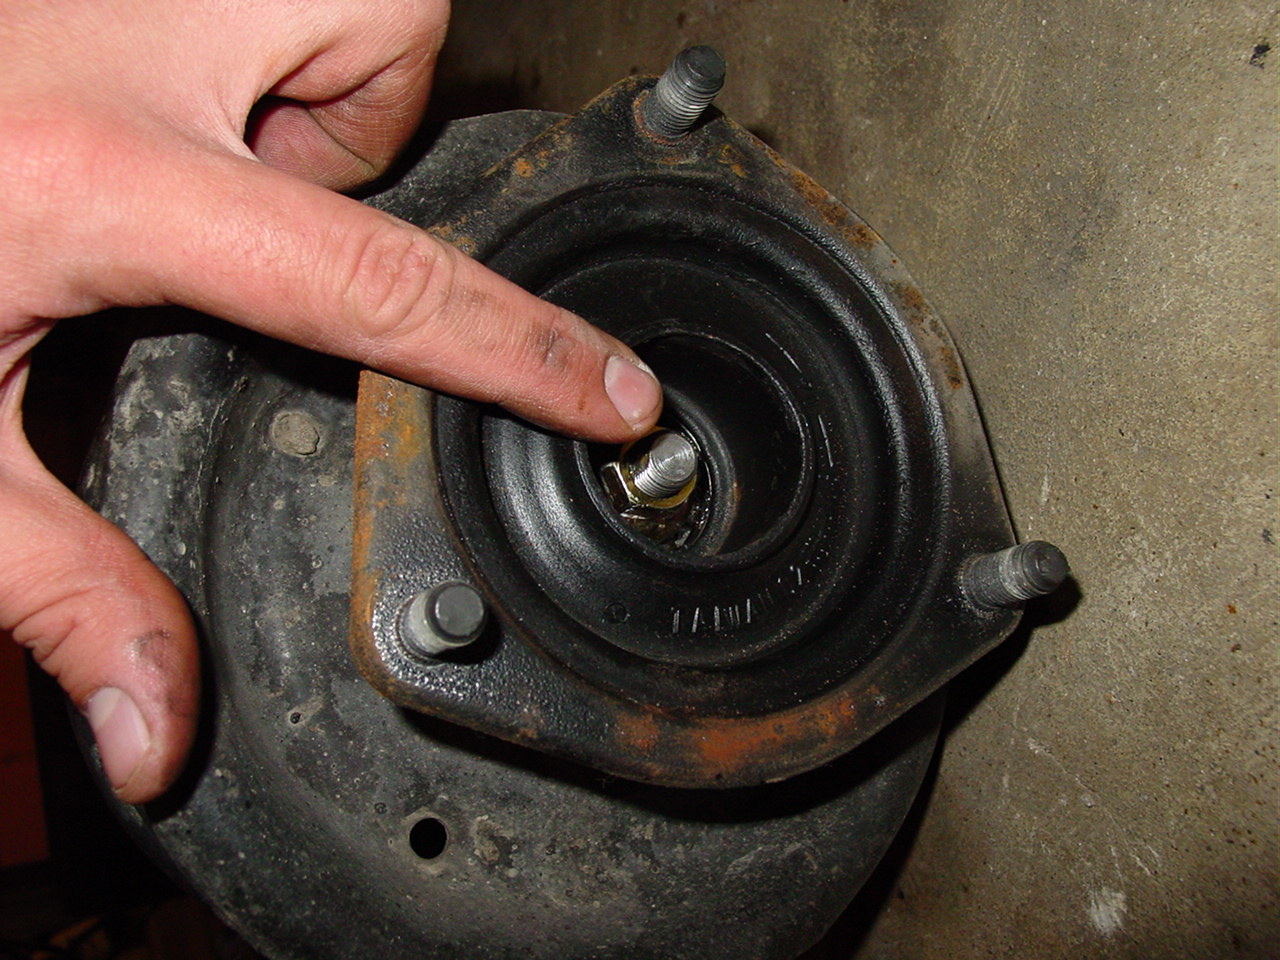
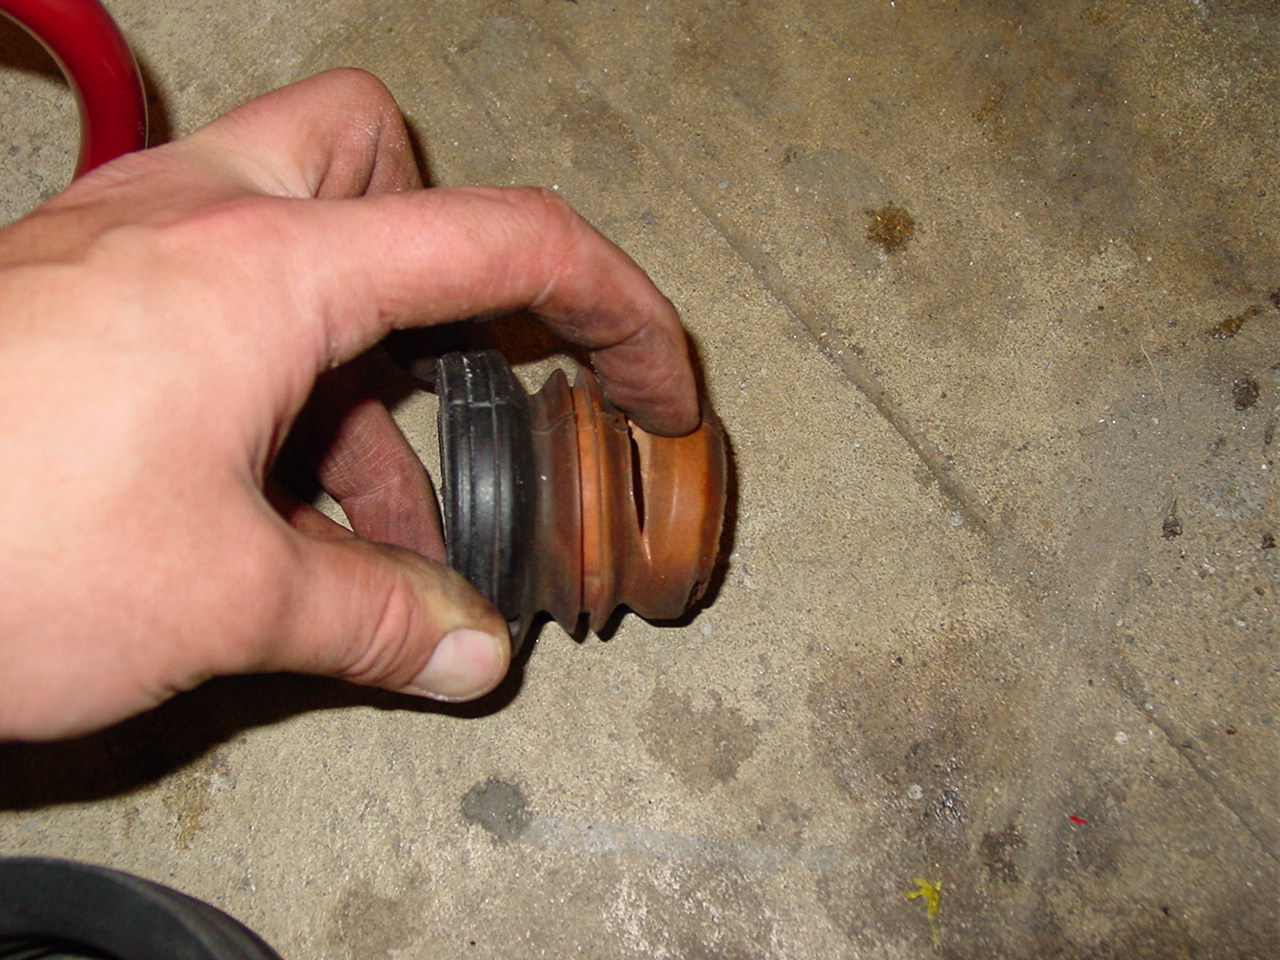
If you aren’t installing a complete coil over set, you will need to reuse the spring hat, strut mount, and dust boot. Replace the dust boot if it is worn and cracked (like those in the pictures). With everything apart, this is a great opportunity to replace the upper mount if it is worn and not turning smoothly.
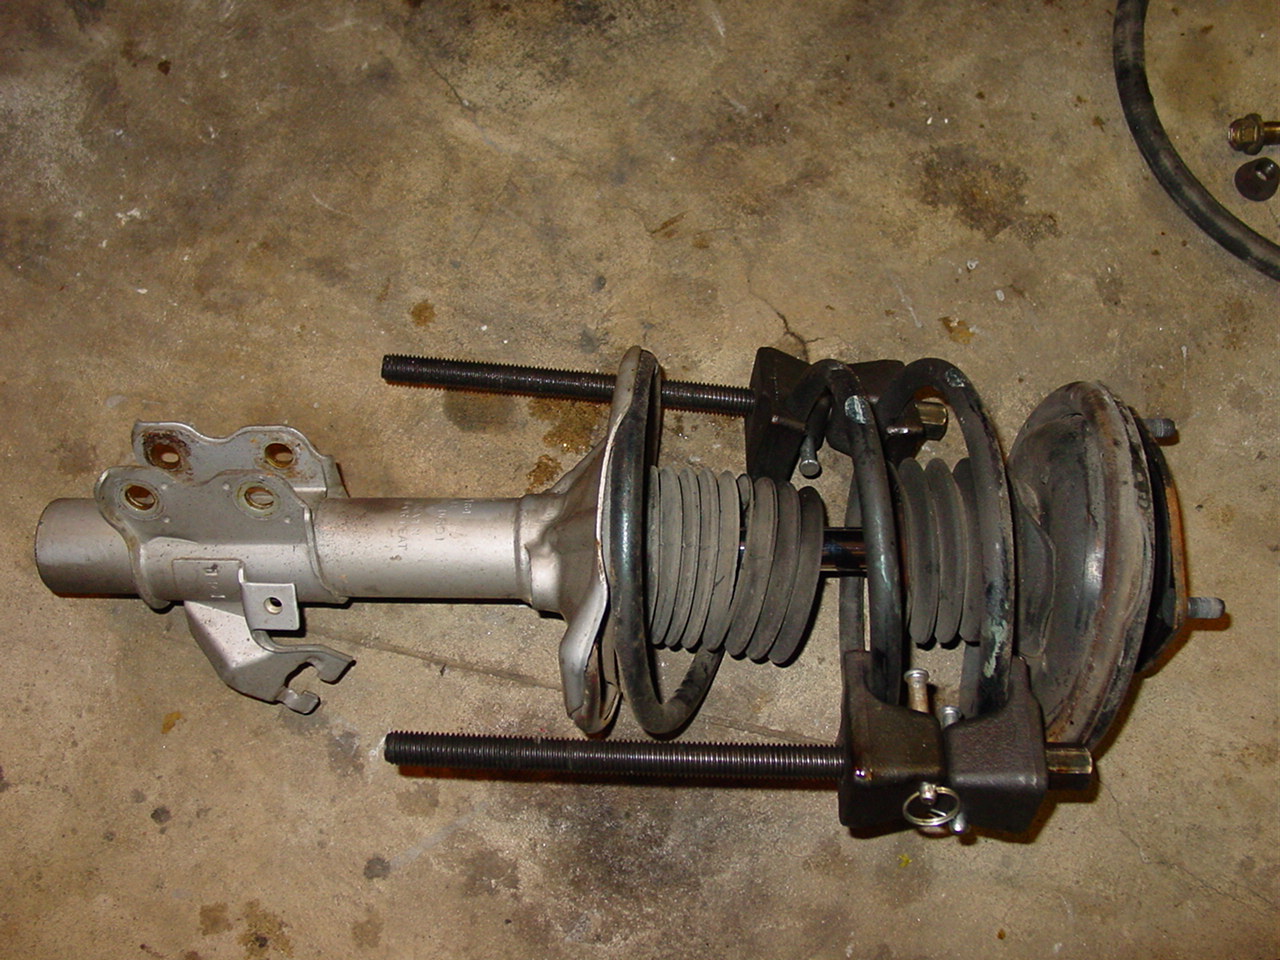
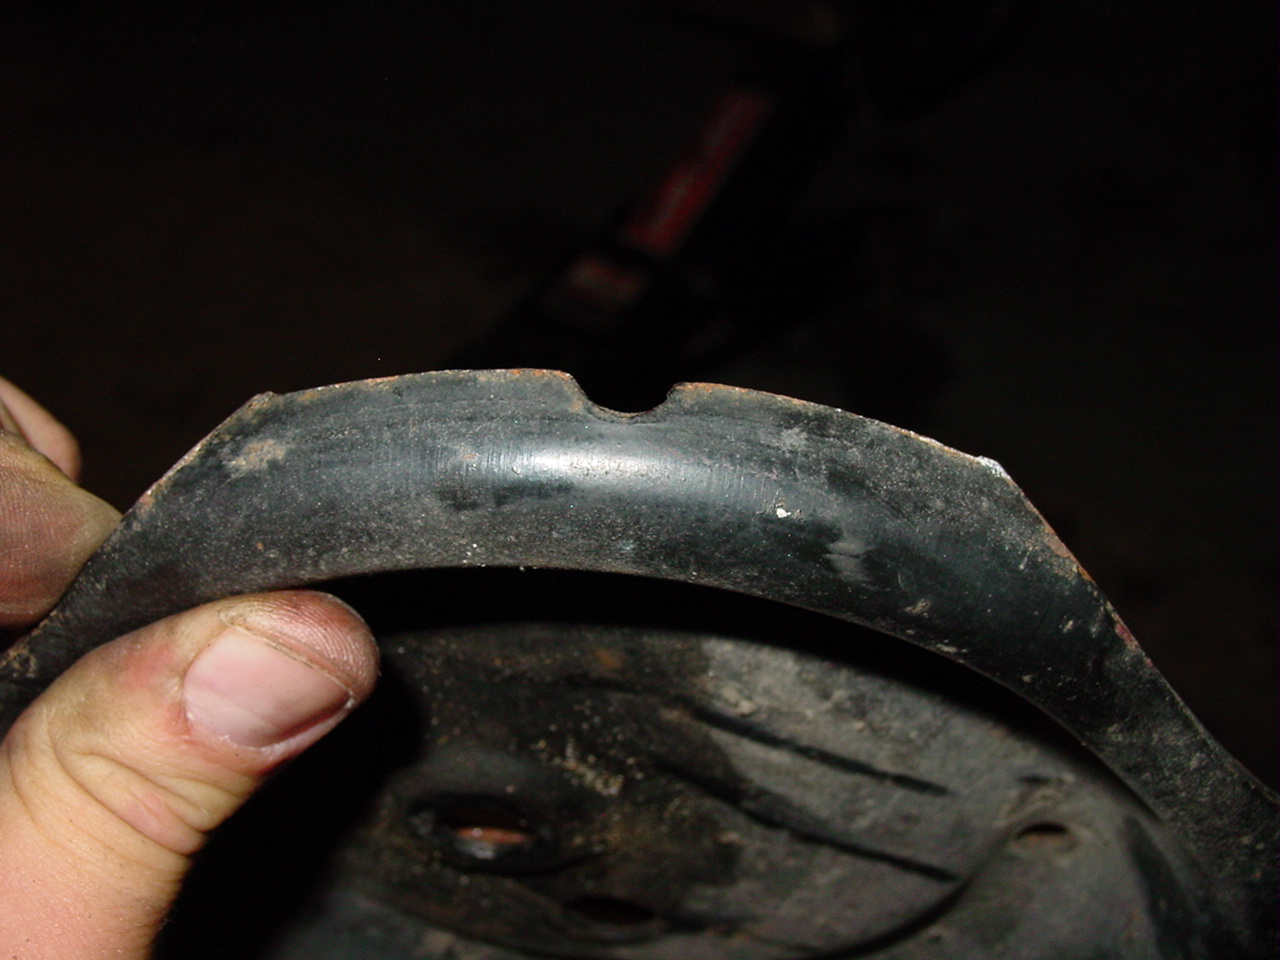
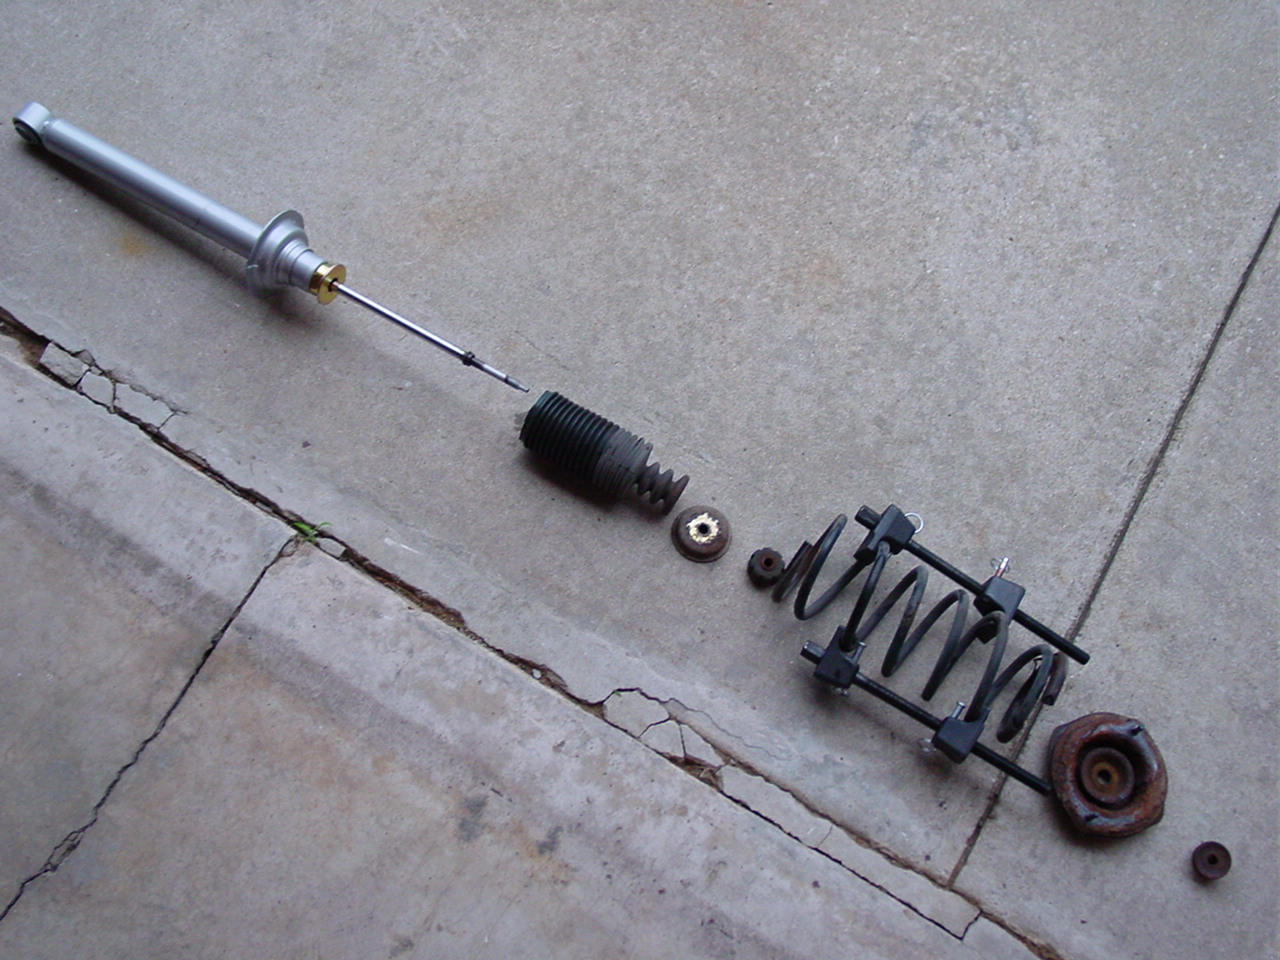
You may want cut the bump stop to allow for more travel, but do not remove too much.When you reassemble the strut, you need to make sure that the spring hat is aligned properly. In this picture, you will see a notch. This notch should face the inside of the vehicle. It should face the complete opposite direction of the mount for the upright. If this isn’t aligned properly, the upper mount will rub on the surrounding metal.An exploded view of the parts order.Once you have the hat and strut mount installed, make sure that everything was aligned properly then decompress the spring and re-install it in the vehicle. From this angle, you can see how the spring hat is not symmetrical and why it needs to be aligned properly.
Moving along to the rear…
Rear springs and struts:
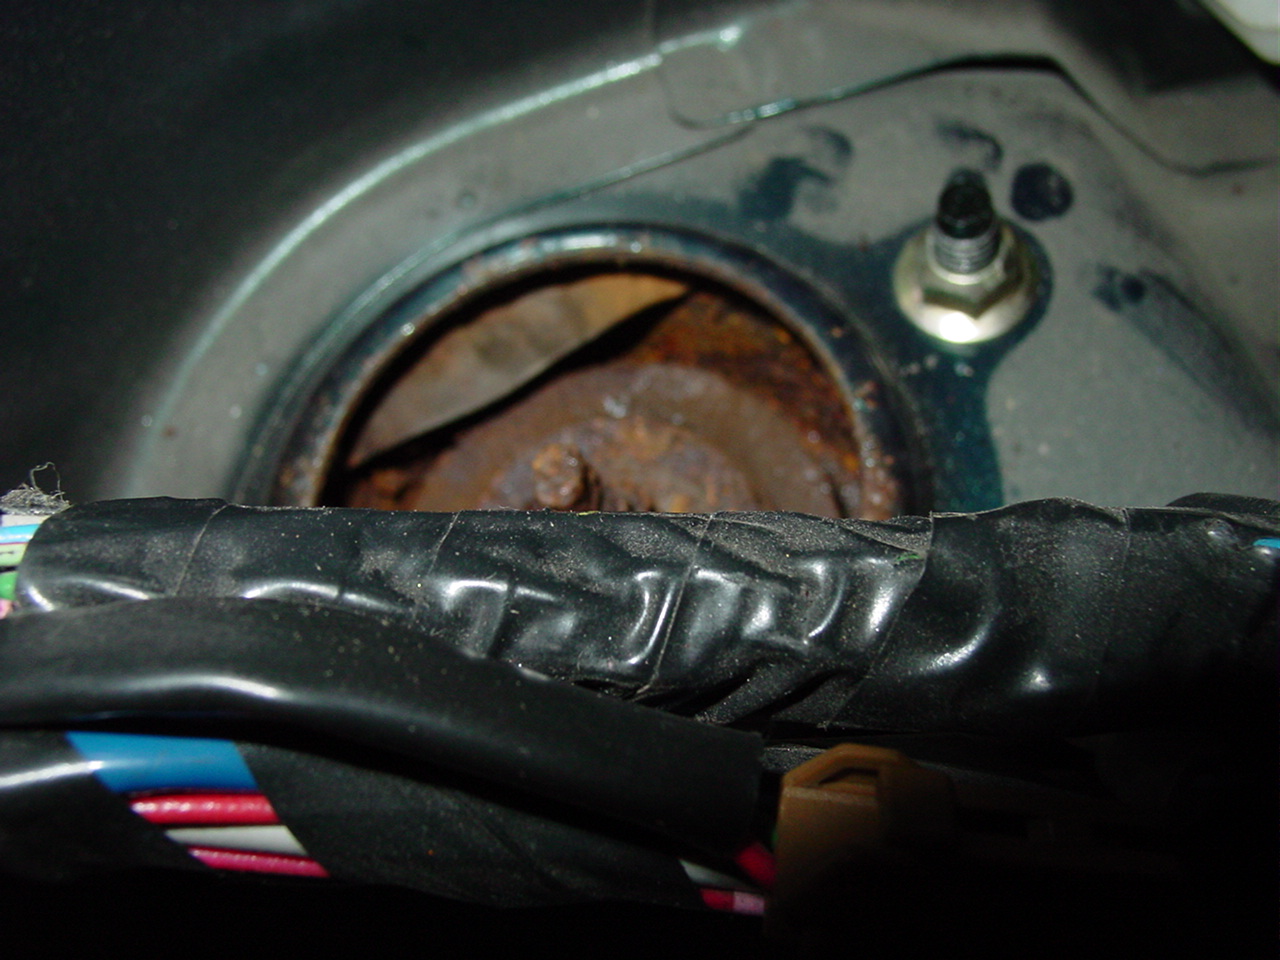
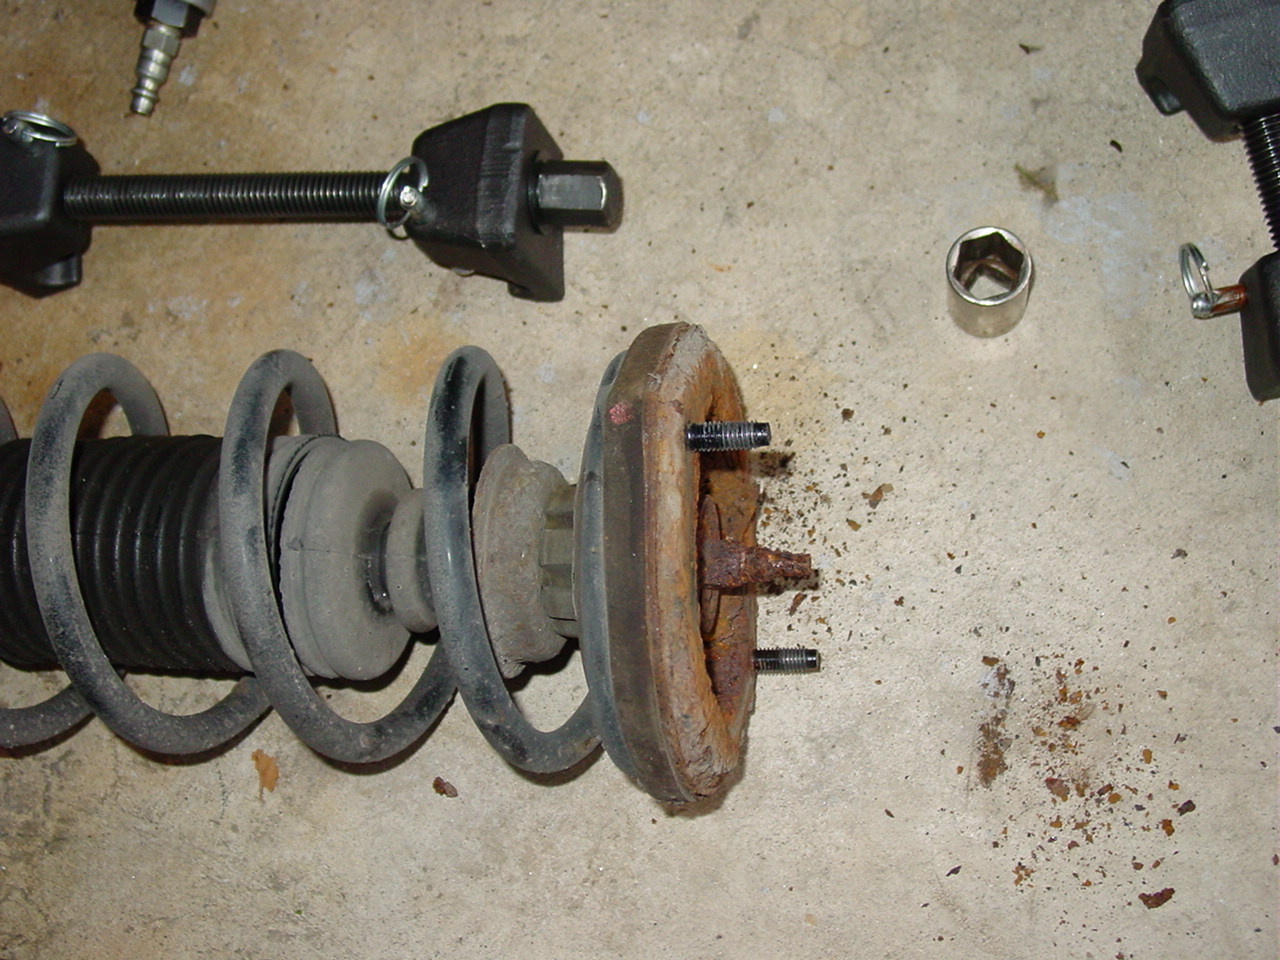
Start by removing the rear deck cover behind the rear seat-back. Once you have that out of the way, remove the two nuts that hold the strut in place. This is a tight area (unless you have an S13 hatchback!)You will need to remove the lower strut bolt. Once you remove the bolt, you can remove the strut.With the strut out of the vehicle, you will need to compress the spring, remove the bolt on the end of the strut shaft, and pull everything apart. If you aren’t from the salt belt you man not know that red stuff is rust.The rear strut blown apart. All parts need to be reinstalled in this order. If the dust boot is torn or damaged, this is a great time to replace it.
After you reassemble the rear sock, re-install the assembly, and lower the vehicle.
Once everything is back together, I highly recommend an alignment. Even with this drop, the front camber was within spec, however the rear gains quite a bit of negative camber. There are several aftermarket adjustable camber links available to remedy this issue.
Driving Impression:
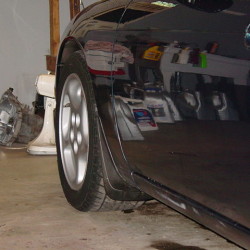
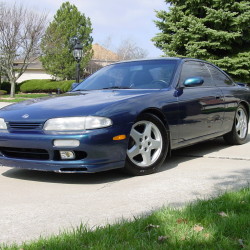
The ride quality of my 240SX was definitely improved with the new hardware. In my opinion, the springs and fresh shocks did not negatively impact ride quality. Cruising down the highway was smooth and comfortable. The only drawback with the new springs was the substantially reduced travel which was only evident on larger bumps. A cautionary note: The front of the car is low enough that watching parking stops and curbs is critical (why Nissan elected to mold the lip spoiler white is beyond me).
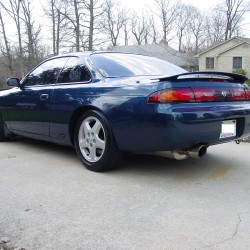
A few pictures for your perusal:
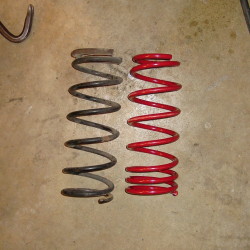
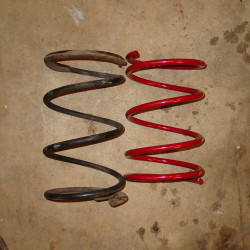
Rear spring comparison
Front spring comparison
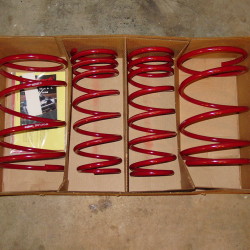
Full set of Eibach Sportline springs for the S14 240SX
Rear Z32 wheels
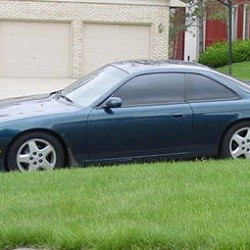
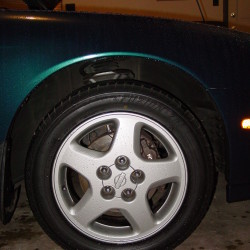
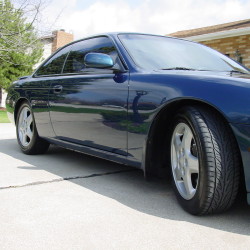
Stock front ride height…rally style!
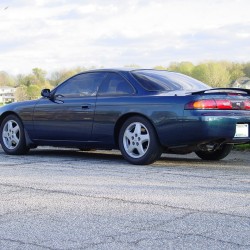
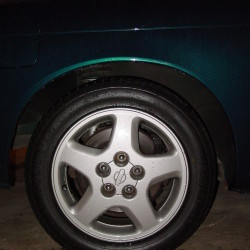
The original rear ride height isn’t as rally inspired as the front but still a bit much.
