Mustang GT K&N Cold Air Intake Install

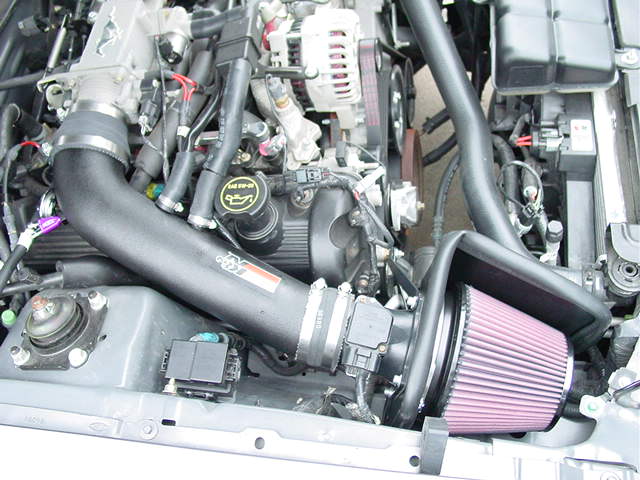
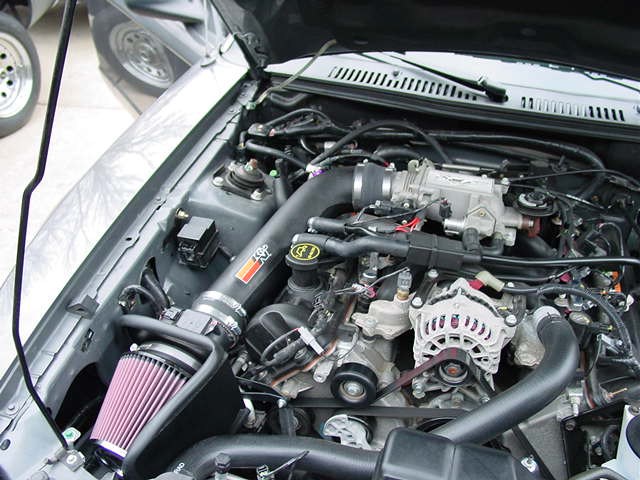
Originally Posted March 2005.  During a bit of a car building weekend, I was asked to do some work to my friend’s ’04 Mustang GT. This article outlines the process of installing K&N’s cold air intake kit.
According to the dyno chart included in the kit, the upgraded filter setup is good for a little over 10hp.

The process is fairly simple and can be accomplished in less than an hour. K&N’s instruction manual is written very well, so this article is intended to be a supplement. Also, my intention is to let you know how it’s done so you can determine if you want to try the project.

Tools Necessary

  • Socket Set
  • Allen wrenches, or an Allen Key set
  • Combination Wrenches (box wrench)

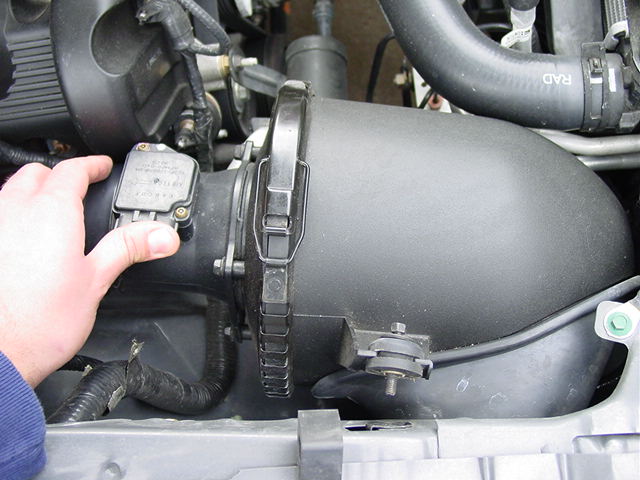
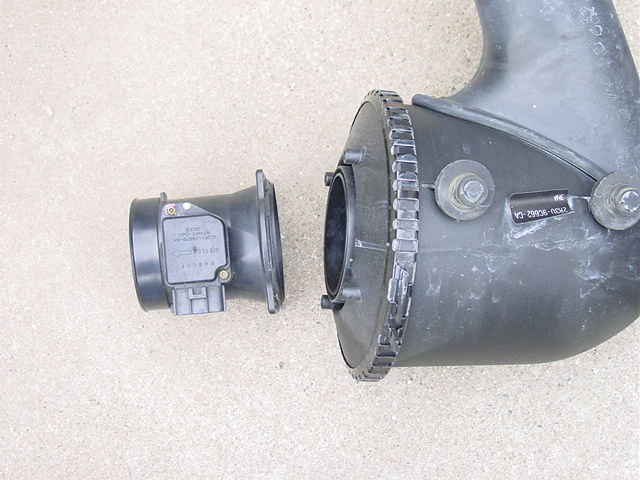
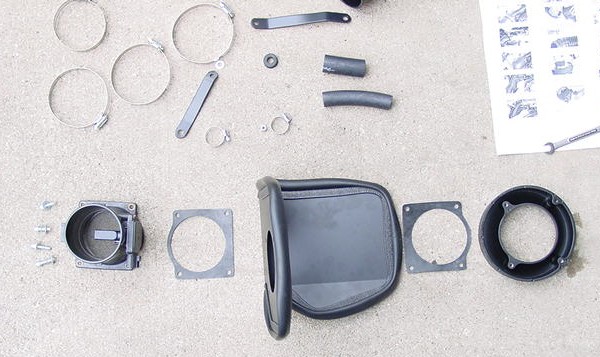
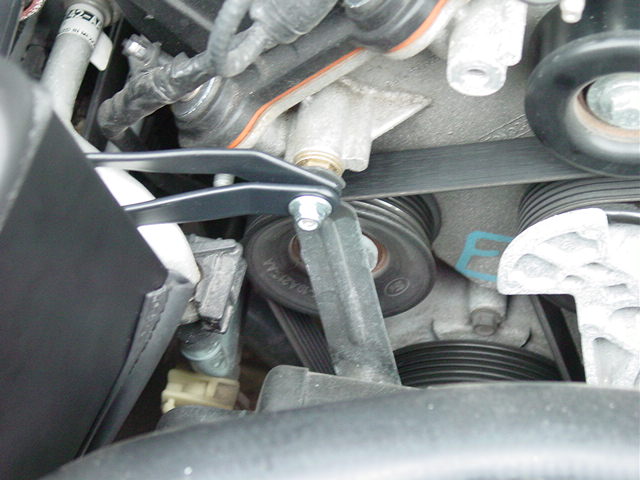
Start by checking out the contents of the kit, look through the instructions, and survey the engine compartment.

K&Ninstall01
Start by removing both of the hose clamps that hold the intake tube in place. The two breather lines attached to the tube are not held by any clamps, just pull them out.
K&Ninstall05
Pull out the intake tube.
Carefully remove the harness plug on the mass air sensor. Remove the single bolt that attaches the air box to the fender. Slide out the entire air box and sensor assembly.
Remove the mass air sensor and remove the screen on the sensor. you will not be reusing the screen.

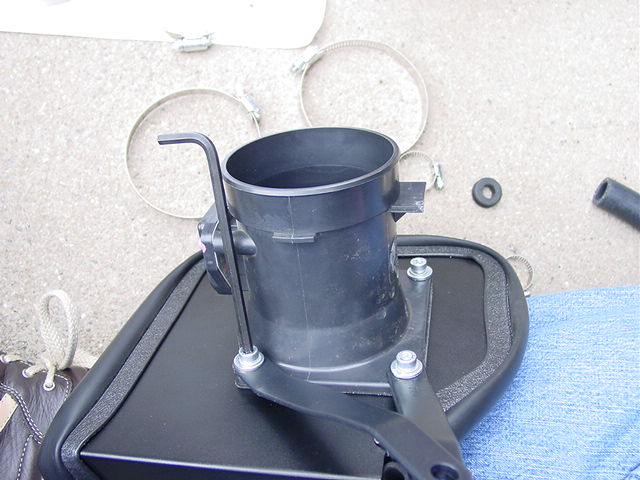
Before you continue with the installation, install the rubber padding around K&N’s heat shield. This is a bit laborious but not impossible.

Before you continue with the installation, install the rubber padding around K&N's heat shield. This is a bit laborious but not impossible.
This is the layout of the all the hardware to attach the mass air sensor to the new equipment.
K&Ninstall10
With all of the hardware in place, snug the bolts on the mass air flow sensor.
K&Ninstall11
Do not forget to attach the mounting bracket when assembling this part.
This assembly mounts to a bolt on the block that already holds a few brackets. Wait until you have the new tube in place before you secure this assembly to the block with the supplied washer and lock nut.

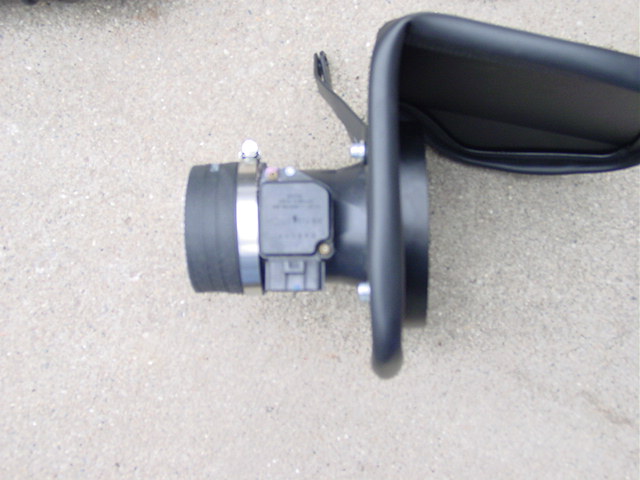
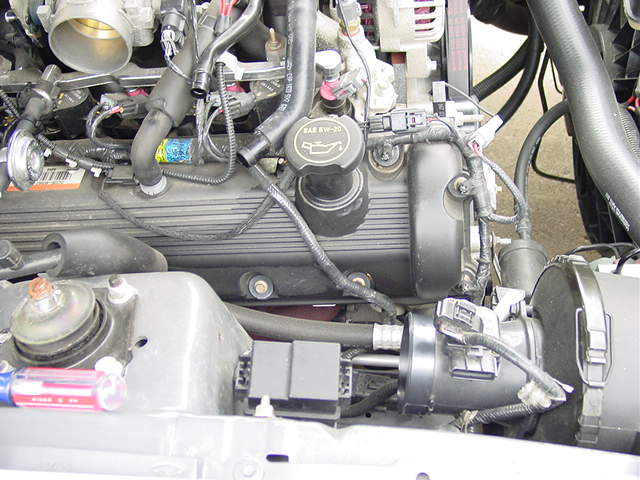
I had to heat one of the breather fittings to bend it back in order to clear the oil filler cap on the valve cover. I’m not sure if this is going to be necessary on every year that this kit applies to, but there was no way this would have fit if I hadn’t bent the tube back.

Finally, attach all of the hoses, couplers and hose clamps. Don't forget to attach the support bracket to the engine block.
Finally, attach all of the hoses, couplers and hose clamps. Don’t forget to attach the support bracket to the engine block.
Have fun!
Have fun!