One of my favorite upgrades to any car is the installation of a short shifter. In this write-up, I’ll explain how to install a short shifter in a Mazda Miata. The installation will be very similar for every Miata with the removal of the center console being the exception. The install was on a ’99 Miata.
Tools Necessary
- reliable socket set
- metric wrenches
- screw driver
Start by securing the car. Using the emergency brake will work, but blocking the tires will be safer.

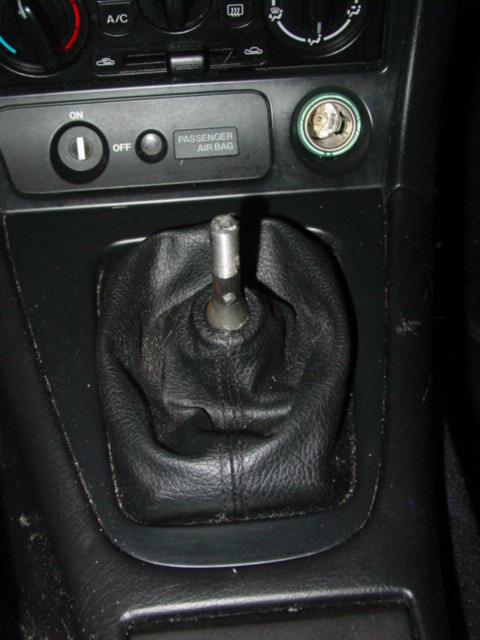
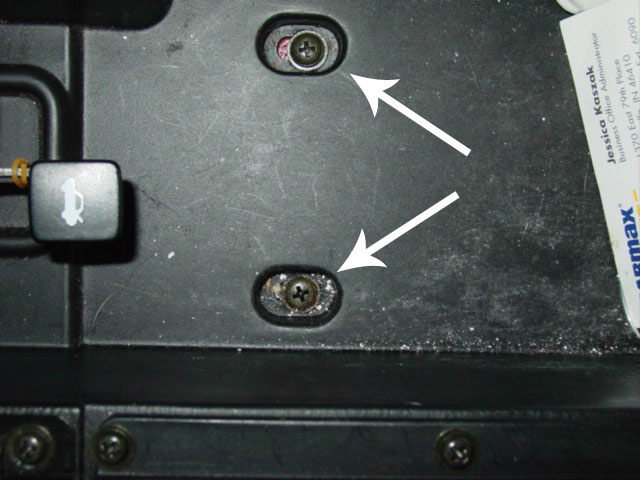
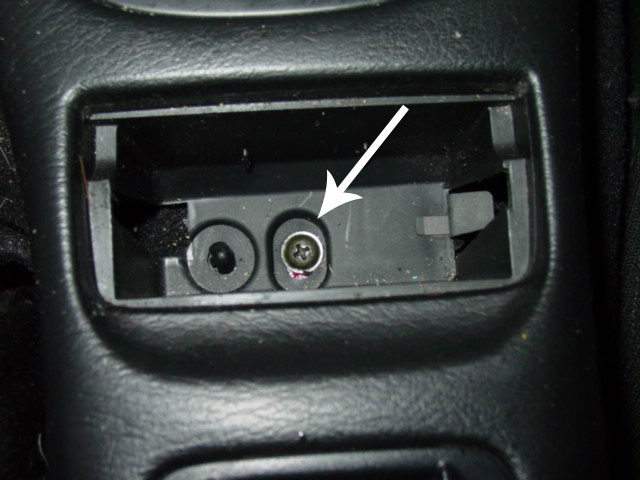
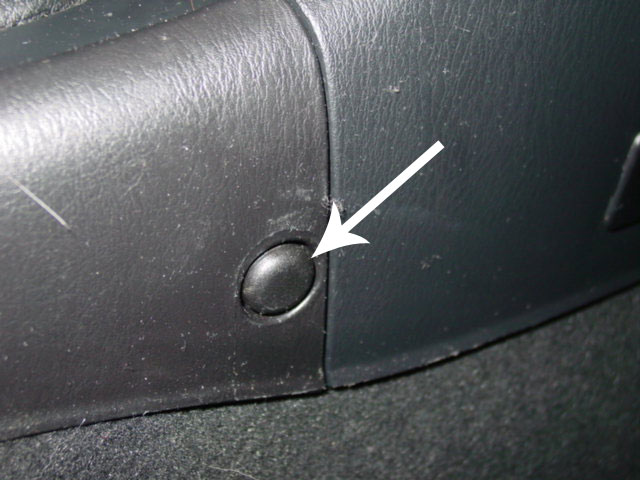
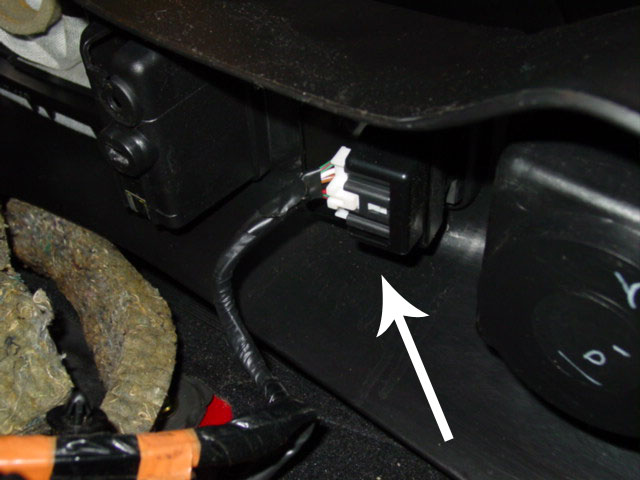
The next step is to remove the center console.
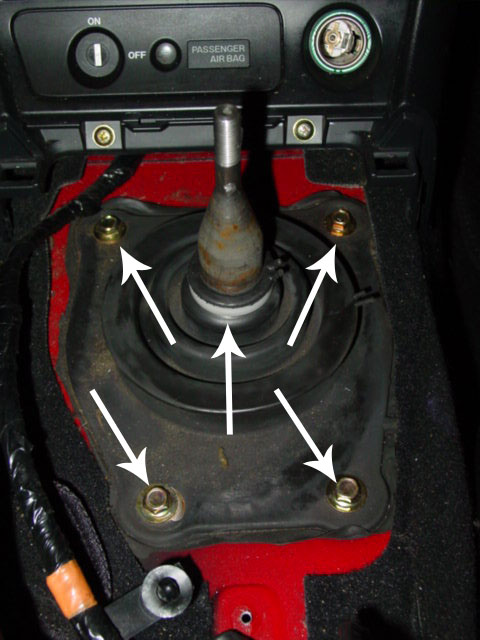
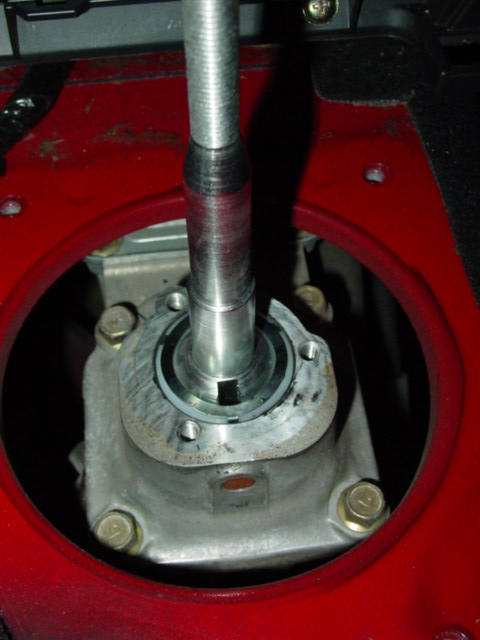
Carefully pull out all of the sound deadening material and set it aside.
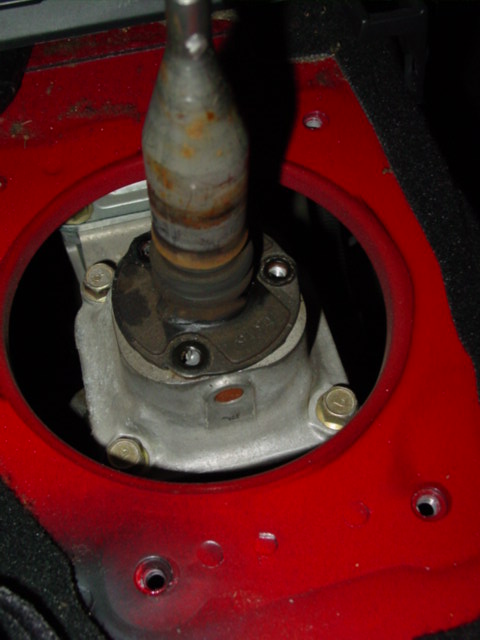
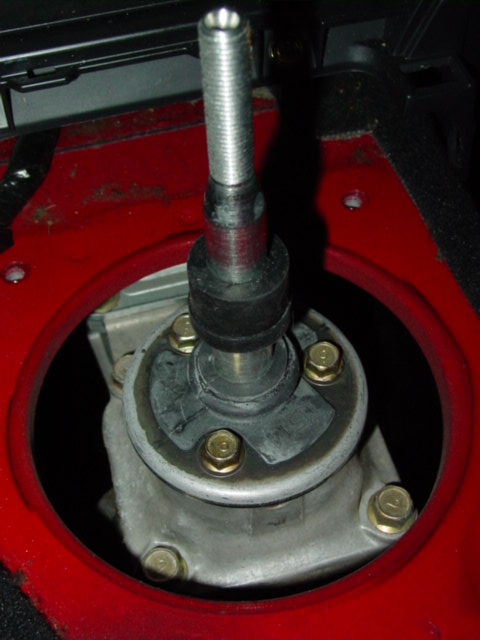
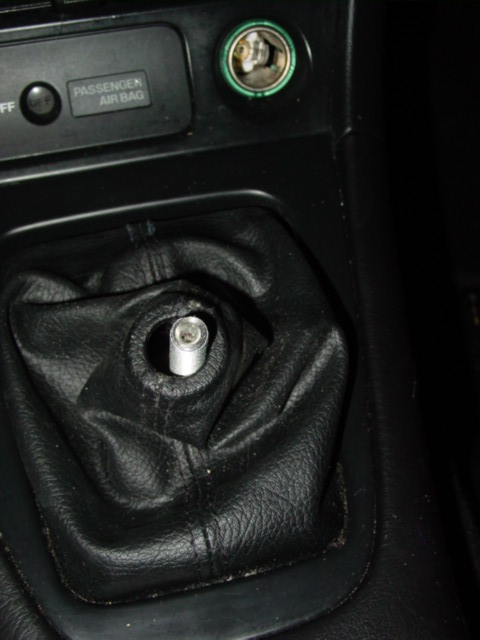
With the shifter in place, reinstall the weather seal, the sound deadening material and center console.
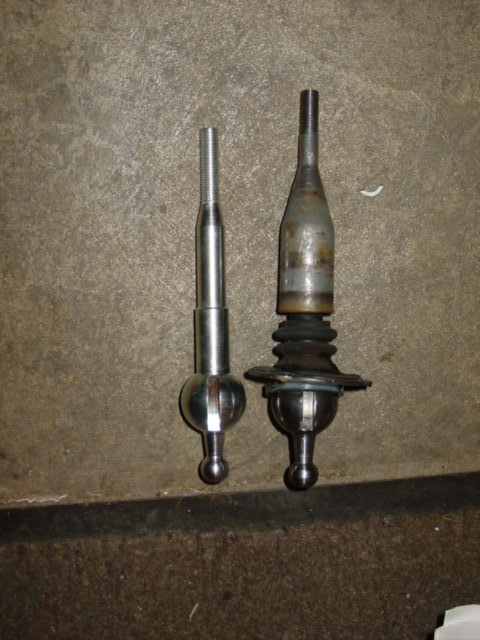
As you can see, the shifter installation is very straight forward. This installation took me about 30 minutes. Realize that different shifter manufacturers may be different. Overall, the new shifter is noticeably shorter than the original but does compliment the Miata well. Drivetrane noise is noticeable but not intrusive.