A common problem experienced in most cars involves soggy engine mounts whether or not you know it. This is a result of torn or damaged engine mounts or by mounts that are too soft (think liquid filled). This can lead to a few different issues. A simple problem, in the case of rod shifter manual transmissions and any rear wheel drive transmission, is excessive shifter movement.
Excessive engine movement may have a negative impact on performance. Power hopping, or wheel hop, is one of the main problems. Soft engine mounts can act like rubber bands during hard launches. When the engine shifts during a launch, it puts pressure on the mount before the torque heads to the wheels. Once the mounts are pushed to the limit the wheels begin turning. What can happen next is that the engine will bounce violently causing a little more power to hit the ground (from the energy stored in the bushings) and cause the car to hop.
Hopping leads to poor 60 ft ties, loose interior pieces will go flying and worst of all, drive train damage. A broken CV joint can really put a damper on your day! Add to the list of damage broken exhaust components as well as damage to engine bay or hood.
There are a few solutions available. Energy Suspension makes poly urethane engine mount inserts for many popular applications. HAsport makes solid poly urethane engine mounts for many Honda applications. Nismo also has mounts with stiffer than stock durometer rubber for several applications, to name a few. In the case of the Energy Suspension bushings, the cost isn’t very high but those on a tight budget may consider a less costly method. In some cases, where aftermarket mounts are not available, the following method is your only option.
Long ago, when I first swapped a B18C1 into my civic, my torque mounts were already very weak and showing signs of complete failure. The torque mounts help to reduce movement from torque as their name would suggest. Weak torque mounts will lead to excessive engine movement. I decided to try a trick that learned from a few Nissan guys that I knew. Do-it-yourself poly urethane engine mounts. I chose 3M window weld as it was the poly urethane of choice. It’s easy to find any any local auto parts store or online and can be dispensed easily without any mixing.
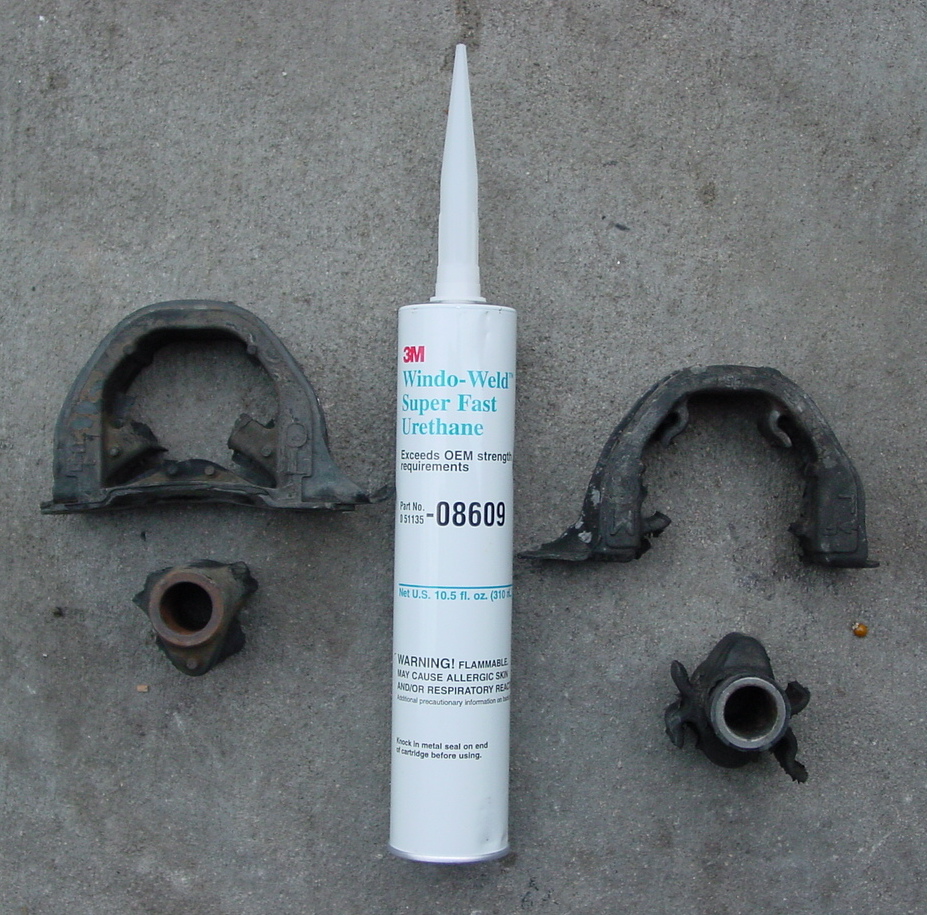
What you’ll need:
- A tube of 3M’s window Weld #08609
- Caulk gun found at any hardware store
- Brake cleaner or some sort of cleaning solvent
- Something flat and about an inch wide
- Disposable rubber gloves
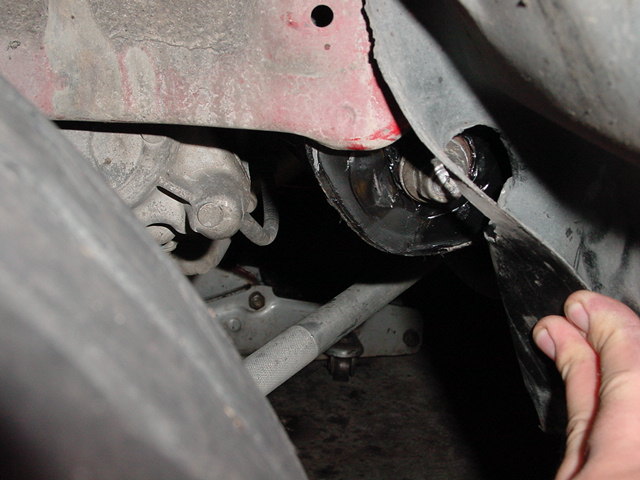
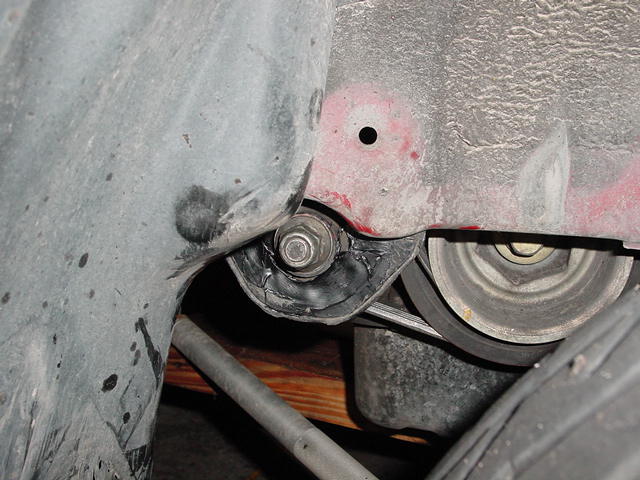
- Any tools necessary to remove your mounts
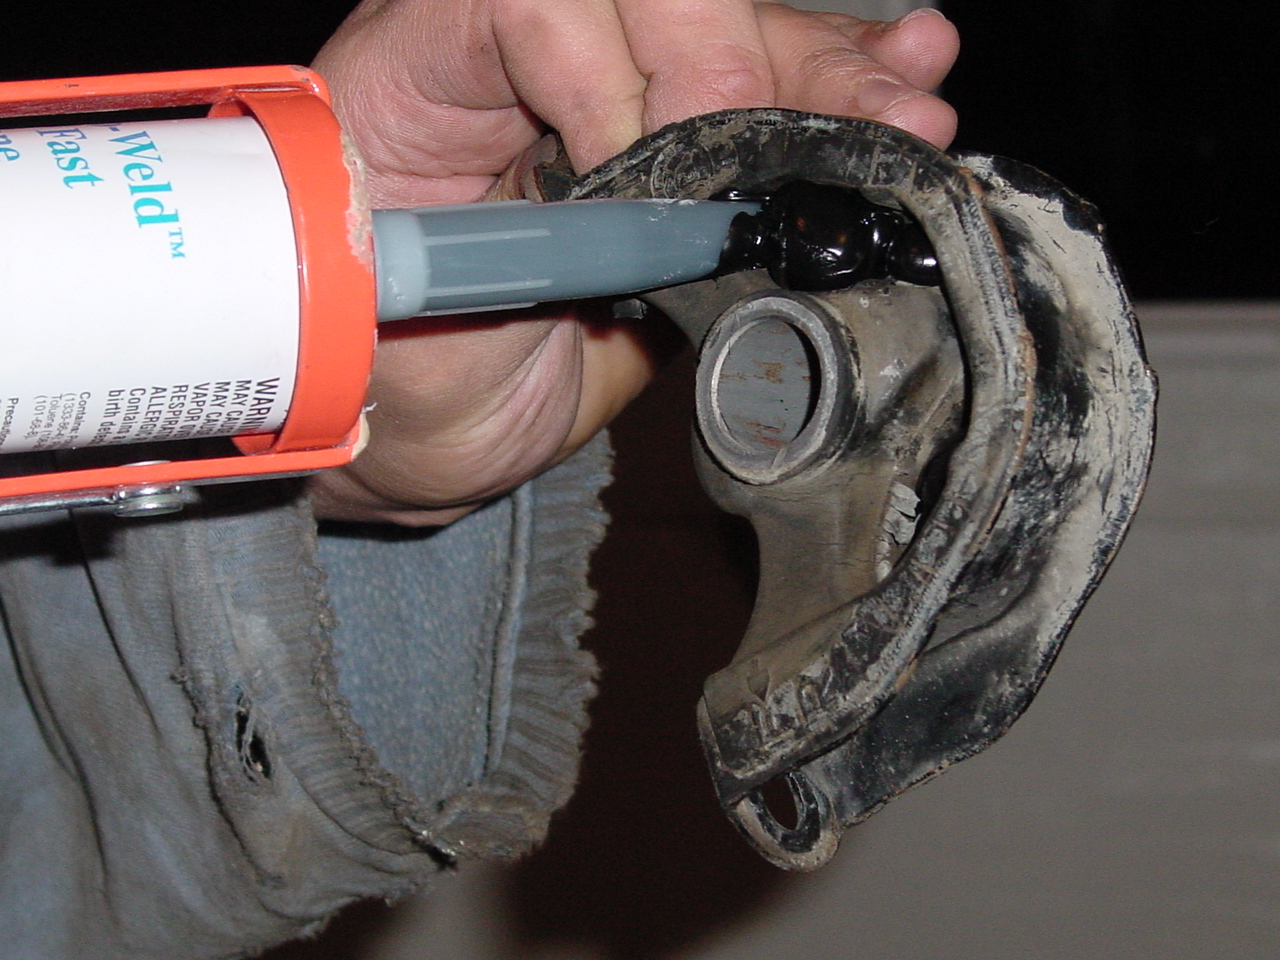
I would strongly suggest the use of rubber gloves for this project. The window weld material is seemingly impossible to remove from your hands.
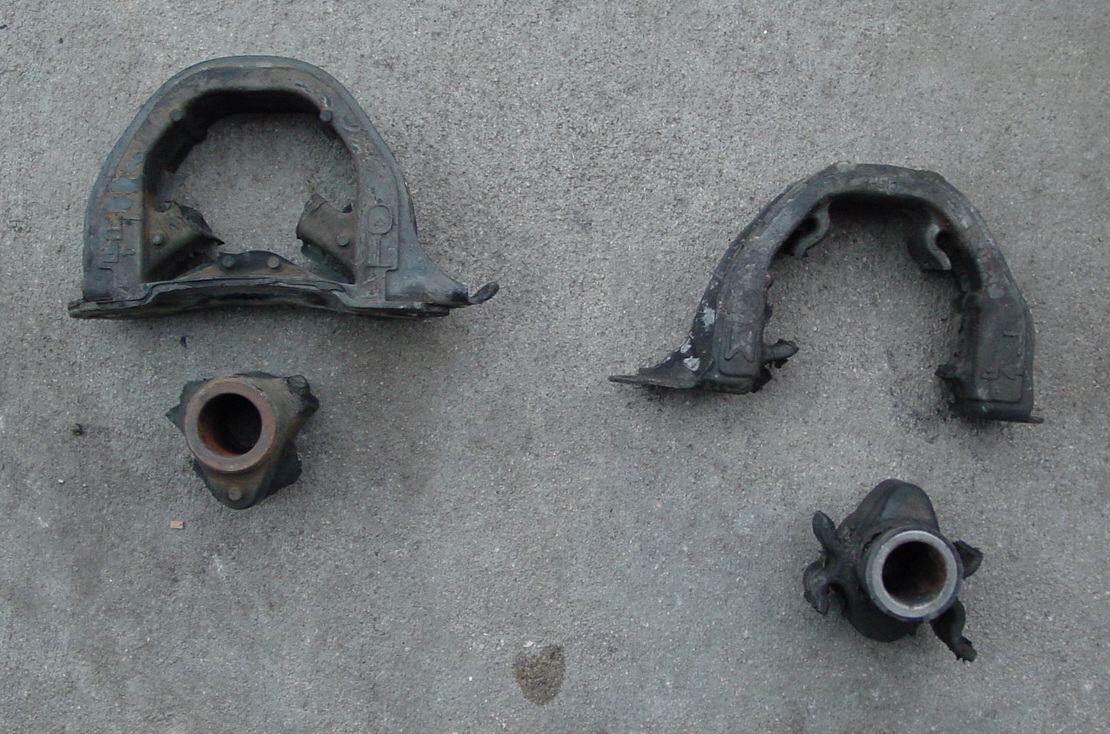
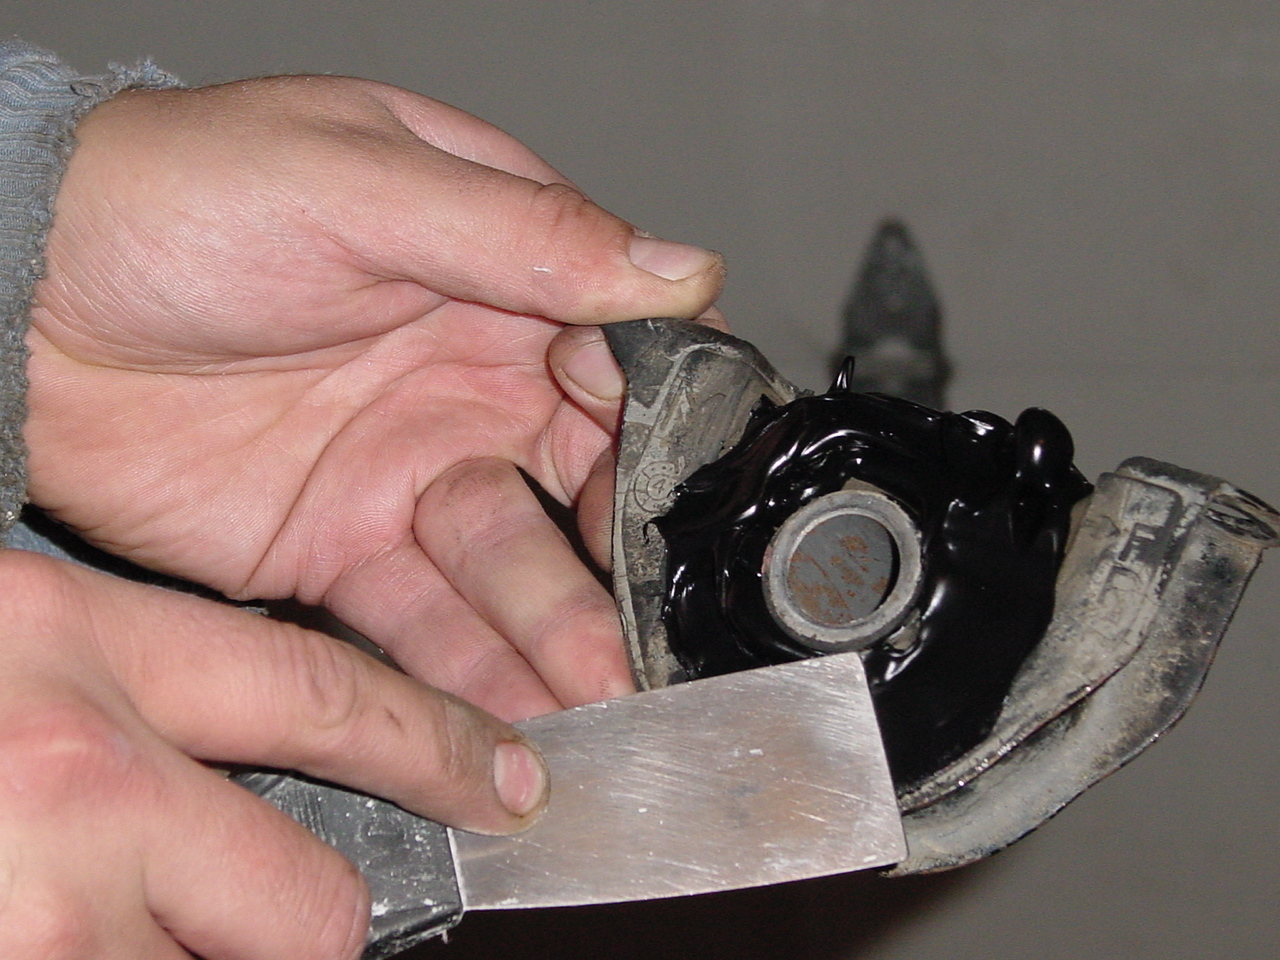
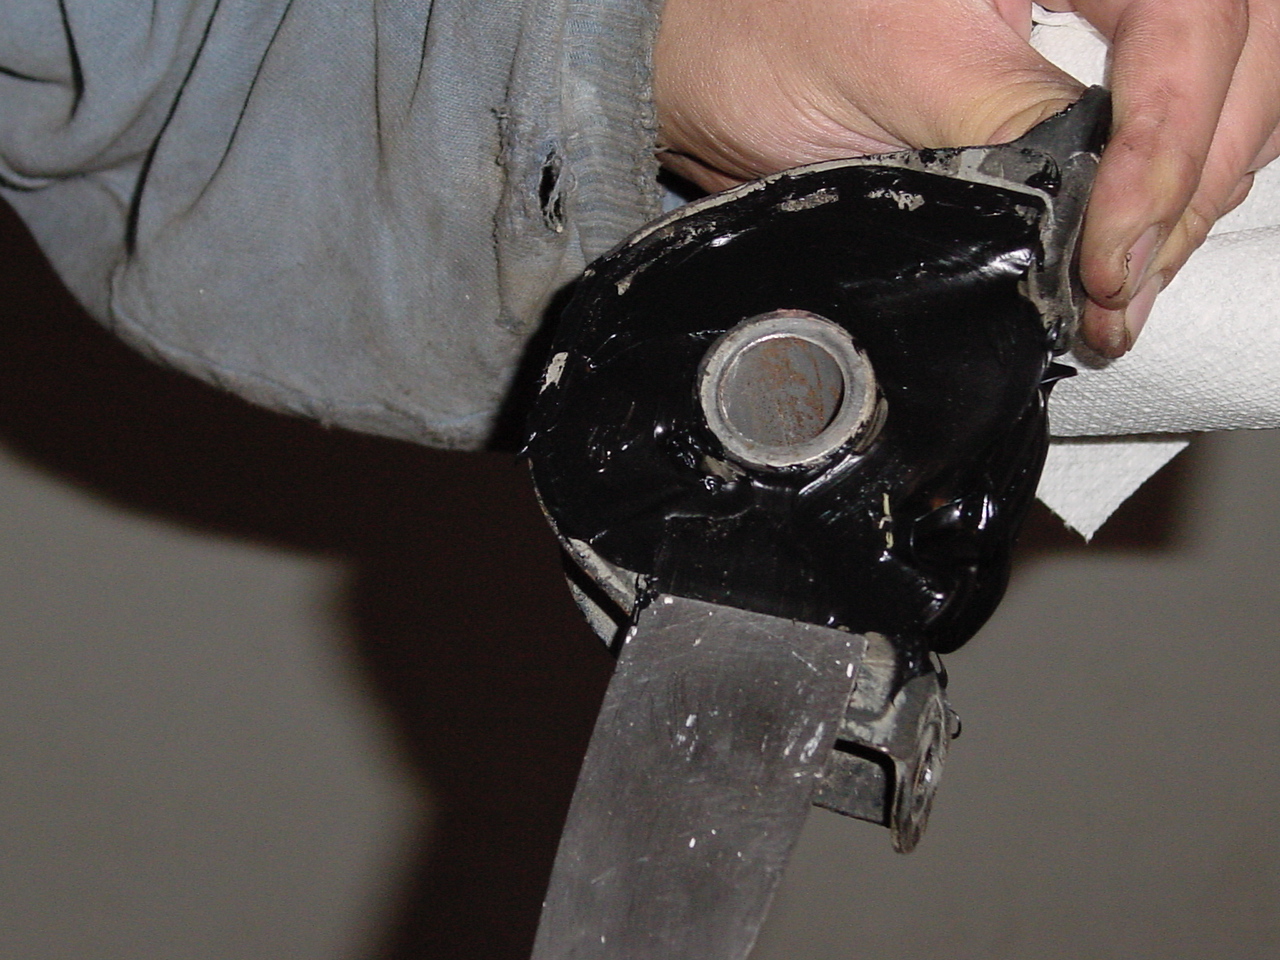
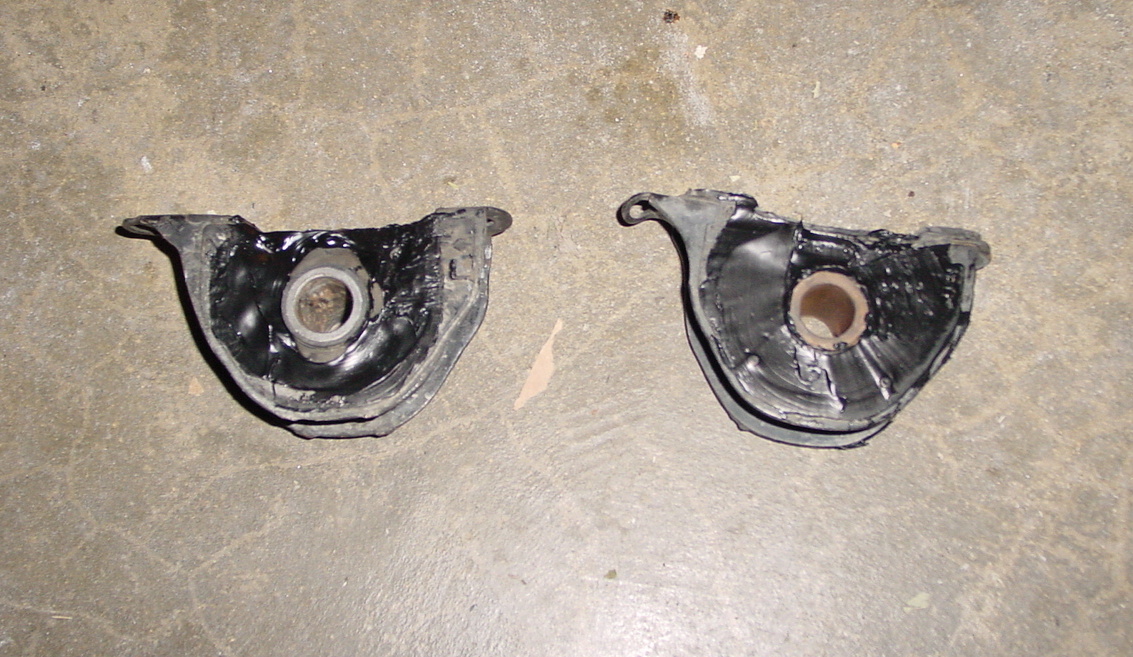
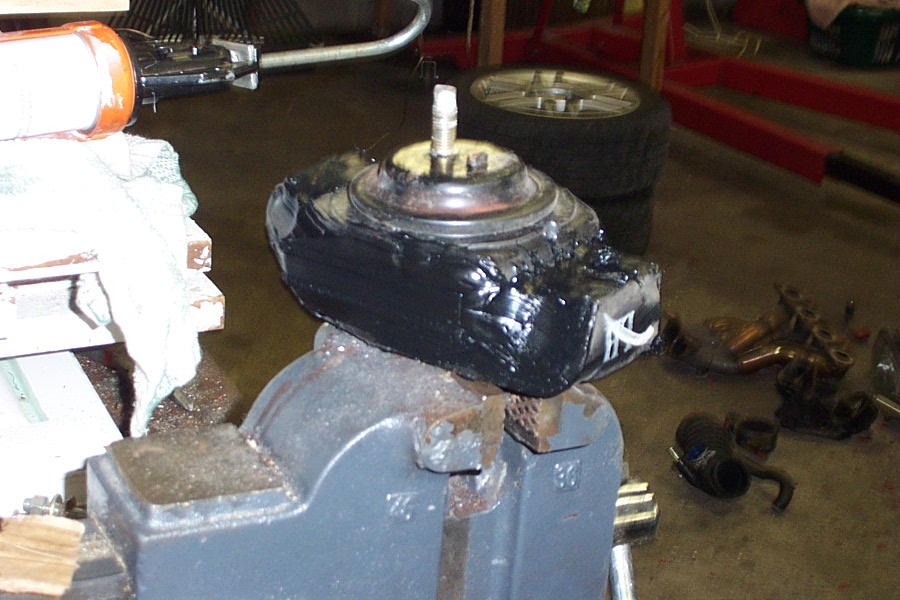
Before I started filling the mounts, I took a few minutes to clean them with brake cleaner. Any non-oil based cleaning solvent will work. I was concerned that I would struggle to fill the mounts considering the level of damage they sustained. In the end, it wasn’t a problem. Start by filling the open mount then use the window weld to hold the pieces together.
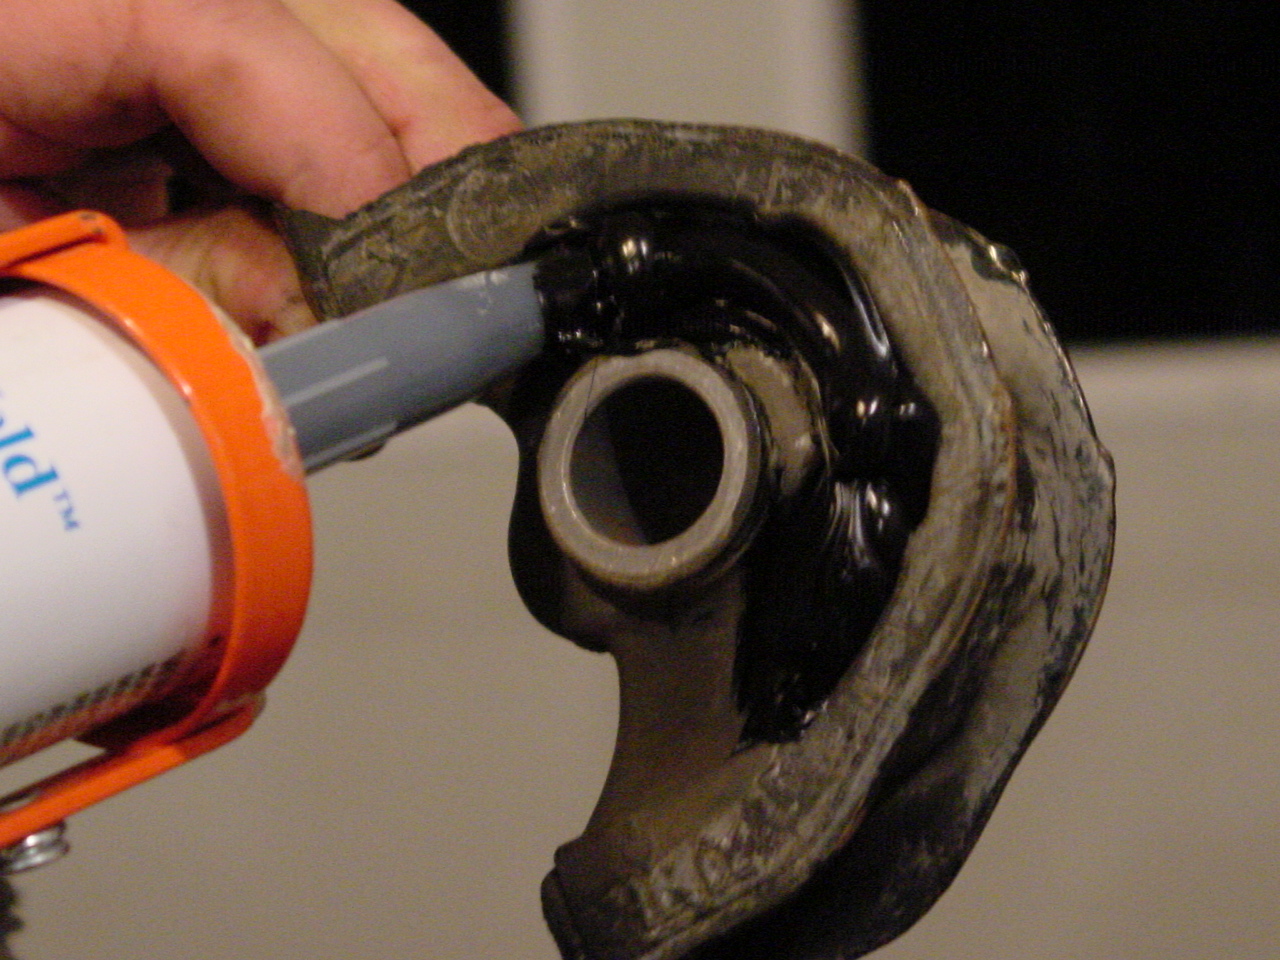

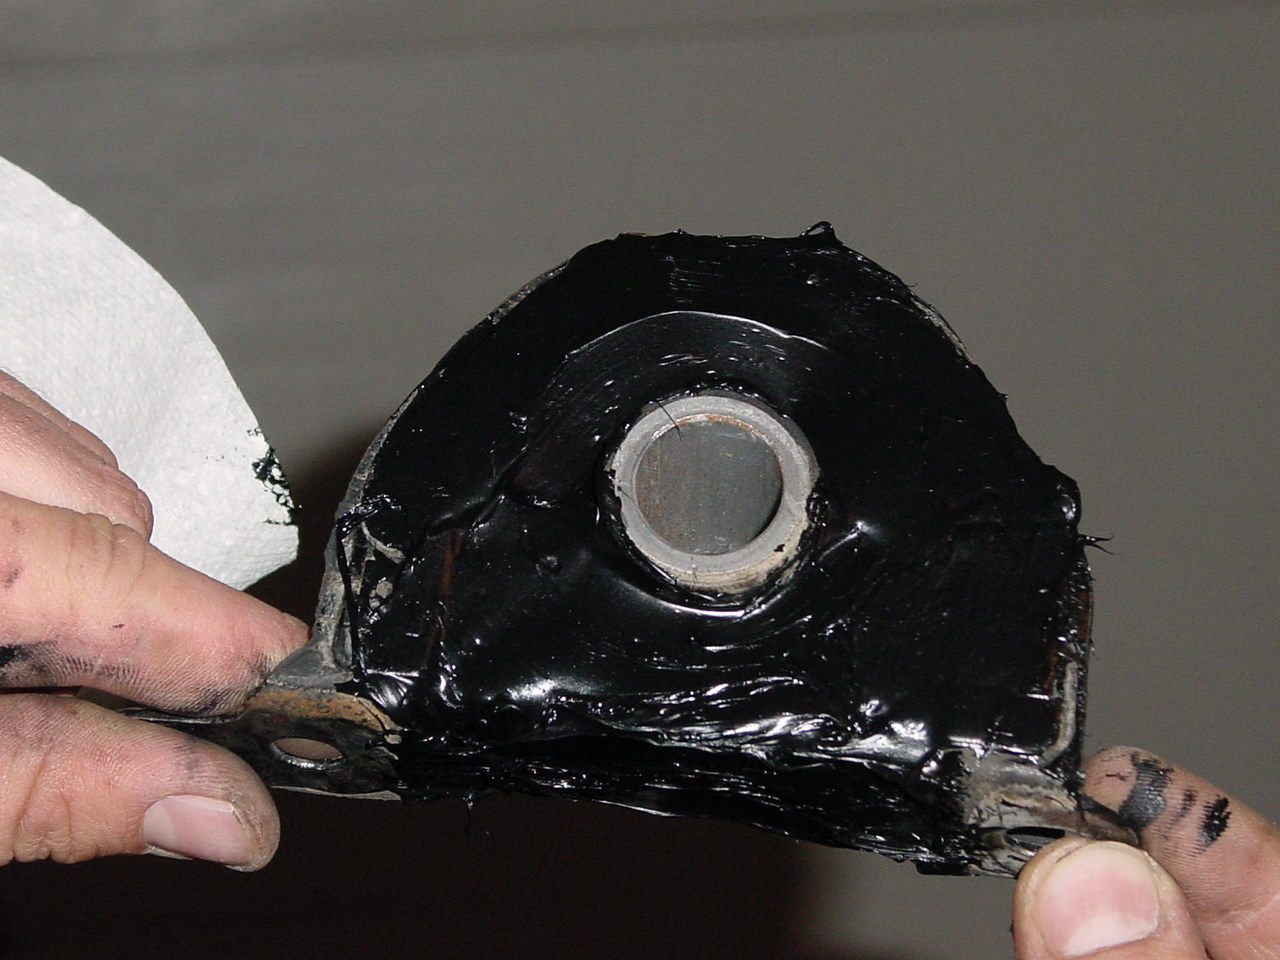
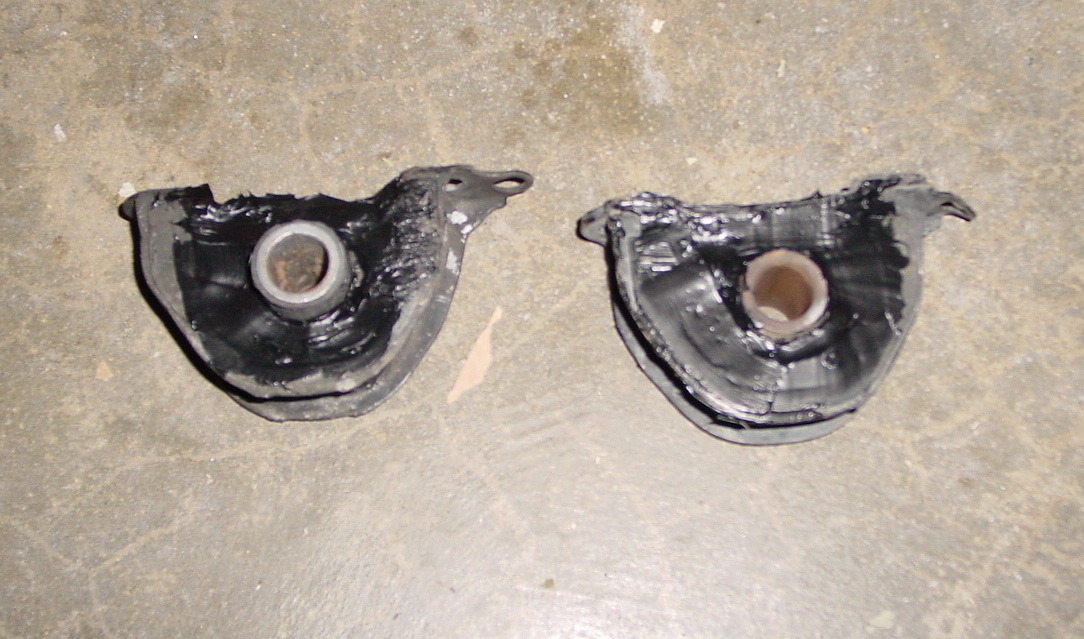
Once you are completely satisfied with your work set it aside and do not touch it for at least a day. I found that waiting a few days allows it to fully cure. However, 24 hours should be more than enough time to allow it to cure and reinstall.
Final Impression:
I am thoroughly impressed with the effect of the torque mounts. In the case of my civic, there was significantly less shifter movement. Coupled with my Z-10 radius arms, I’ve eliminated wheel hop. Even in the most likely wheel hop situations I’ve experienced smooth and controlled wheel spin along with very solid acceleration.
Since I only modified two of the 5 mounts on my civic, there really isn’t that much more vibration inside the car. When it’s fairly cold out I do experience more buzzing interior trim but it’s only at idle.
I would suggest this modification to anyone interesting in a very low cost edge or to those that have no other engine mount option.
I would also like to add that I’ve been using these mounts for over a decade and they have been holding up very well.