This write-up will work with virtually all Honda Civics and Acura Integras (Preludes and Accords already have an external coil).
Theory
Obviously, bigger is usually better, but why is this upgrade important? On a stock engine, this upgrade will probably not do much. In a boosted, sprayed, or high compression application, the extra voltage along with the capacity of the larger coil will yield more consistent power output.
The larger coil will allow for better recovery after a discharge. After the coil discharges, it has to build it’s electric field back up for the next spark. High rpm applications will definitely need a bigger coil to ensure that the spark is steady and consistent. Ideally, having separate coils for each plug is the most advantageous, but for the sake of a good, low cost upgrade, the external coil conversion will work very well.
Tools Necessary:
- socket set
- screw drivers
- wire cutters
- wire crimper
- soldering iron
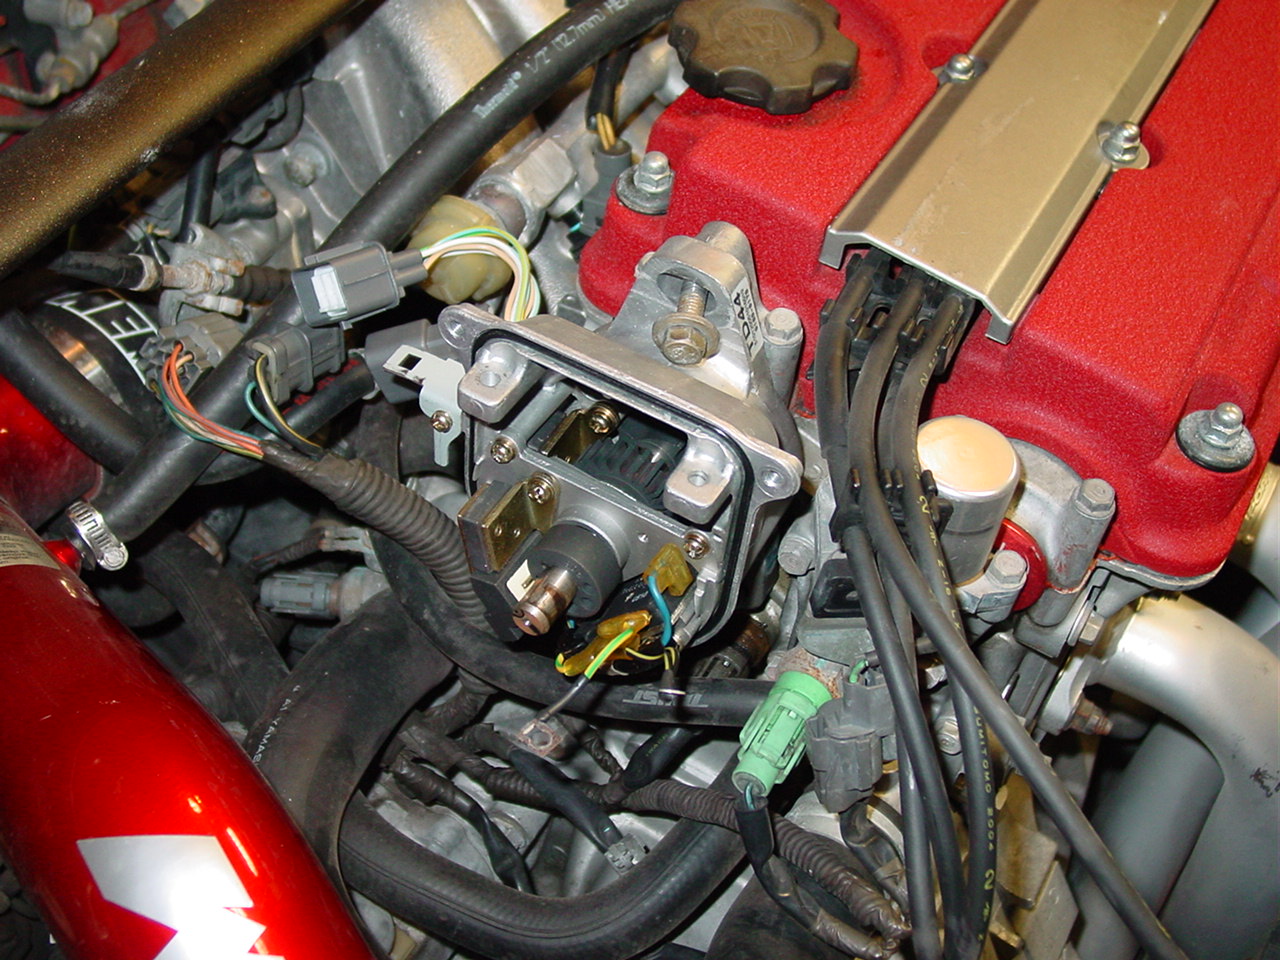
The first part of the process is to remove the distributor for easier access to the components. However, you do not need to remove it. If you can do the work while the distributor is on the engine, you can avoid having to set the timing once it’s finished.
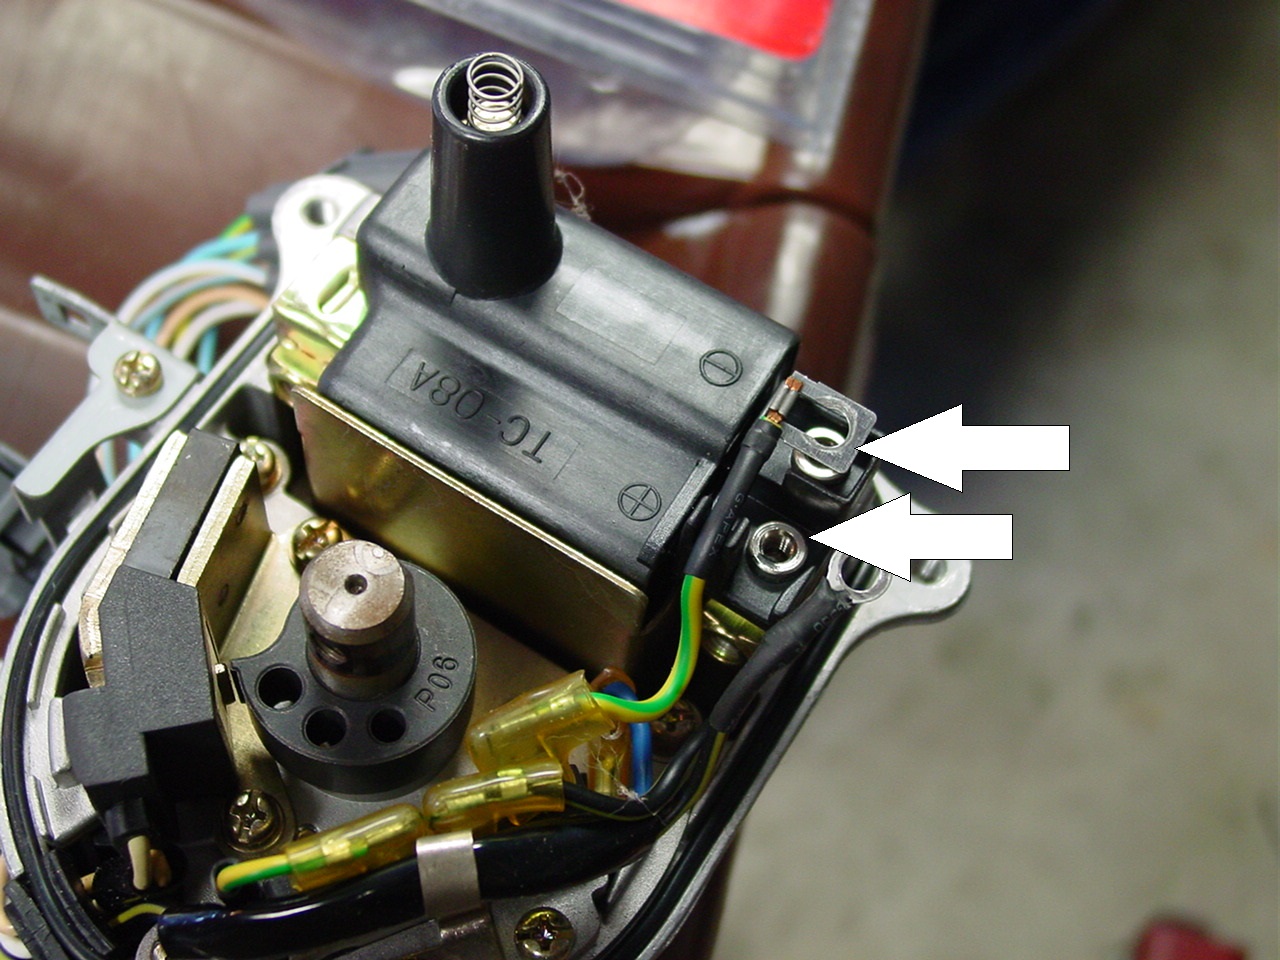
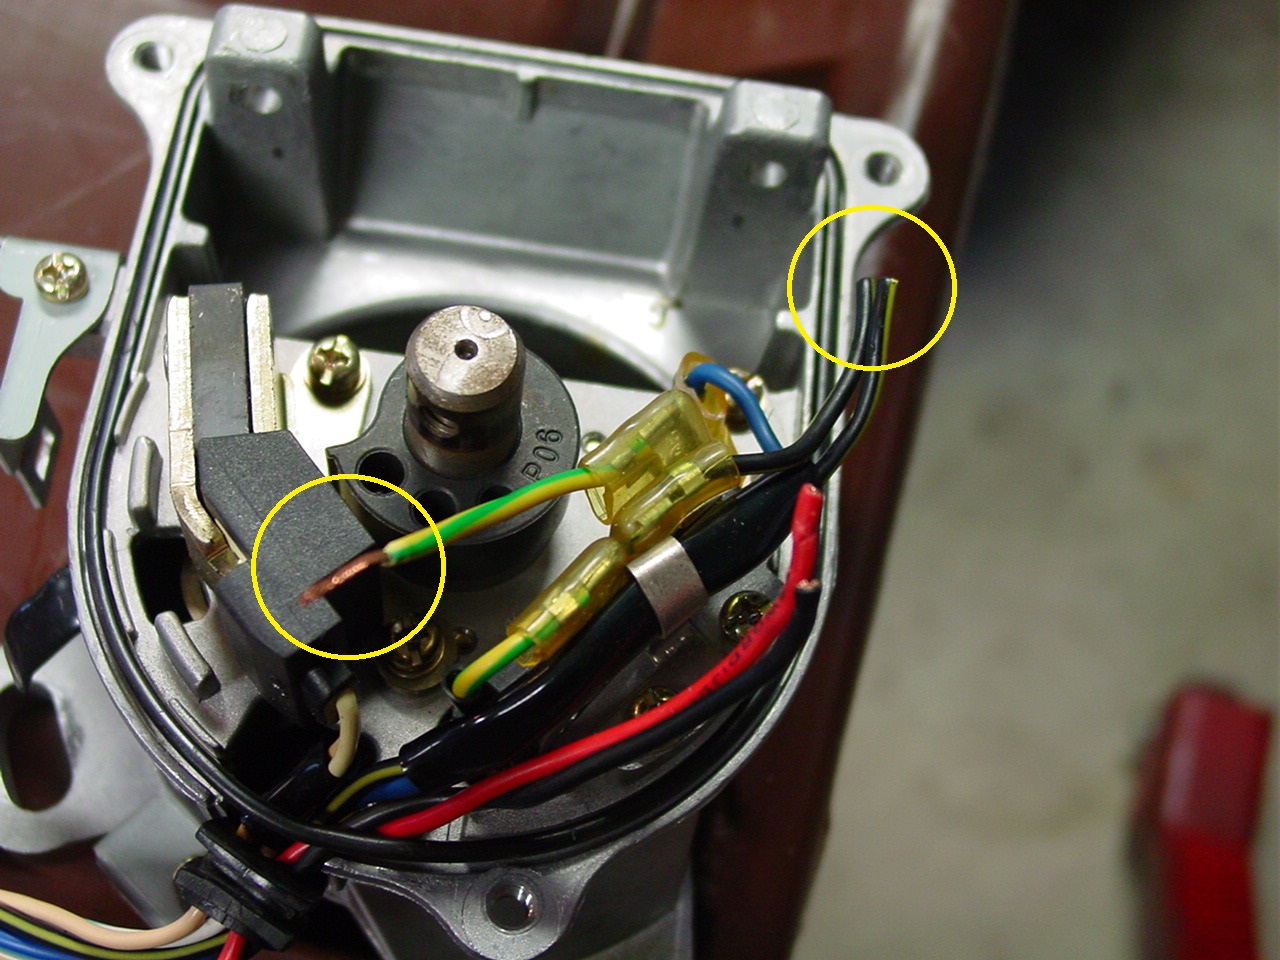

If you’ve removed the distributor, install it on the engine. Attach the new wiring to the new coil. I used crimp ring terminals to attach the wires.
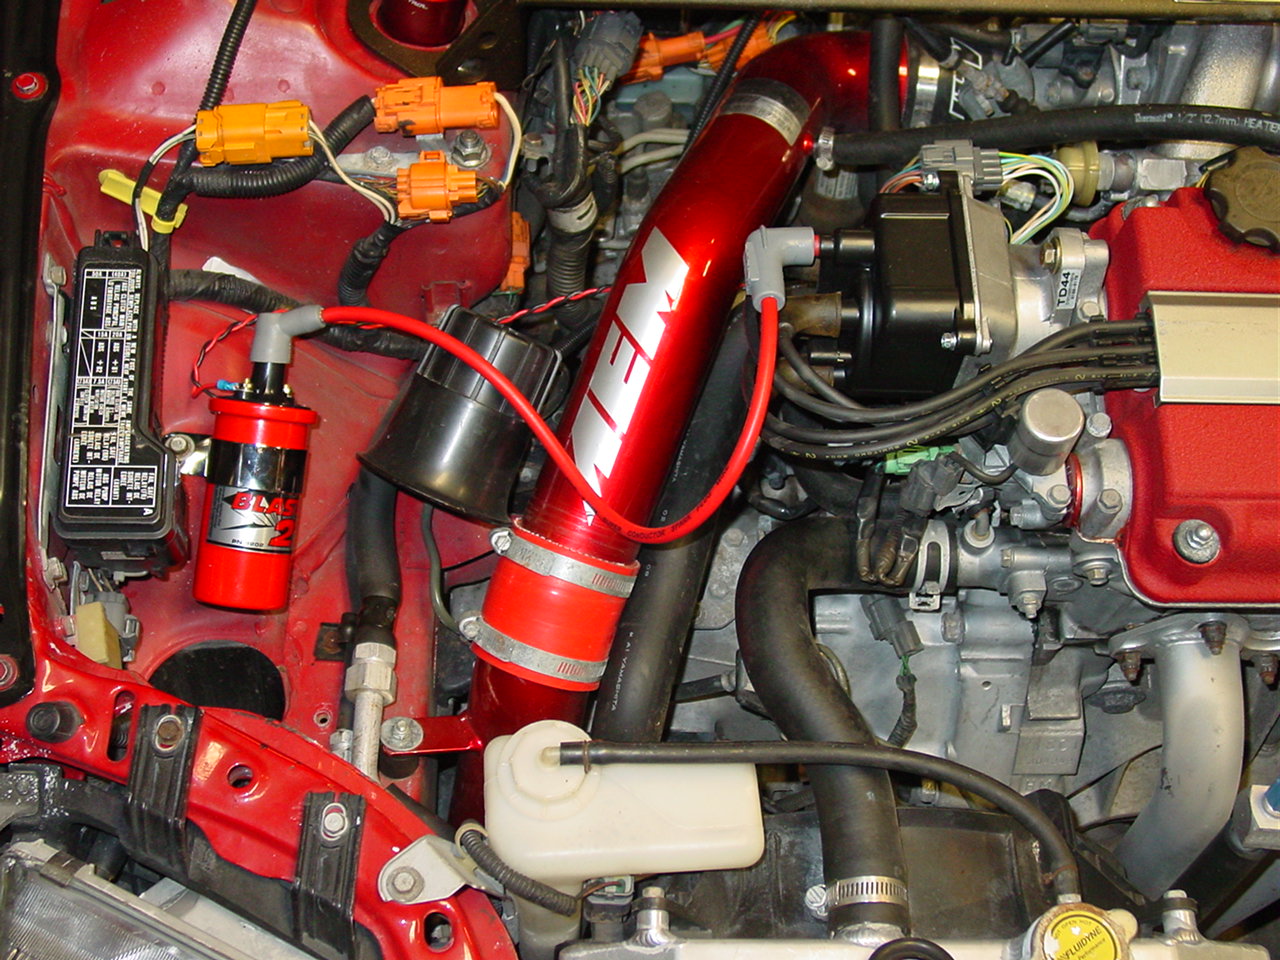
Install the coil where it is most convenient for you and connect the plug wire to the cap and coil.
Make sure to set the timing on the distributor (if you removed it) and enjoy the new spark!